How to take a screenshot on a Mac
Capture the full screen, one window or a custom selection with keyboard shortcuts, then find the file on the desktop and use markup when you need a quick callout.
A Mac screenshot is a still picture of what is on your display. You can grab everything, one window or a rectangle you draw yourself. Apple builds the shortcuts into macOS, so you do not need a separate app for everyday captures.
The three shortcuts most people need are full screen, window and selection. On current macOS versions a small thumbnail appears in the corner after you shoot. Click it to crop, mark up or delete. Ignore it and the file saves to your default location, usually the desktop.
Knowing where the file lands matters as much as the shortcut. If screenshots seem to vanish, check the desktop first, then the Screenshots folder if you changed the save location in the screenshot toolbar. Holding Control with a shortcut copies to the clipboard instead of saving a file, which is handy for pasting into Messages or a doc.
Markup is enough for arrows, text and simple highlights before you send a bug report or how-to. You do not need a design tool for that. For older MacBooks with a Touch Bar, screenshot controls may also appear there, but the keyboard shortcuts still work and are worth learning first.
Step-by-step guide
Time: 5 to 15 minutes to learn and practice the three main shortcuts
What you need
- Mac running a recent macOS version
- Keyboard with Command, Shift and Control keys
- Desktop or Screenshots folder access in Finder
- Optional: external display if you capture more than one screen
Before you start
- Screenshots can include private messages, passwords visible on screen and notification banners. Check the image before you share it.
- Holding Control copies to the clipboard and may not create a desktop file. Do not assume a file was saved.
- On multi-display setups, full-screen capture behavior can include every screen. Review the file before sending.
Step 01
Capture the full screen
Use the full-screen shortcut when you need everything visible on the display in one file.
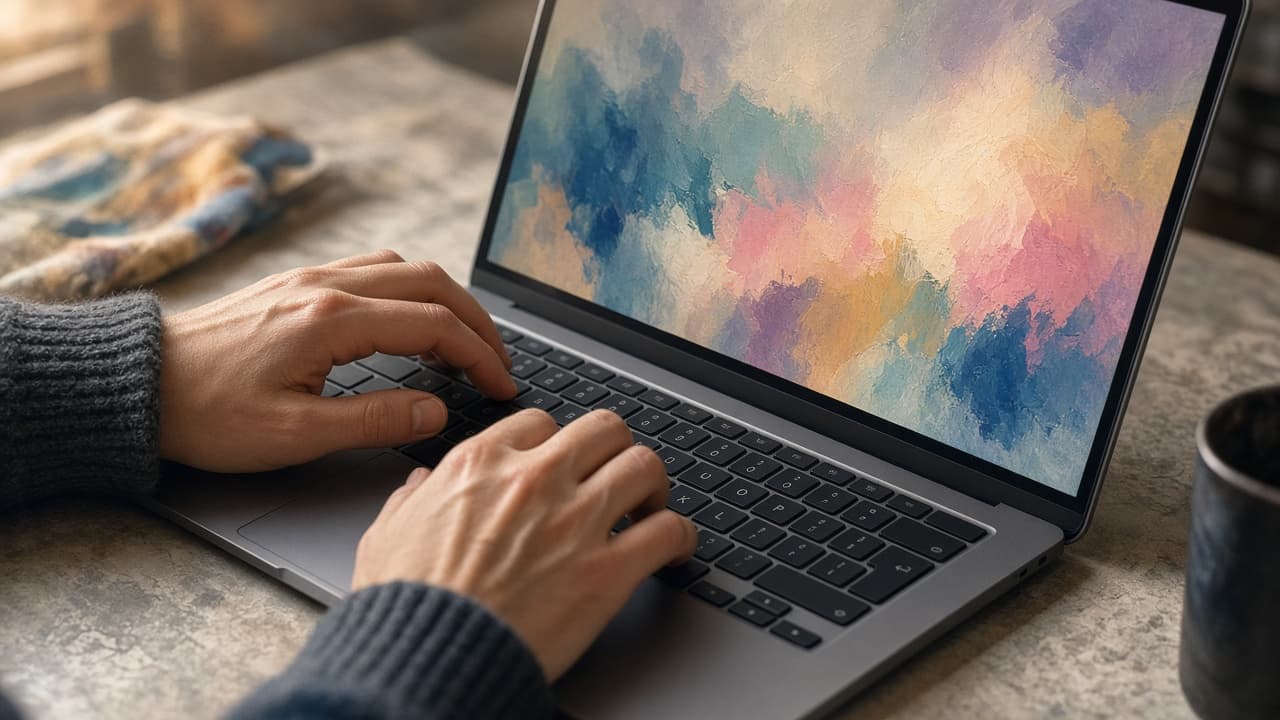
Full-screen capture grabs the whole display, then shows a brief corner thumbnail. Do this step in order
1a
Press Shift, Command and 3 together
Hold Shift and Command, then press 3. You may hear a shutter sound if sound is on. Release the keys. That is the full-screen capture.
1b
Watch for the corner thumbnail
A small preview usually appears in the lower-right corner for a few seconds. Click it if you want to edit. Let it disappear if you want the file saved as-is.
1c
Find the PNG on the desktop by default
Open the desktop in Finder or look at the desktop icons. The file name usually starts with “Screenshot” and includes the date and time. Open it to confirm the capture looks right.
1d
Hold Control to copy instead of saving
Press Control with Shift-Command-3 when you want the image on the clipboard only. Paste into an email or doc with Command-V. No desktop file appears unless you also paste into an app that saves one.
Step 02
Capture one window
Window mode grabs a single app window with a clean edge. It is better than cropping a full-screen shot by hand.

Window capture focuses on one app frame instead of the whole desktop. Do this step in order
2a
Press Shift, Command and 4, then press Space
Hold Shift and Command, press 4, then tap Space. The pointer changes to a camera style cursor. Move it over the window you want so that window highlights.
2b
Click the highlighted window
Click once on the highlighted window. macOS saves that window. Option-click if your system offers a version without the window shadow. Either result is fine for most sharing.
2c
Use this for menus and dialog boxes too
Open the menu or dialog first, then run the window shortcut so the important UI is visible. If the menu closes when you press keys, try selection mode instead and draw around the open menu.
Step 03
Capture a custom selection
Selection mode lets you drag a rectangle around only what you need. It is the best choice for a button, a paragraph or a chart.
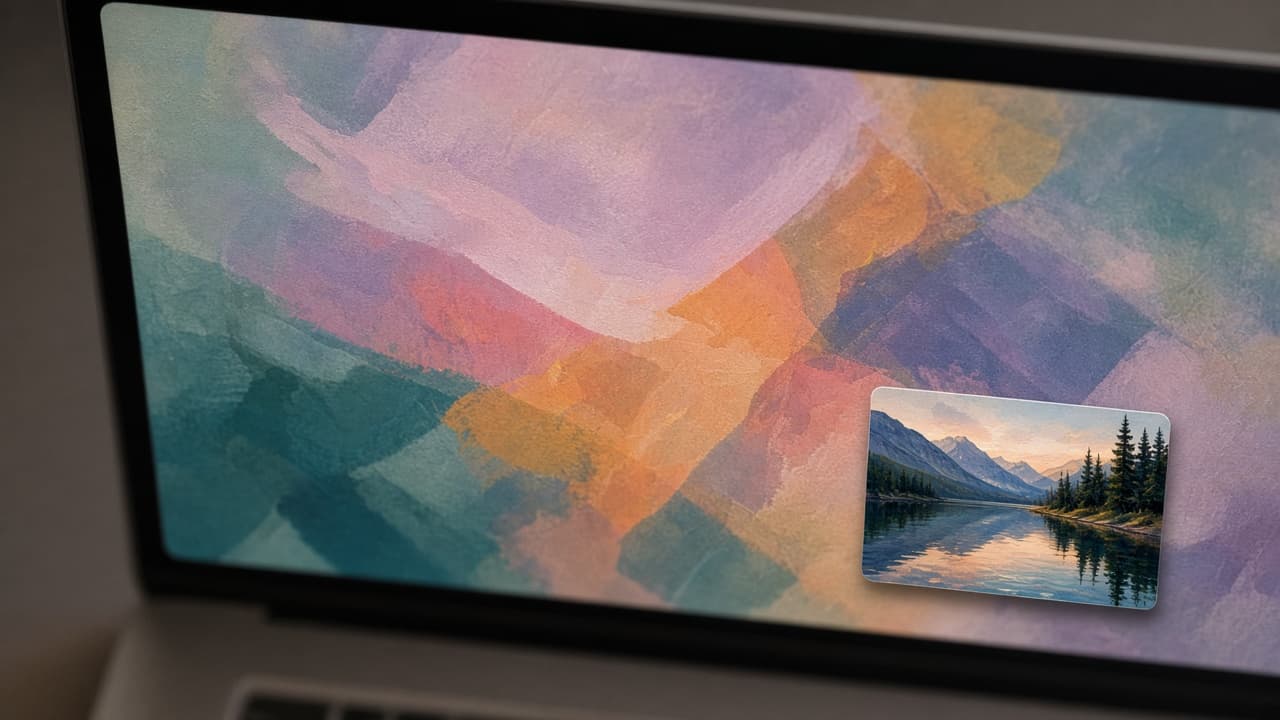
Selection capture saves only the rectangle you draw. Do this step in order
3a
Press Shift, Command and 4
Hold Shift and Command, then press 4. The pointer becomes a crosshair with coordinates. You are in selection mode.
3b
Drag from one corner to the opposite corner
Click and drag to draw the rectangle. Release the mouse or trackpad to capture. Press Escape before releasing if you want to cancel.
3c
Hold Space while dragging to move the box
If the size is right but the position is wrong, keep the mouse button down, hold Space and drag to move the whole selection. Release Space to resize again. This avoids starting over.
3d
Open the screenshot toolbar when you want more options
Press Shift-Command-5 for the on-screen controls: full screen, window, selection, record screen and Options for save location and timer. Use Options to pick Desktop, Documents, Clipboard or another folder.
Step 04
Find the file and use markup briefly
Confirm where the image saved, then add a simple arrow or label when that helps the reader.
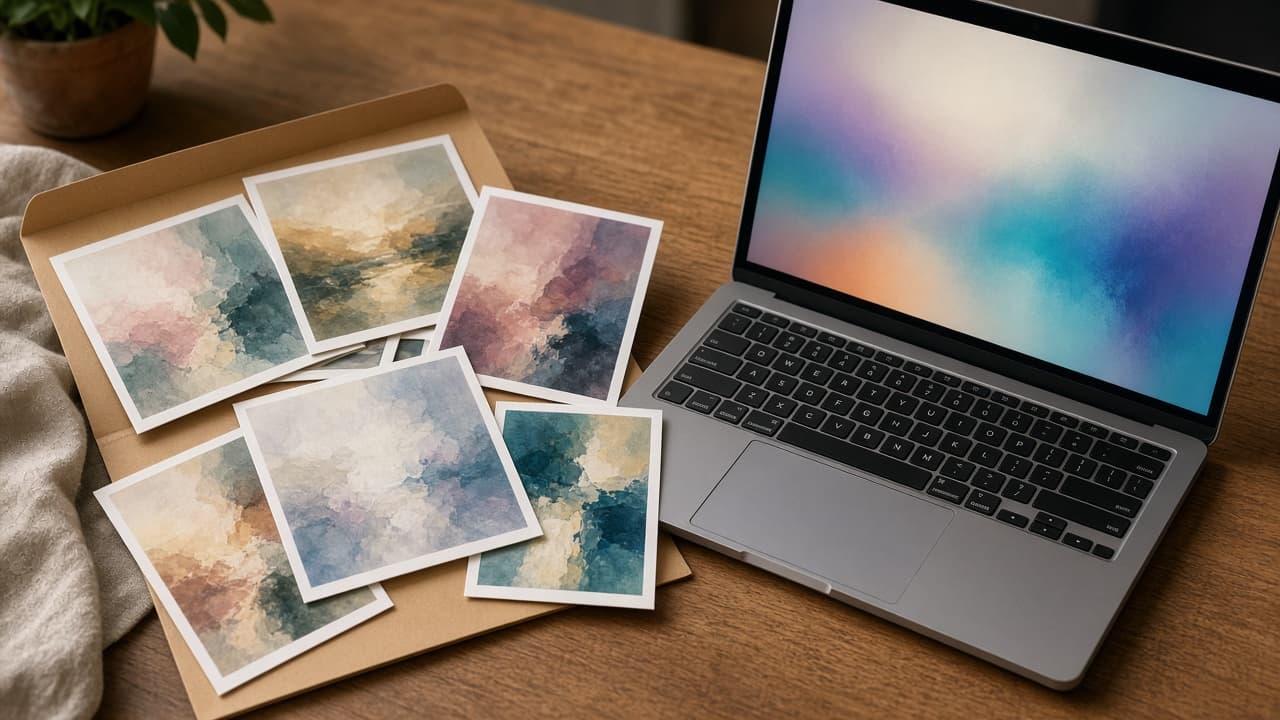
Markup from the thumbnail is enough for arrows, text and basic highlights. Do this step in order
4a
Confirm the save folder in Finder
If the file is not on the desktop, open Shift-Command-5, choose Options and read the save-to setting. Then open that folder in Finder. Sort by Date Added if the folder is crowded.
4b
Click the thumbnail to crop or mark up
Click the corner preview before it vanishes. Use the crop handles if needed. Open markup tools to add an arrow, a box or a short text label. Keep marks few so the screenshot stays readable.
4c
Save, copy or delete from the preview
Done saves the edited file. You can also copy or trash from the preview controls depending on your macOS version. If the thumbnail already vanished, open the PNG and edit in Preview instead.
4d
Scan for private data before you share
Look for email addresses, account numbers, notification previews and passwords typed in visible fields. Crop or mark over them or shoot again with those windows closed. Common mistake: sending a full-screen shot when a tight selection would have hidden the rest of the desktop.
Done when
- Full-screen shortcut tried once
- Window capture tried once
- Selection capture tried once
- Save location confirmed in Finder
- Markup opened from the thumbnail at least once
Eagle Frame’s takeaway: memorize three shortcuts for full screen, window and selection, watch for the corner thumbnail, then confirm the file on the desktop or your chosen folder. Use Control when you only need the clipboard and open markup from the thumbnail when a quick arrow or label will save a long explanation.