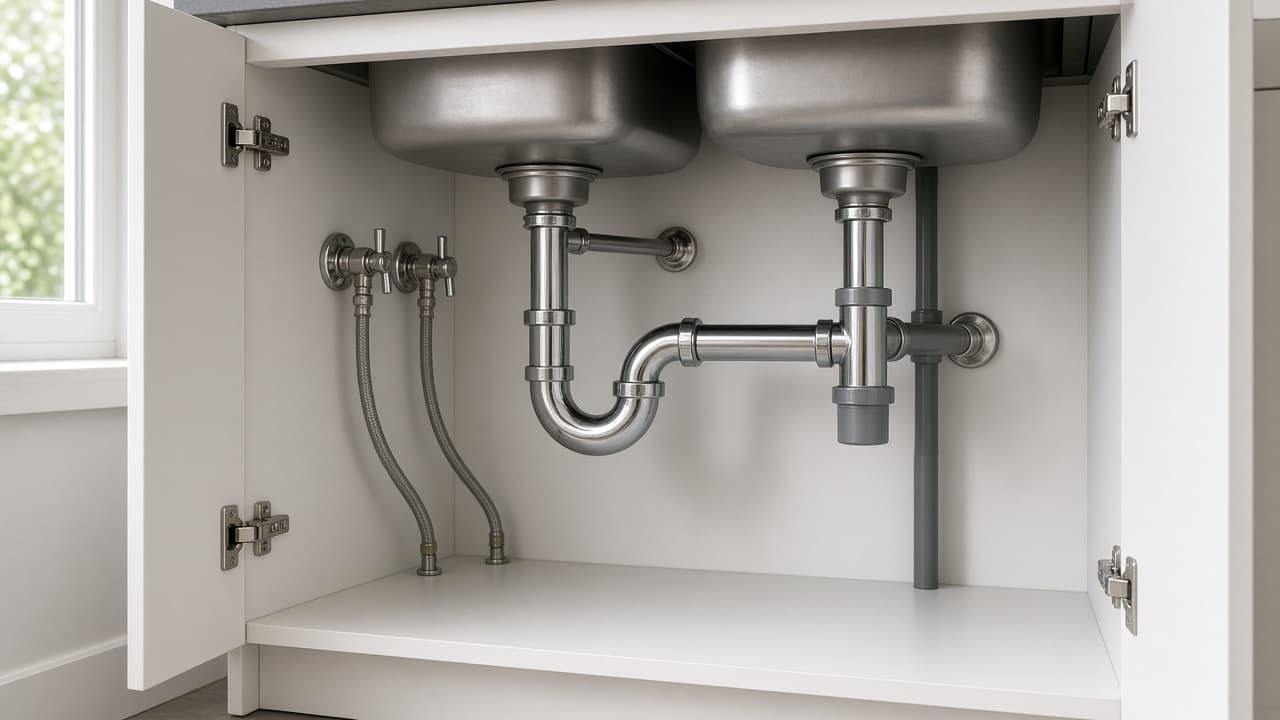
How to unclog a kitchen sink before you call a plumber
Try a cup plunger, then a careful P-trap clean-out and a drain snake if needed. Skip harsh chemical cleaners when you still plan to open the pipes by hand.
A slow or stopped kitchen sink is often a plug of grease, food scraps and soap scum in the drain or the P-trap under the cabinet. Many clogs clear with a cup plunger, a bucket and basic tools. Calling a plumber is still the right move when water is backing up elsewhere, you smell gas, the line is metal you cannot open safely or the clog sits deep in the wall line past what a small snake can reach.
Safety first: wear gloves and eye protection. If you already poured chemical drain cleaner, do not plunge or open the trap until you understand the hazard. Chemicals can splash and burn skin and eyes. Prefer mechanical methods when you can.
Double sinks need the other drain sealed while you plunge so pressure goes toward the clog. Have towels ready. The steps below move from least invasive to more hands-on.
This is practical household guidance for common clogs. It is not a substitute for a licensed plumber when the job exceeds your tools or comfort.
Step-by-step guide
Time: 30 to 90 minutes depending on the clog
What you need
- Cup plunger (not a flange toilet plunger if you can avoid it)
- Wet towels or a sink stopper for the second drain
- Bucket and towels
- Channel-lock pliers or pipe wrench
- Gloves and eye protection
- Hand auger / drain snake
- Optional: baking soda and vinegar, old toothbrush
Before you start
- Do not mix chemical cleaners with each other or with plunging and trap work.
- If water returns in other fixtures, sewage smell is strong or you cannot reassemble pipes, stop and call a professional.
- Support the trap as you loosen nuts so pipes do not twist and crack.
Step 01
Plunge with a cup plunger and seal the other drain
Plunging only works when the pressure has nowhere to escape. Seal the other openings first, then plunge with steady strokes.
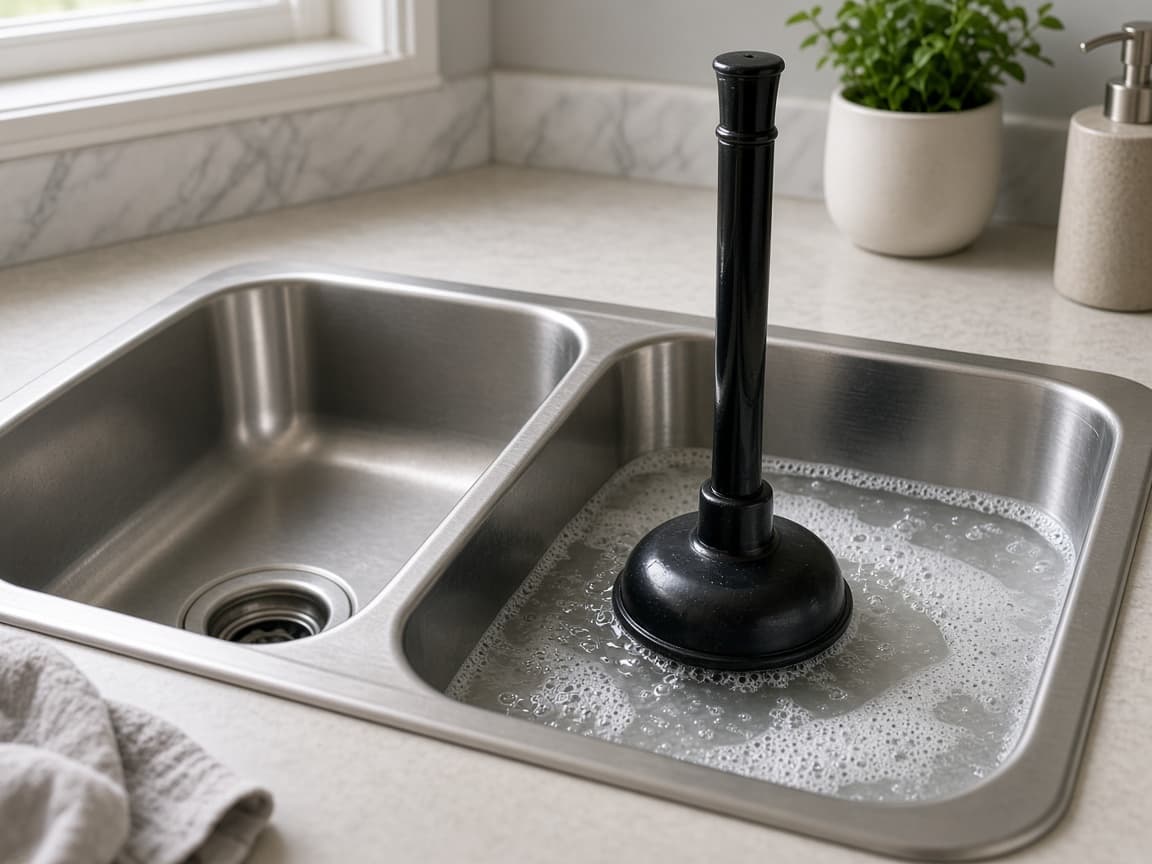
Seal the second drain so plunging pressure hits the clog instead of the empty basin. Do this step in order
1a
Clear the strainer and seal the other drain
Remove the sink strainer basket if it pulls out. On a double sink, block the other drain tightly with a stopper or wet rag. If air hisses from a dishwasher hose opening under the sink, plug that with a wet rag too.
1b
Cover the plunger cup with enough water
Fill the basin until water covers the plunger cup. Seat the cup over the drain and push down gently to make a seal. Dry air plunging does little. Water transfers the force.
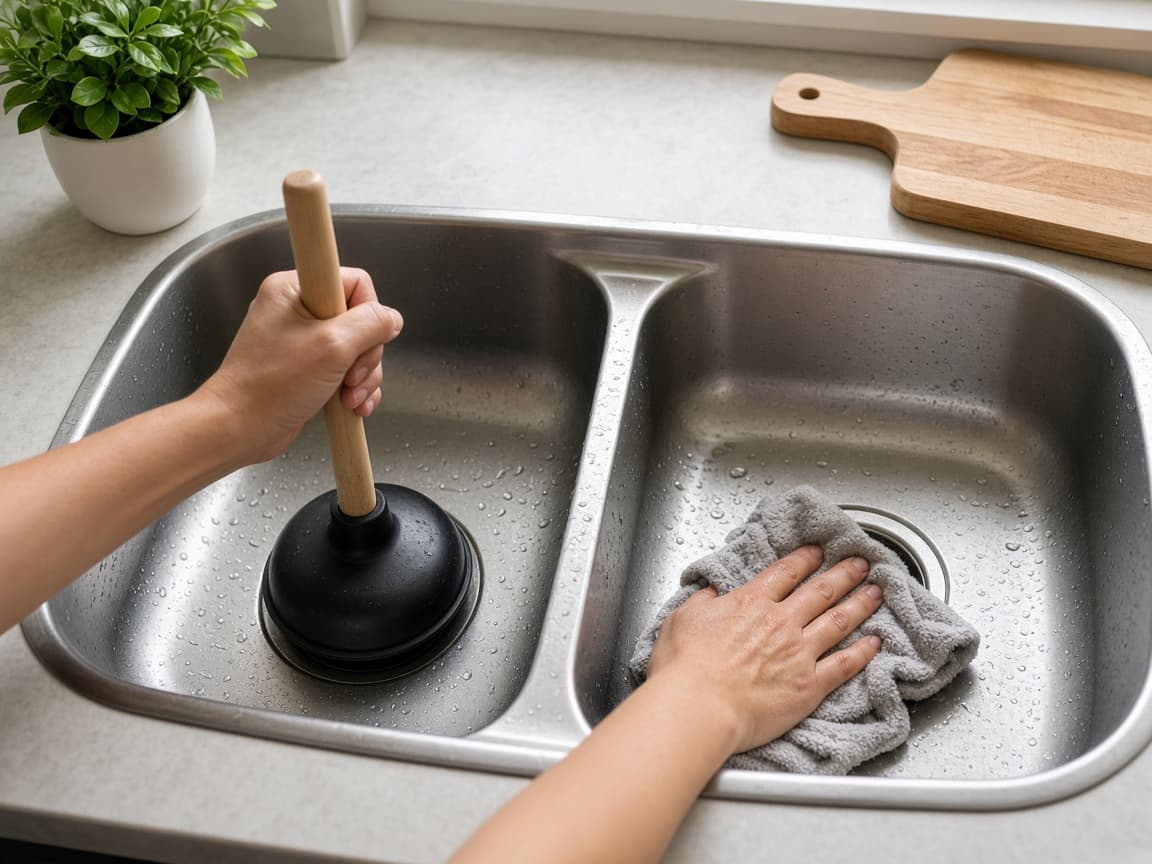
Water over the cup is what makes each stroke count. 1c
Plunge with firm vertical strokes, then check
Use firm vertical strokes for 20 to 30 seconds. Lift sharply and watch the flow. Repeat a few rounds. Then run hot tap water to test. Common mistake: frantic shallow plunging that breaks the seal every stroke.
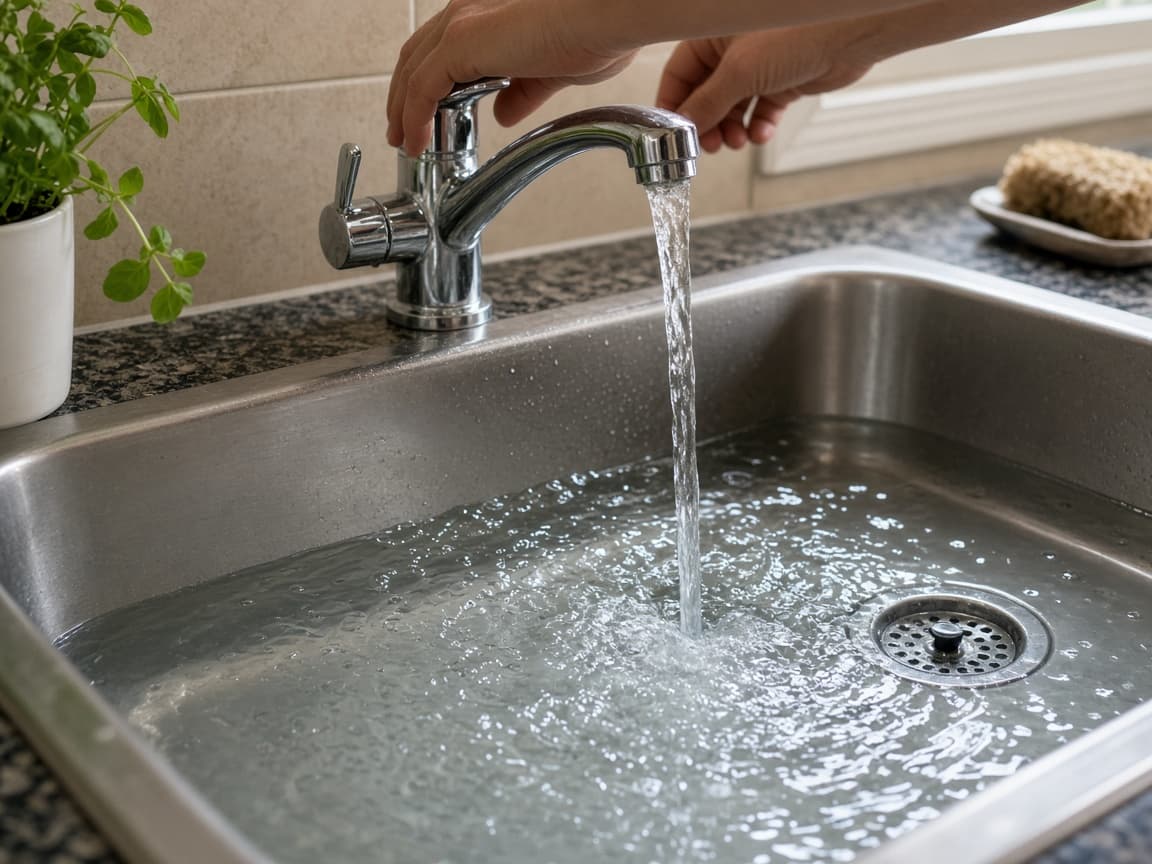
A seal plus vertical strokes beats noisy shallow taps. 1d
Watch for dishwasher and second-basin blowback
If water jumps in the other basin or dishwasher line, reseal and try again. Do not switch to chemical cleaner if you still plan to open the trap. Keep towels ready for splashback.
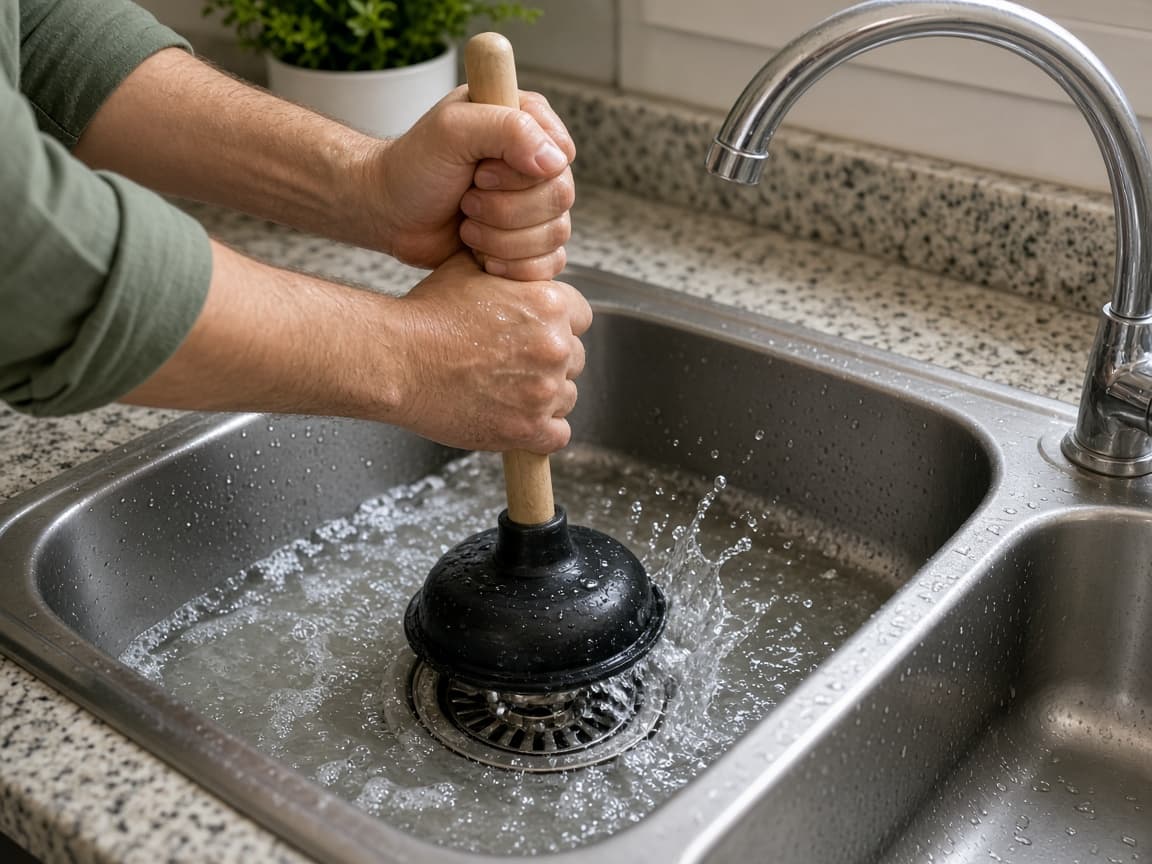
Splash and blowback mean a seal failed somewhere.
Step 02
Optional: baking soda and vinegar, then hot water
A mild fizz can help light grease and odor. It will not replace mechanical clearing for a solid plug.
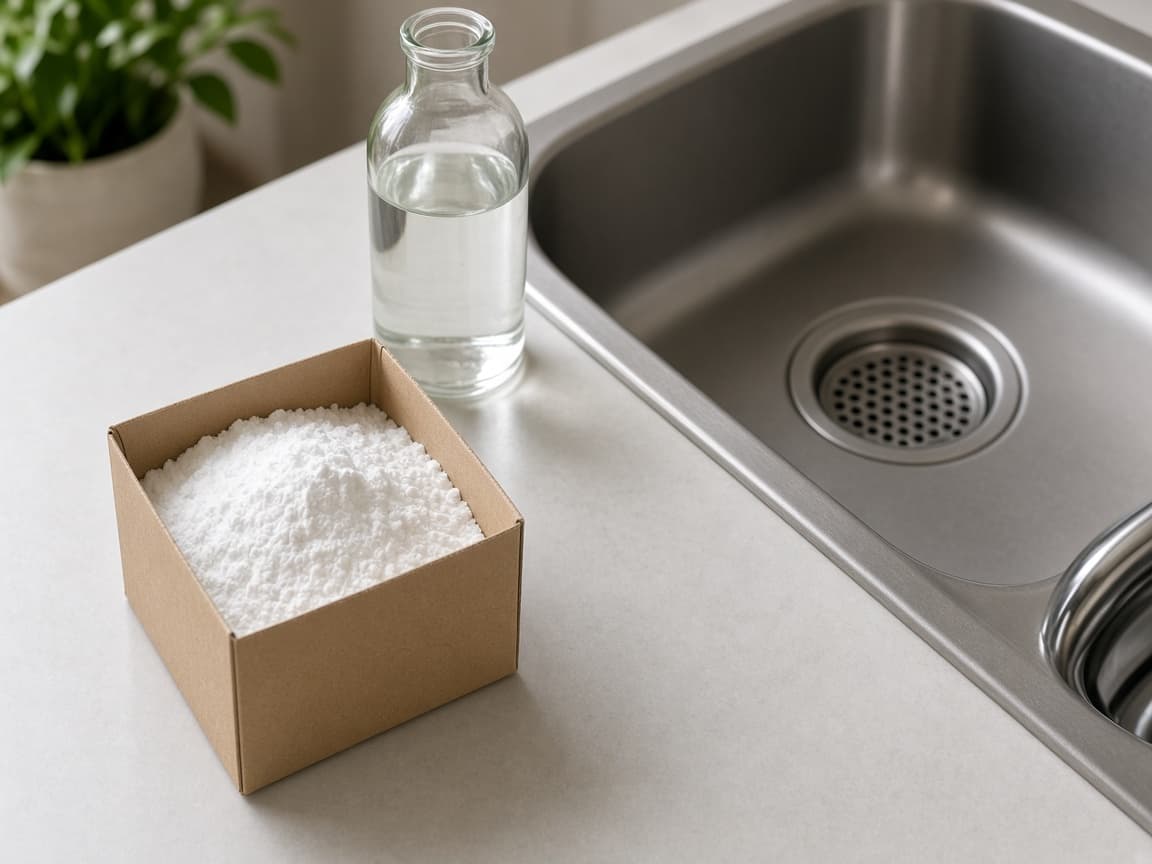
A mild fizz can help light buildup. Stubborn clogs still need mechanical clearing. Do this step in order
2a
Use this only for slow drains, not full stoppages
If water still stands in a hard plug, skip ahead to the trap. For a slow drain, pour about half a cup of baking soda, then about a cup of vinegar. Let it fizz 10 to 15 minutes.
2b
Follow with hot tap water and reassess flow
Flush with hot tap water after the fizz. Watch whether the basin empties faster. Foam alone does not mean the pipe is clear.
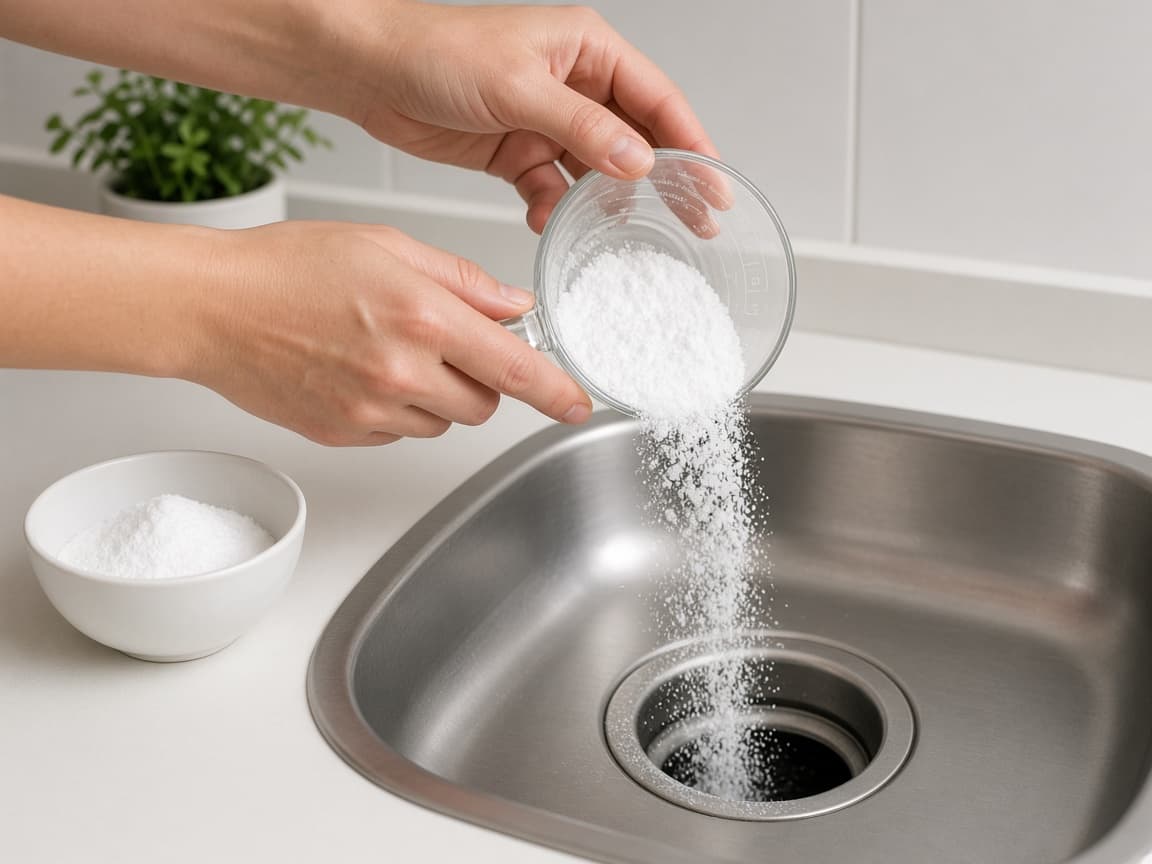
Flow speed is the test, not the amount of foam. 2c
Skip this if chemicals were already used or you will open the trap
Do not mix with commercial drain cleaners. If you are about to remove the P-trap and already have standing filthy water, go straight to the bucket method instead.
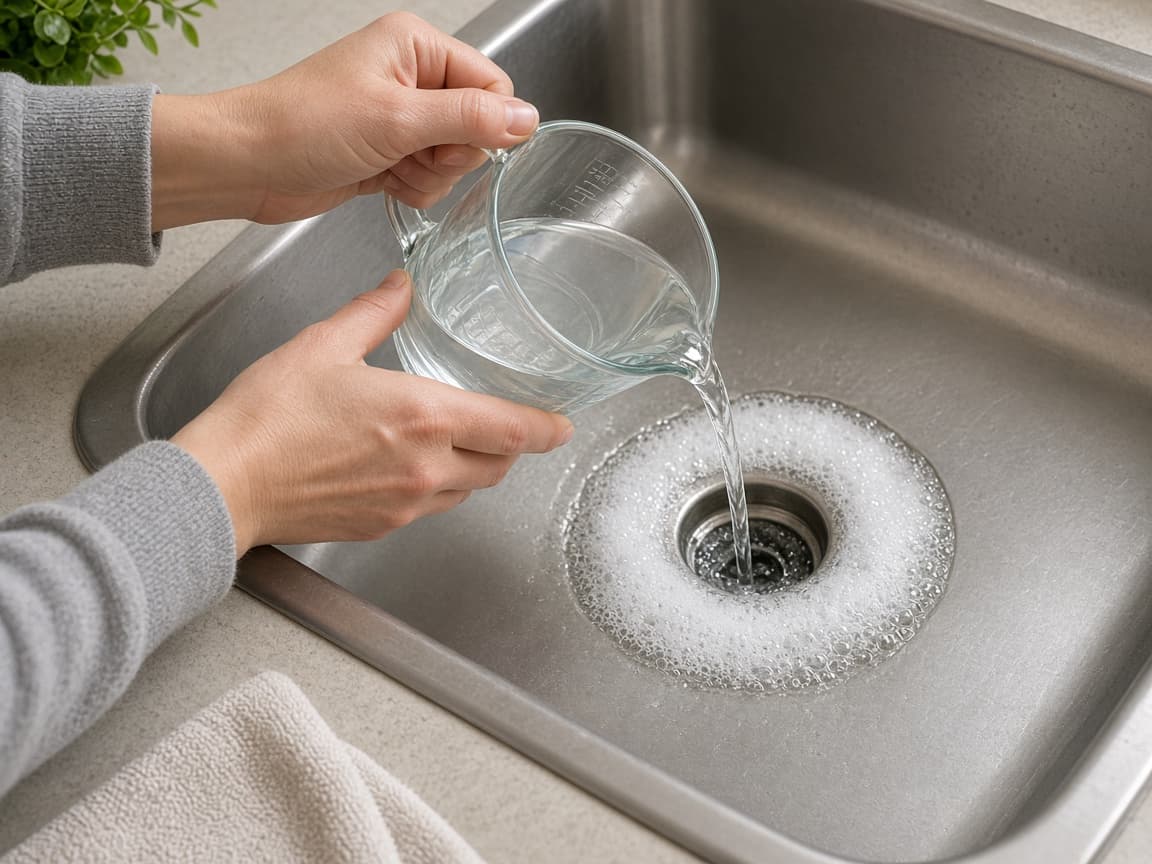
Keep kitchen chemistry away from open-trap work.
Step 03
Put a bucket under the P-trap and remove it
Most kitchen clogs live in the trap. Catch the water, clean the curve and check the pipe toward the wall.
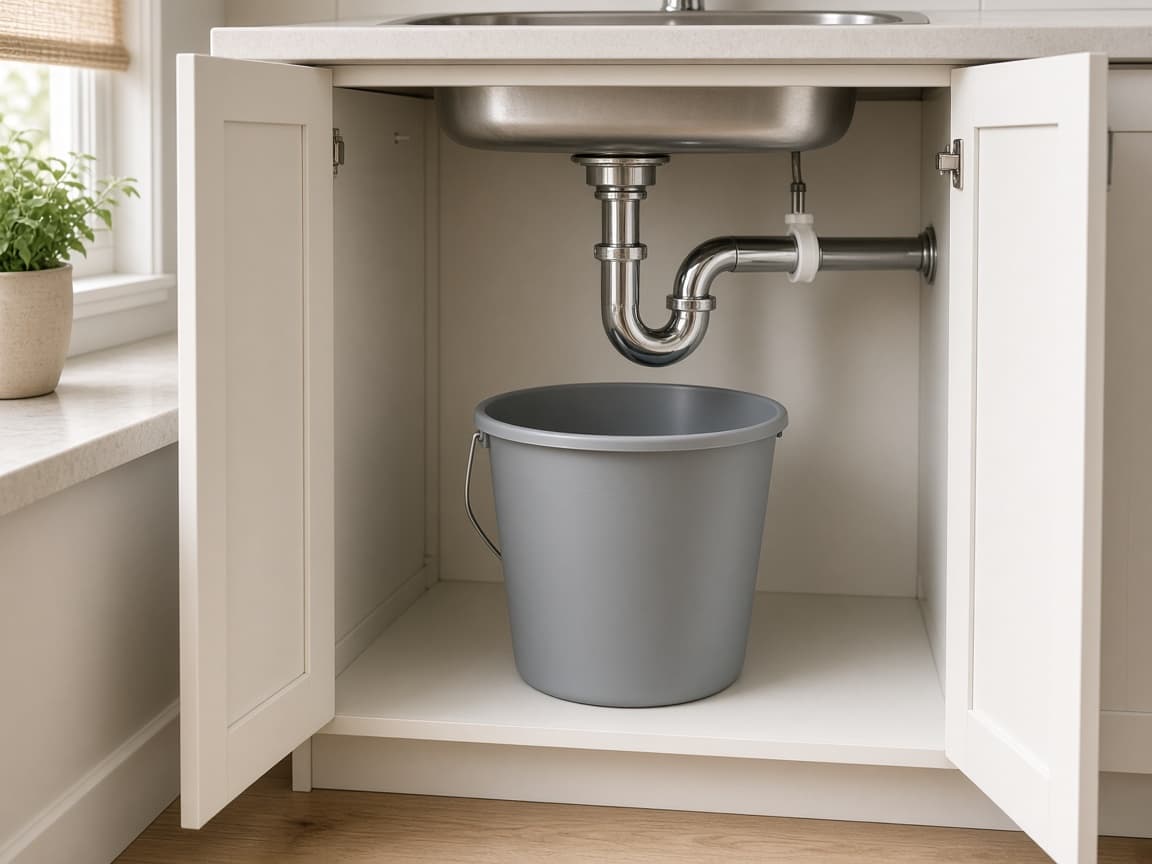
Most kitchen clogs live in the trap. Catch the water and clean the curve thoroughly. Do this step in order
3a
Clear the cabinet and place the bucket
Empty the cabinet under the sink. Set a bucket under the curved P-trap and lay towels around it. Put on gloves and eye protection before any nut turns.
3b
Loosen slip nuts and lower the trap carefully
Loosen the slip nuts by hand or with pliers while supporting the trap. Lower it into the bucket and empty it. Do not let pipes twist hard against the wall connection.
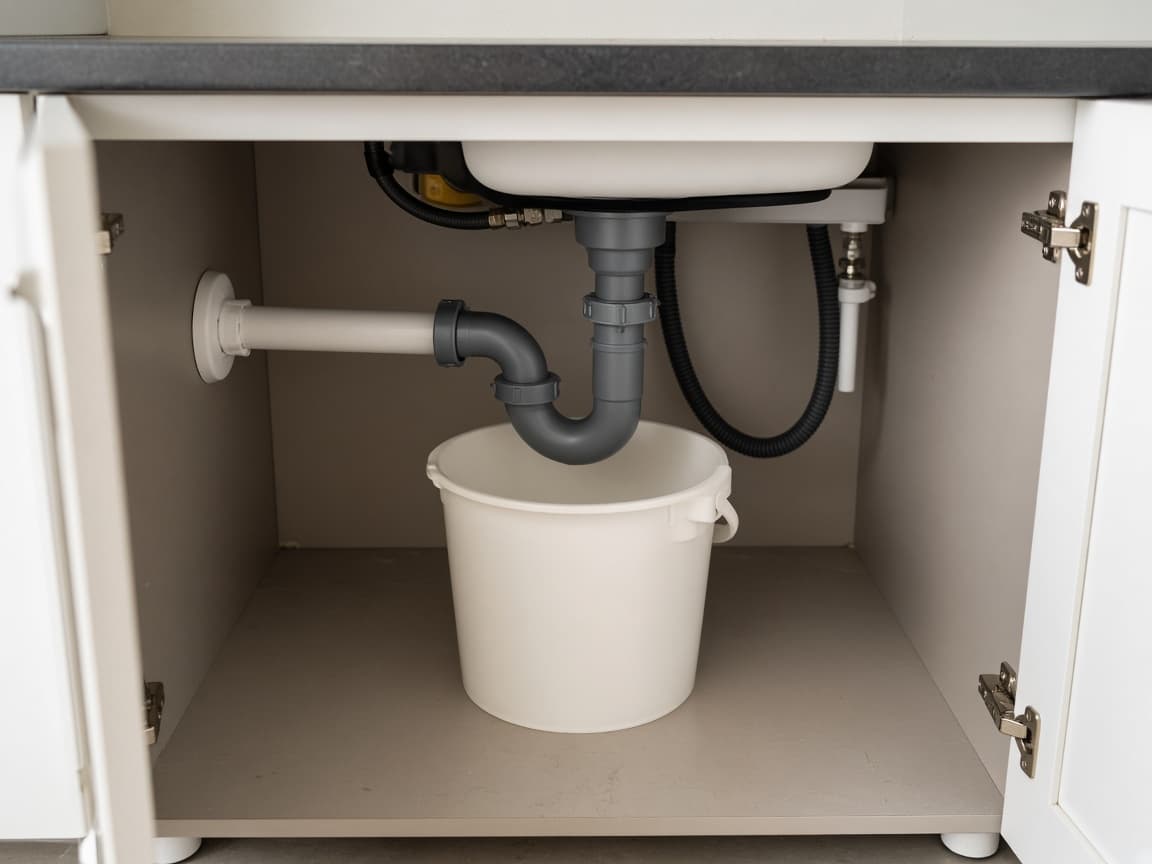
Support the trap so the wall pipe does not take the torque. 3c
Clean debris and check the wall stub
Remove packed food and grease with gloves. Brush the trap clean. Look into the pipe toward the wall and pull out visible blockage without gouging plastic with a sharp screwdriver.
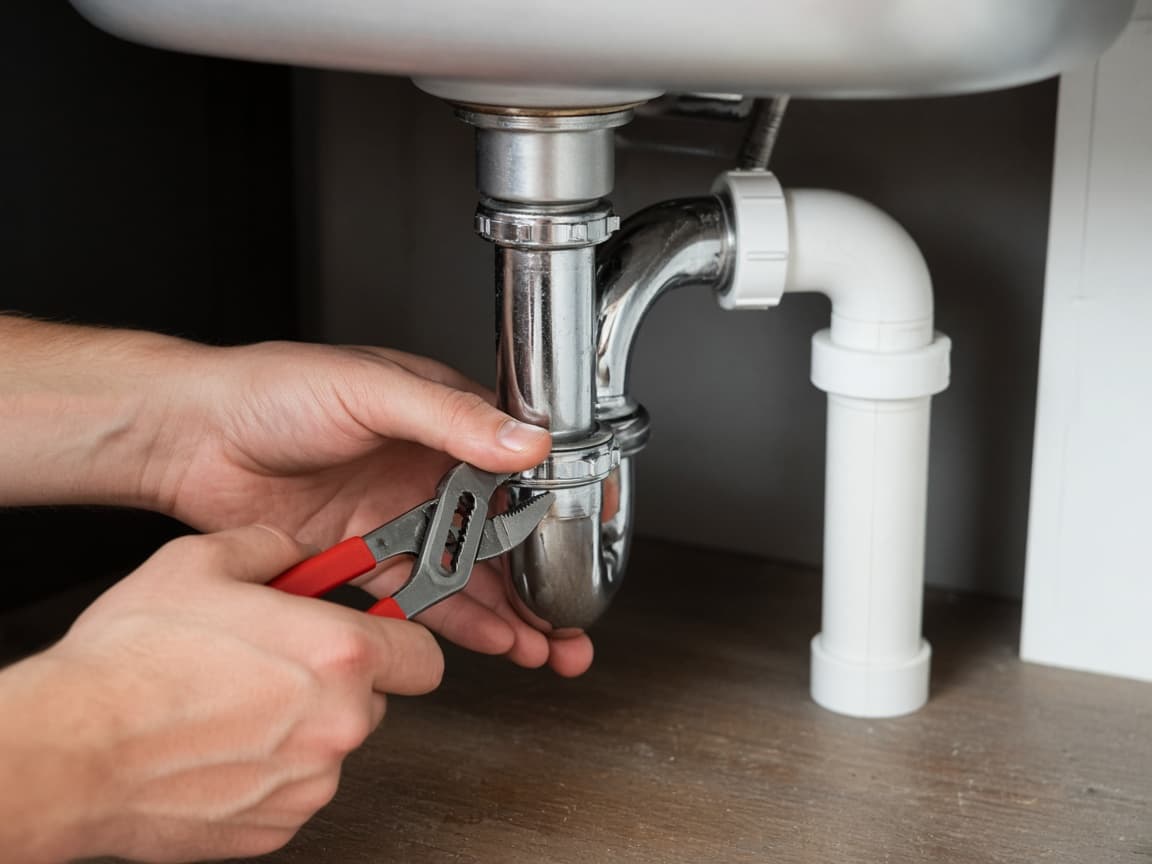
Clean the curve and glance toward the wall before reassembling. 3d
Reassemble without crushing plastic nuts
Seat washers the way they came off. Hand-tighten, then add a small snug with pliers if needed. Common mistake: forgetting the bucket and flooding the cabinet or overtightening plastic nuts until they crack.
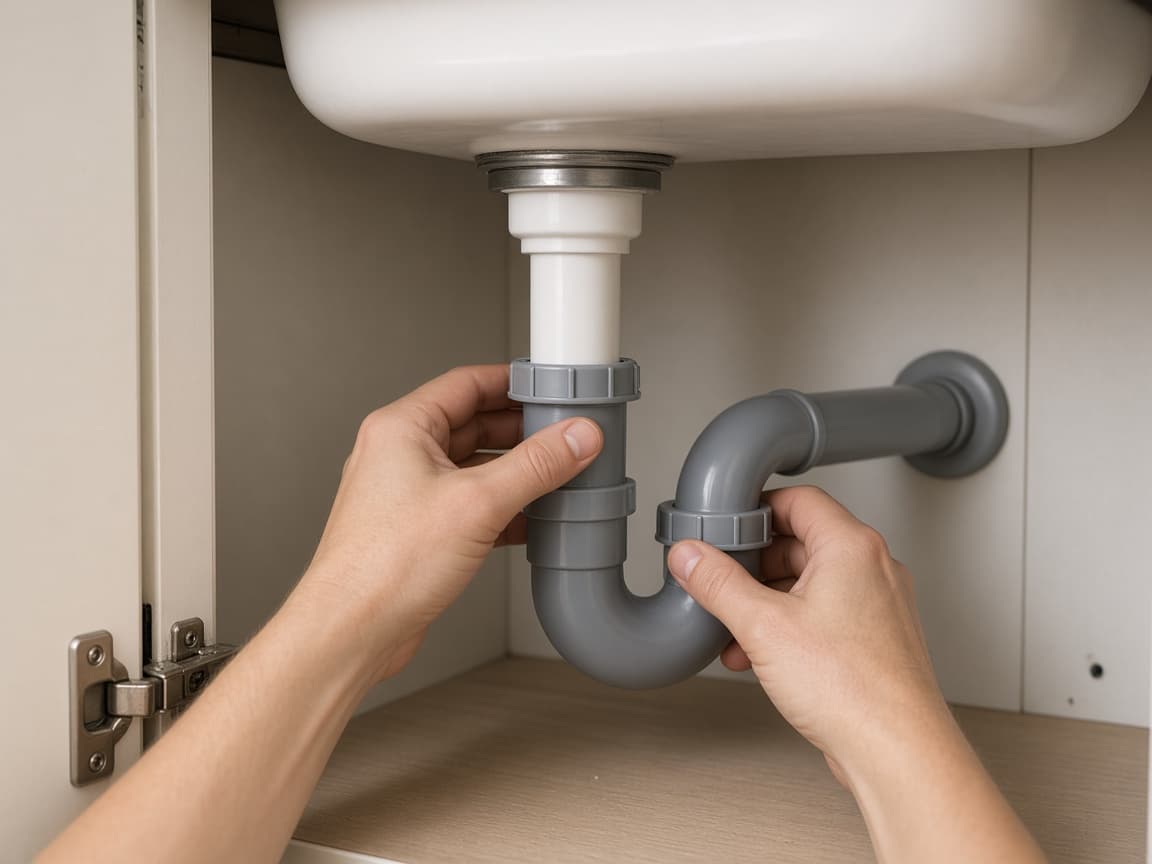
Snug is enough. Crushed nuts become the next leak.
Step 04
Snake into the wall pipe if the trap was clear
If the trap was empty but the sink still will not drain, feed a hand auger into the line and pull debris out on purpose.
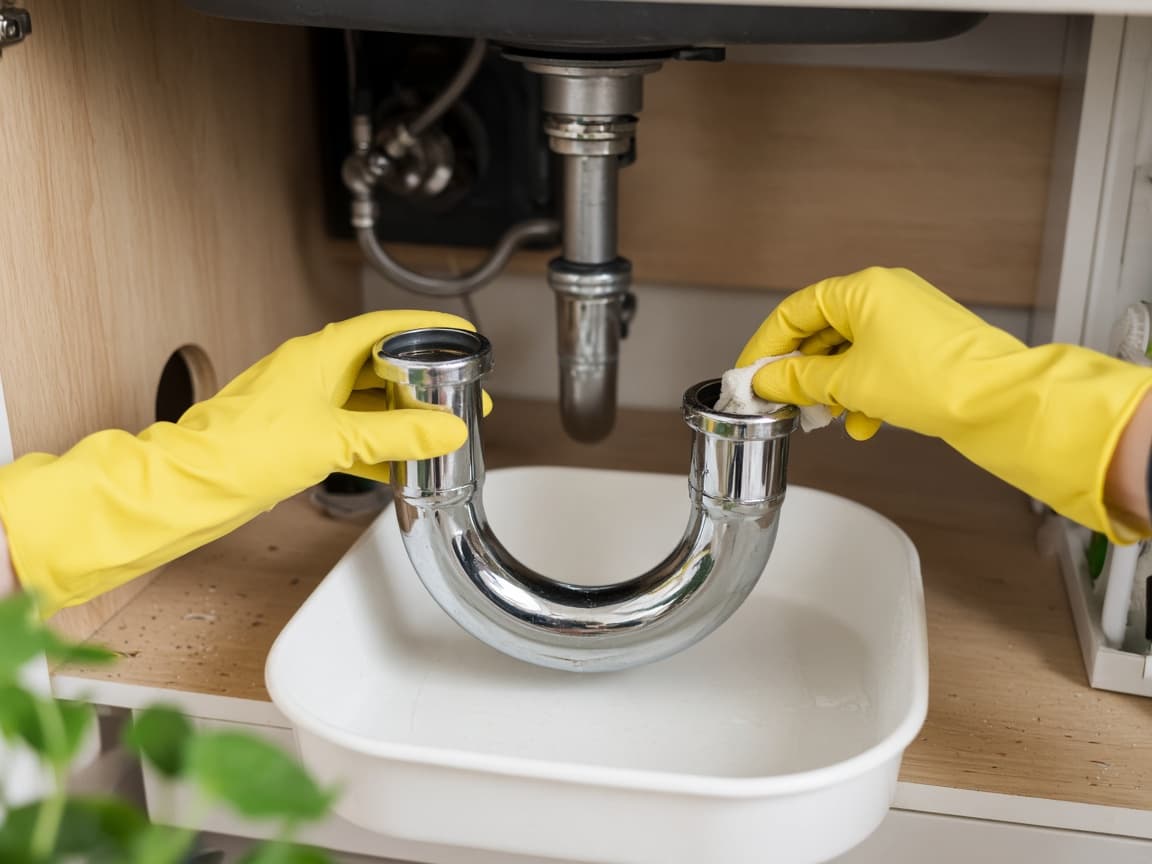
If the trap is clean, snake the line in the wall and wipe debris off the cable as you go. Do this step in order
4a
Feed the auger into the horizontal wall pipe
With the trap off, push the cable into the pipe in the wall. Go steadily. When you feel resistance, crank gently so the tip can hook or break the clog instead of punching soft pipe.
4b
Pull the cable out and wipe debris each pass
Retract the cable and wipe gunk into the bucket. Repeat until the cable meets less resistance. Leaving debris on the cable only pushes the mess back in.
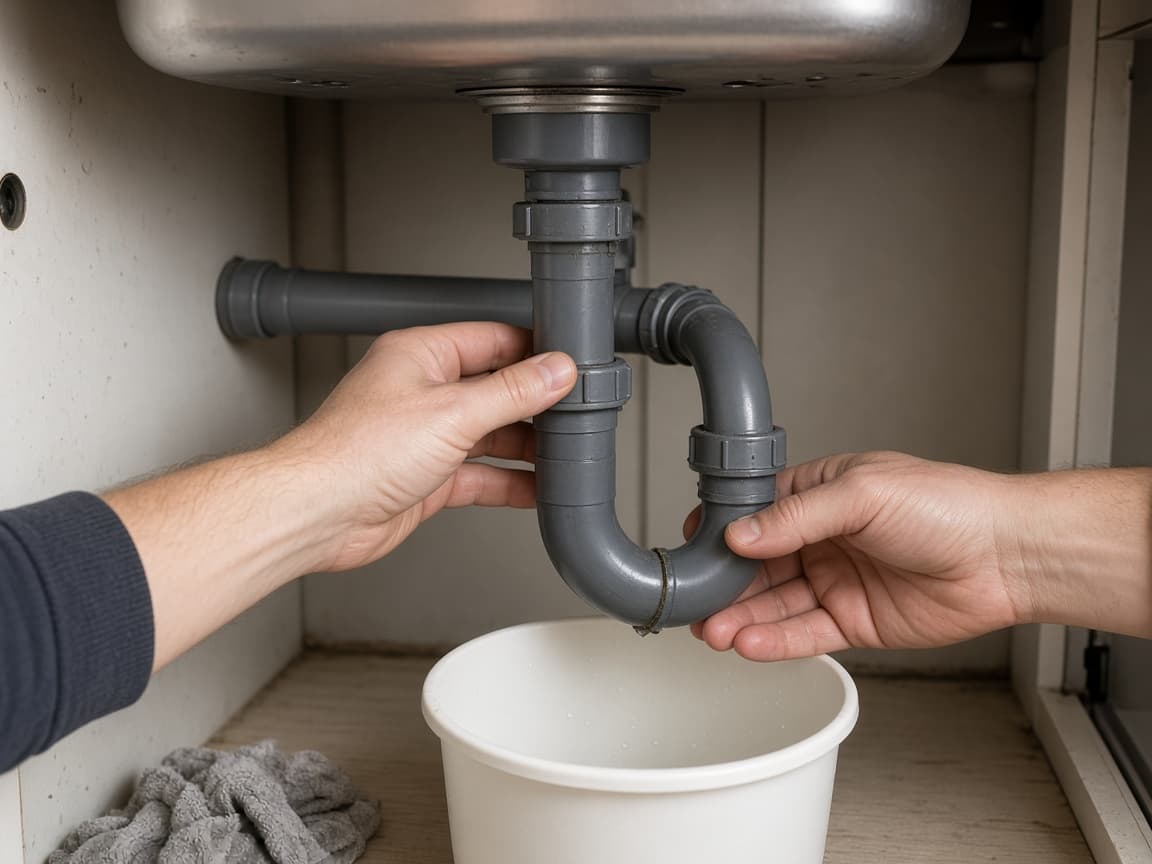
Debris belongs in the bucket, not back in the line. 4c
Reattach the trap and water-test every joint
Align washers, reattach the trap and run water. Watch every joint for drips and tighten slightly if needed. Common mistake: forcing the snake so hard you scratch through pipe or cranking without pulling debris out.
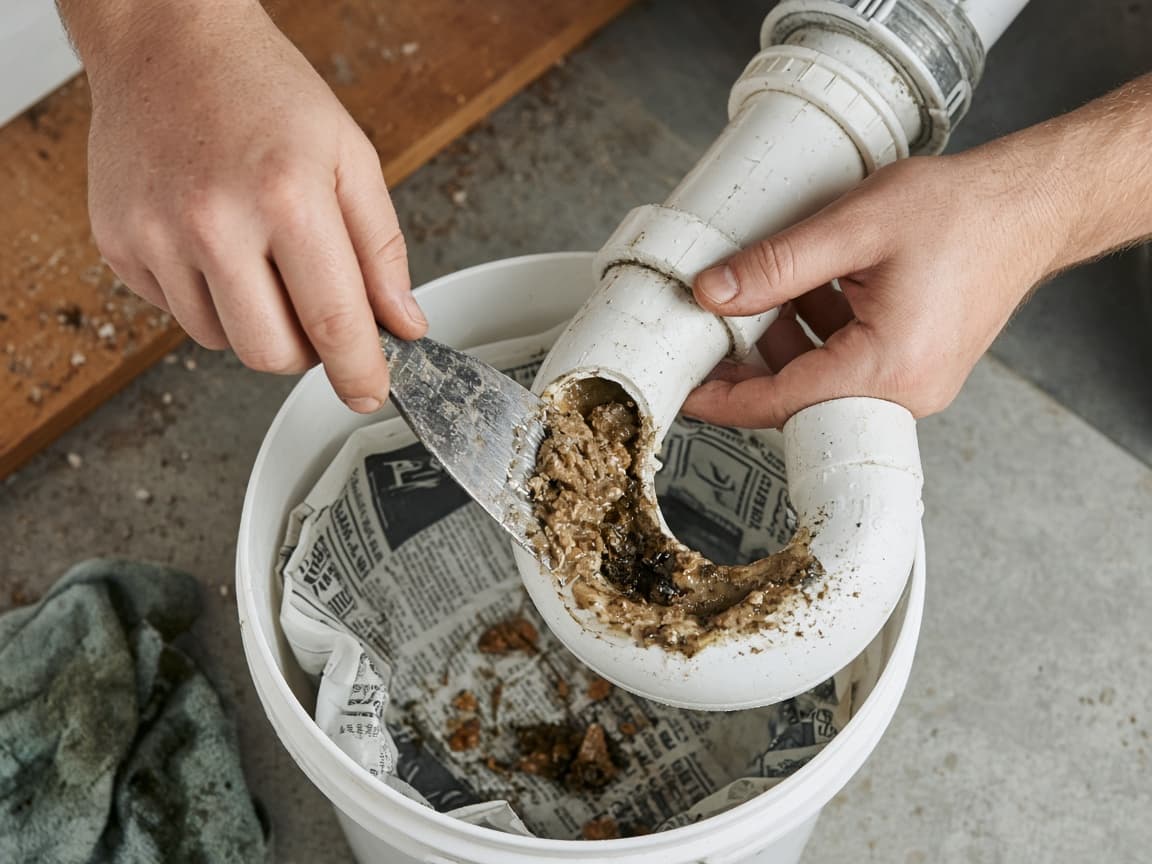
A dry cabinet after a two-minute water test means you can stop.
Step 05
Skip chemical "solutions" when you still need to open pipes
Mechanical clearing is safer when you still plan to open the trap yourself.
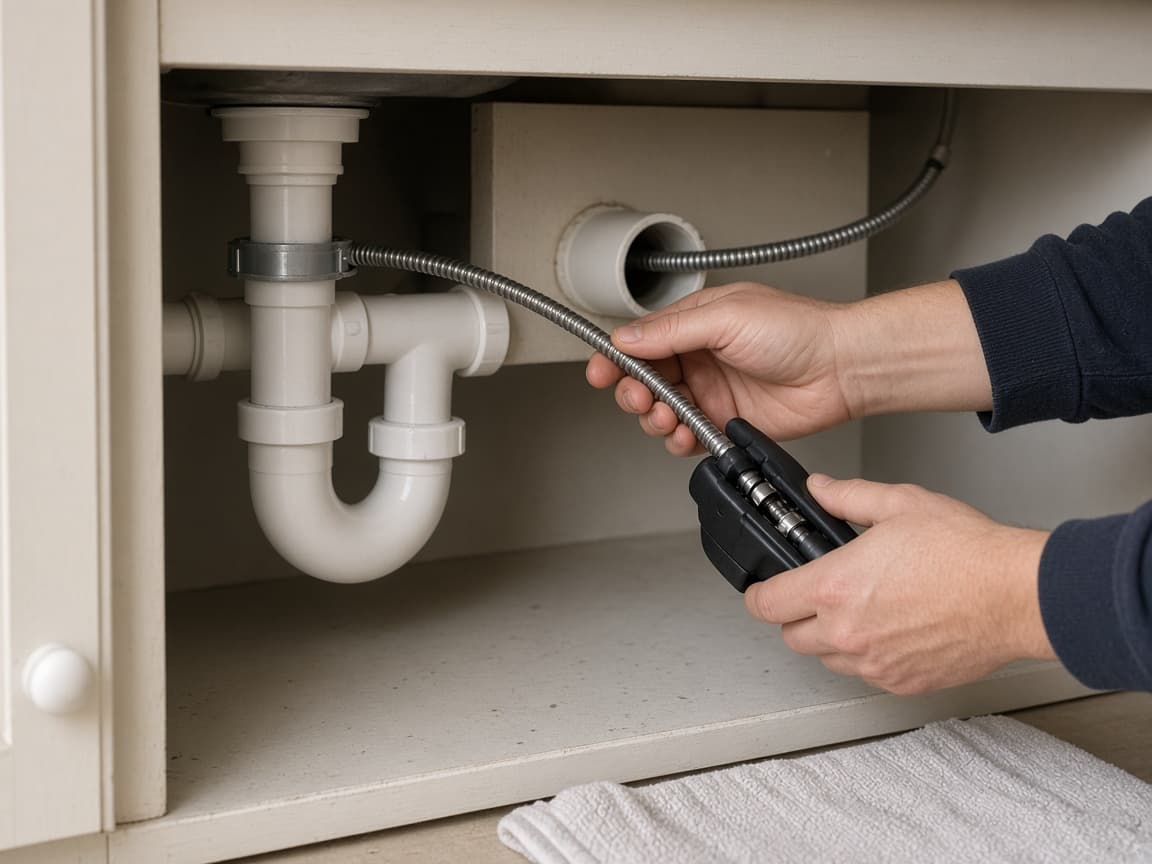
Mechanical clearing is safer when you still plan to open the trap yourself. Do this step in order
5a
Keep chemicals out of a job you will open by hand
Liquid and gel cleaners can burn skin and create a hazardous soup if you later plunge or remove the trap. If mechanical methods are your plan, stay mechanical from the start.
5b
If chemicals already failed, read the label before opening anything
When a chemical product failed and the clog remains, read the hazard directions. Consider calling a plumber rather than opening a trap full of caustic liquid.
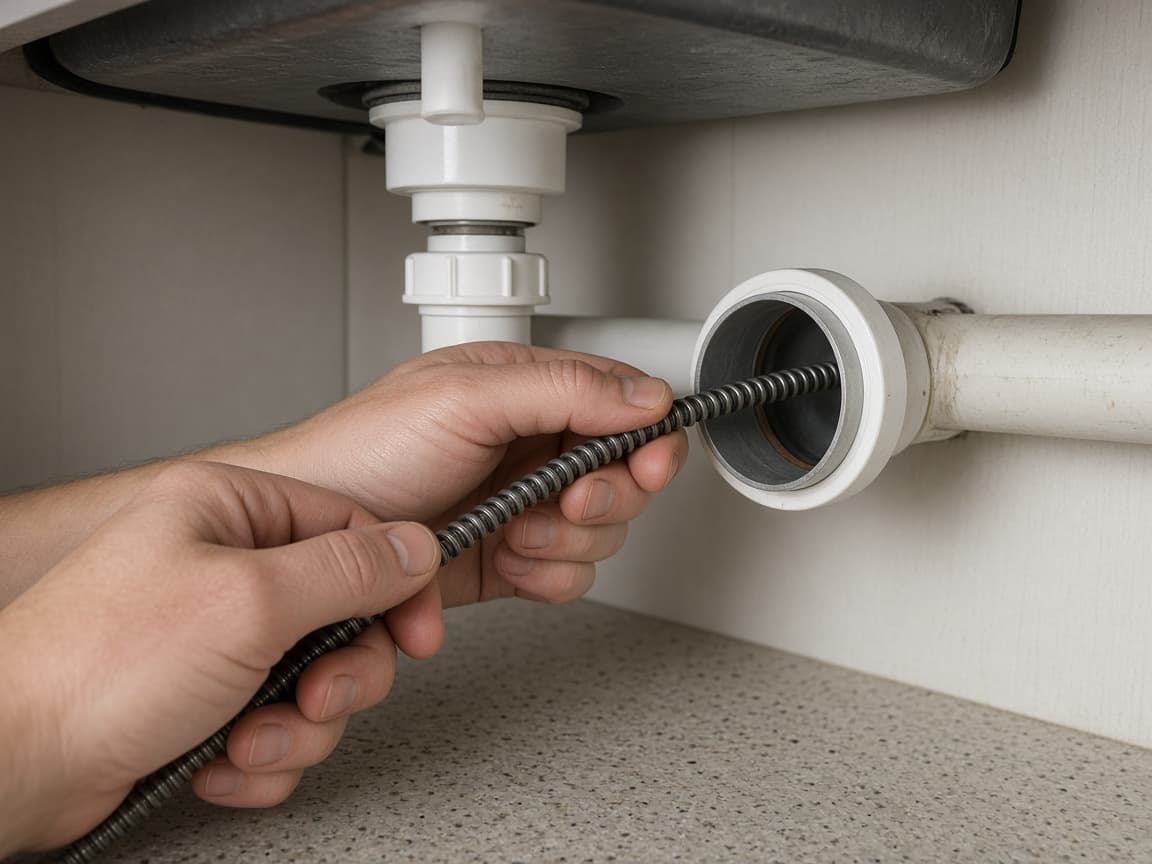
A failed chemical clog is often a pro job, not a DIY trap pull. 5c
Do not pour a second brand when the first failed
Common mistake: stacking cleaner brands under the sink and mixing hazards. Enzyme maintenance products may help over time but will not clear a full stoppage today.
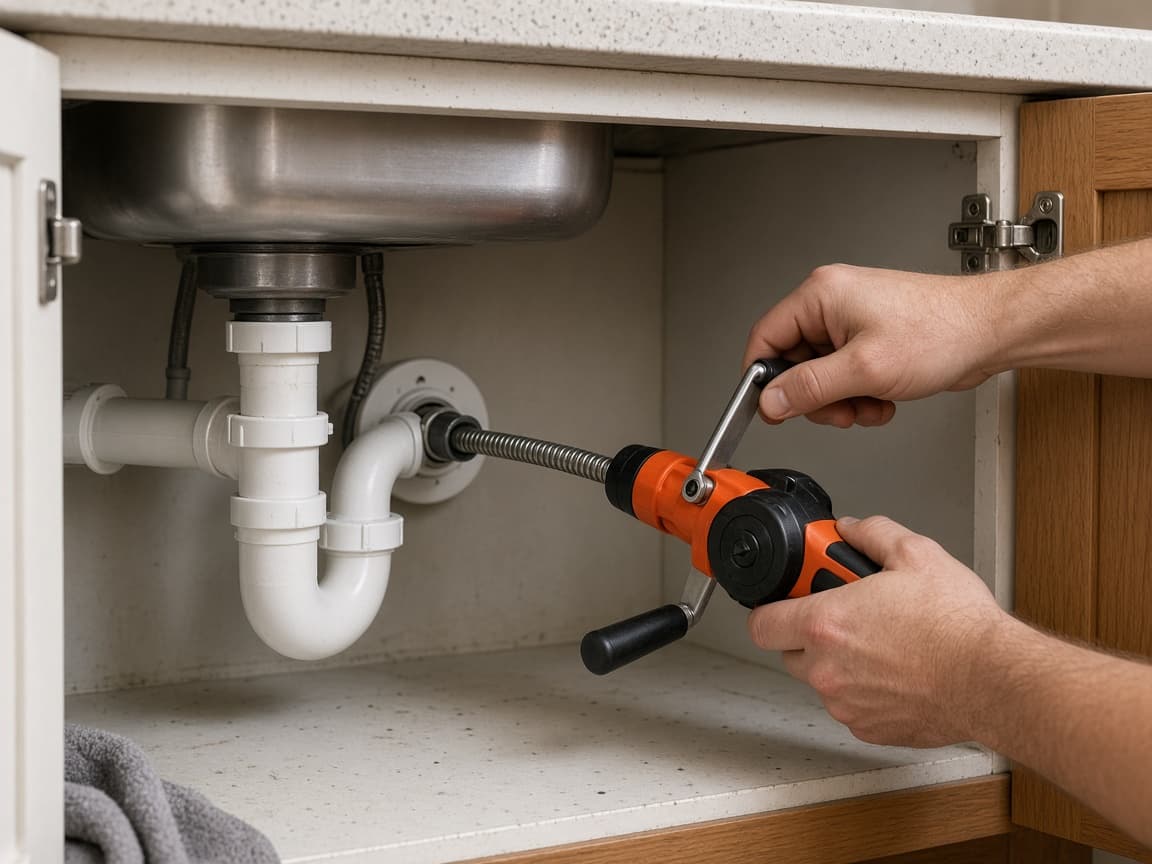
A second chemical is not a troubleshooting step.
Step 06
Know when to stop and call a plumber
Deep clogs, shared drain backups and damaged pipes are jobs for a pro.
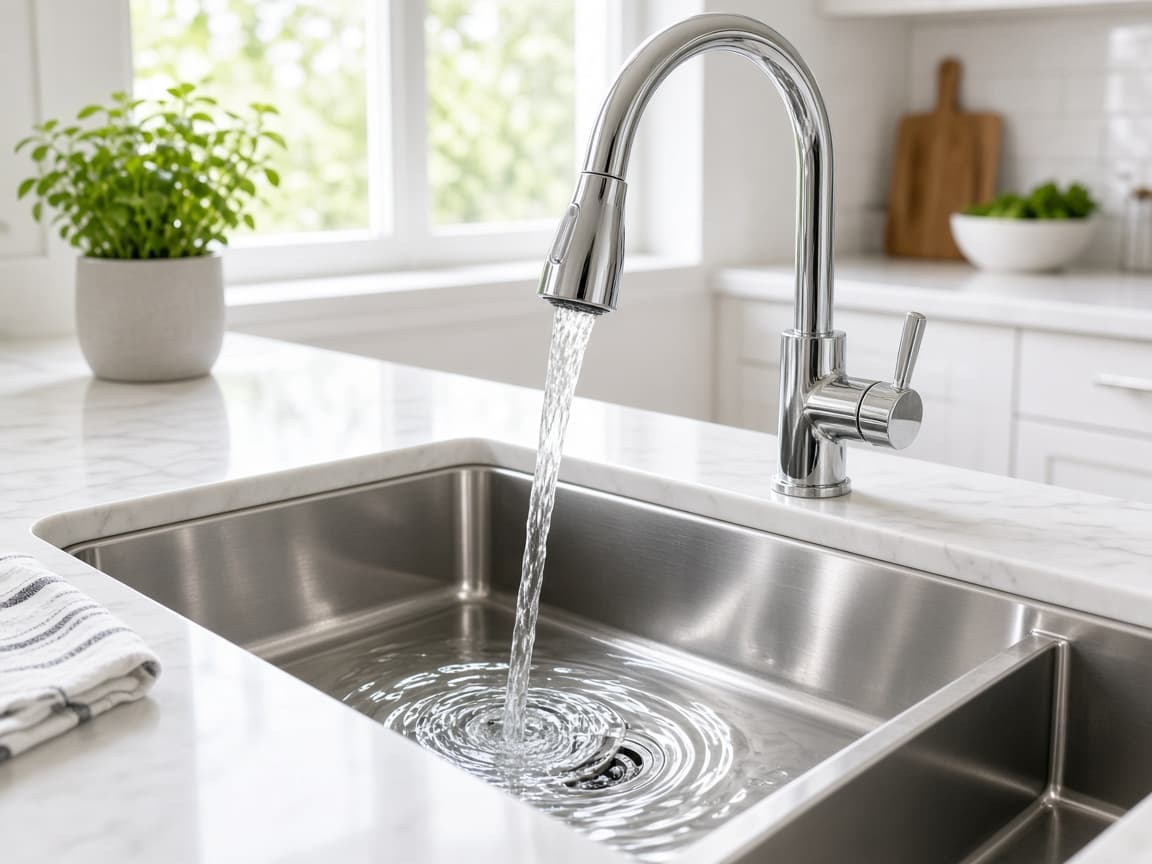
Deep clogs, shared drain backups and damaged pipes are jobs for a pro. Do this step in order
6a
Call when symptoms spread beyond one sink
Call if multiple drains are slow, water rises elsewhere when you fill the sink, sewage odor suggests a main-line problem or the snake travels far without clearing the clog.
6b
Stop if pipes are damaged or beyond your tools
Stop for broken pipe, metal fittings you cannot reassemble or any point where you are not comfortable. Describe what you already tried so the plumber does not repeat dead ends.
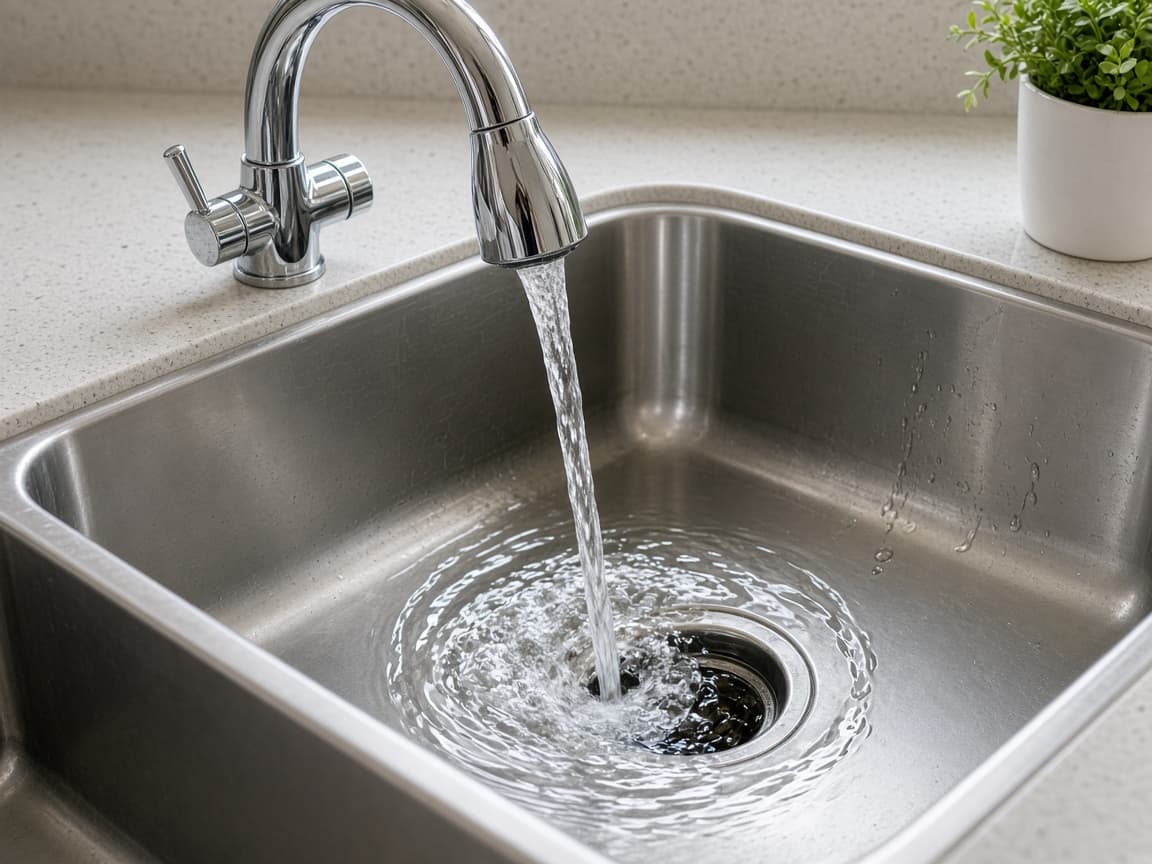
Stopping early beats a flooded floor and a bigger bill. 6c
Do not dismantle "just one more section"
Common mistake: opening another joint for curiosity after the cabinet is already wet. Keep the cabinet accessible, know where the shutoff is and hand the job over while the mess is still small.
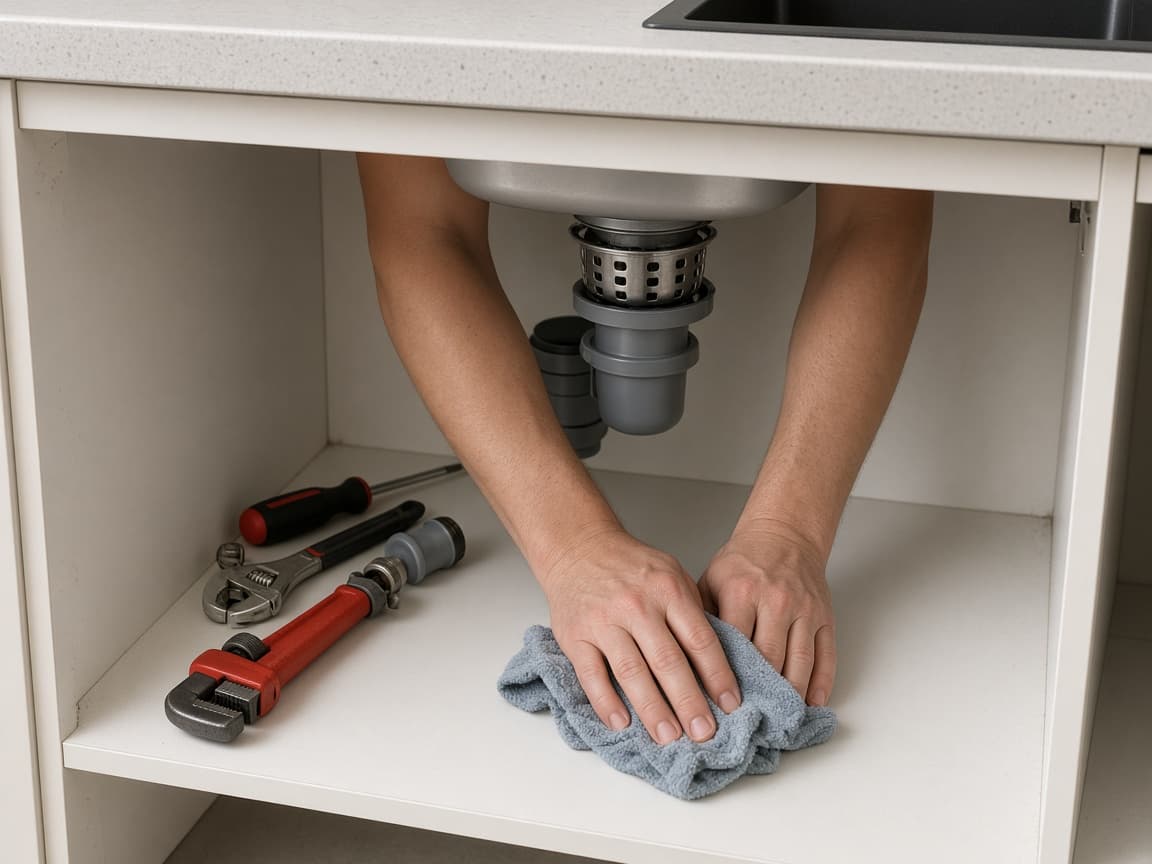
A clean handoff saves time and water damage.
Done when
- Other drain sealed for plunging
- Cabinet cleared and bucket under the trap
- Trap cleaned or snake used as needed
- Hot water test after reassembly
- Decision made: fixed or call a plumber
Eagle Frame’s takeaway: most kitchen clogs yield to a sealed plunge, a bucket under the P-trap and a careful snake. Skip chemical cleaners when you still plan to open the pipes and call a plumber when backups spread or the job outgrows your tools. Stop while the cabinet is still dry enough to quit.