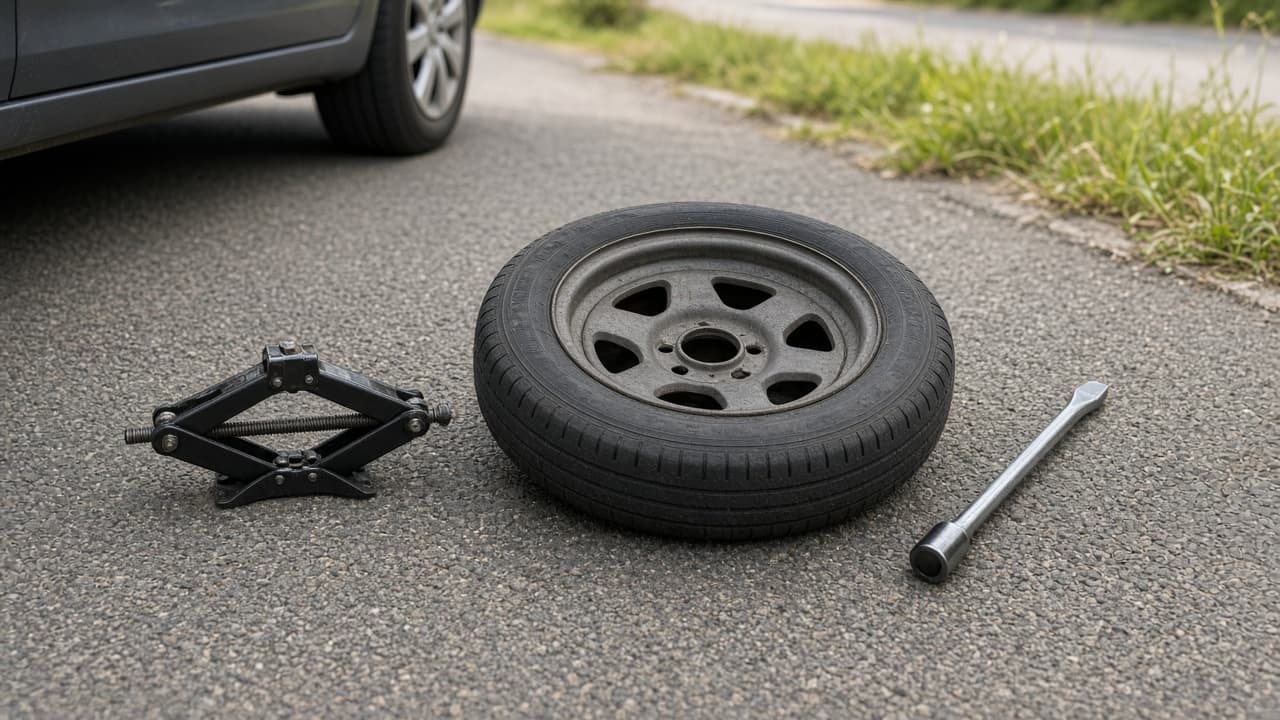
How to change a flat tire safely
Park clear of traffic, loosen the nuts on the ground, jack at the right point and tighten in a star pattern. Know when the roadside is too dangerous and you should call for help instead.
A flat tire is a common travel problem with a simple mechanical fix and serious safety stakes. The work is straightforward: secure the car, loosen the lug nuts while the wheel is on the ground, lift at a proper jack point, swap the wheel and tighten in a star pattern. The judgment call is whether you should do that work where you are.
If you are on a narrow shoulder of a busy highway, in a blind curve, at night with poor visibility or you do not have the right equipment, staying in the car and calling roadside assistance can be the safer choice. No spare is worth standing in live traffic.
Practice in your driveway once before you need the skill on a trip. Confirm you have a usable spare, jack and lug wrench. Many "temporary" spares have speed and distance limits printed on the sidewall. Plan to get the regular tire repaired or replaced soon after.
Follow the steps below for a standard passenger car. Large trucks, vehicles with locking lug nuts, run-flat-only setups or unusual jacking systems may need the owner’s manual method or a pro.
Step-by-step guide
Time: 20 to 45 minutes in good conditions
What you need
- Spare tire (check pressure)
- Jack that matches your vehicle
- Lug wrench (and locking-lug key if equipped)
- Wheel chocks, bricks or heavy stones
- Gloves, reflective vest and flashlight
- Owner’s manual for jack points
Before you start
- Do not change a tire on the traffic side of a busy highway if you can avoid it. Call for help.
- Never lie under a car supported only by a jack.
- Do not fully remove lug nuts before the car is jacked if the wheel can fall; loosen on the ground first, remove after the tire clears.
Step 01
Decide if the location is safe enough to DIY
If cars are flying past your working space, prioritise getting help over saving a towing fee.
If cars are flying past your working space, prioritise getting help over saving a towing fee. Do this step in order
1a
Turn on hazards and leave the travel lane
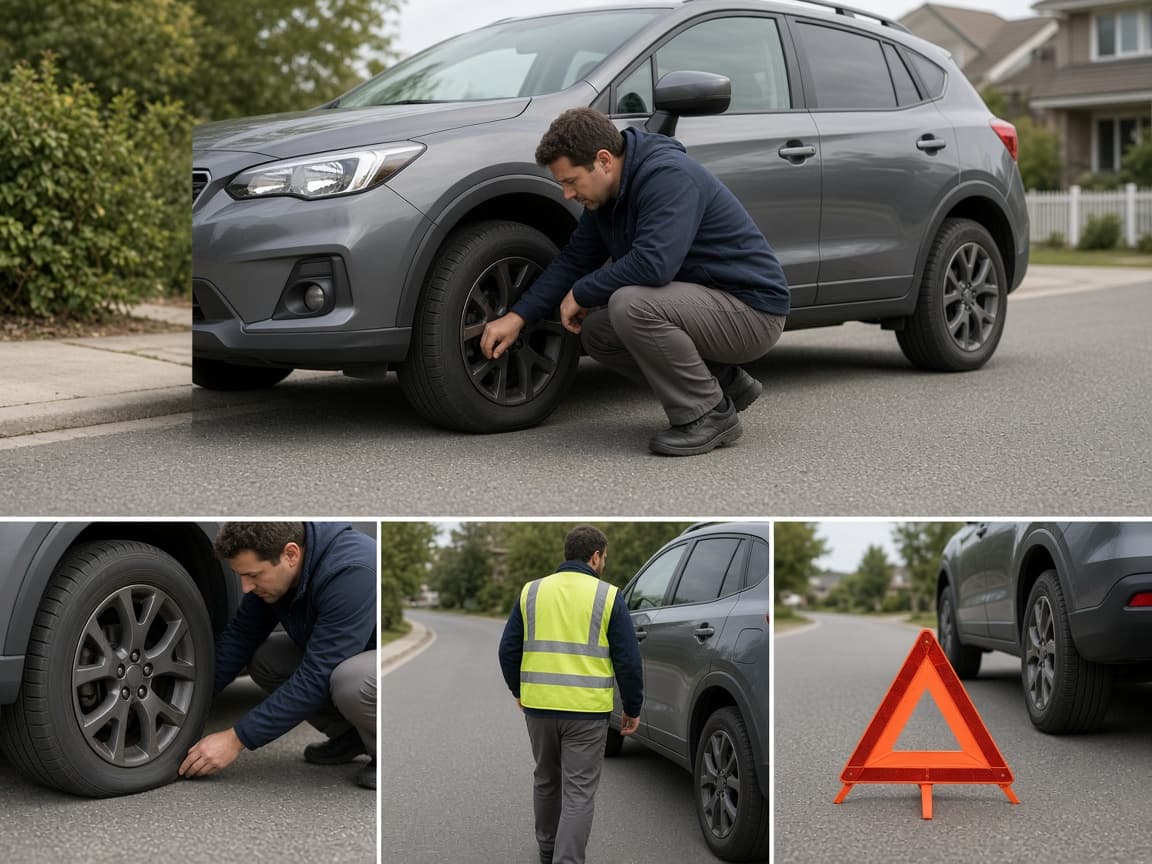
Slow down carefully, switch on hazard lights and pull as far from live traffic as you can onto firm, level ground. A parking lot or side street beats a high-speed lane edge.
1b
Judge whether DIY or a call is safer
Call roadside help if traffic passes close to the working side, the ground is soft or sloped, visibility is poor or you cannot exit away from traffic. Stay secured with seat belt and hazards while you wait when that is safer.

Unsafe shoulder means wait for help, not a quick hero swap. 1c
Keep people and pets away from the roadway
Put on a reflective vest if you have one. Move passengers behind a barrier or well off the shoulder. Never leave children near the lane "to watch."
People belong out of the lane before tools come out. 1d
Reject the "only a minute" stop in a live lane
Common mistake: stopping in a travel lane or blind curve because the swap feels quick. If you cannot create a safe work space, the correct step is a call for help, not a faster wrench.
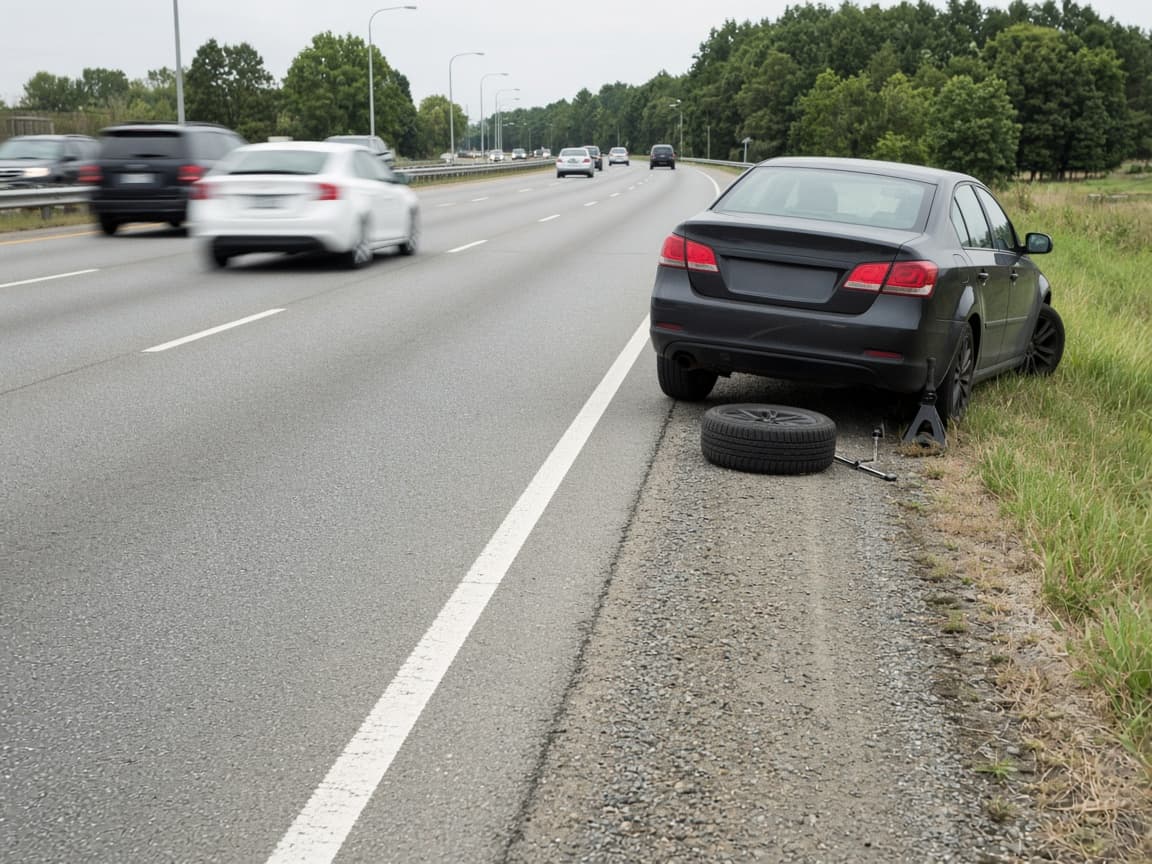
A live lane is never a workshop.
Step 02
Secure the car: park brake, gear and chocks
Park brake, correct gear and a chock keep the car from rolling when it leaves the ground.
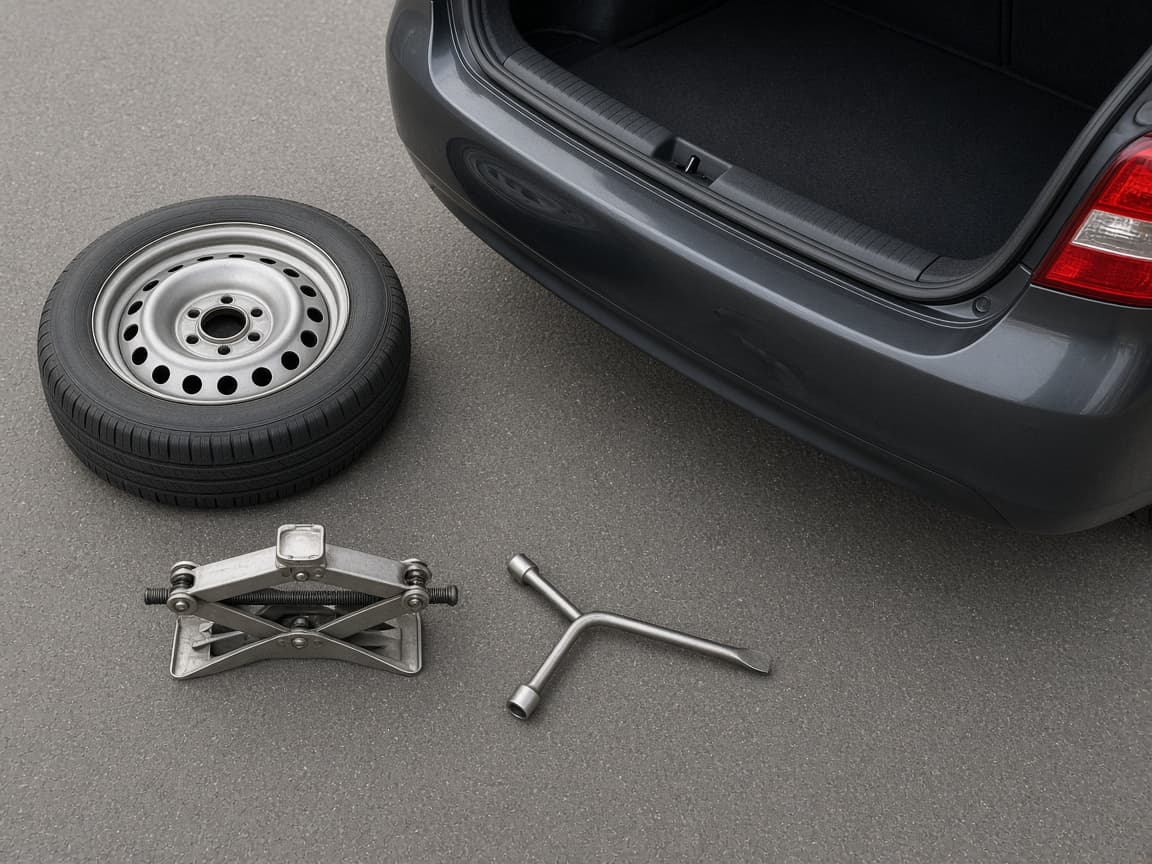
Park brake, correct gear and a chock keep the car from rolling when it leaves the ground. Do this step in order
2a
Set Park or a low gear and the parking brake
Shift to Park on an automatic or a low gear on a manual. Set the parking brake hard and turn the engine off. Confirm the car feels settled before you touch the jack.
2b
Chock a wheel on the opposite end from the flat
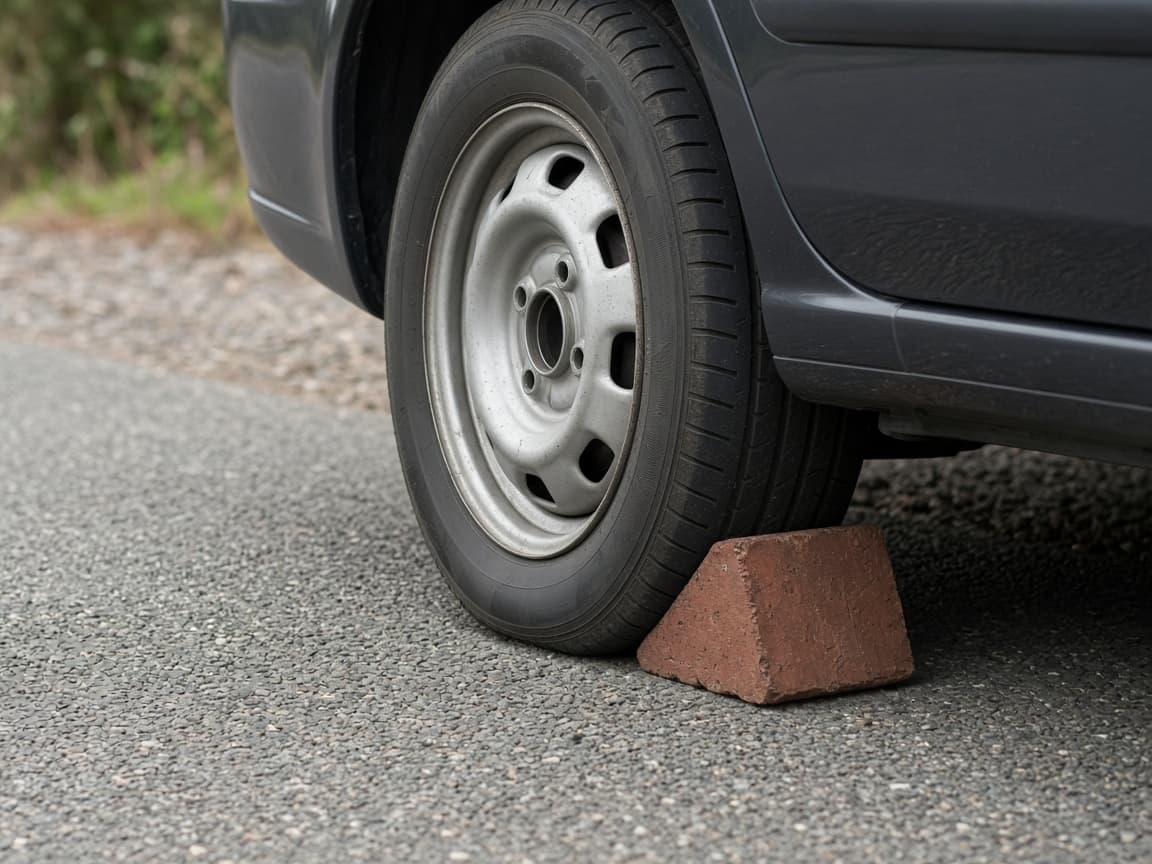
Place a chock, brick or heavy stone against a tire at the other end of the car so it cannot roll. On a subtle slope, chock the downhill side with extra care.
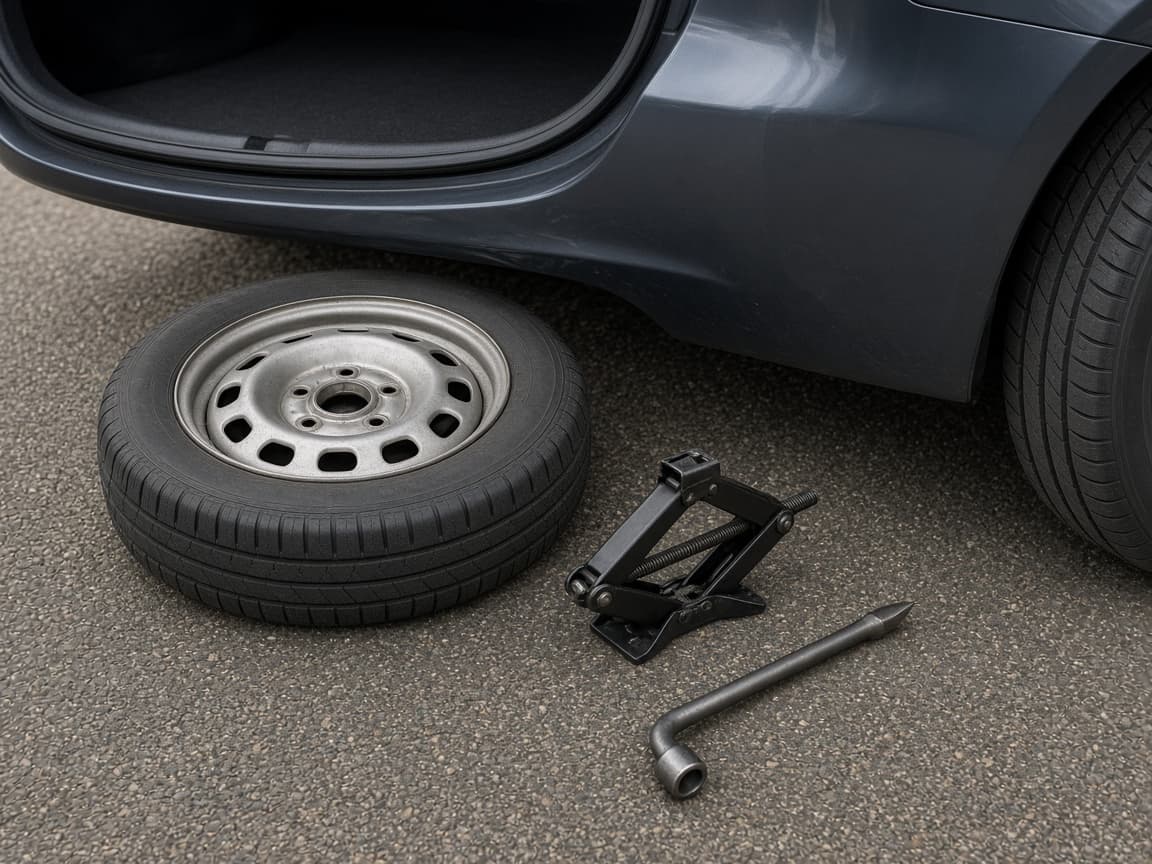
Chocks are cheap insurance against a roll. 2c
Stage spare, jack and wrench beside the flat
Open the trunk or spare well and bring tools to the working side in one trip. Lay them where you will not kick them into the road. Check that the spare has air before you commit to the lift.
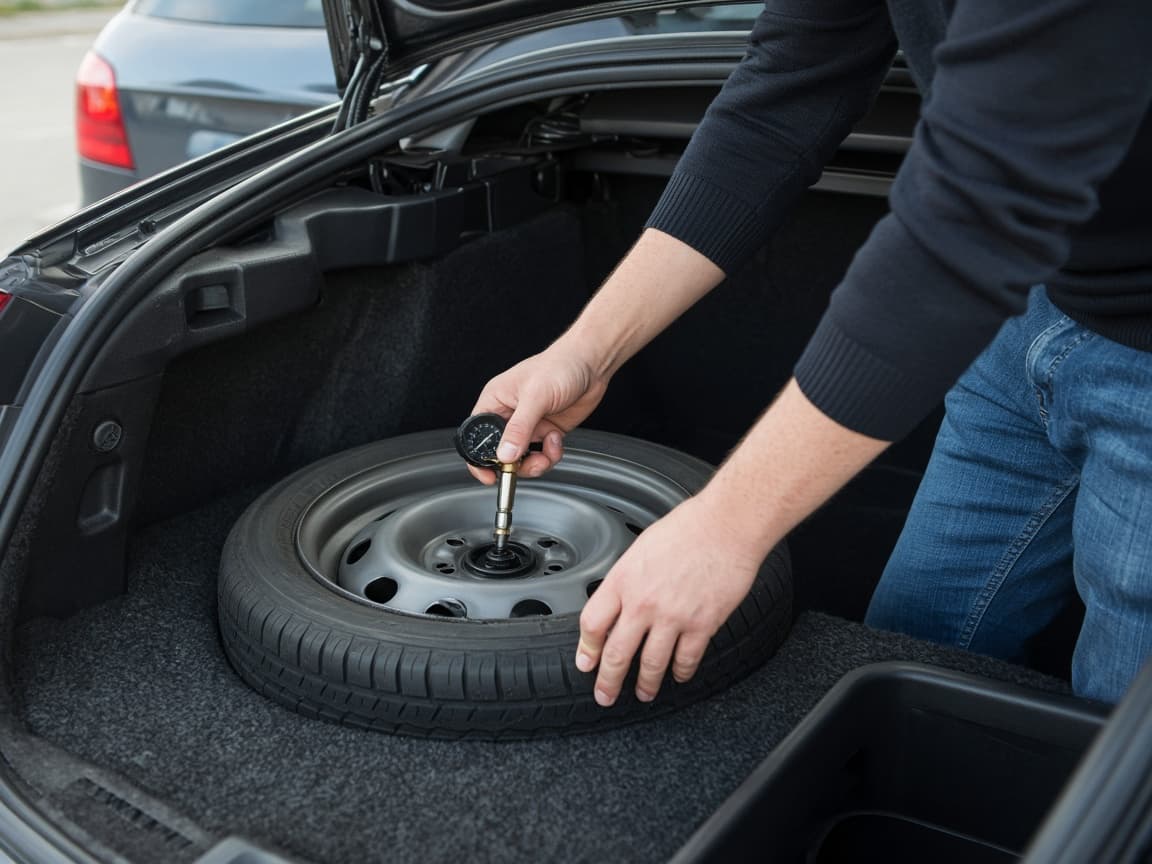
One staging trip keeps you from walking behind traffic twice. 2d
Clear kids and pets from the work zone
Take children away from the roadway. Only crack windows for pets in mild weather if they must stay inside briefly or move them to a safe spot. Common mistake: jacking in Drive or without a chock on a slope.
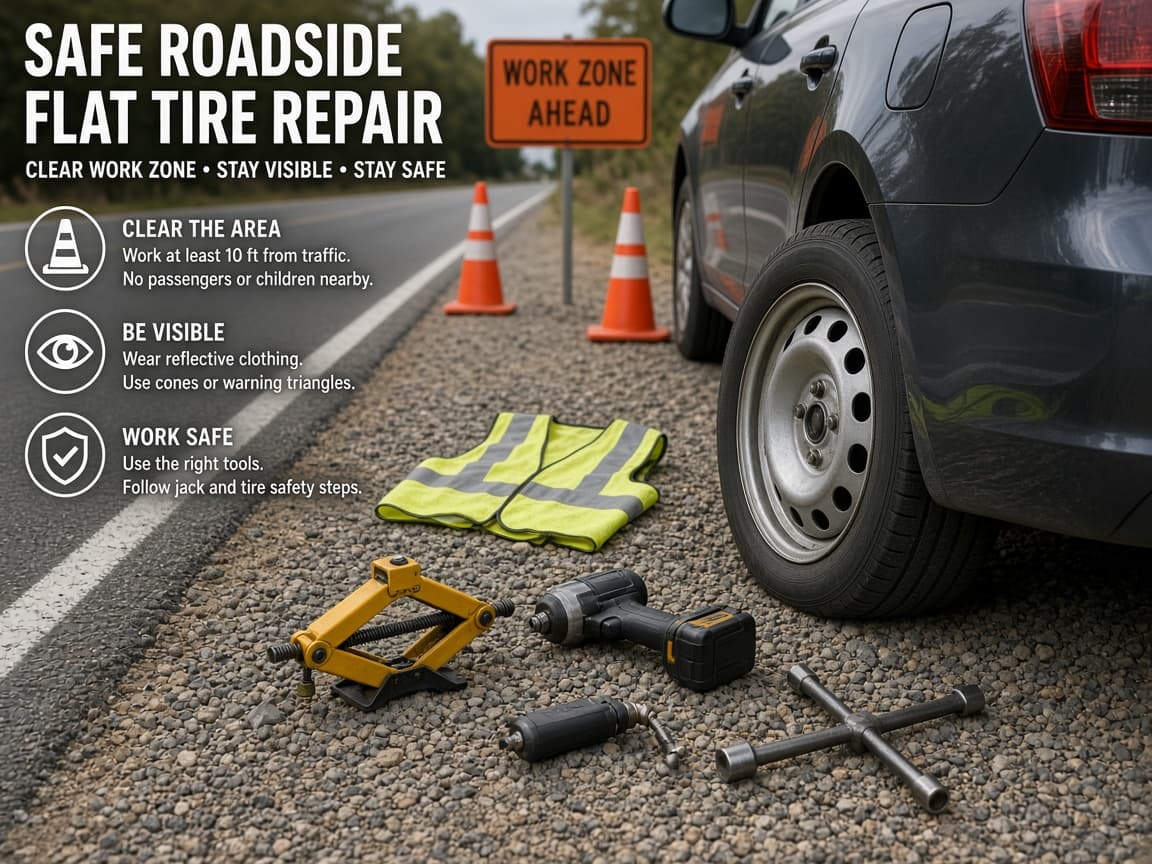
A clear zone prevents a second emergency.
Step 03
Loosen the lug nuts while the tire is on the ground
Crack the nuts loose before you lift. Remove them only after the tire is off the ground.
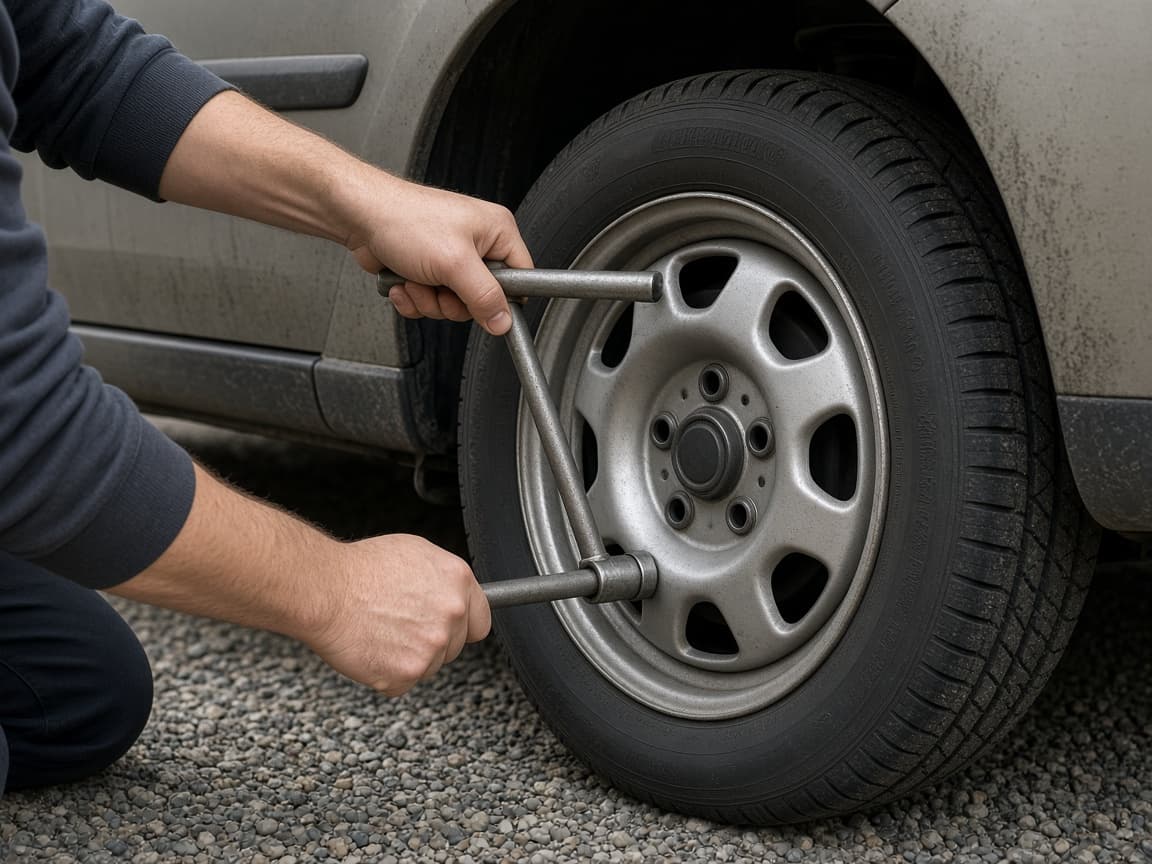
Crack the nuts loose before you lift. Remove them only after the tire is off the ground. Do this step in order
3a
Remove the hubcap and seat the wrench fully
Pry off the hubcap if needed. Fit the lug wrench all the way onto each nut. A partial bite rounds edges. Find the locking-lug key first if your wheels use one.
3b
Break each nut loose about a half turn
Turn counterclockwise. Use controlled body weight so you do not slip into traffic. Loosen each nut a half turn to a turn while the tire still sits on the ground. Do not remove them yet.
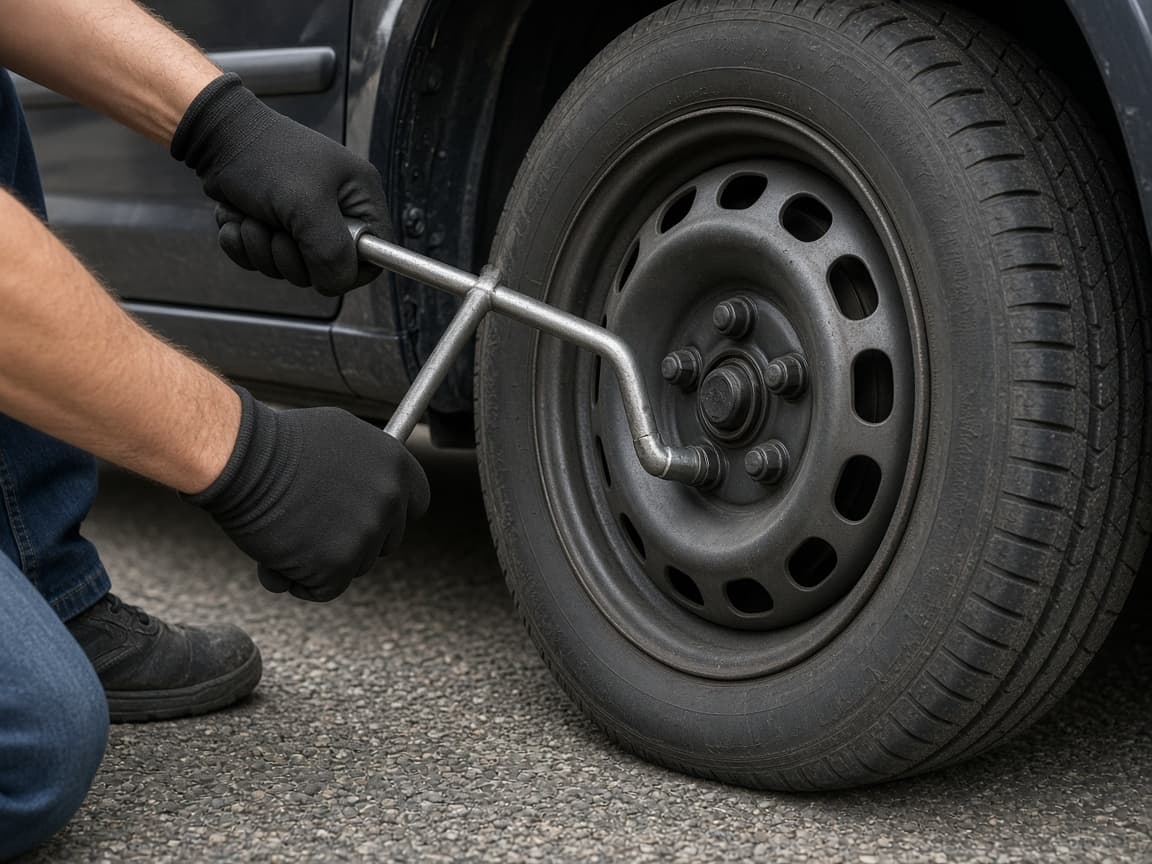
Ground friction holds the wheel while you fight tight nuts. 3c
Work around the wheel before any jacking
Loosen every nut in turn while the car is down. Count them so none is left fully tight. Only after all are cracked loose do you set the jack.
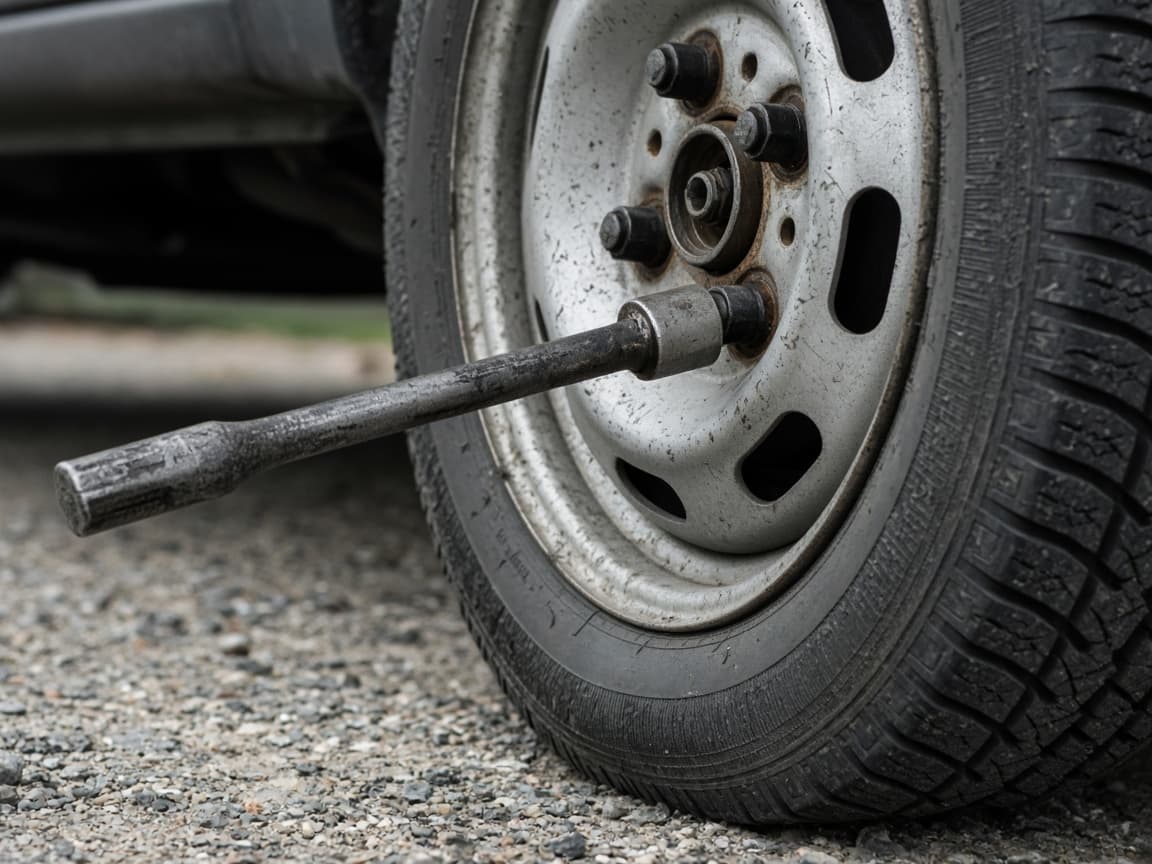
Every nut gets a crack-loose pass on the ground. 3d
Stop before you round a stuck nut
Common mistake: jacking first and then discovering you cannot break nuts free while the wheel spins. If a nut will not move, stop and call for help rather than chewing the corners off.
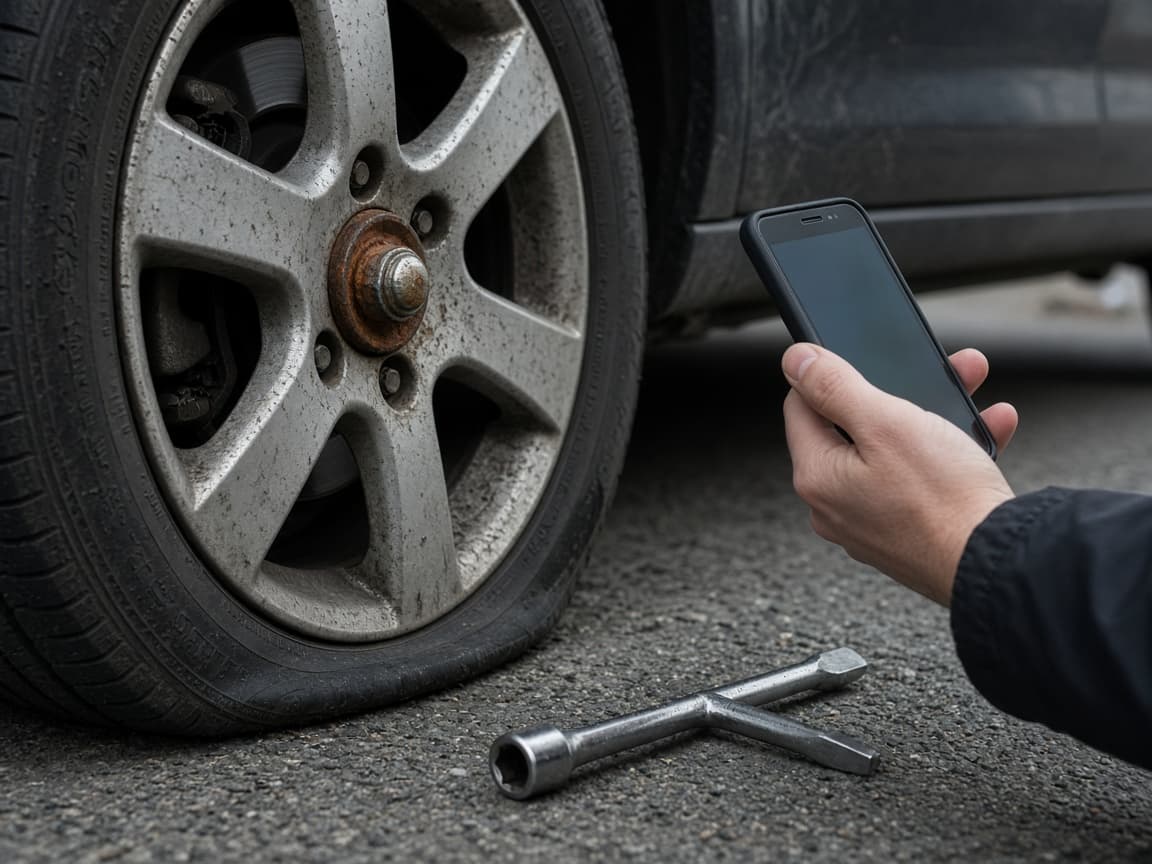
A rounded nut turns a flat into a tow.
Step 04
Place the jack at the correct lift point and raise the car
Only lift from the manufacturer's jack point on firm ground.
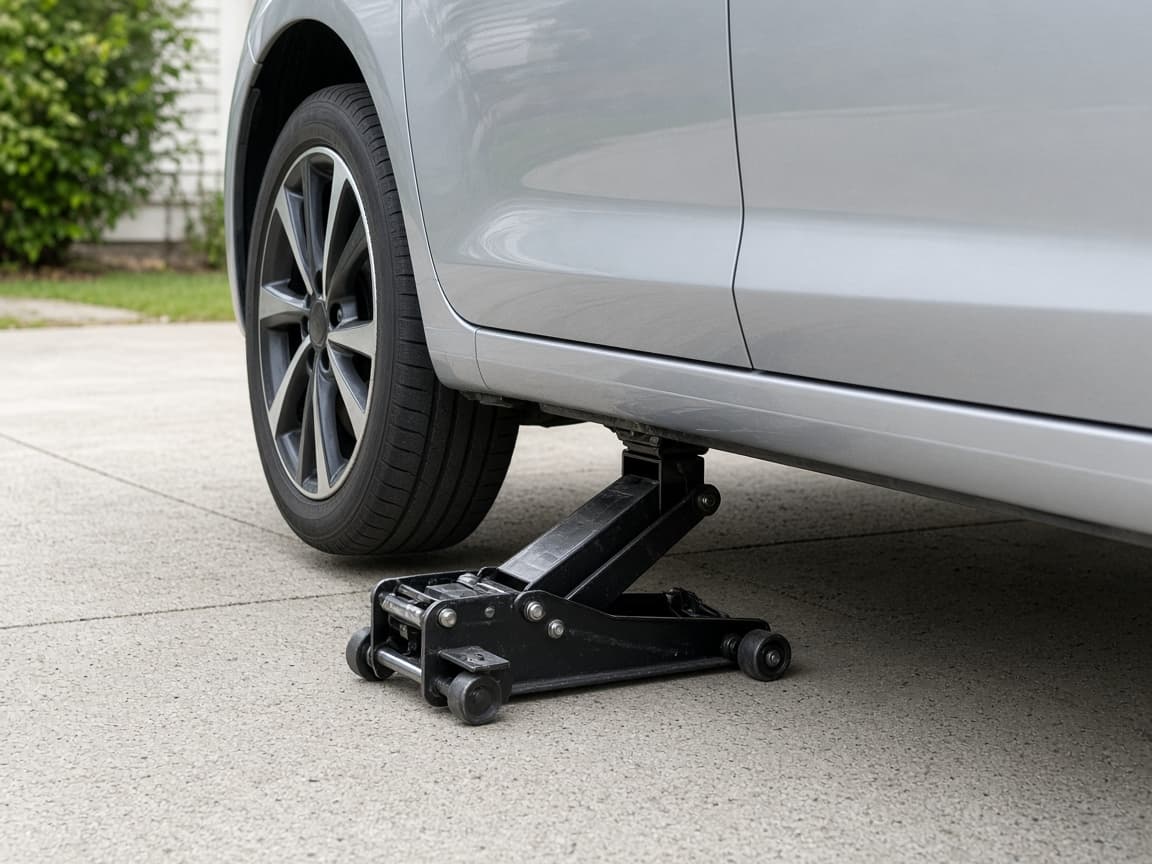
Only lift from the manufacturer's jack point on firm ground. Do this step in order
4a
Find the jack point in the owner's manual
Use the diagram for reinforced lift points along the rocker or frame. Do not guess on the oil pan, floor panel or a random suspension arm. Mark the spot with a finger before the jack goes under.
4b
Seat the jack on firm, level ground
Center the jack pad on the lift point. If the ground is soft, stop and relocate or call for help. A collapsing jack is more dangerous than a delayed tow.
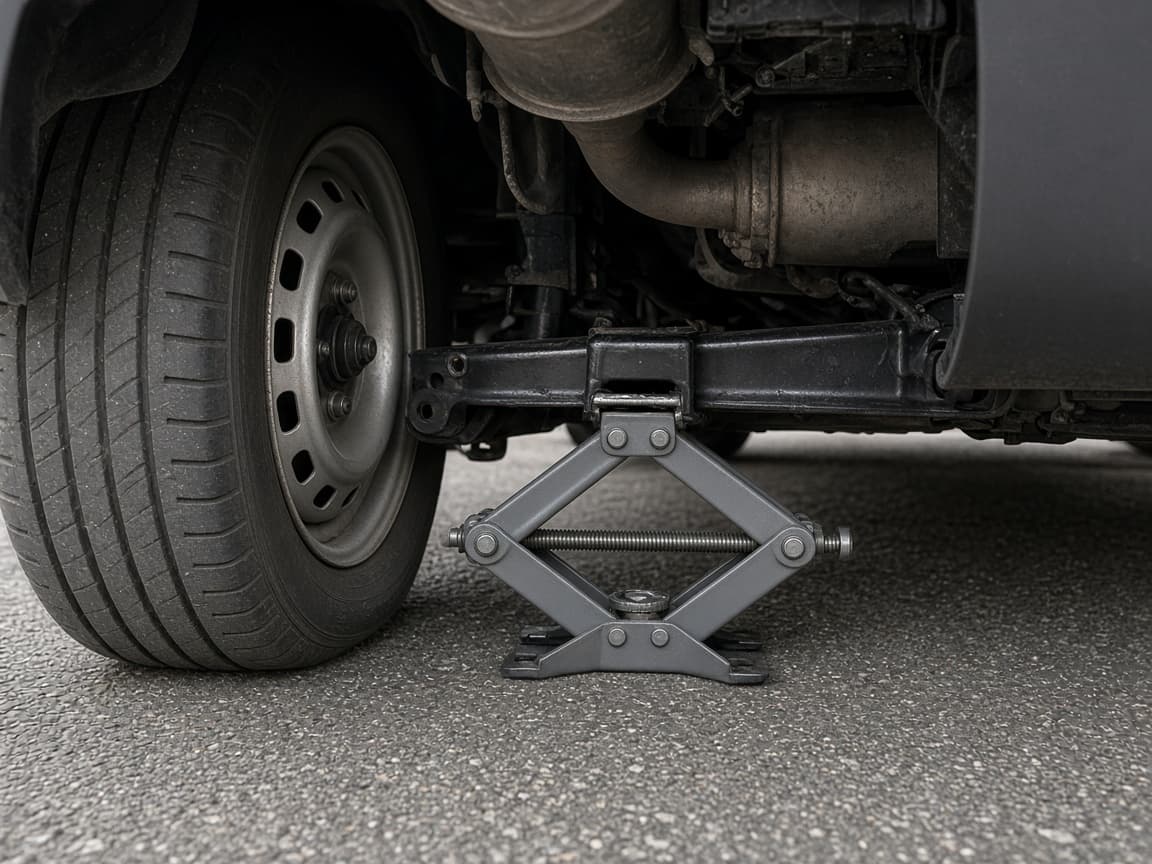
Firm ground under the jack is non-negotiable. 4c
Raise until the flat tire just clears
Lift until the flat clears the ground enough to pull off. Add a little height if the spare is taller. Never climb under a car held only by a jack.
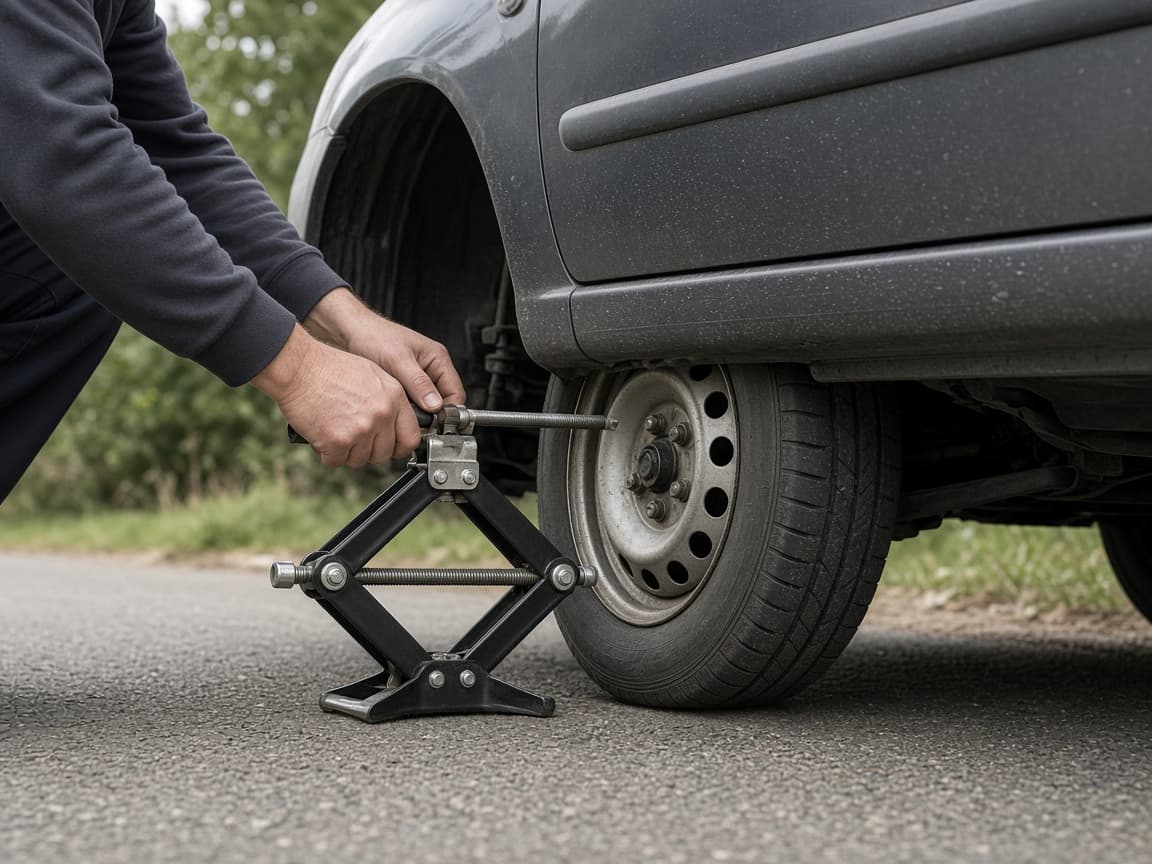
Clearance to pull the wheel is enough. Extra height is not a crawl space. 4d
Abort if the contact point crumples or sinks
Common mistake: jacking on a decorative sill or plastic cover. If the jack sinks or the metal crumples, lower carefully, relocate or call for help.
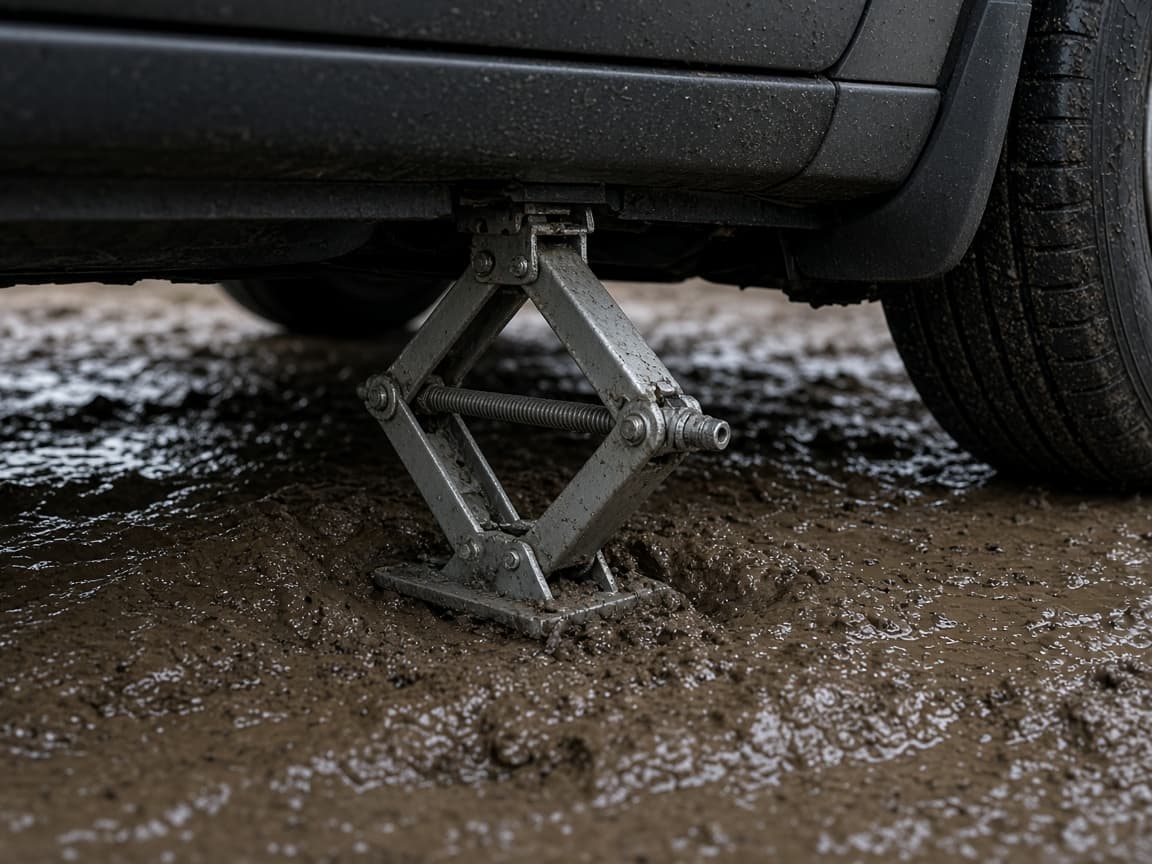
A sinking jack is a stop sign, not a push-harder cue.
Step 05
Swap the wheel and snug the nuts in a star pattern
Hand-start every nut, then tighten across the wheel in a star pattern.
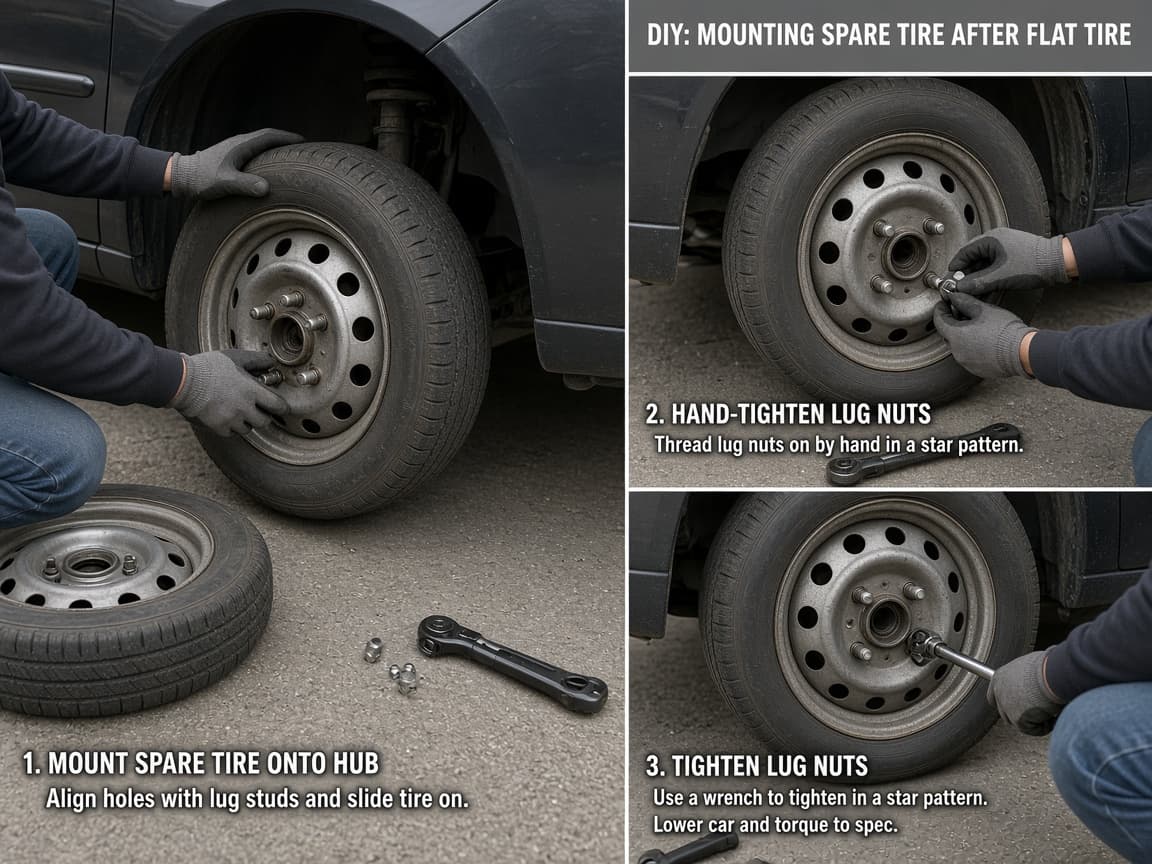
Hand-start every nut, then tighten across the wheel in a star pattern. Do this step in order
5a
Remove nuts fully and pull the flat
Finish removing the lug nuts and keep them in the hubcap or a pocket. Pull the flat off. Set it under the vehicle side as a crude backup if you have room or lay it flat away from traffic.
5b
Mount the spare and hand-thread every nut
Lift the spare onto the studs. Thread each nut by hand so you do not cross-thread. Confirm the wheel sits flush against the hub before you reach for the wrench.
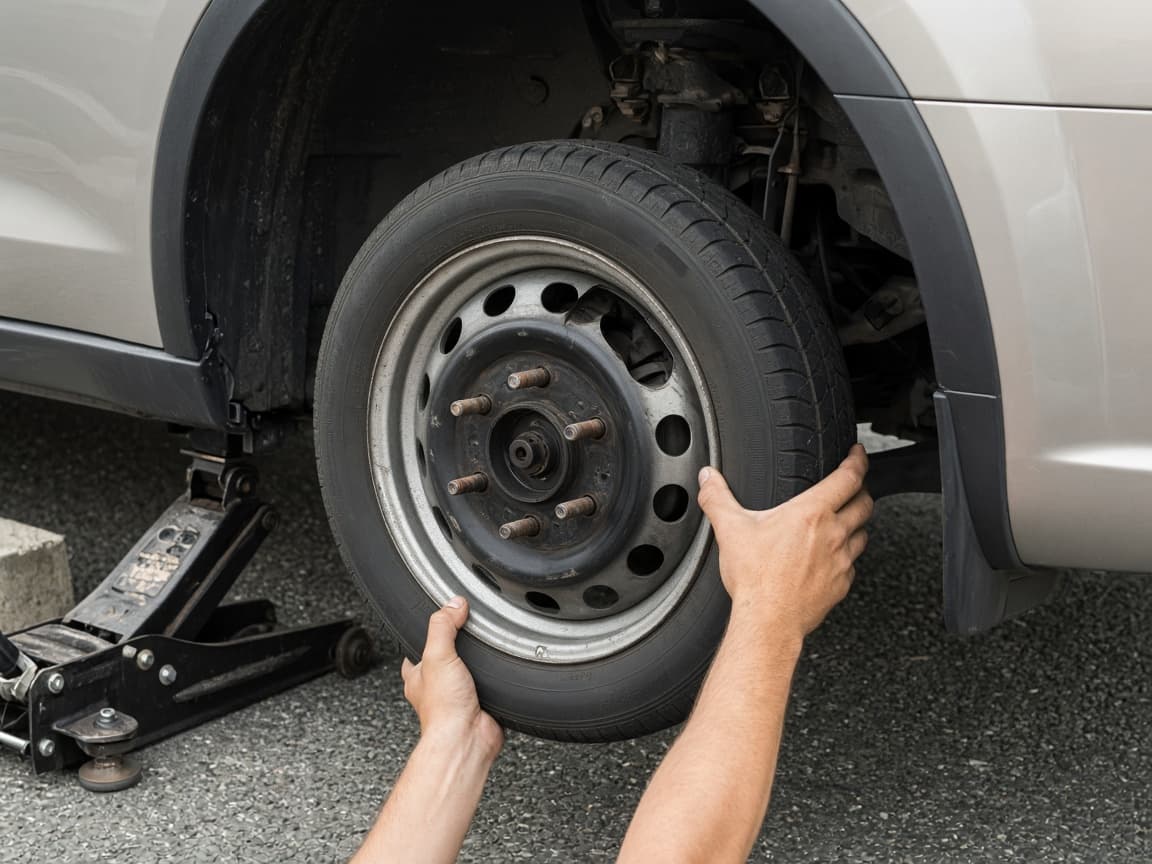
Hand threads catch cross-threading before metal screams. 5c
Snug opposite nuts in a star pattern
Tighten lightly across opposite nuts so the wheel seats evenly. Do not circle the wheel tightening neighbors first. Leave final force for the ground unless your manual says otherwise.
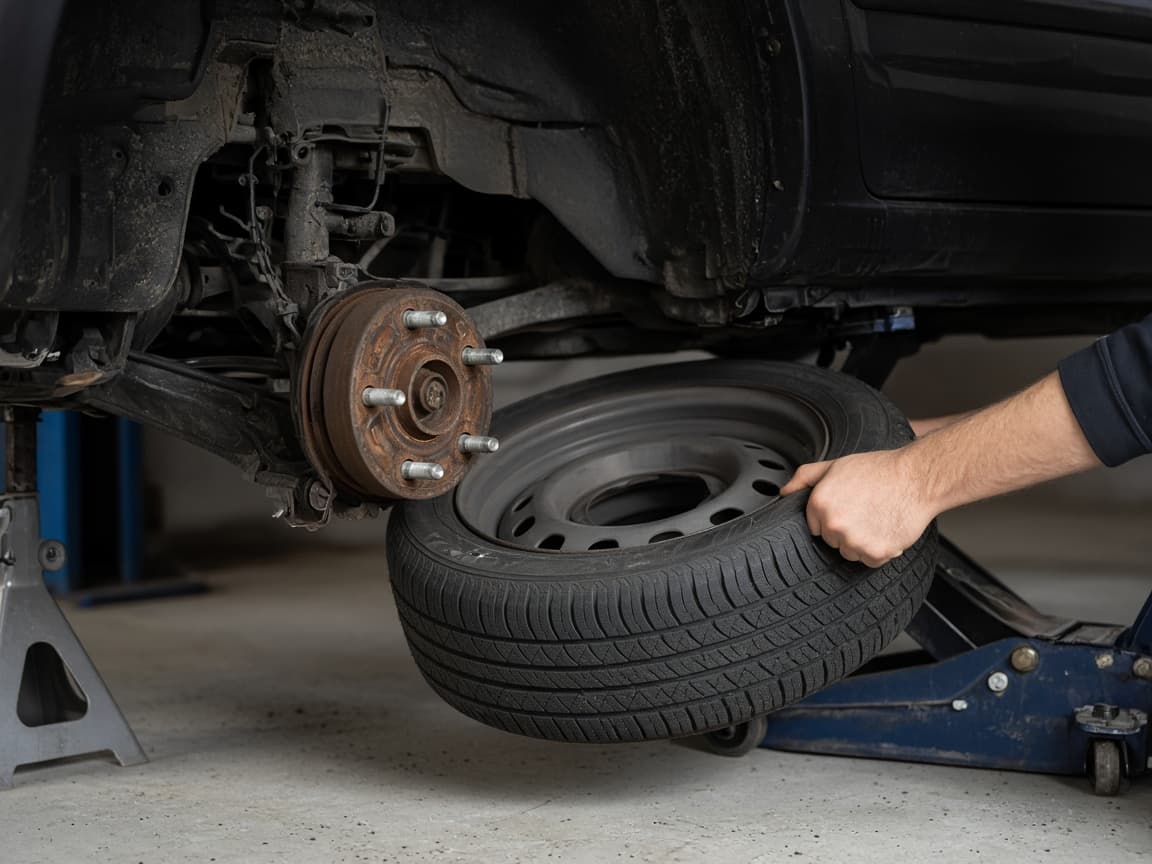
Opposite nuts first keep the wheel centered on the hub. 5d
Avoid full torque on one nut while jacked
Common mistake: fully torquing one nut first and cocking the wheel against the hub. Keep the snug even. Final heavy tightening waits until the spare carries the car's weight.
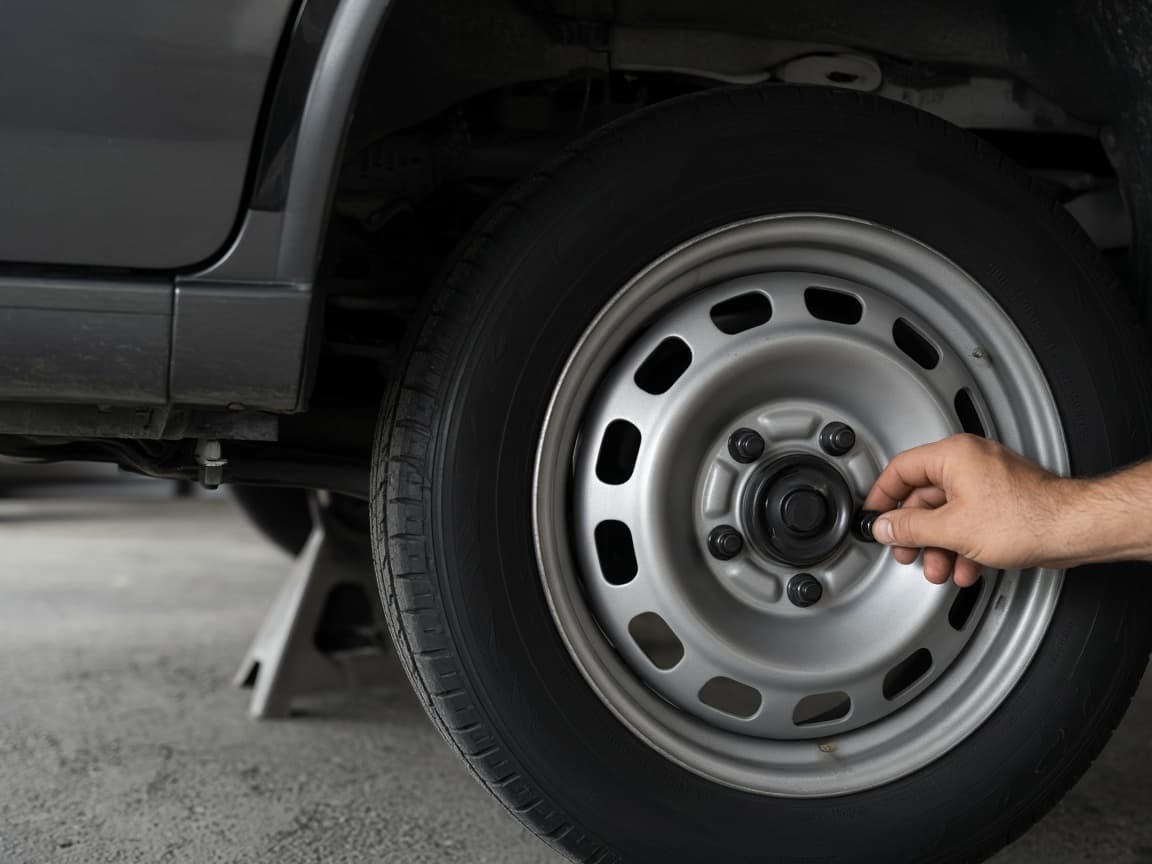
Even snugging now. Full torque after lowering.
Step 06
Lower the car and final-tighten; respect spare limits
Final tightening happens on the ground. Then obey the spare's speed and distance limits.
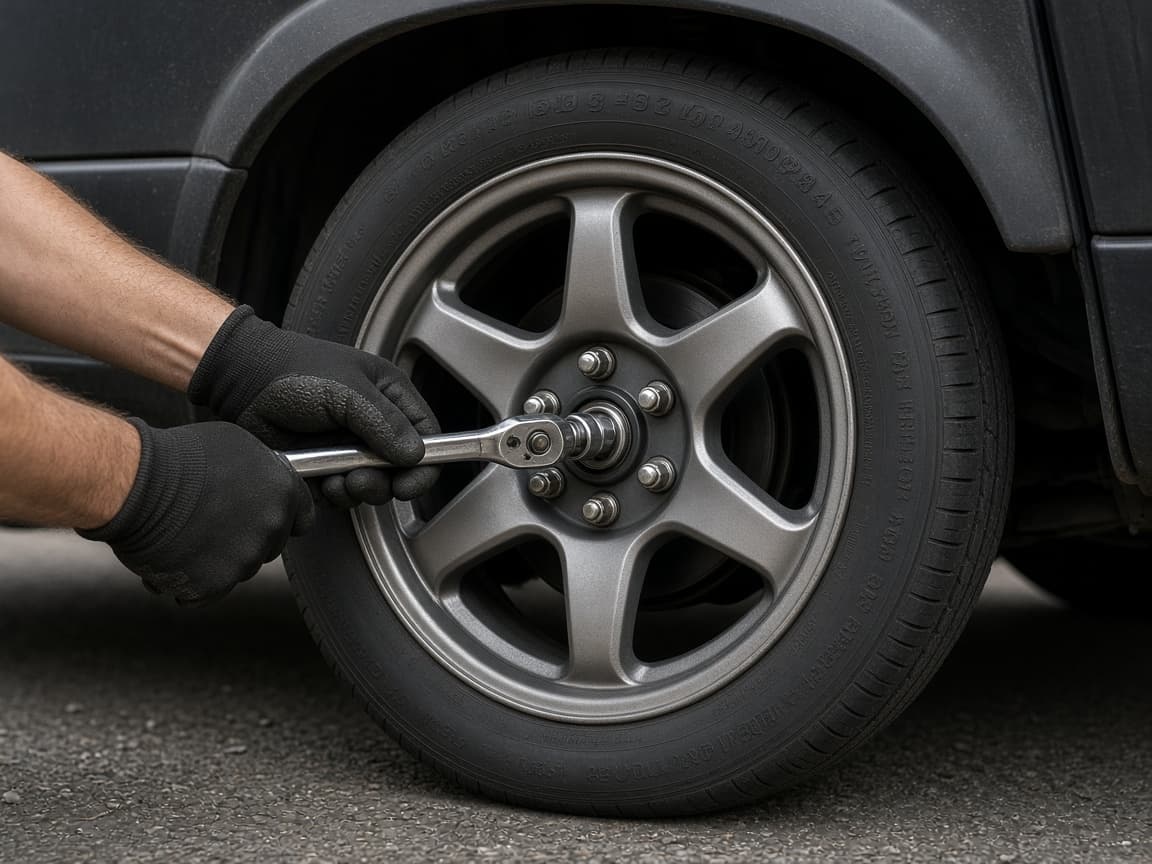
Final tightening happens on the ground. Then obey the spare's speed and distance limits. Do this step in order
6a
Lower slowly until the spare carries the weight
Ease the jack down until the spare supports the car, then remove the jack. Keep hands and feet clear as the car settles.
6b
Final-tighten in the same star pattern
Tighten fully on the ground in a star pattern. Use a torque wrench with the manual spec if you have one. Otherwise tighten firmly without bouncing on the wrench beside traffic.
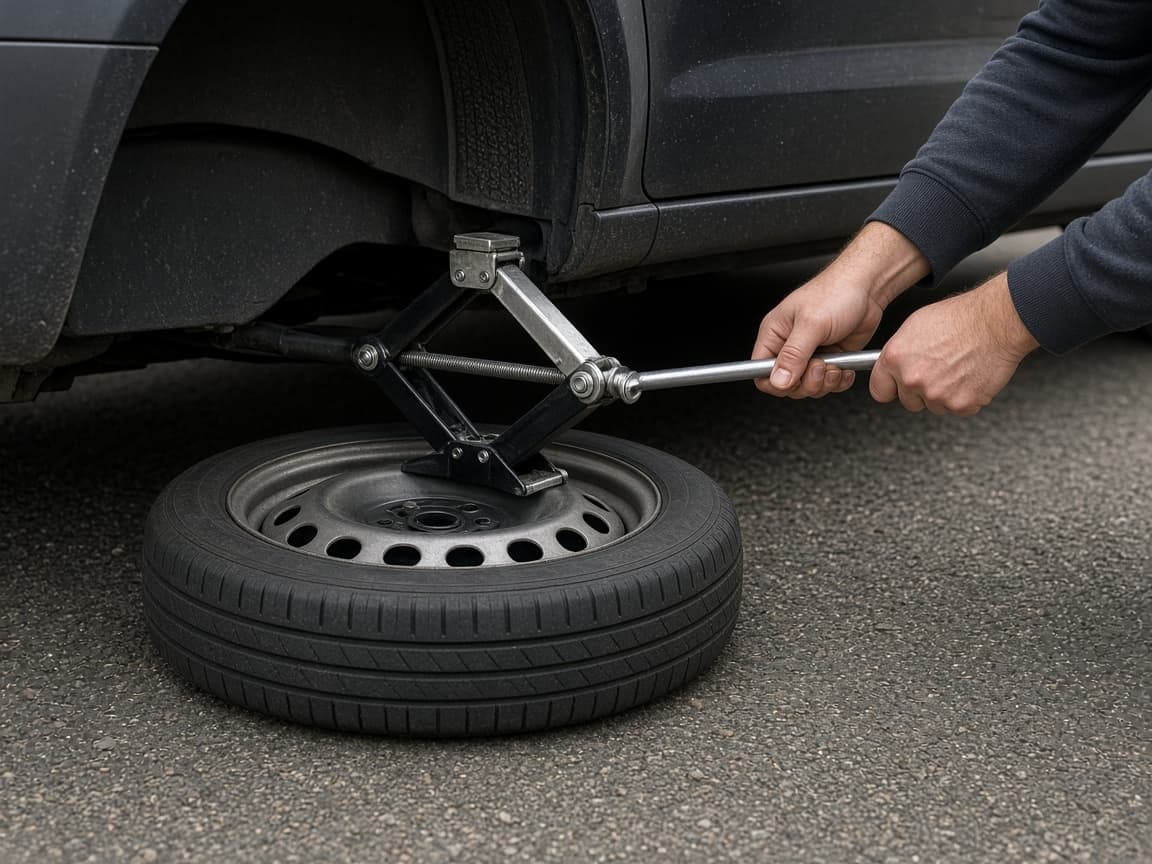
Ground contact is when full torque belongs. 6c
Read the spare sidewall limits before you drive
Compact spares often limit speed near 50 mph (80 km/h) and distance. Note those numbers before you merge. Drive gently toward a shop, not through a long highway plan.
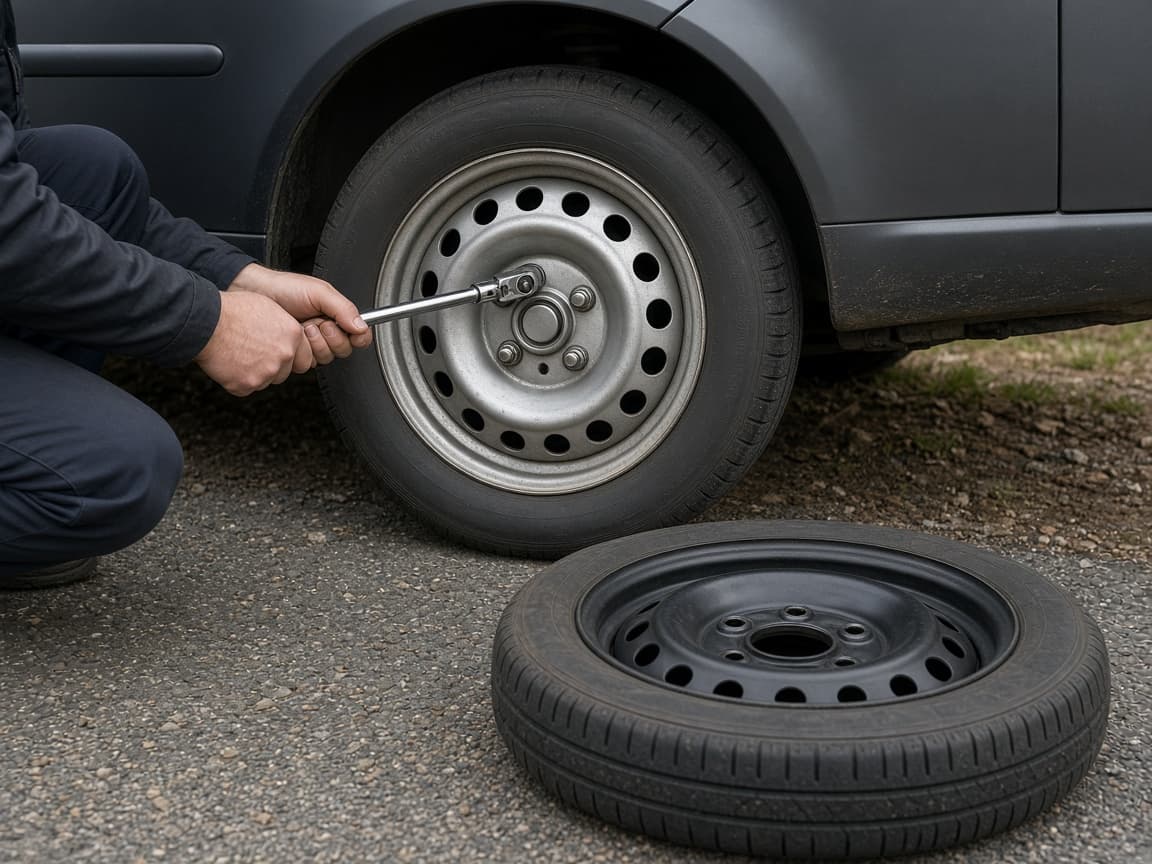
The sidewall tells you how far the spare is allowed to go. 6d
Treat a doughnut as temporary only
Common mistake: treating a compact spare like a normal tire for days of highway driving. Plan the repair stop as part of the tire change, not a someday errand.
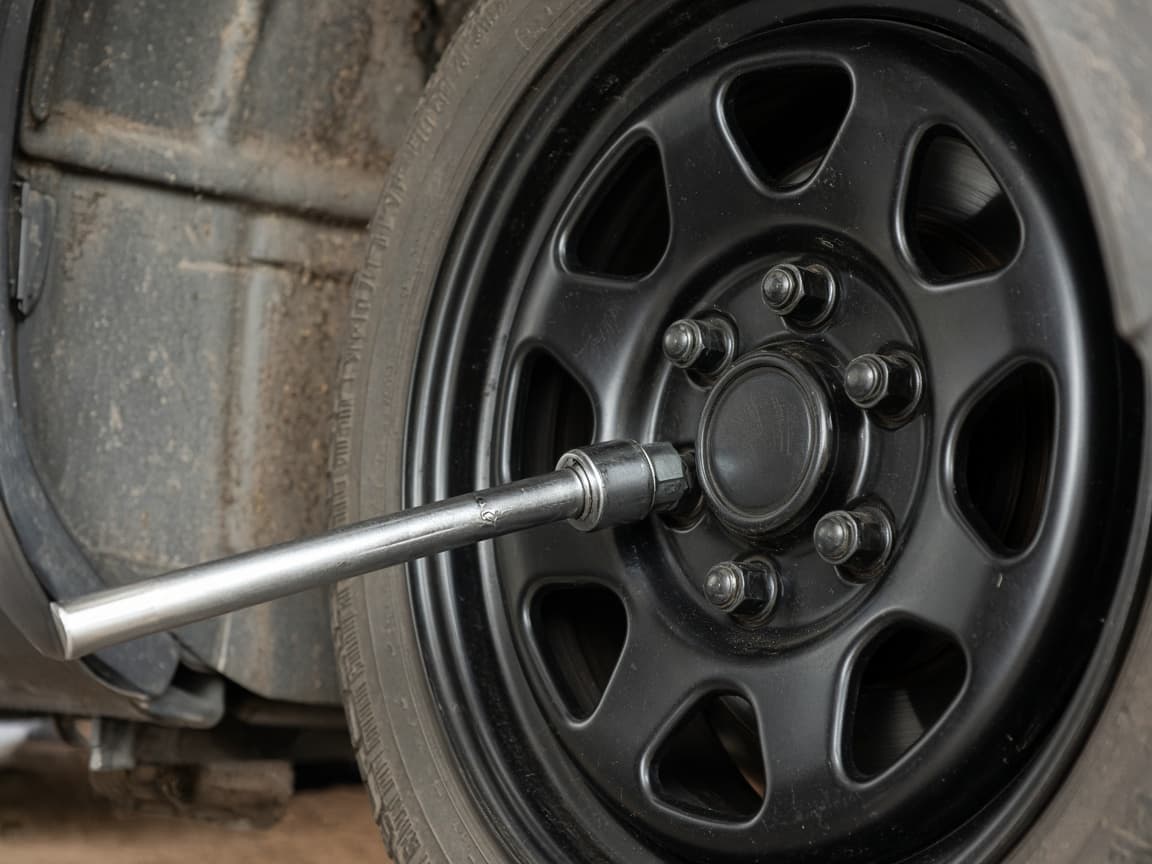
The spare is a bridge to a shop, not a new permanent wheel.
Step 07
Stow the flat and get a proper repair
A compact spare is a bridge to a shop, not a permanent wheel.
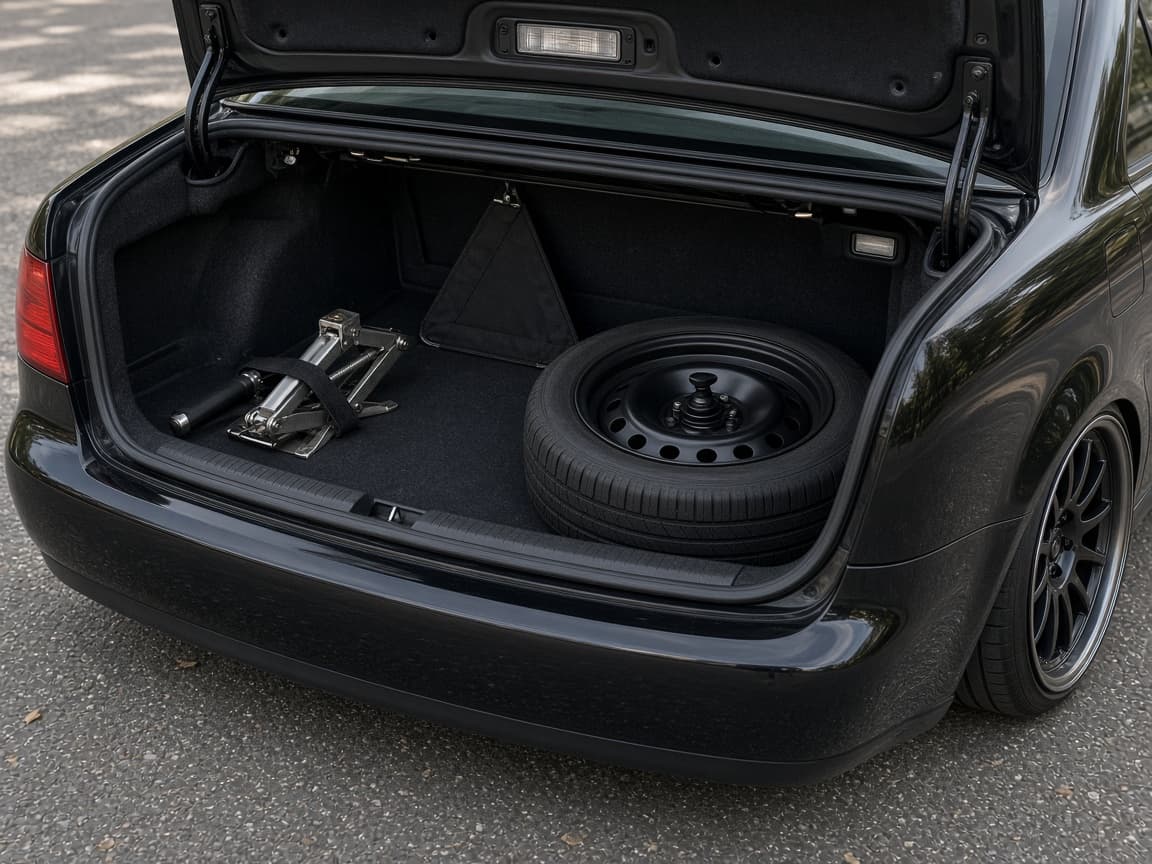
A compact spare is a bridge to a shop, not a permanent wheel. Do this step in order
7a
Secure the flat, jack and tools in the car
Stow everything so nothing flies in a sudden stop. Remove chocks. Turn off hazards only when you are fully back in safe traffic flow.
7b
Drive to a shop for repair or replacement
Ask whether the puncture can be repaired or needs a new tire. Recheck lug nut torque after a short drive if the shop or manual recommends it, often after 50 to 100 miles.
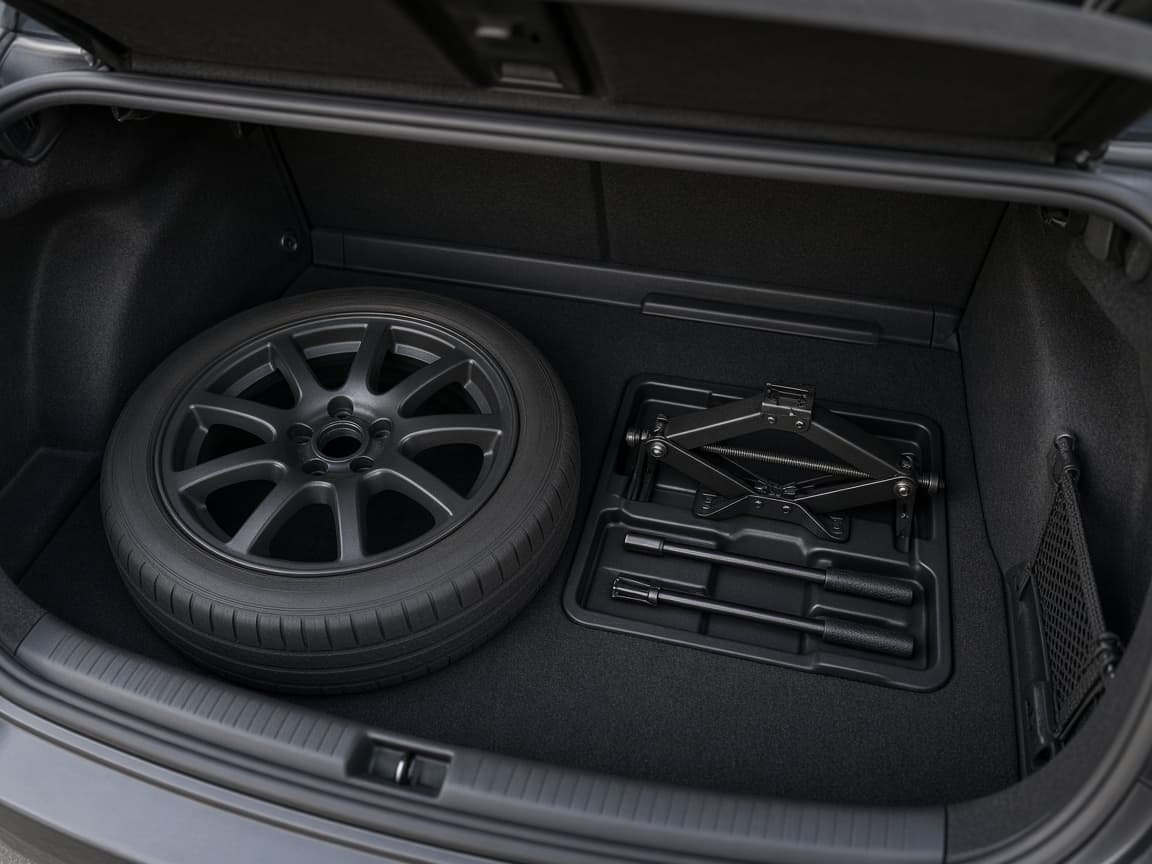
The spare buys you a shop visit, not a finished repair. 7c
Restore a ready spare for next time
Replace or reinflate the spare so the next flat does not find you empty-handed. Put the jack and wrench back in their mounts so the kit is complete.
Reset the kit now so the next roadside stop is boring. 7d
Note TPMS lights and do not postpone the repair
Tire-pressure warnings may need a reset after a swap. Common mistake: leaving tools loose and postponing the repair until the spare fails too. Book the shop while the problem is still simple.
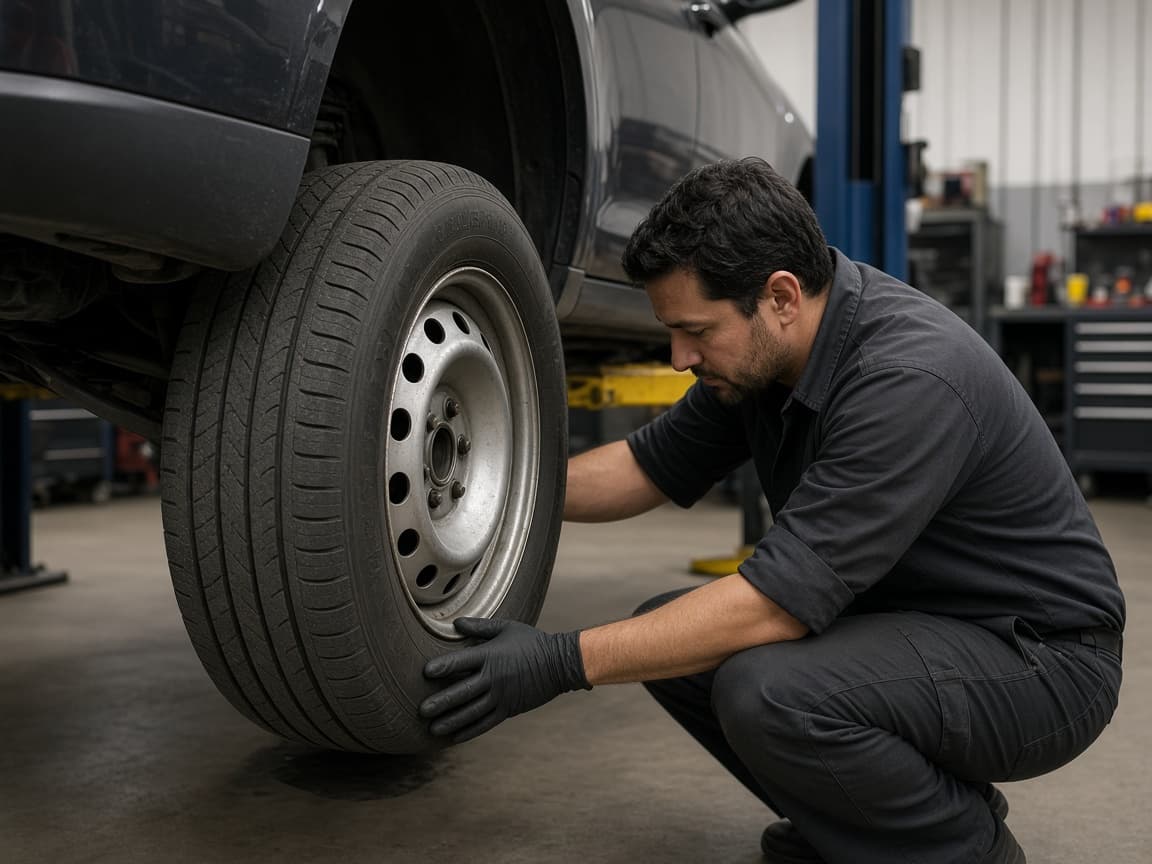
Finish the job with a real tire, not a longer spare commute.
Done when
- Hazards on, park brake set, wheels chocked
- Safe location confirmed (or help called)
- Lug nuts loosened on the ground
- Jack seated at the correct point
- Spare mounted and nuts snugged in a star pattern
- Final tighten after lowering; repair shop scheduled
Eagle Frame’s takeaway: changing a tire is a skill worth practicing in the driveway and a safety decision on the roadside. Secure the car, loosen nuts on the ground, jack at the right point and tighten in a star pattern. Respect spare limits and get a real repair. If traffic makes the shoulder unsafe, call for help and stay out of the lane.