How to meal prep for the week in one focused session
Plan a few meals, batch cook protein grain and vegetables, then portion and chill safely. One session can cover lunches and busy weeknights without seven nights of cooking.
Meal prep is not a second full-time job. It is a short planning pass, one shop and one cooking block that turn raw ingredients into ready portions. The point is fewer weeknight decisions and less takeout, not identical beige bowls forever.
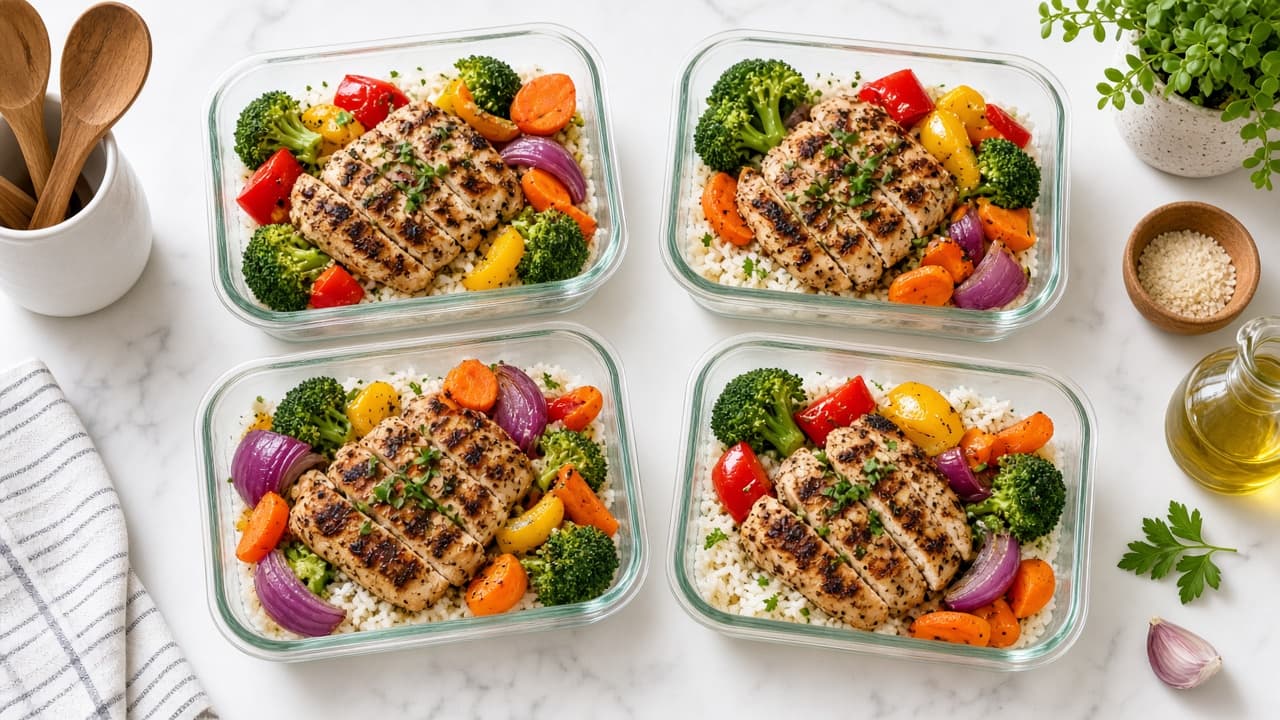
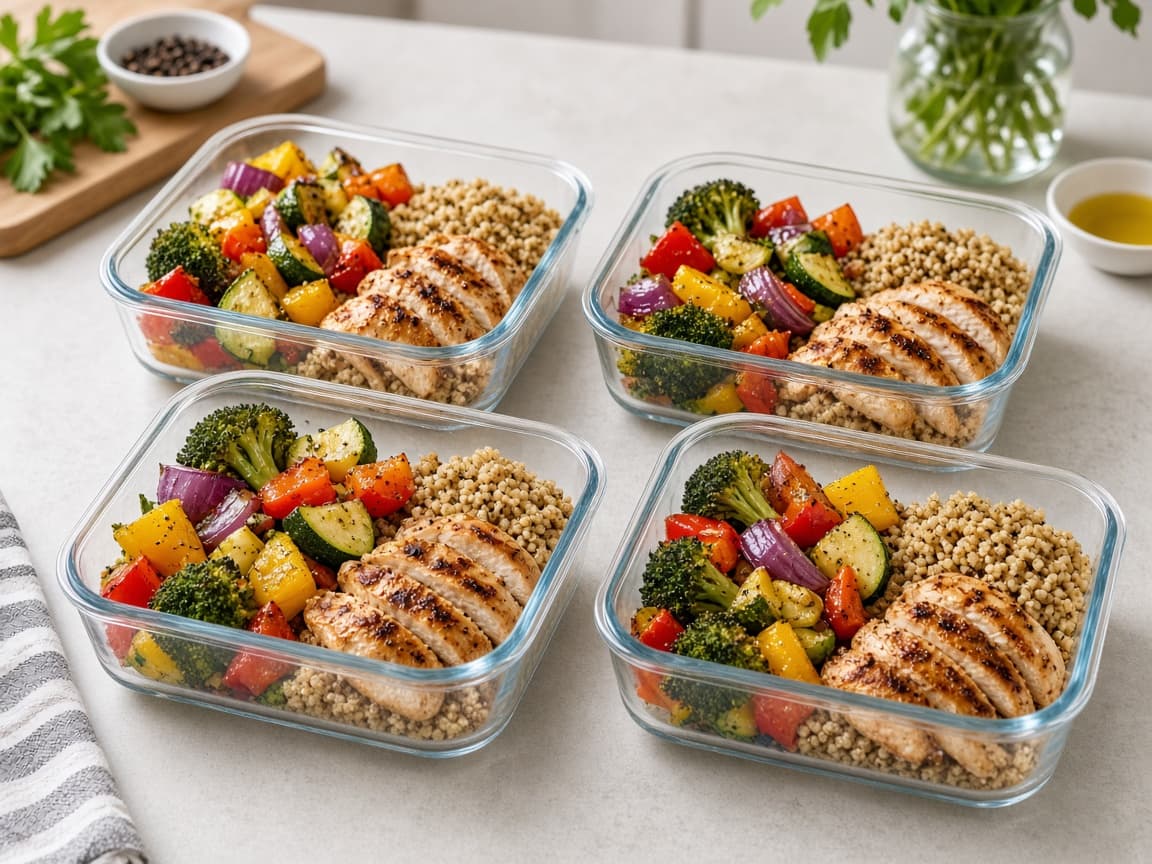
A workable week usually means three or four main meals that share ingredients. You cook proteins, grains and vegetables in batches, then portion them so half the box is vegetables, about a quarter is protein and about a quarter is grain. That plate math keeps meals filling without burying everything under pasta.
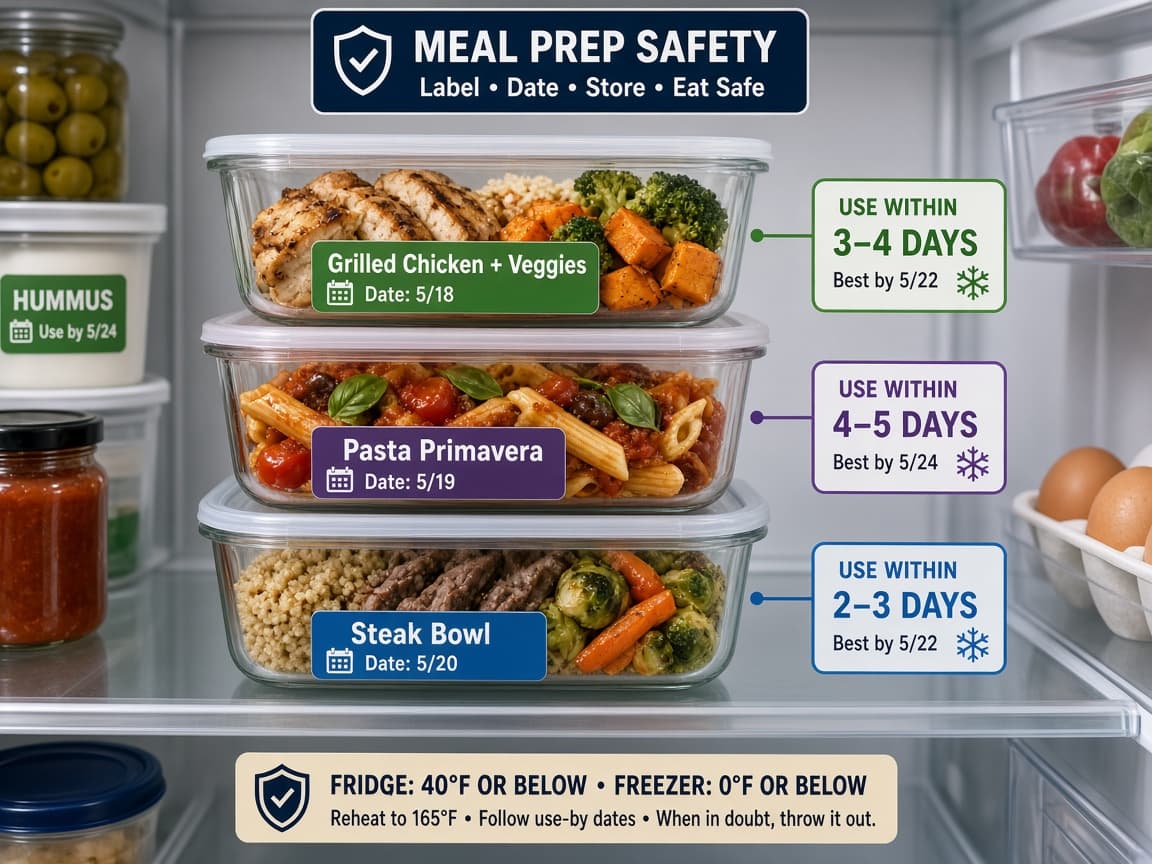
Food safety matters as much as recipes. Hot food should go into shallow containers and into the fridge within about two hours of cooking. Eat refrigerated portions within three to four days and freeze what you will not finish. Reheat leftovers until steaming hot throughout, about 165°F (74°C) in the center.
Use the guide below for a single focused session: plan, shop, cook, cool, portion and store. Adjust portions to your household size. If you cook for one, freeze half immediately so day-five chicken does not become a science experiment.
Step-by-step guide
Time: 2.5 to 3.5 hours including shopping and clean-up
What you need
- Meal plan and grocery list
- Sheet pans, pots and a large skillet or grill pan
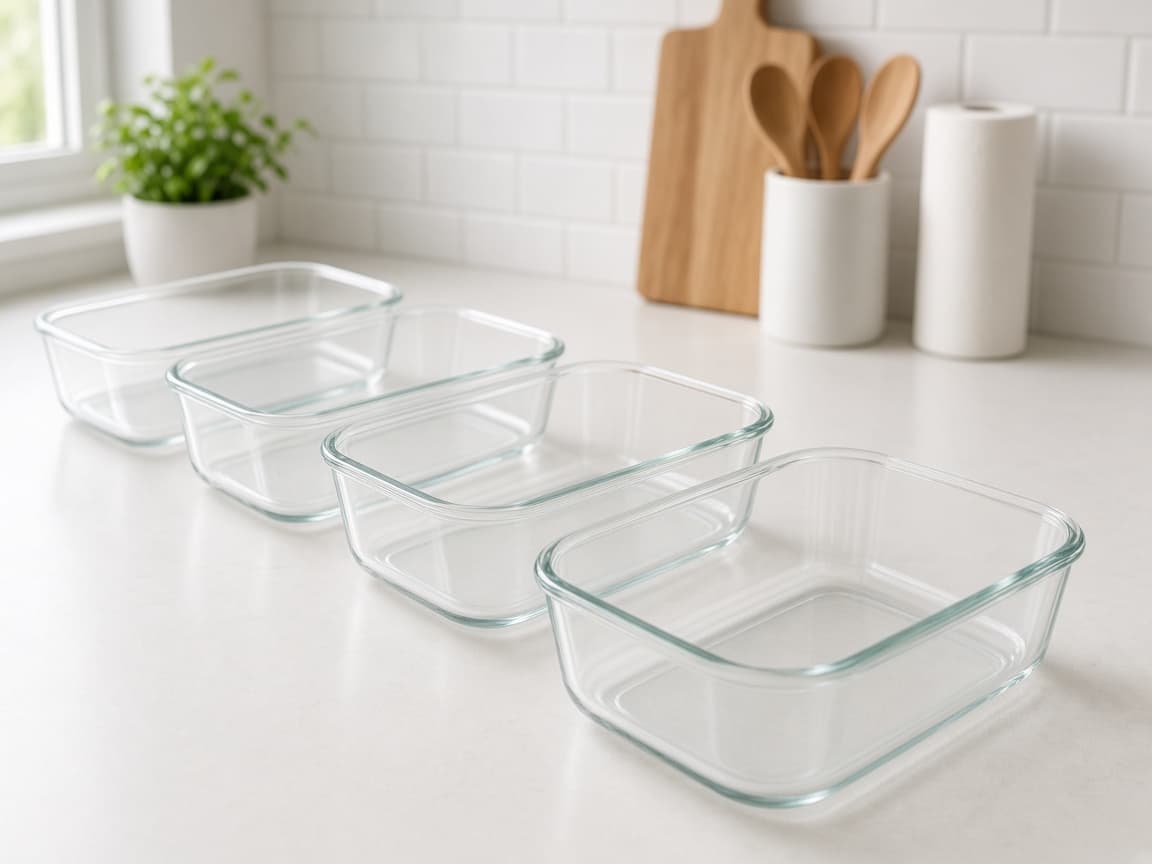
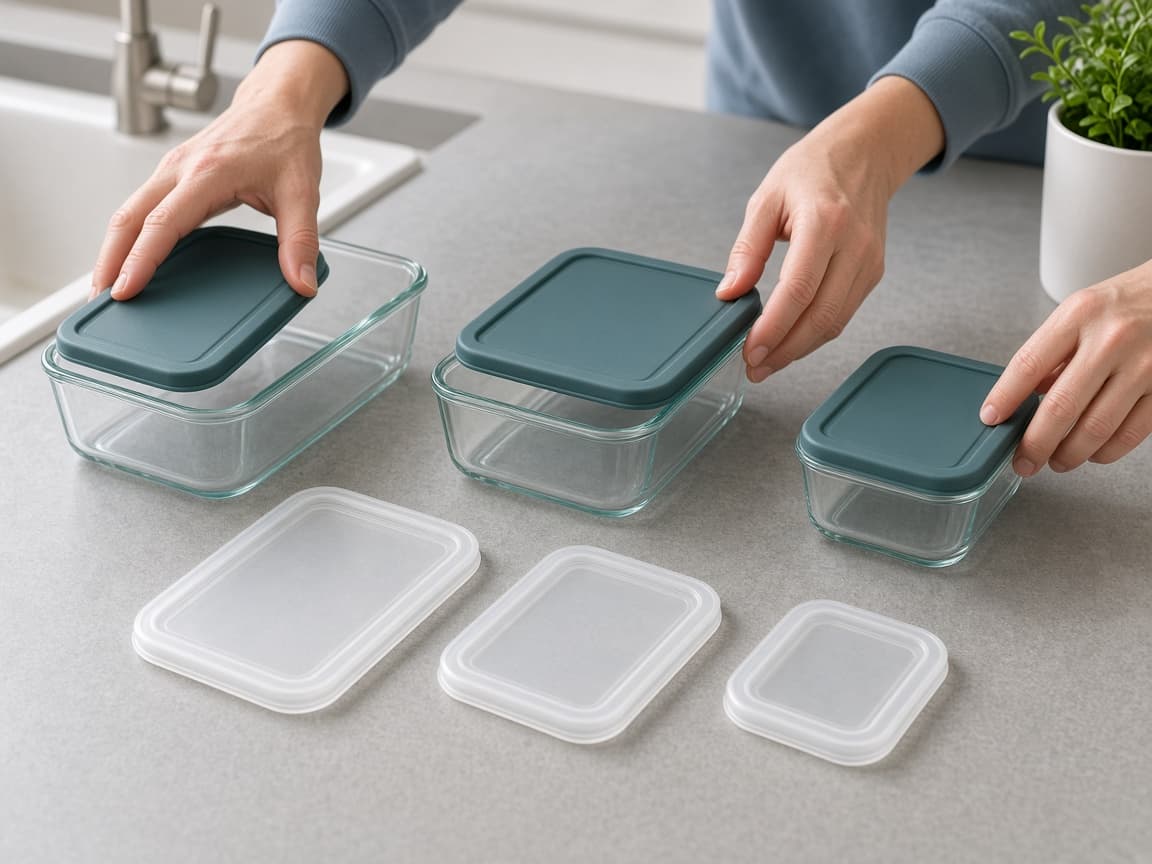
- Food-safe shallow containers with lids (glass or sturdy plastic)
- Instant-read thermometer (optional but useful)
- Labels or masking tape and a marker
- Cooling rack or clear counter space
Before you start
- Do not leave cooked food at room temperature for more than about two hours (one hour if the room is very hot).
- Reheat leftovers to 165°F (74°C). When in doubt, throw it out.
- Keep raw meat tools separate from ready-to-eat vegetables.
Step 01
Plan three or four meals that share ingredients
Shared building blocks beat seven unrelated recipes. Decide what you will cook once and eat all week.
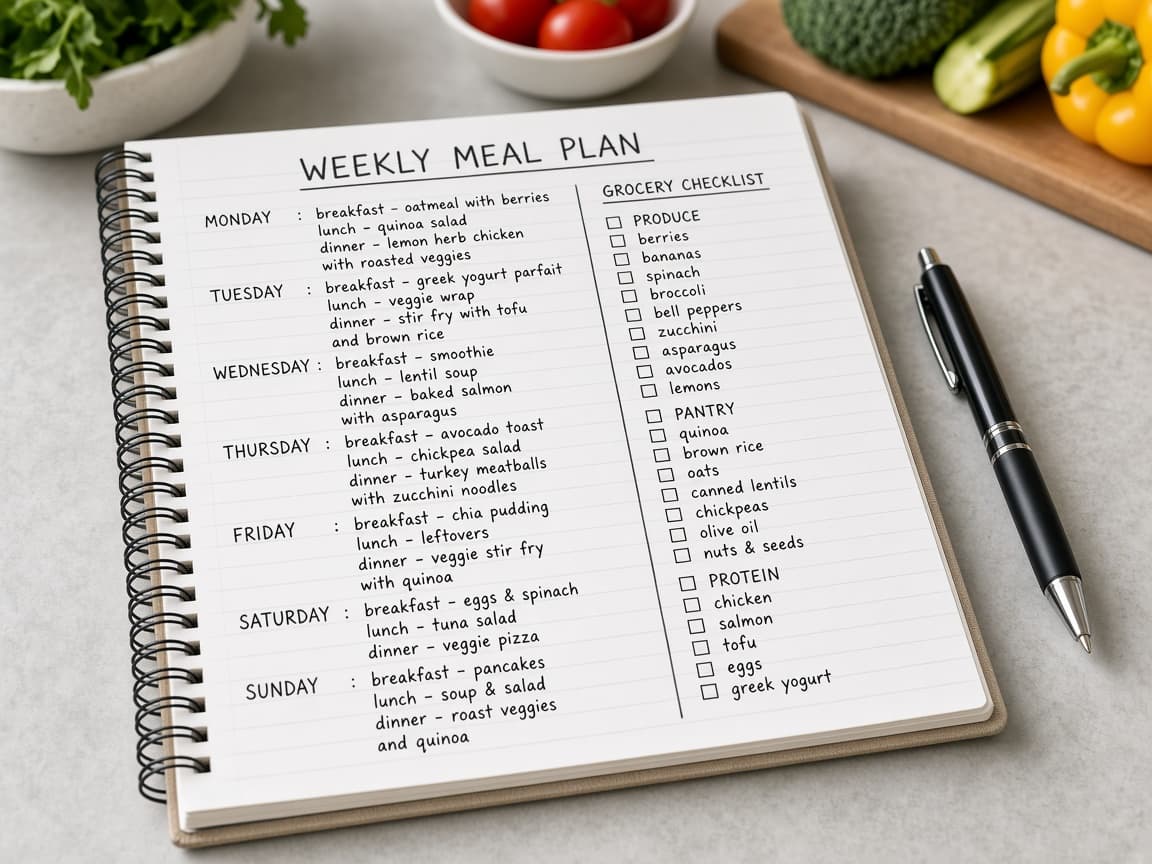
Three or four meals that share a protein and grain beat seven unrelated recipes. Do this step in order
1a
Pick a protein, grain and vegetable base
Choose one or two proteins, one grain and a short vegetable list. Example: chicken thighs or bean chili, brown rice, broccoli and peppers. Lunches can reuse the same components in a bowl.
1b
Decide sauces and which nights you eat at home
Vary meals with different sauces or toppings instead of new mains. Skip nights you already have plans. Write portions for each person and each home night only.
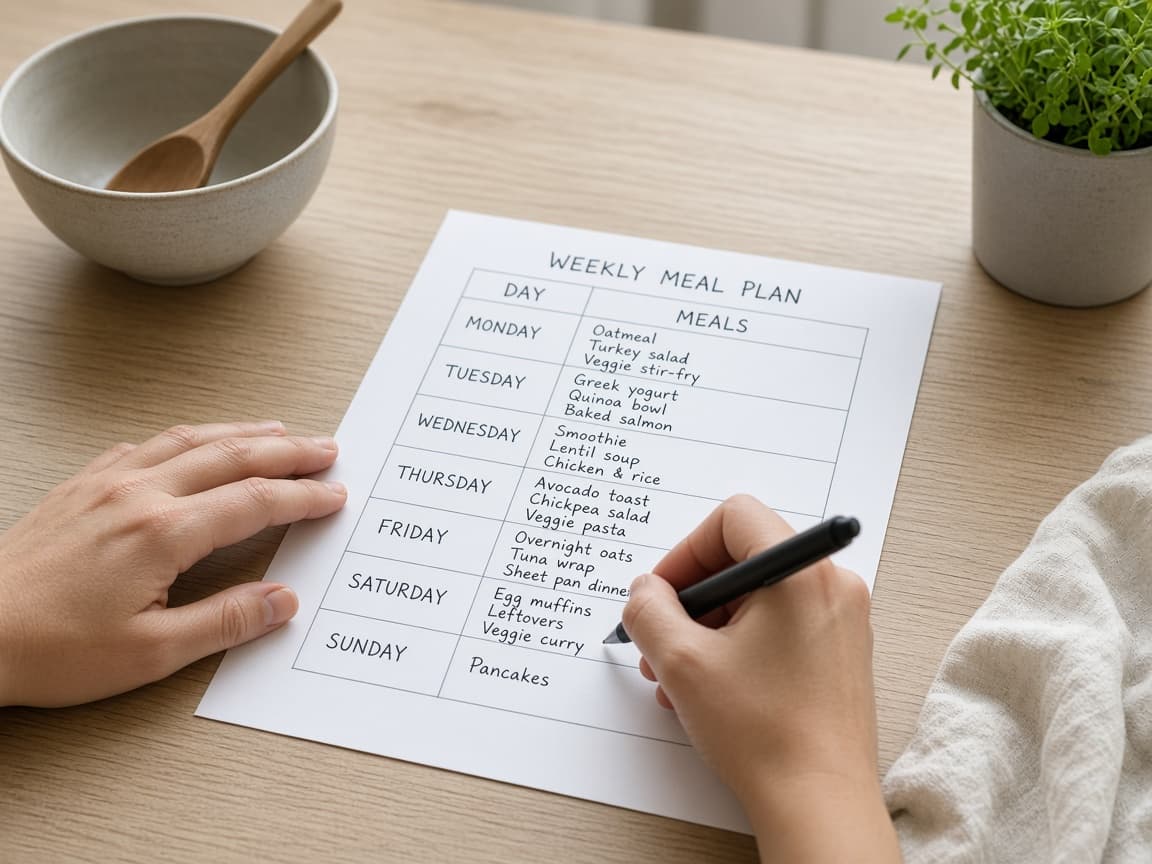
Plan only the nights you will actually eat the prep. 1c
Mark what freezes versus what must be eaten soon
Chili, cooked grains and plain chicken freeze well. Dressed salads and crispy items should be eaten in three to four days. Common mistake: planning seven unique recipes that create a chaotic cook.
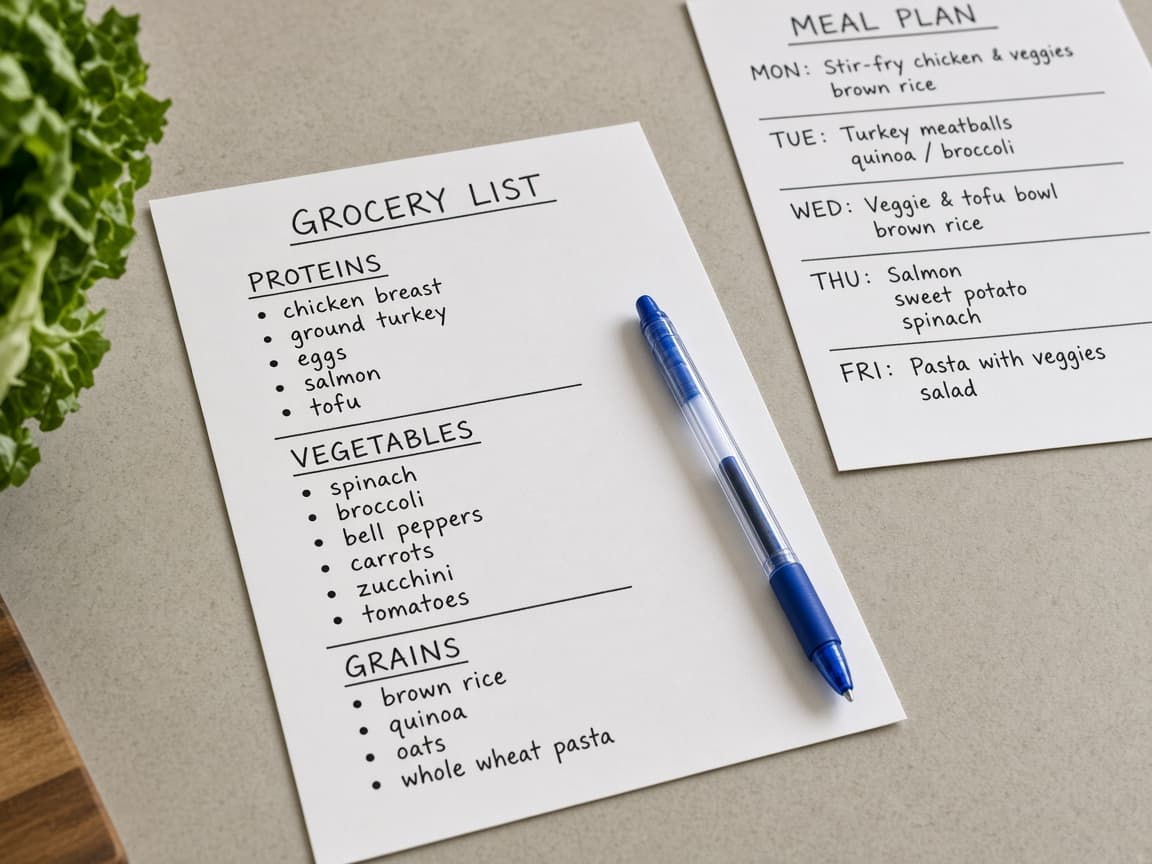
Know the fridge-versus-freezer split before you shop.
Step 02
Shop from a tight list and prep the kitchen
Buy only what the plan needs, then clear space so cooked food has somewhere safe to cool.
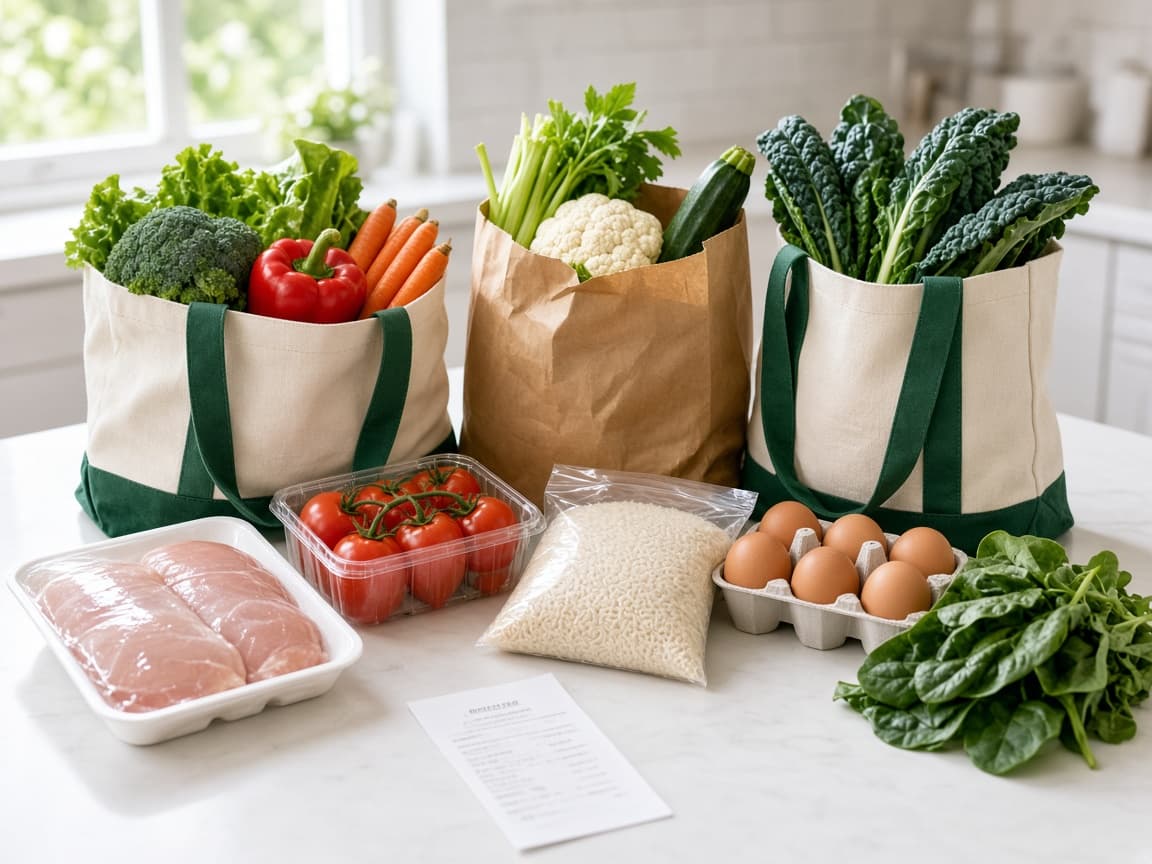
Shop the plan, then clear space so cooked food has somewhere safe to cool. Do this step in order
2a
Build a list by store section and check the pantry
Group the list by produce, meat or alternatives, dairy, pantry and frozen. Cross off what you already have. Buy shallow containers if you are short. Common mistake: shopping hungry and crowding the fridge with extras.
2b
Clear the sink and set out pans before you cook
When you get home, clear the sink, start dishes and set out sheet pans and boards. Wash produce. Pat proteins dry and season. Measure grains and put water or broth on the stove.
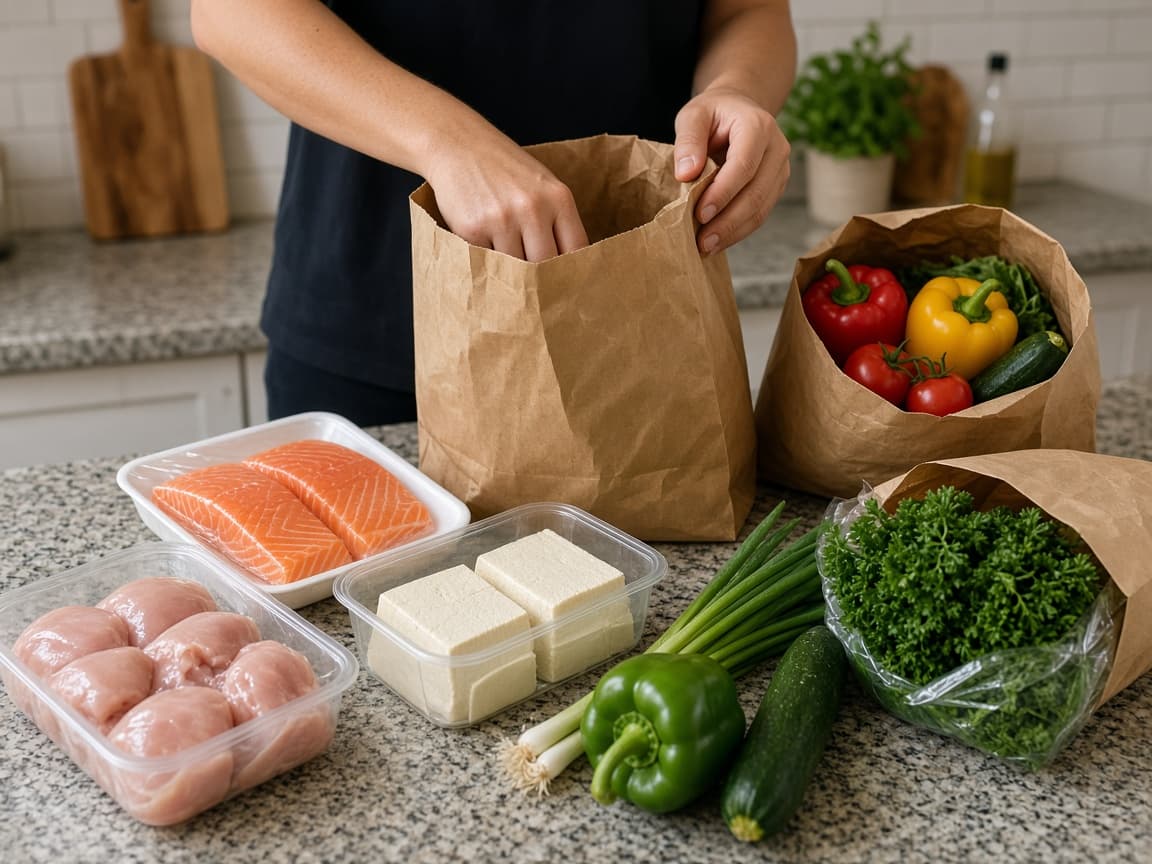
A ready station turns shopping into an immediate cook block. 2c
Preheat and stage so trays can go in at once
Preheat the oven while you finish chopping. Load trays so roasting can start as soon as the oven is ready. Keep raw-meat tools away from ready-to-eat vegetables.
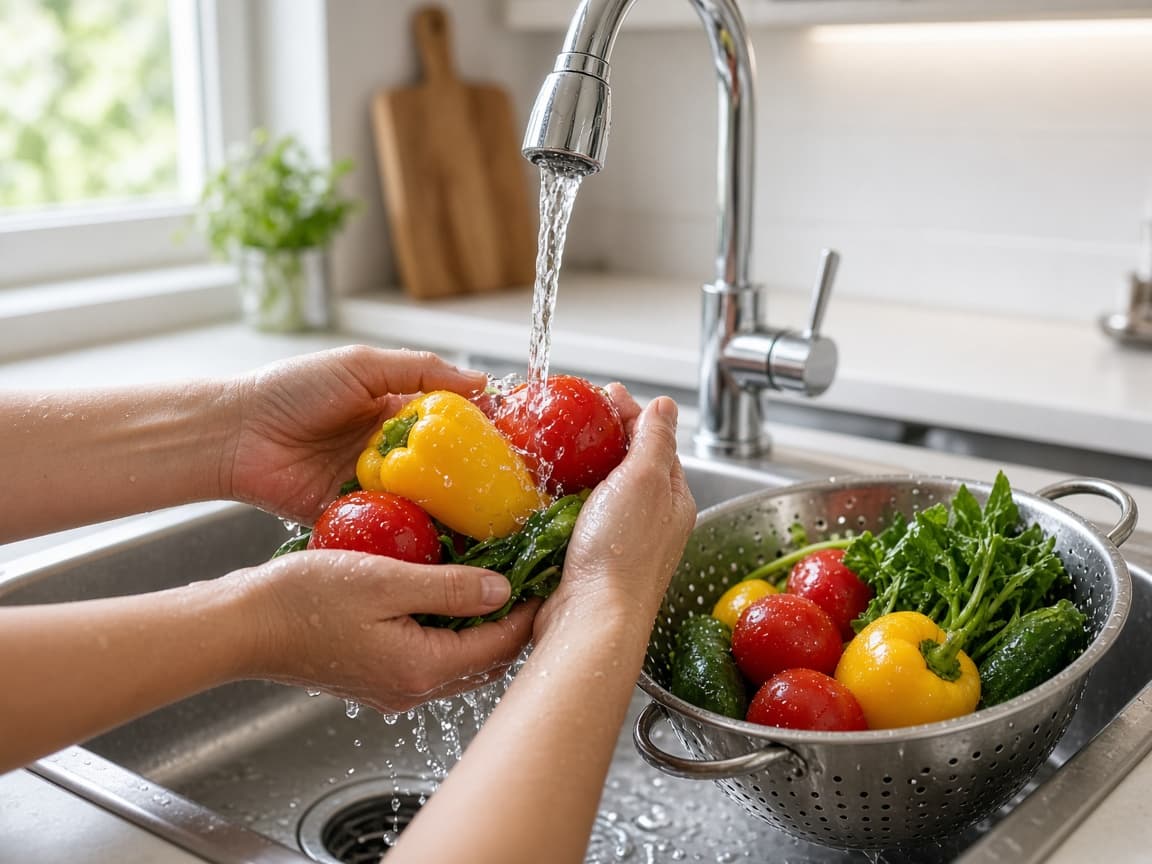
Parallel setup saves the hour you lose cooking one recipe at a time.
Step 03
Batch cook protein, grain and vegetables together
Run oven and stovetop in parallel so the longest items finish in one block, not five separate cooks.
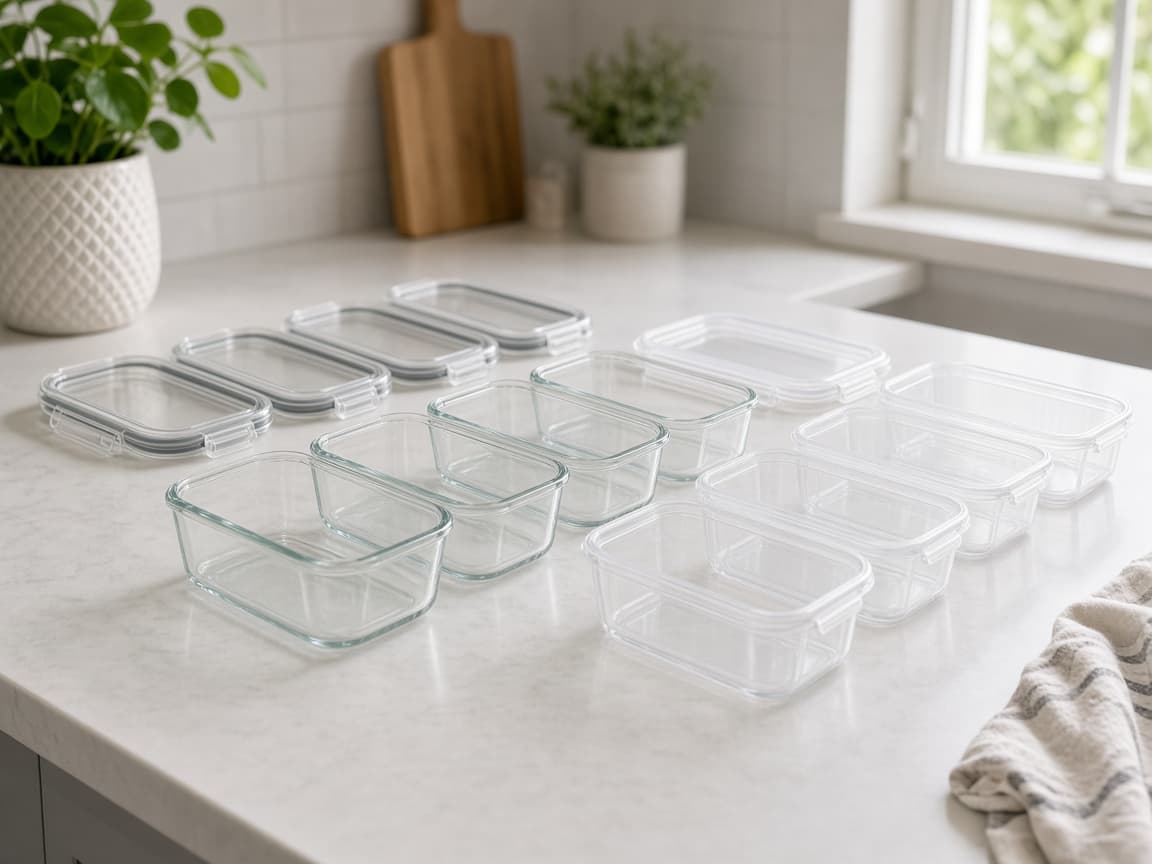
Run the oven and stovetop at the same time so protein, grain and vegetables finish together. Do this step in order
3a
Start the longest cook first
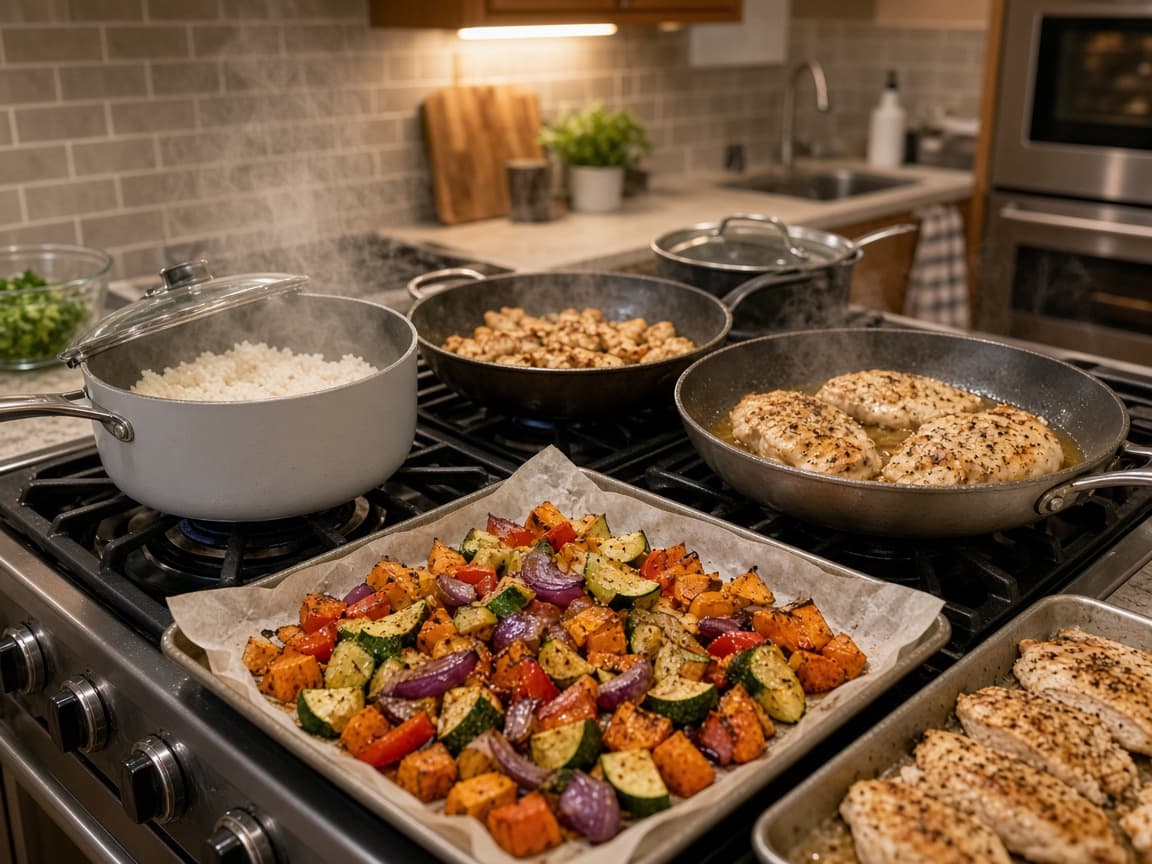
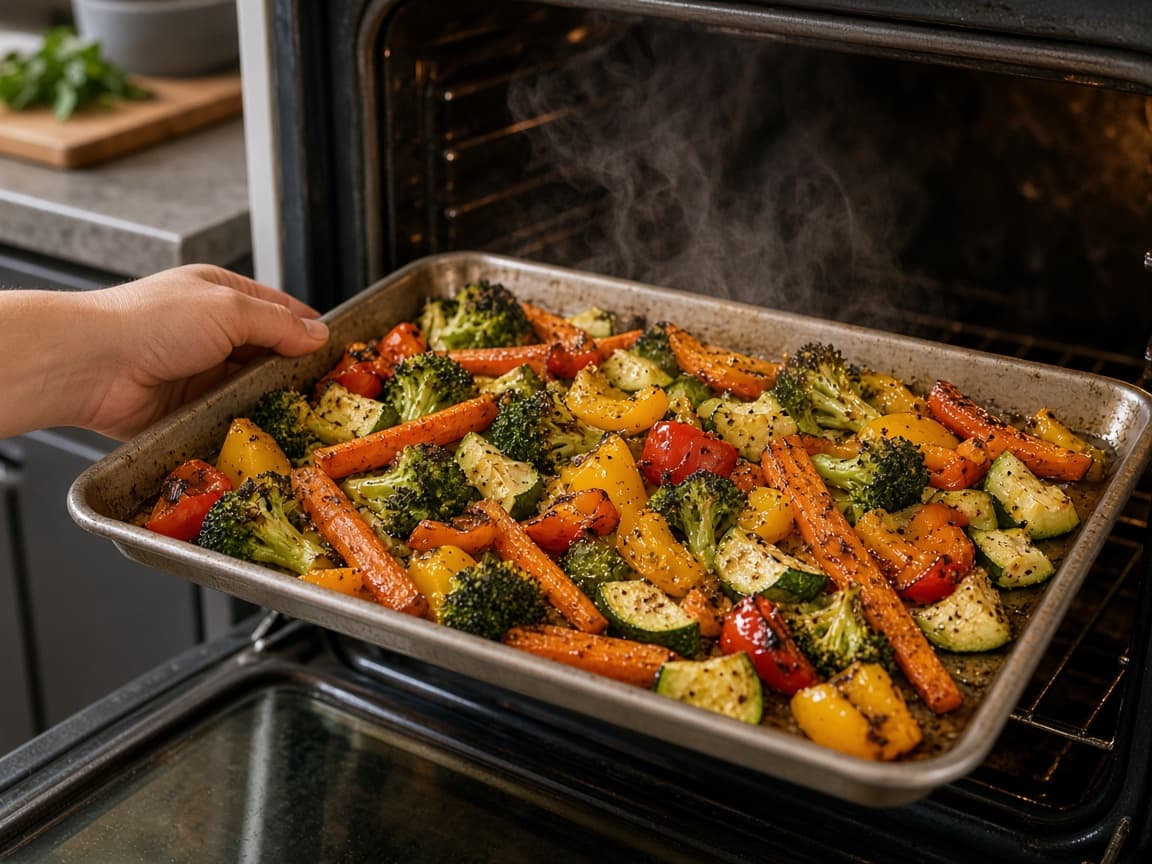
Grains often need 20 to 45 minutes. Get them simmering before or as trays go in. Sheet-pan vegetables and chicken can roast together on separate pans, usually around 400-425°F (200-220°C) depending on the recipe.
3b
Cook proteins to a safe temperature
Use a thermometer for poultry: 165°F (74°C) in the thickest part. Cook ground meat or beans on the stove while trays roast. Season simply with salt, oil and one spice blend per tray so leftovers stay flexible.
Safe temperature first. Fancy seasoning can wait in a separate sauce. 3c
Hold sauces separate and keep working in parallel
Keep strong sauces in their own jars so food does not turn soggy. While rice simmers, chop the next vegetable. Common mistake: finishing one full recipe before starting the next and turning two hours into five.
Plain batches plus separate sauces keep leftovers usable all week.
Step 04
Portion with a simple plate formula
Fill containers with roughly half vegetables, one quarter protein and one quarter grain so meals stay filling.
Half vegetables, about a quarter protein and a quarter grain keeps portions balanced and filling. Do this step in order
4a
Use the half / quarter / quarter layout
For a typical adult lunch, aim for 1½ to 2 cups vegetables, 4 to 6 ounces cooked protein and ½ to ¾ cup cooked grain. Adjust for appetite and activity. Glance at the open box before you lid it.
4b
Portion while warm, not scorching
Pack while food is warm so lids do not warp and condensation stays manageable. Leave headspace in boxes headed to the freezer. Put sauces and crunchy toppings in small separate pots when you can.
Warm packing is fine. Piping-hot sealed boxes make watery leftovers. 4c
Avoid rice-heavy boxes that leave you hungry
Common mistake: filling mostly with cheap grain, then snacking an hour later. If a box looks pale and carb-heavy, add more vegetables before you seal the lid.
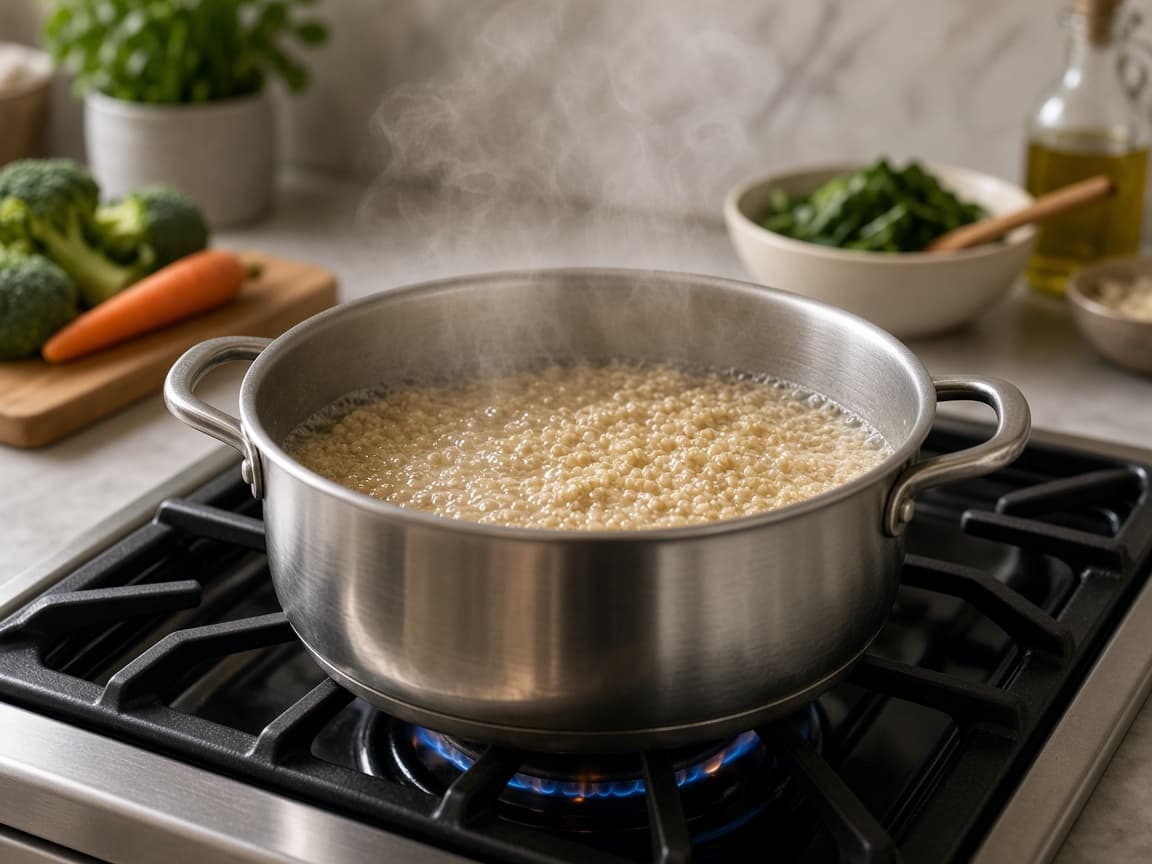
Vegetables and protein keep the portion working until the next meal. 4d
Count boxes against your home nights
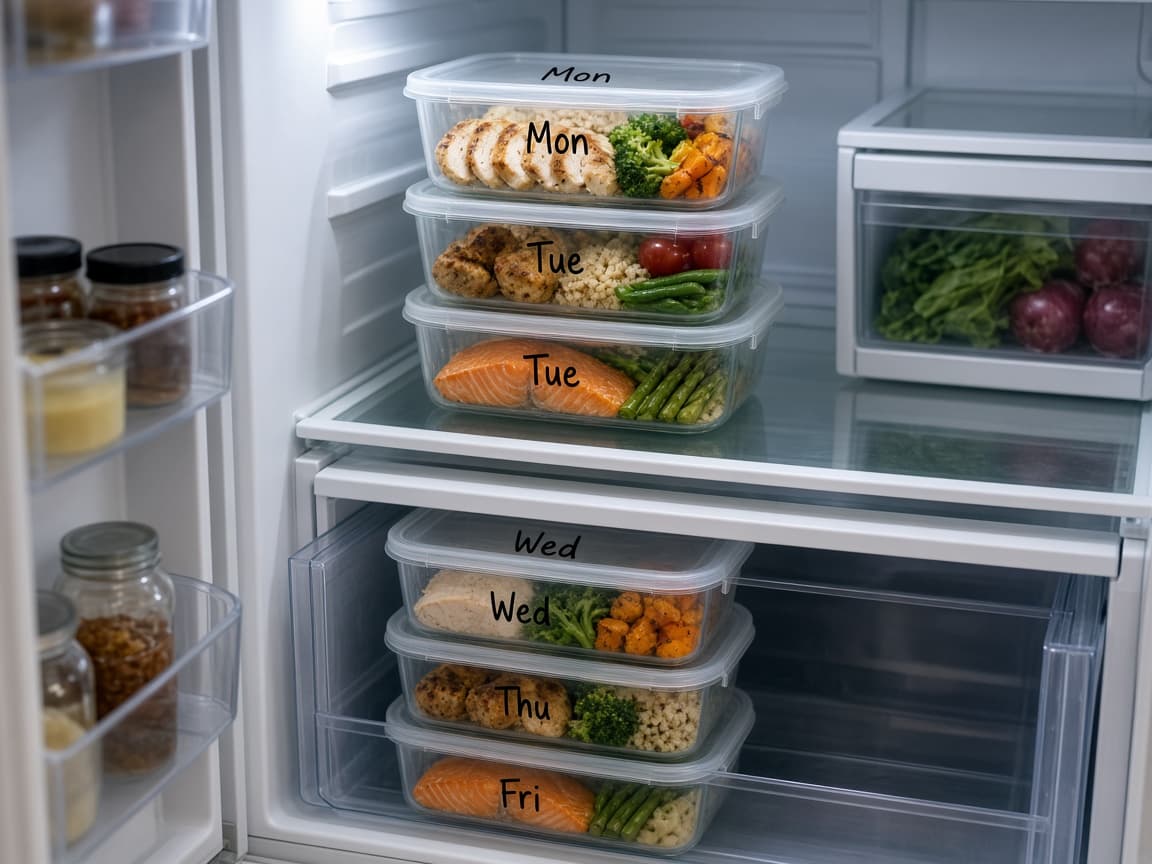
Make only as many refrigerated portions as you will eat in three to four days. Extra plain protein and grain can be frozen now. Label counts on a sticky note so you do not overfill the fridge.
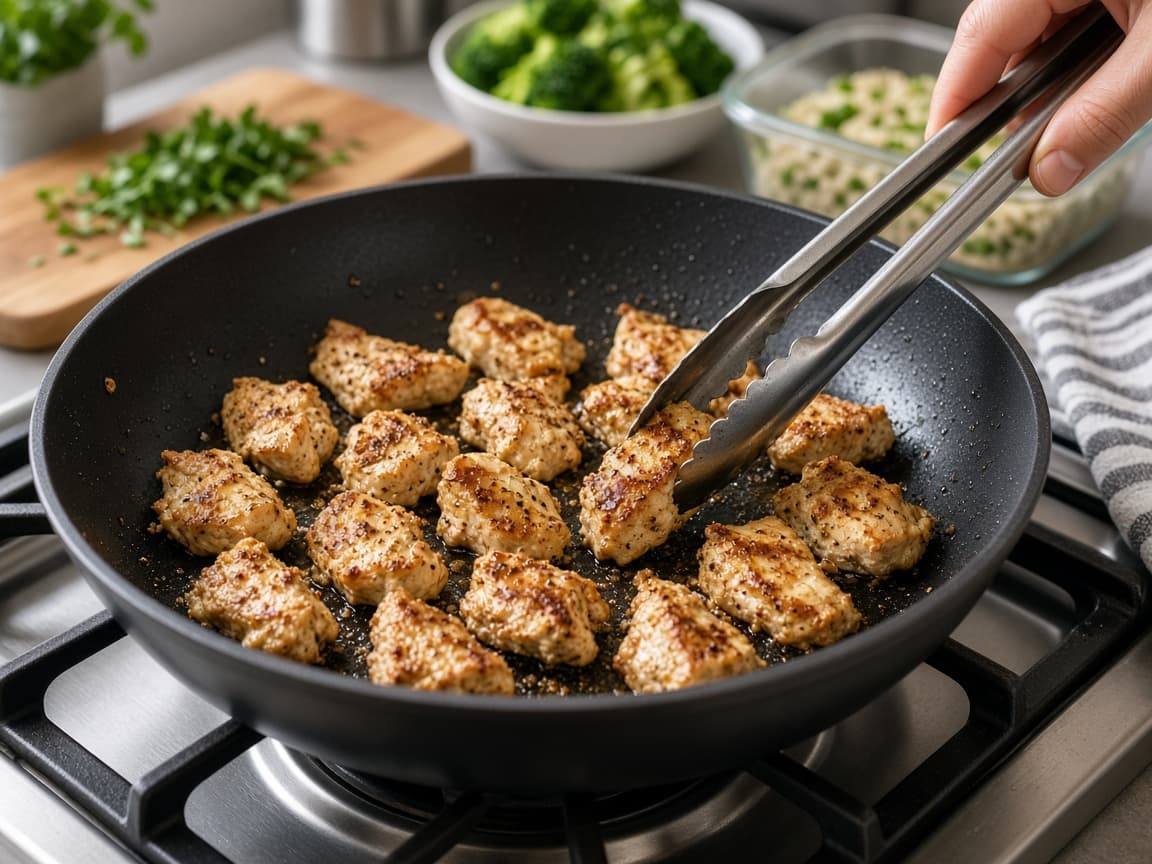
Match box count to fridge life, not to how much you cooked.
Step 05
Cool safely within two hours, then refrigerate or freeze
Shallow containers and a hard fridge deadline protect the batch. Label before anything gets lost in the back of the shelf.
Shallow containers and a two-hour fridge rule protect the whole batch. Do this step in order
5a
Spread hot food in shallow layers
Divide large pots of rice or chili into smaller shallow containers so the center cools faster. Do not leave a giant stockpot on the counter all afternoon. The middle can sit in the bacterial danger zone for hours.
5b
Fridge within about two hours with airflow
Get containers into the fridge within about two hours of cooking (sooner if the kitchen is very hot). Do not stack steaming boxes tightly. Leave space until they are cold.
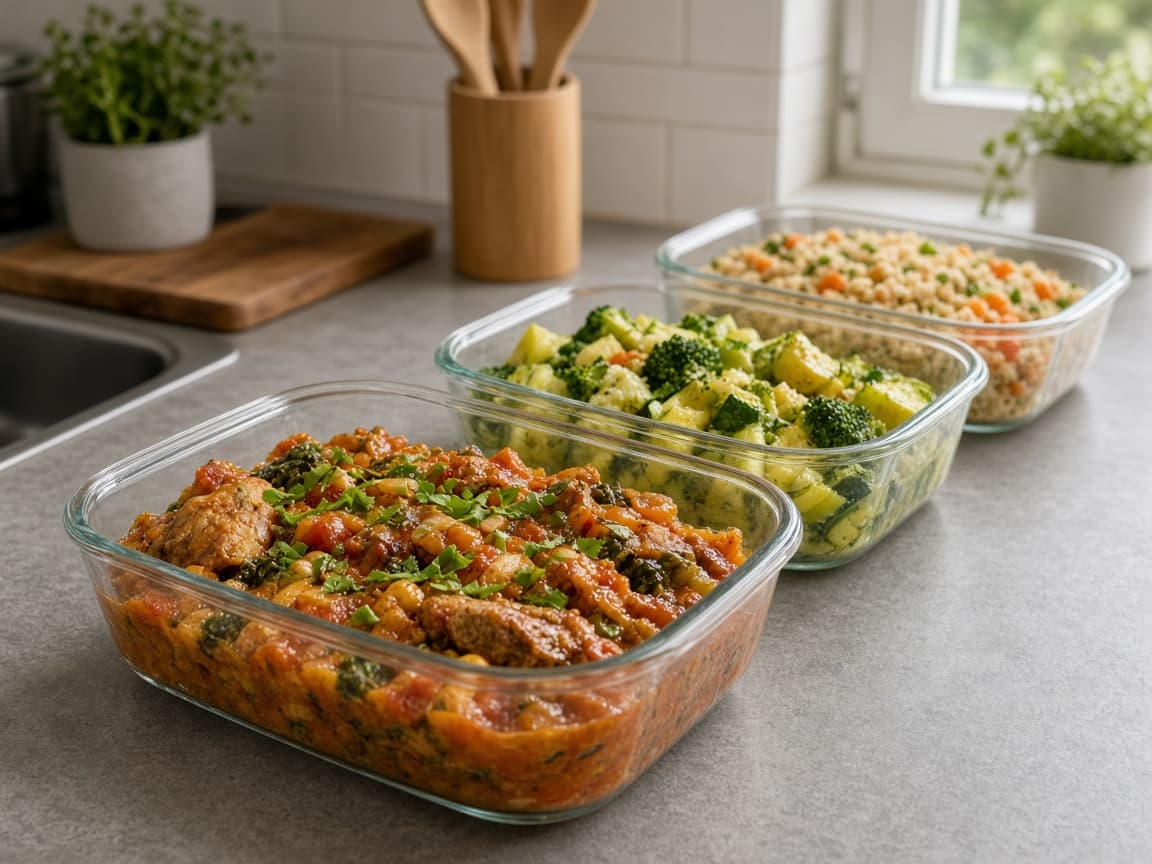
Airflow until cold matters as much as the two-hour clock. 5c
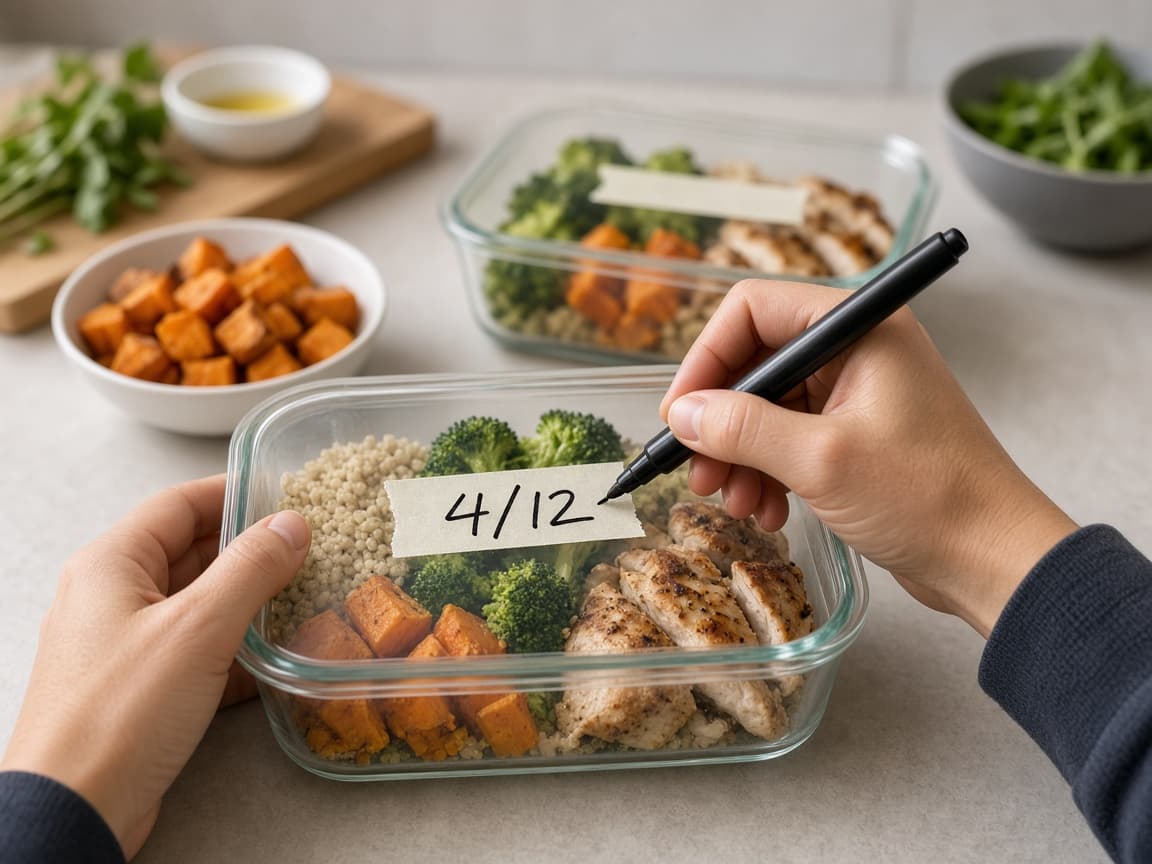
Label contents and cook date on every lid
Write the dish and the cook date on tape or a label. Eat refrigerated meals within three to four days. Common mistake: identical unmarked boxes that become a guessing game on day four.
A dated lid is the difference between dinner and a toss. 5d
Freeze what you will not reach in four days
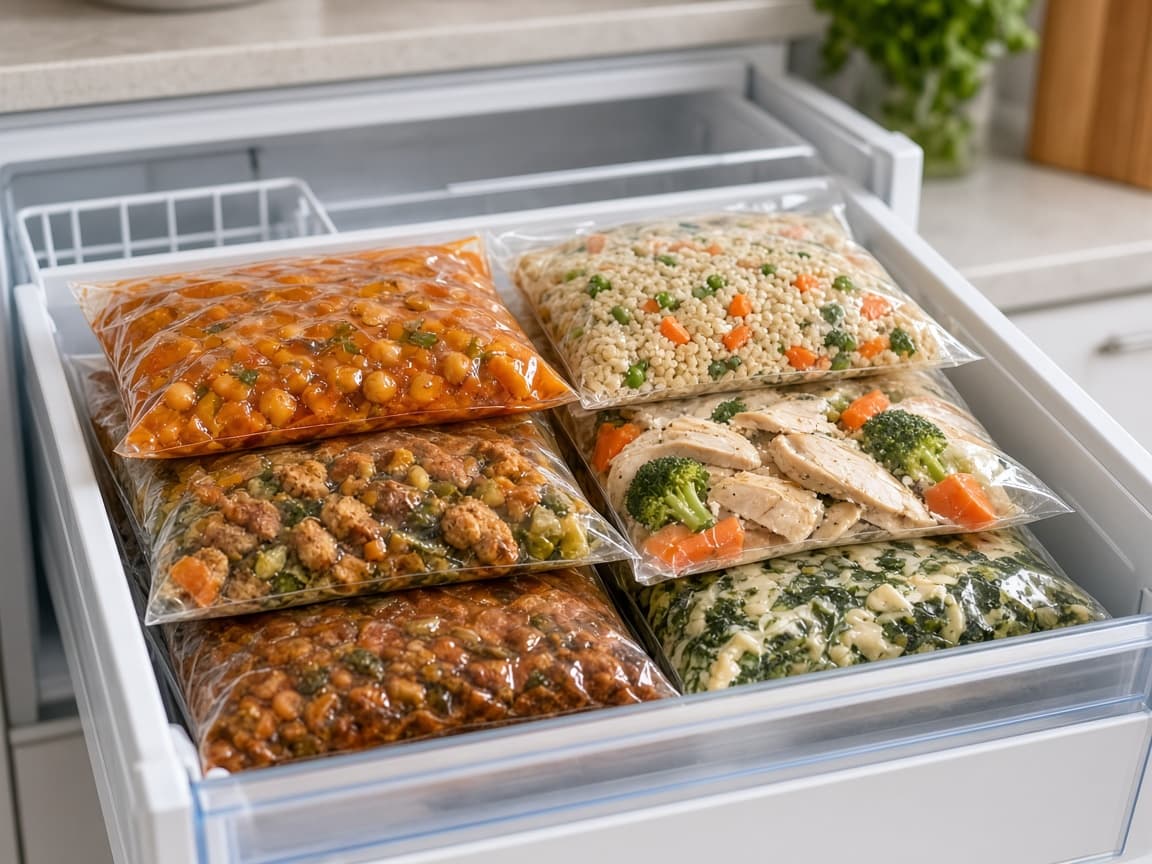
Cool fully before freezing when possible so you do not warm nearby frozen food. Leave headspace for expansion. Move freezer boxes to the front of a labeled bin so they get used.
Freeze on purpose on prep day, not after the fridge portions expire.
Step 06
Reheat thoroughly and rotate through the week
Heat leftovers until the center is steaming hot, eat fridge portions first and wash boxes as you go.
Reheat to about 165°F in the center and add a fresh topping so leftovers still feel like a real meal. Do this step in order
6a
Reheat to about 165°F in the center
Microwave or stovetop until steaming hot throughout, about 165°F (74°C) in the center. Stir microwaved bowls halfway. Common mistake: hot edges with a lukewarm middle.
6b
Eat fridge first; thaw freezer boxes overnight
Use refrigerated portions before freezer ones. Move a frozen box to the fridge the night before you need it. Add lemon, herbs, cucumber or a fried egg so day-three food tastes intentional.
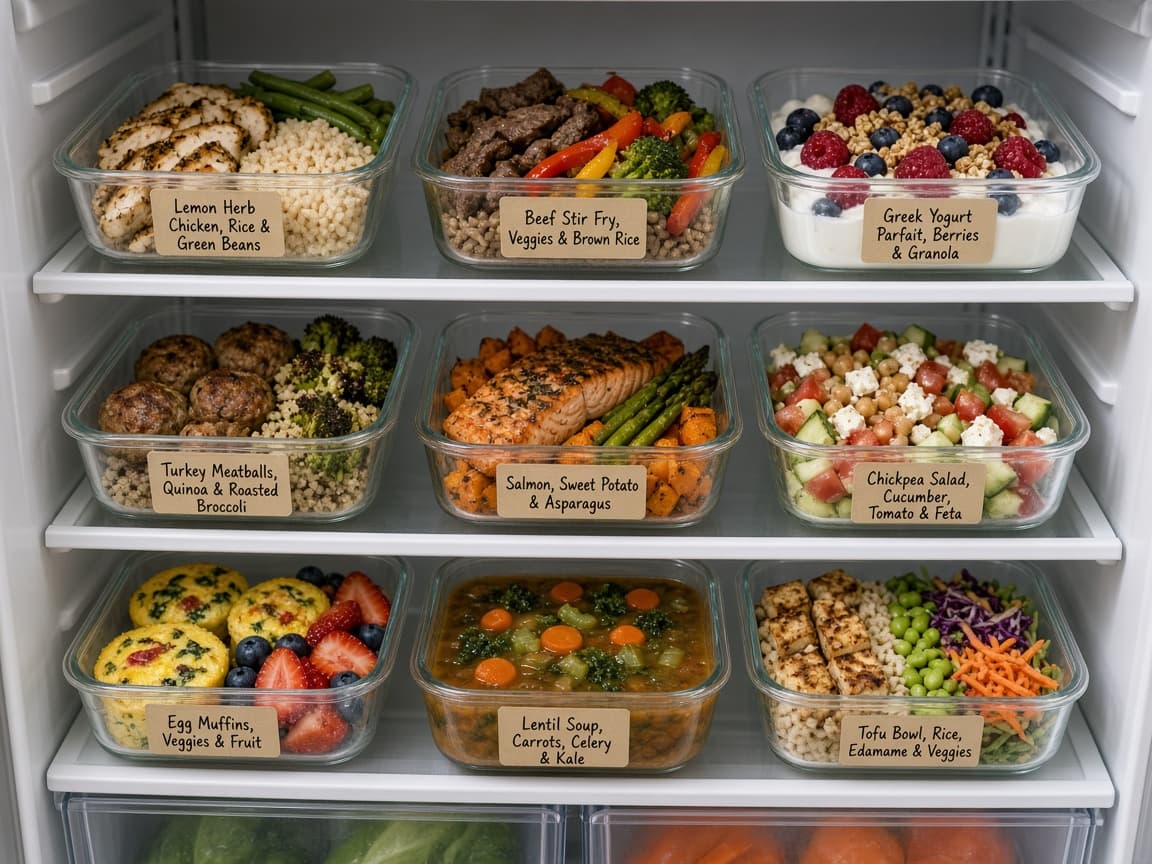
Rotation prevents forgotten boxes at the back. 6c
Wash containers as you empty them
Wash and dry boxes the day you finish them so next week starts empty. Do not refreeze food that sat thawed in the fridge for days unless you cooked it again with safe practice for that dish.
Clean boxes are part of finishing the week, not a chore for later.
Done when
- 3-4 meals chosen and shopping list written
- Containers washed and dry
- Proteins, grains and vegetables cooked
- Food cooled in shallow containers within two hours
- Portions labeled with contents and date
Eagle Frame’s takeaway: one focused session can cover a week if the meals share ingredients and the cooling step is careful. Portion with half vegetables, chill within two hours and reheat to 165°F. Put a prep block on the calendar for the same day each week so takeout becomes the backup plan, not the default.