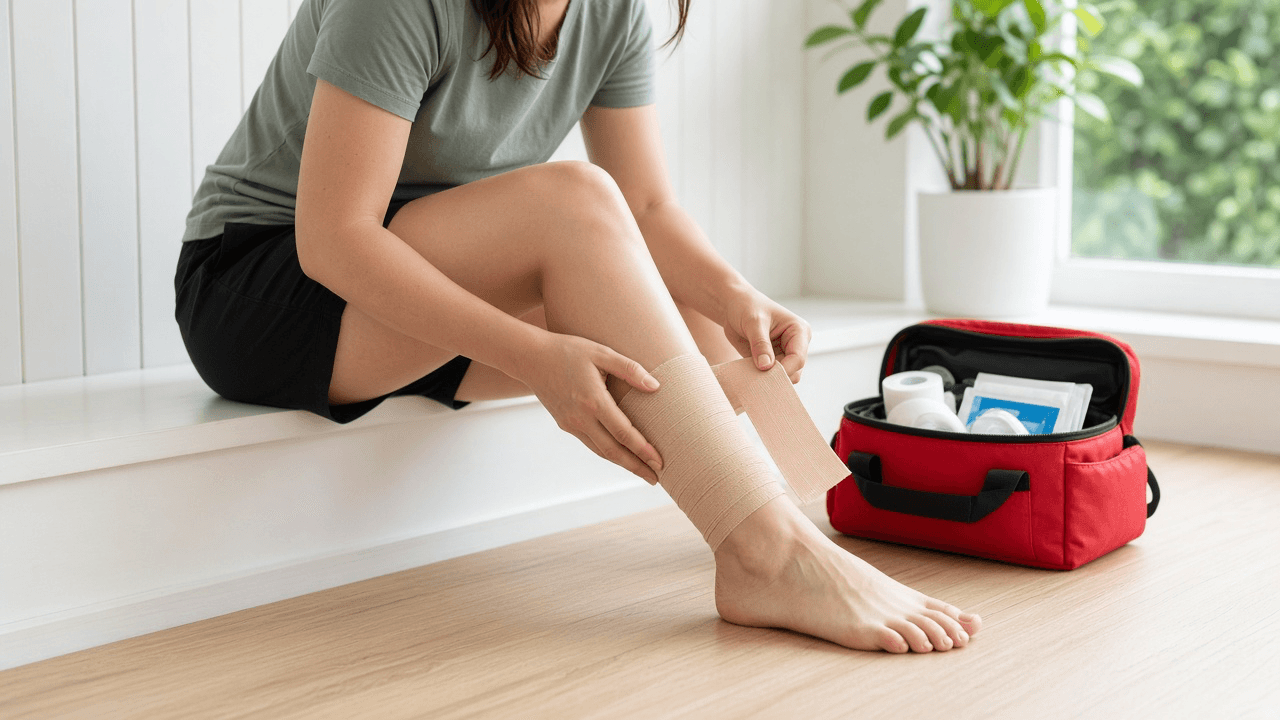
How to treat a sprained ankle
Use PEACE and LOVE for the first days, protect the joint with a brace and know when swelling, bruising or inability to bear weight means you need imaging, not just ice.
A sprained ankle is a stretched or torn ligament, the strong tissue that connects one bone to another and steadies the joint. A foot that rolls on a curb, landing or tackle can injure those fibers in seconds. Pain, swelling and bruising fit a sprain, but they can also occur with a fracture. Check the injury before assuming it only needs ice.
RICE stands for rest, ice, compression and elevation. It remains familiar first-aid advice, especially for comfort during the first day. A newer sports-medicine framework uses PEACE first: protect, elevate, avoid routine anti-inflammatory measures, compress and educate. It then uses LOVE: load, optimism, vascularization and exercise. Both approaches protect the ankle early, but PEACE and LOVE puts more emphasis on a planned return to movement.
The Ottawa ankle rules help clinicians decide when an adult with a new injury needs an X-ray. An ankle X-ray is indicated when pain around the ankle bones comes with tenderness along the back edge or tip of either ankle bone, or when the person cannot take four steps both after the injury and during assessment. Midfoot pain with tenderness at the navicular or base of the fifth metatarsal also warrants a foot X-ray. These rules do not diagnose tendon or ligament damage.
For a likely mild sprain, use a brace or wrap to prevent another roll and elevate the ankle above the heart when resting. A cloth-wrapped cold pack for no more than 20 minutes can ease pain. Compression should overlap evenly from the foot toward the calf, with the toes left visible. Loosen it immediately if the toes become numb, cold, blue or more painful.
Once ordinary walking becomes easier, begin small ankle circles and gentle up-and-down movement. Progress to calf raises, supported single-leg balance and resistance-band work without forcing sharp pain. Walking or easy cycling can restore circulation before jogging. Cutting, jumping and match play belong later, after the ankle can handle balance and direction changes confidently.
Seek urgent care for deformity, an open wound, numbness, a cold or pale foot, severe pain or rapidly worsening swelling. Arrange reassessment if pain or weight bearing has not clearly improved within five to seven days. People with diabetes, poor circulation, reduced sensation or repeated ankle sprains should ask a clinician for a more individual plan.
Step-by-step guide
Time: First 48 to 72 hours of care; full return to sport often takes 2 to 6 weeks
What you need
- Elastic wrap or ankle brace
- Ice pack or bag of frozen peas in a thin towel
- Pillow or stack of cushions for elevation
- Crutches or a walking boot if weight bearing hurts
- Resistance band for later rehab
- Notebook to track swelling and walking ability
Before you start
- This guide is general first-aid information, not a diagnosis. Seek care for severe pain, numbness, open wounds or inability to bear weight.
- Do not wrap so tightly that toes tingle, turn blue or go cold.
- Avoid heat, alcohol and massage on a fresh acute sprain.
- Do not return to cutting sports while the ankle still gives way or swells after every session.
Step 01
Stop play, get off the foot and protect the joint
Get weight off the ankle immediately. Decide whether this is a home-care sprain or a clinic visit before you ice and wrap.
Do this step in order
1a
Stop the activity and support the foot
Sit or lie down as soon as the roll happens. Remove the shoe if swelling is rising fast. Keep the foot still and avoid testing it with hops, sprints or walking it off on uneven ground.
1b
Stage crutches, a brace or a firm shoe nearby
Bring support within reach before you stand again. A lace-up brace, elastic wrap or high-top shoe can limit another roll while you decide next steps.
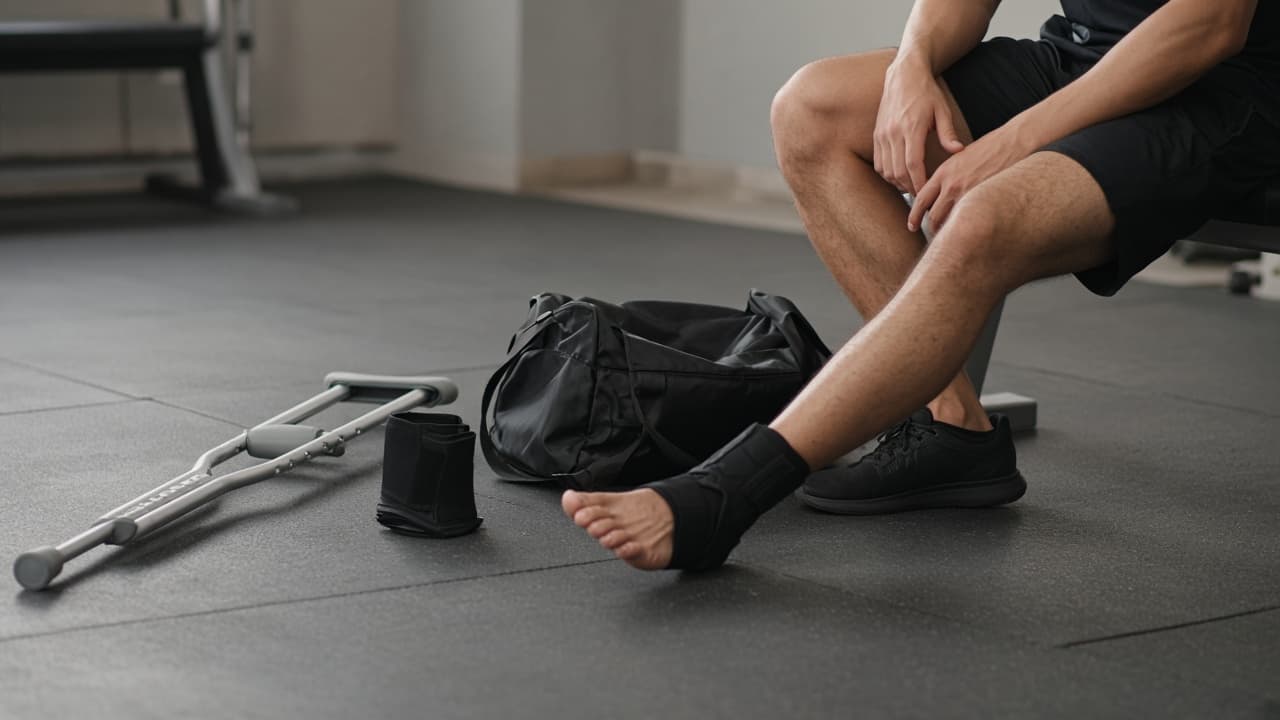
Stage support before you try to walk again. 1c
Keep people from yanking the foot into range-of-motion tests
Friends sometimes twist or stretch a fresh ankle to check it. Stop that. Painful forced motion can worsen a tear and does not replace a proper exam.
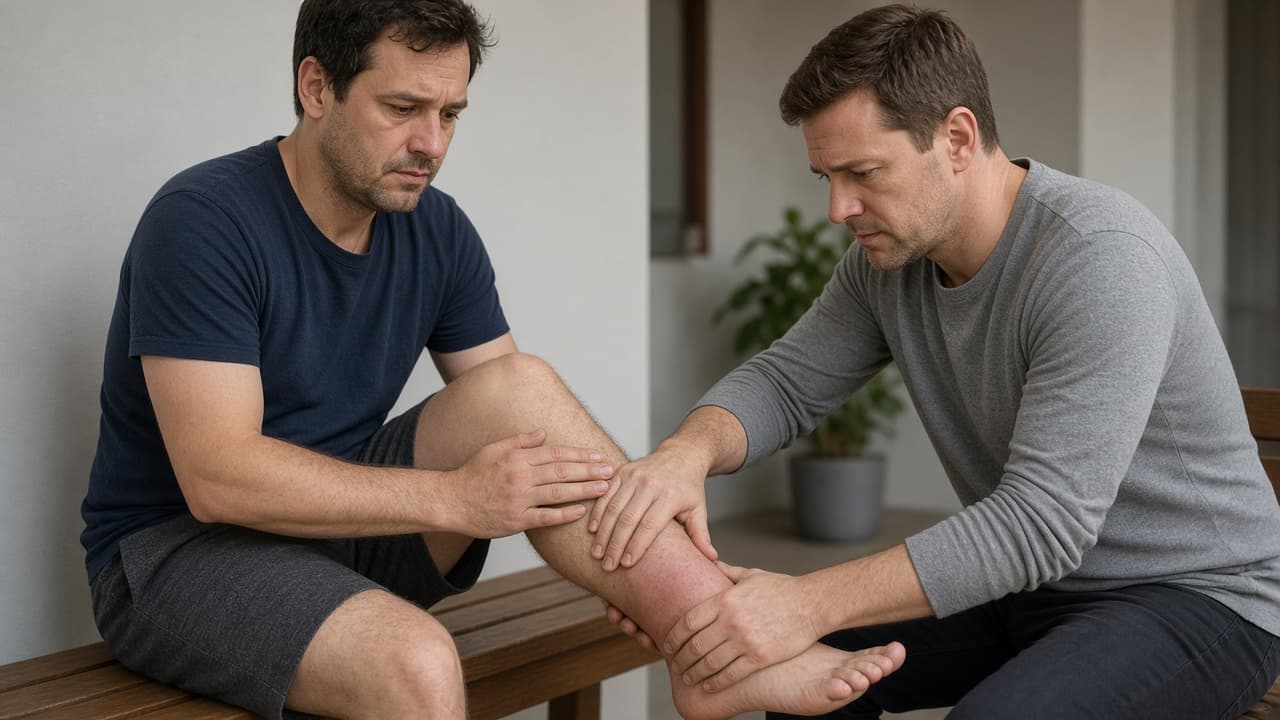
No forced twists on a fresh sprain. 1d
Common mistake: playing through a hot, unstable joint
Common mistake: finishing the game because the ankle only rolled once. If the joint feels loose, swells fast or will not take weight, end the session and start protection instead of another play.
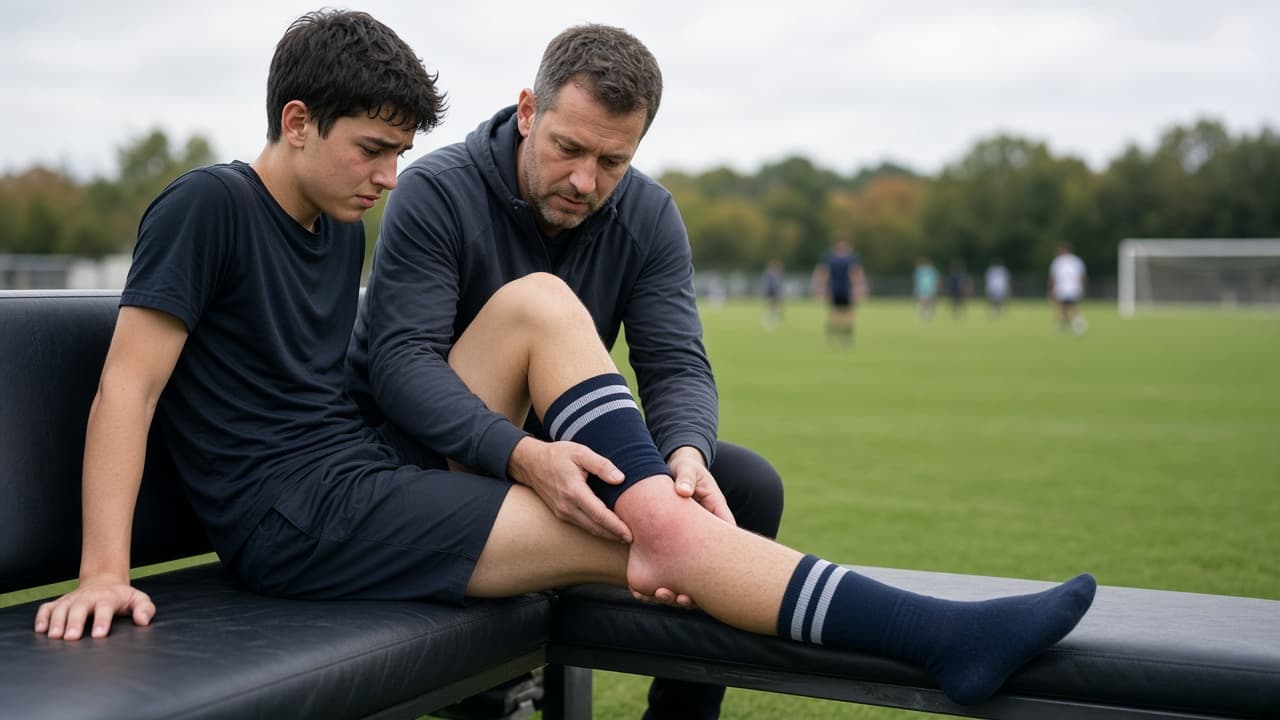
Leave the field when the ankle feels loose or will not bear weight.
Step 02
Run an Ottawa-style check before you commit to home care
Bone tenderness and a failed four-step walk are reasons to seek imaging, not another ice pack alone.
Do this step in order
2a
Try four steps only if you can do so safely
With support nearby, see whether you can take four steps. Inability to walk four steps after the injury and during assessment is a classic reason clinicians order an ankle X-ray.
2b
Press along the back edge and tip of each ankle bone
Feel the bony knobs on the outside and inside of the ankle. Sharp tenderness along the back edge or tip points toward imaging rather than assuming a soft-tissue sprain.
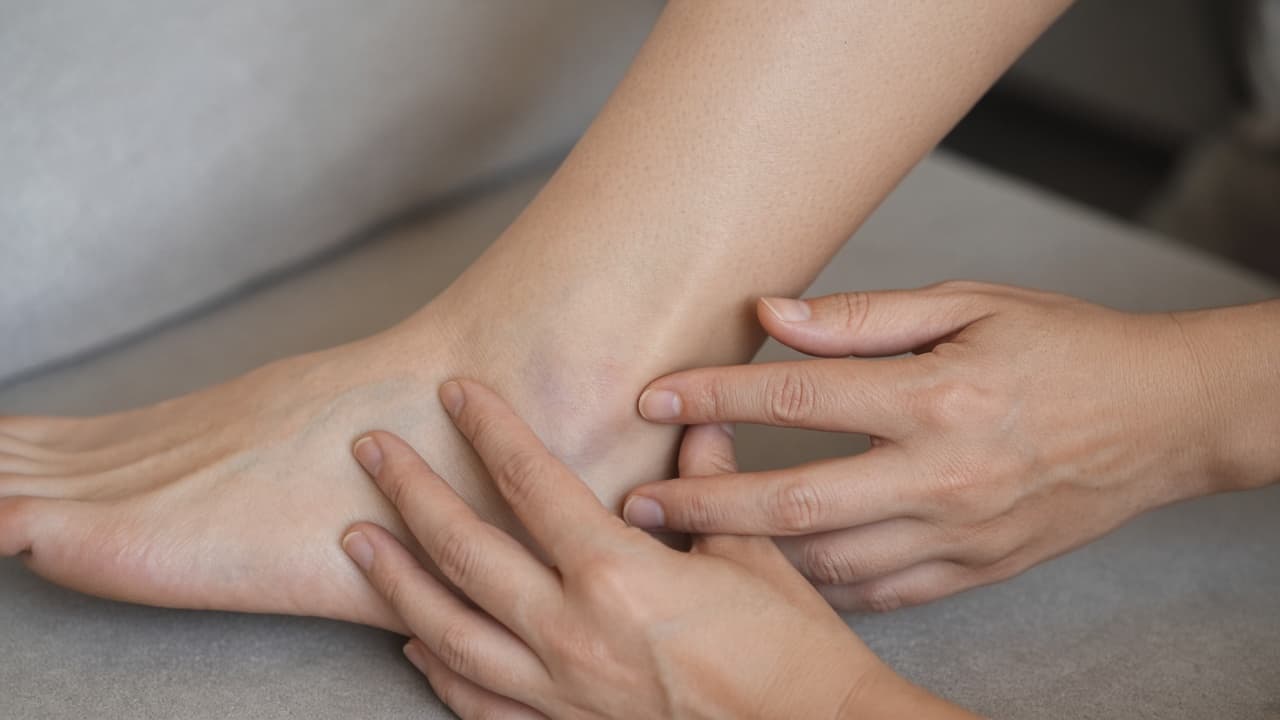
Bone-edge tenderness is a reason to seek an X-ray assessment. 2c
Check the midfoot bones as well
Press gently over the navicular on the inner midfoot and the base of the fifth metatarsal on the outer foot. Midfoot pain plus sharp bone tenderness is another reason to seek a foot X-ray.
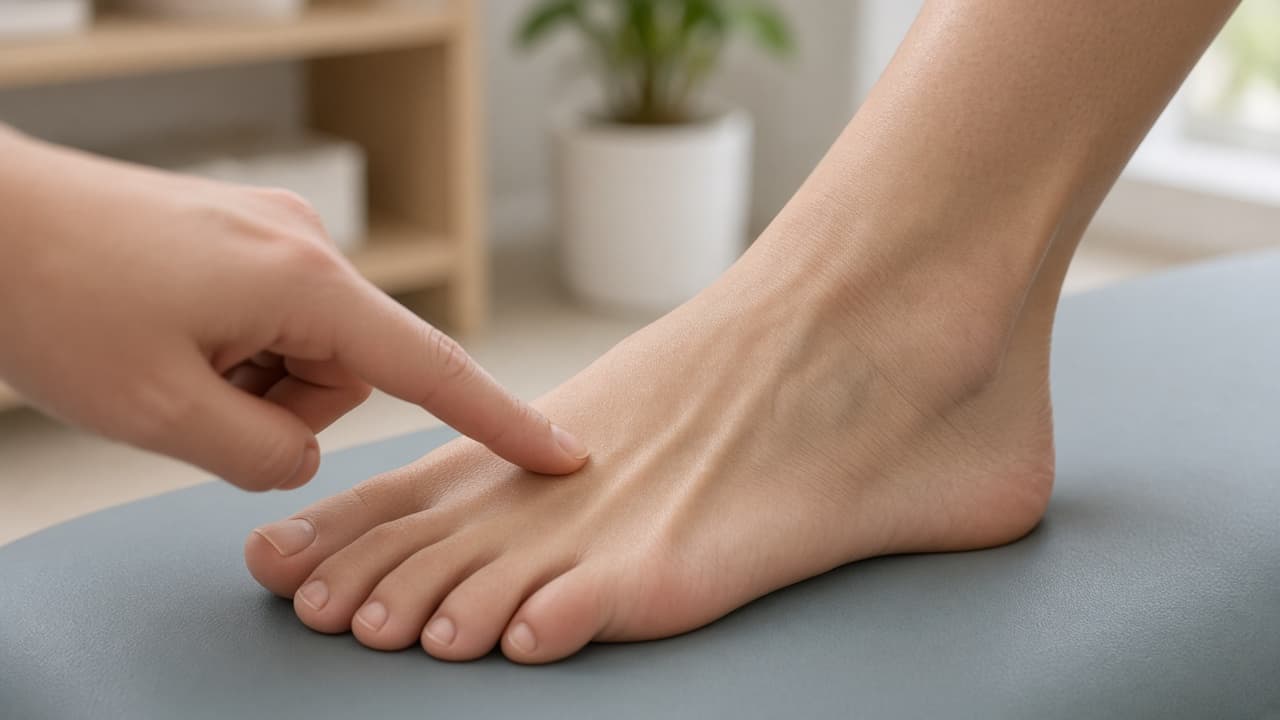
Midfoot bone points matter as much as the ankle knobs. 2d
Common mistake: icing overnight and skipping imaging when red flags are present
Common mistake: treating every swollen ankle as a mild sprain because ice feels productive. Deformity, open skin, numbness, a cold or pale foot or a failed walk-and-bone check means urgent care first.
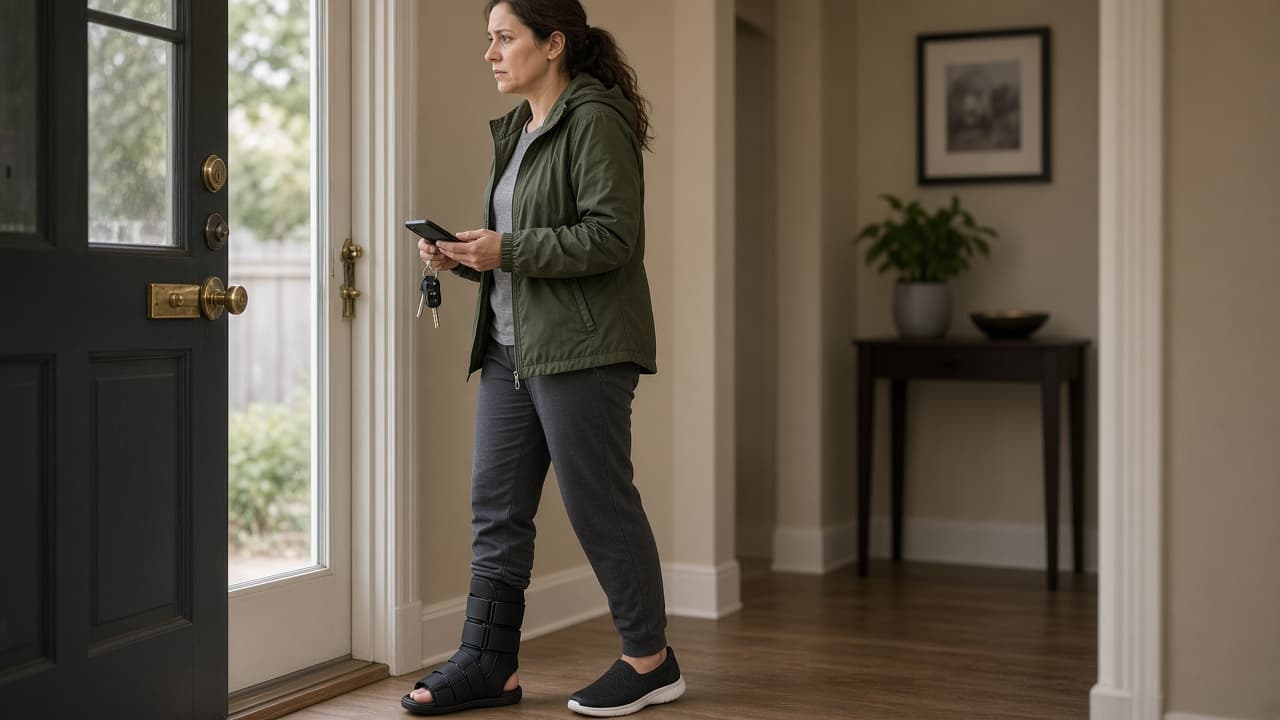
Red flags belong in a clinic, not under another ice pack.
Step 03
Protect and elevate for the first two to three days
Early care calms swelling and prevents another roll while the fibers begin to settle.
Do this step in order
3a
Choose a brace, boot or firm shoe for protection
Lace a high-top shoe snugly or use an elastic wrap or store brace (the P in PEACE). The goal is to prevent another roll, not to immobilize for weeks without a plan.
3b
Elevate above heart level often
Prop the foot on pillows when you sit or lie down. Elevation drains fluid away from the joint. Repeat several times a day in the first 48 hours.
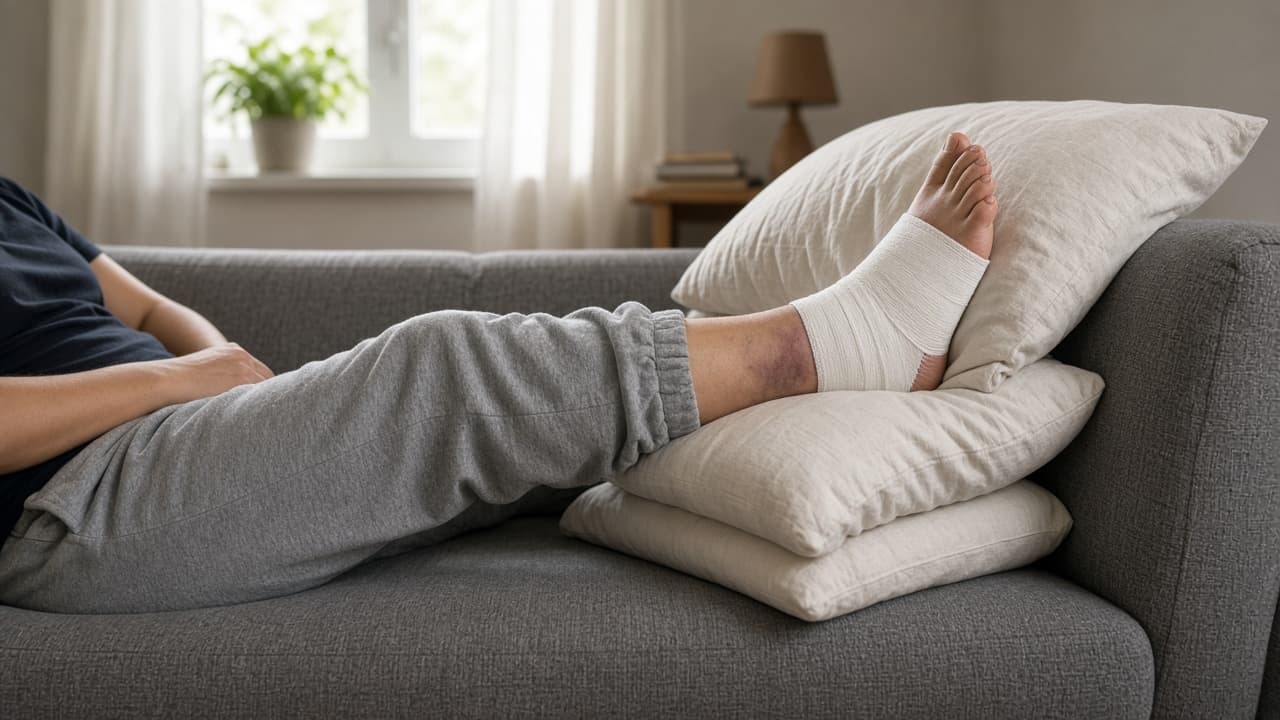
Elevation works when the foot is truly above the heart. 3c
Compress with an even elastic wrap
Spiral the wrap from the toes toward the calf with even overlap. Leave toes visible. It should feel supportive, not throbbing.
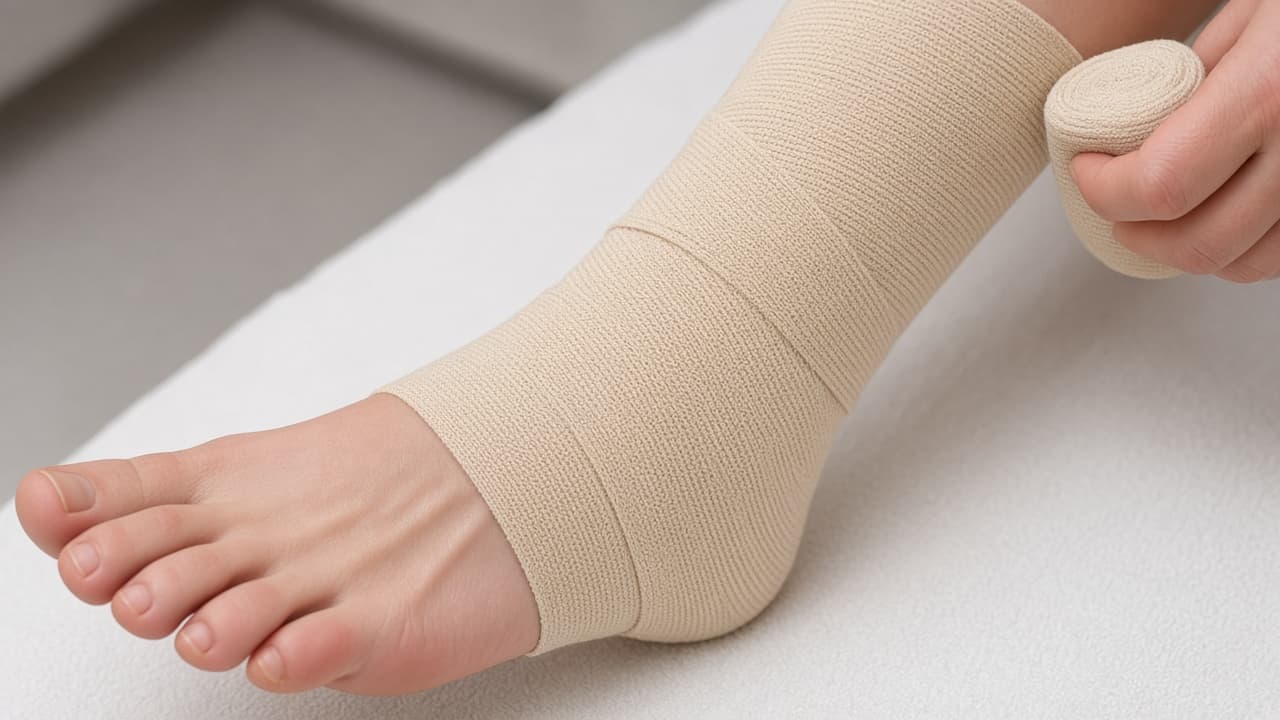
Even overlap from foot to calf, toes left visible. 3d
Common mistake: tightening the wrap every hour
Common mistake: pulling the wrap tighter each hour because swelling looks dramatic. Numb, blue or cold toes mean loosen immediately and rewrap looser or switch to a brace.
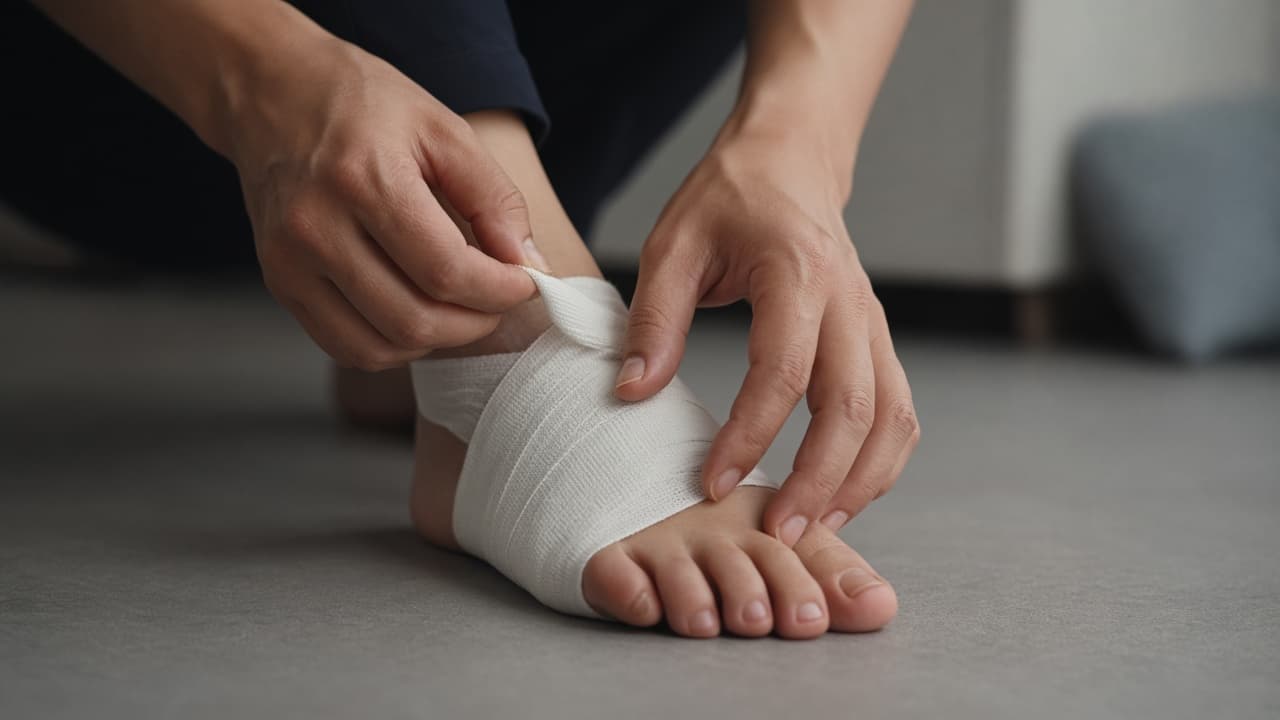
Tingling or blue toes mean loosen the wrap now.
Step 04
Use short ice rounds and skip routine anti-inflammatories unless advised
Cold can ease pain. It does not replace protection, elevation or a proper loading plan.
Do this step in order
4a
Apply a cold pack through a thin towel
Use an ice pack or bag of frozen peas wrapped in cloth. Skin should cool, not freeze. Never place ice directly on bare skin for a long session.
4b
Limit rounds to 15 to 20 minutes
Remove the pack for at least 40 minutes between rounds. Numb skin is enough. Frostbite and prolonged icing are not the goal.
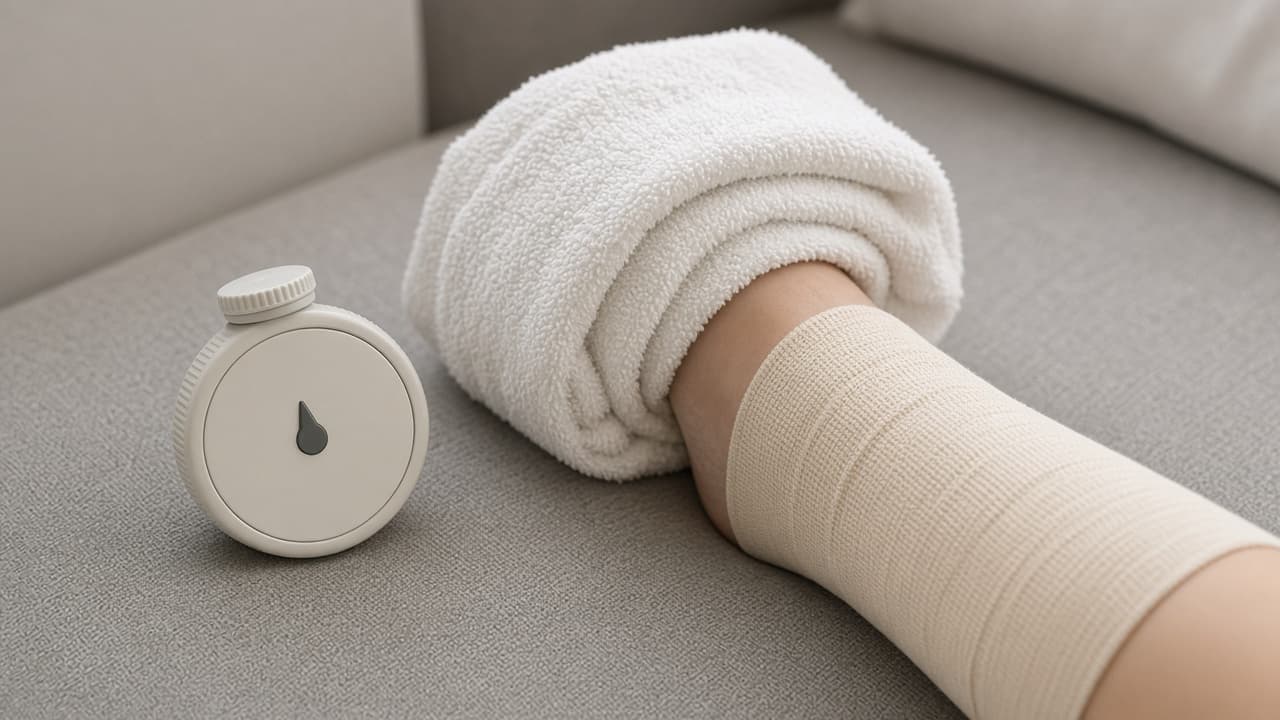
Short timed rounds beat all-day icing. 4c
Ask before using ibuprofen or naproxen in the first days
PEACE guidance often skips routine anti-inflammatory pills early because inflammation is part of healing. Ask a clinician if you take blood thinners or need stronger pain control.
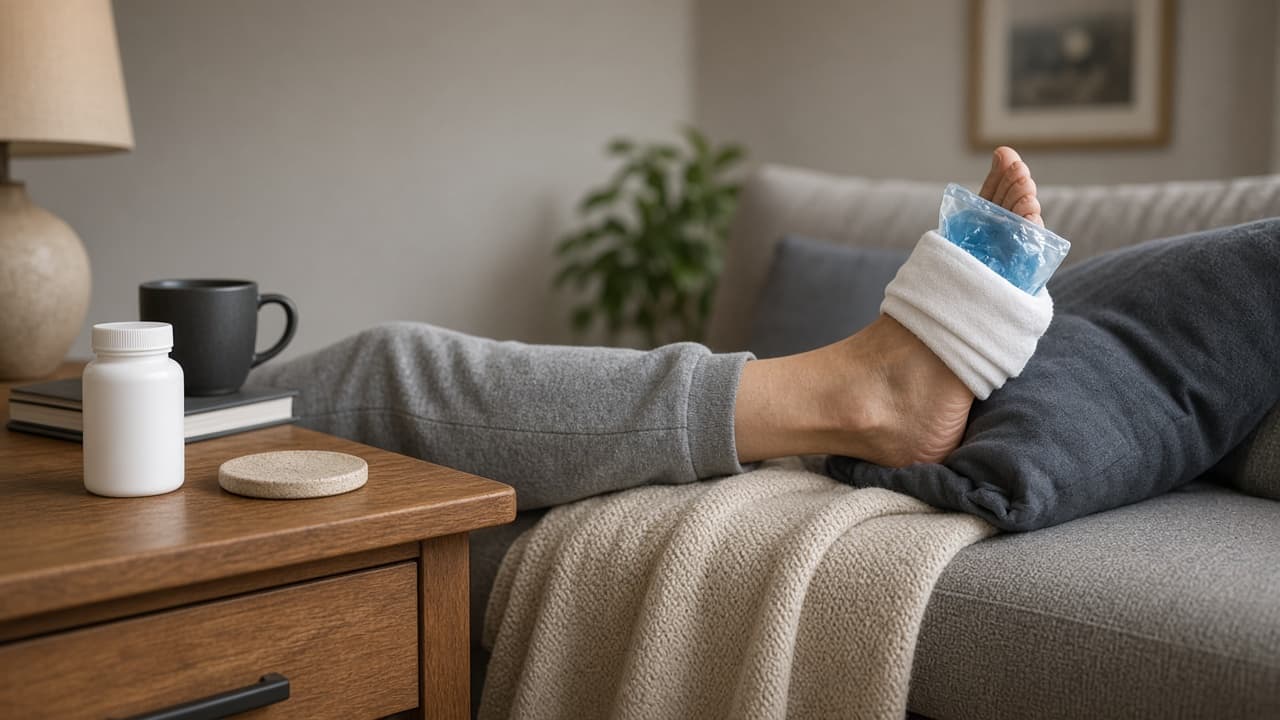
Do not self-start anti-inflammatories if PEACE guidance and your clinician say wait. 4d
Common mistake: heat, alcohol or massage on day one
Common mistake: heating pads, hot tubs or deep massage on day one because they feel soothing. Heat and aggressive rubbing can increase swelling on an acute sprain.
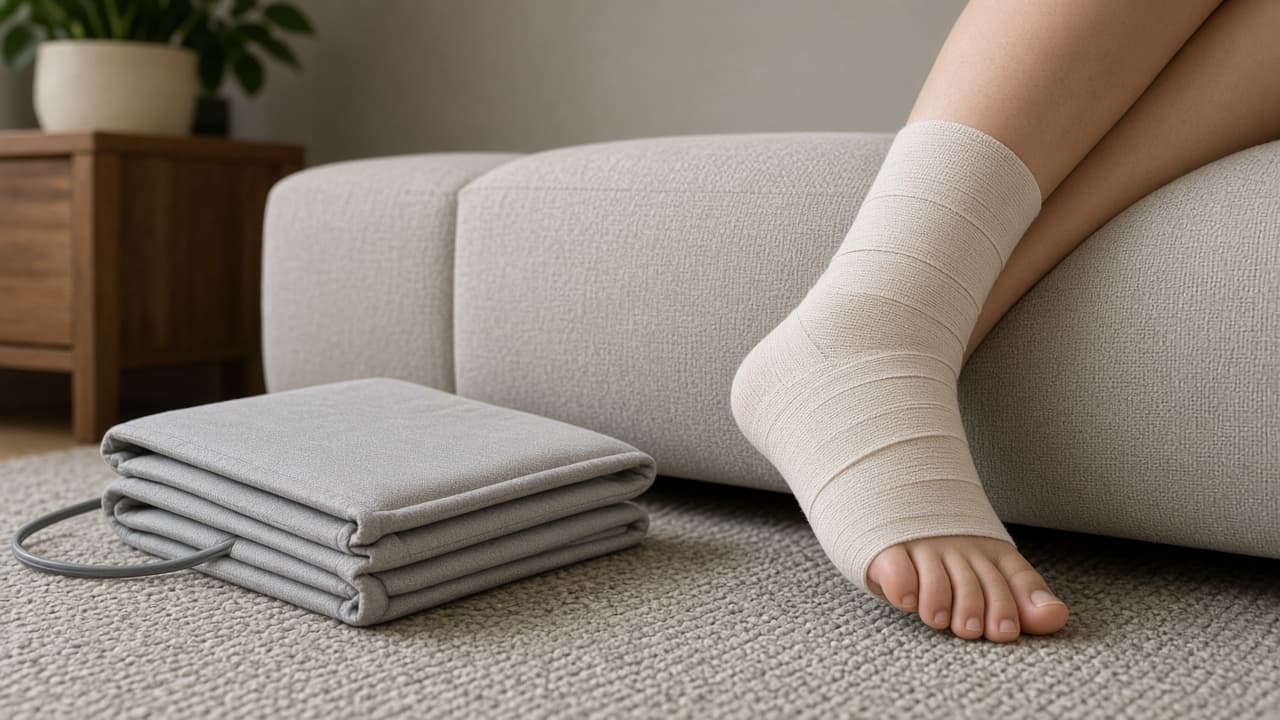
Skip heat and deep massage on a fresh acute sprain.
Step 05
Begin LOVE with gentle motion once walking eases
Small pain-free movements restore glide before you add speed or sport drills.
Do this step in order
5a
Start alphabet letters or slow ankle circles
Draw the alphabet with your toes or circle the ankle when it hurts only a little. Short sessions several times a day beat one painful marathon.
5b
Add gentle up-and-down and side-to-side motion
Point and flex the foot, then rock lightly inward and outward within a comfortable range. Stop at sharp pain or a sudden give-way feeling.
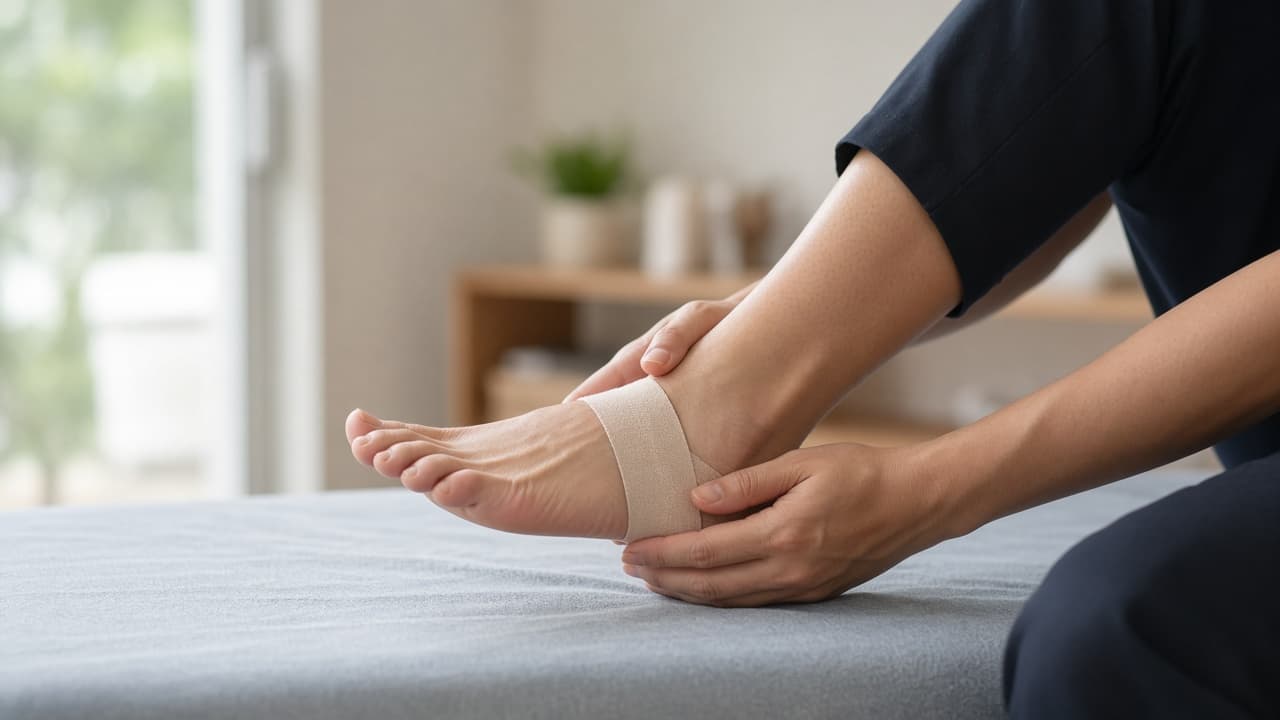
Comfortable range first, not forced stretch. 5c
Walk in straight lines before you jog
Use level ground and supportive shoes. Build confident steps before hills, trails or running. Swelling that balloons after a walk means you progressed too fast.
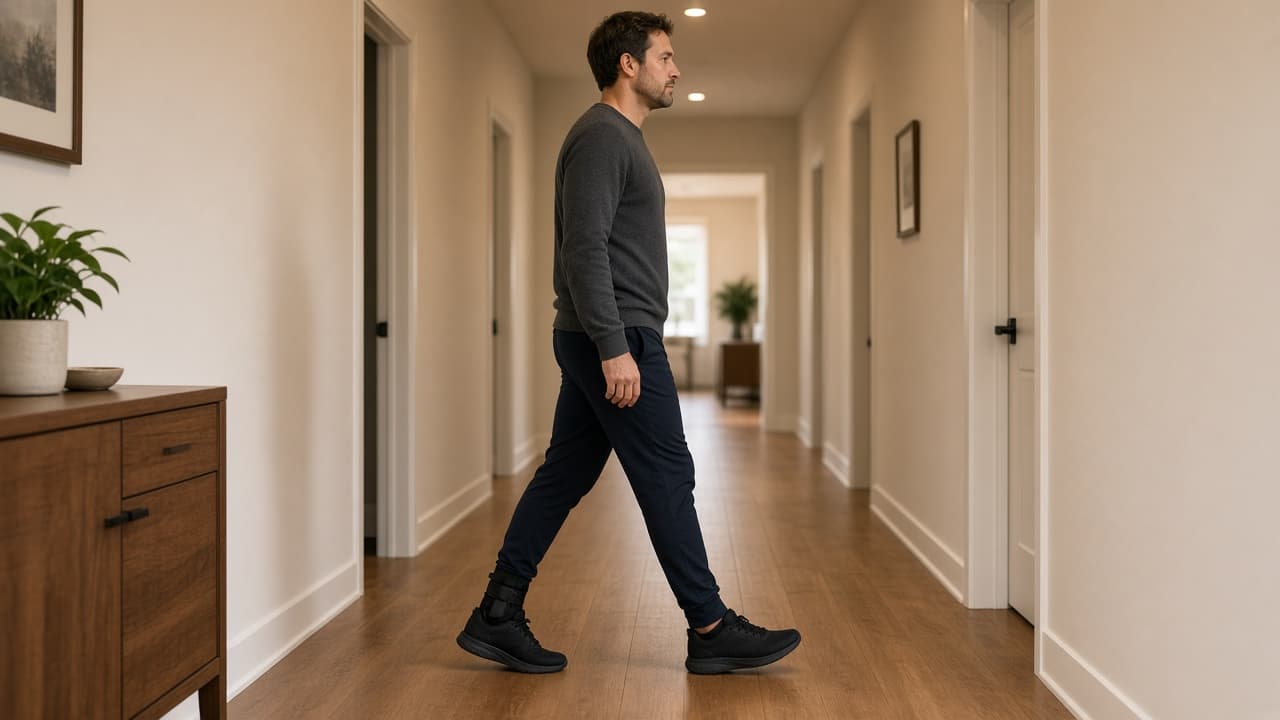
Straight, level walking before jogging or uneven ground. 5d
Common mistake: forcing deep stretch into sharp pain
Common mistake: aggressive calf stretches on day two because stiffness feels like the main problem. Stiffness often settles with protected motion. Forcing sharp pain can reinjure fibers.
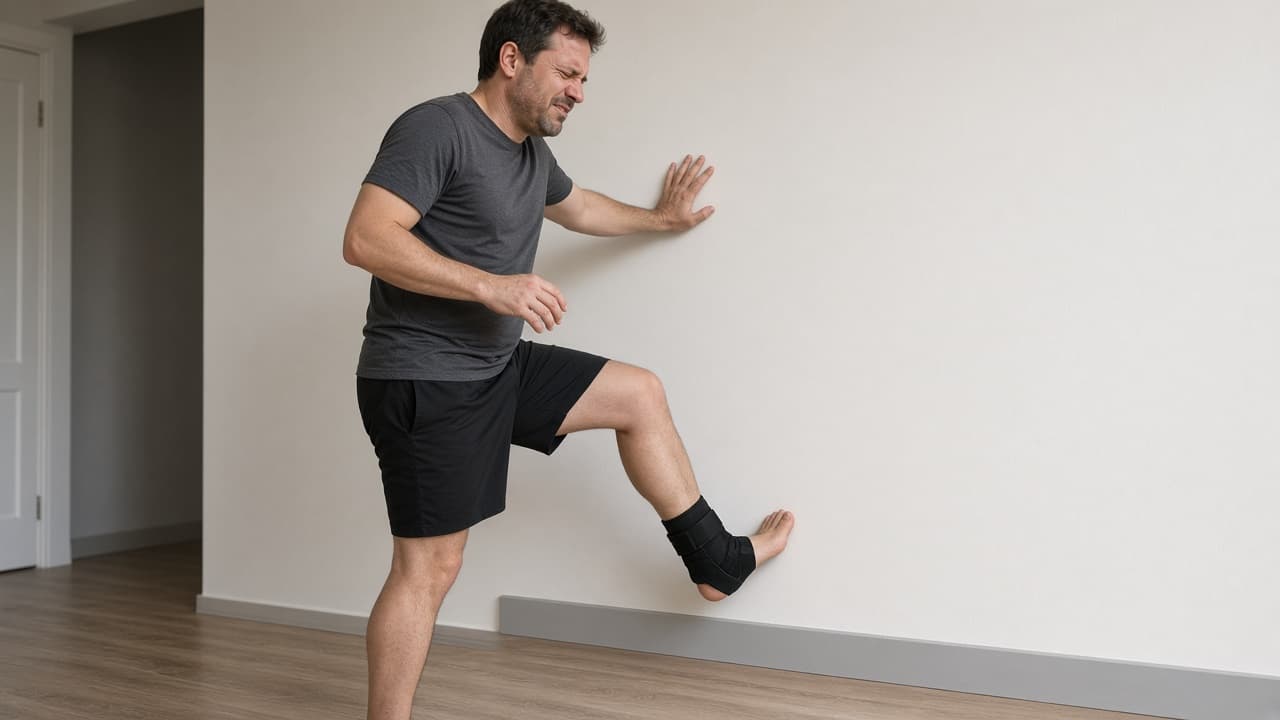
Sharp pain during stretch is a stop sign.
Step 06
Build strength, balance and circulation before speed
Load, vascularization and exercise return the ankle to sport without pretending the sprain never happened.
Do this step in order
6a
Add two sets of ten calf raises when walking is comfortable
Rise slowly on both feet, then progress toward the injured side as pain allows. Increase resistance or repetitions one change at a time.
6b
Train supported single-leg balance
Stand on the injured foot near a counter. Hold 20 to 30 seconds. Progress to eyes closed or a soft surface only when the basic hold feels steady.
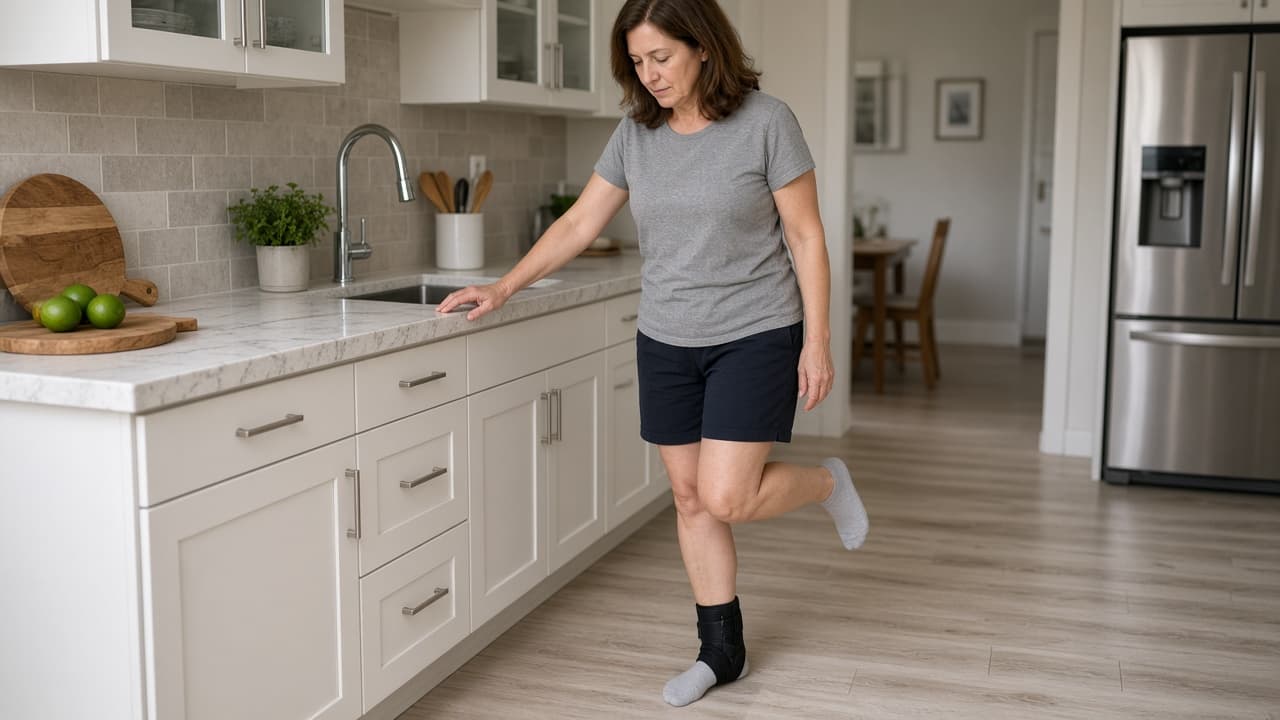
Use a counter for safety while balance returns. 6c
Use a resistance band for gentle eversion and inversion
Loop a light band around the foot and move outward and inward against mild resistance once swelling drops. Quality reps beat heavy bands that make the ankle tremble.
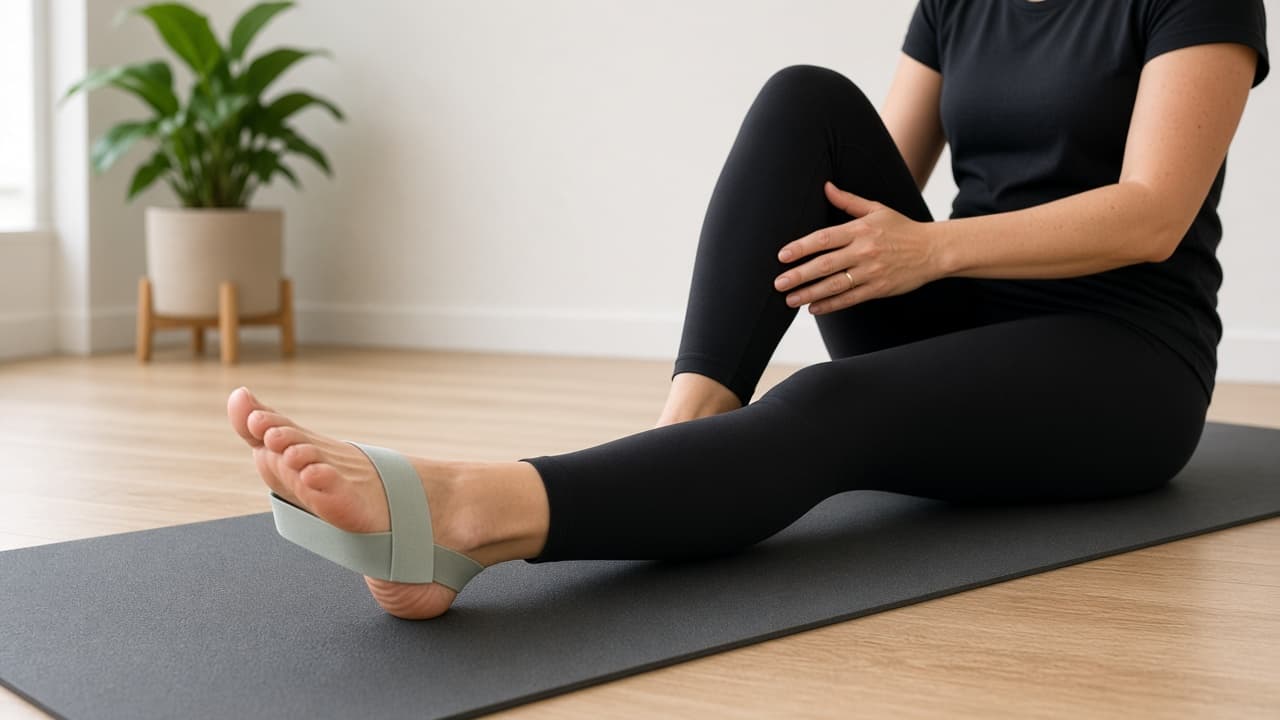
Light band work rebuilds side-to-side control. 6d
Common mistake: cutting drills while the ankle still gives way
Common mistake: returning to ladders, cuts and match play because linear jogging felt fine. Add direction changes only after hop, balance and controlled cuts feel solid without sharp pain or next-day swelling.
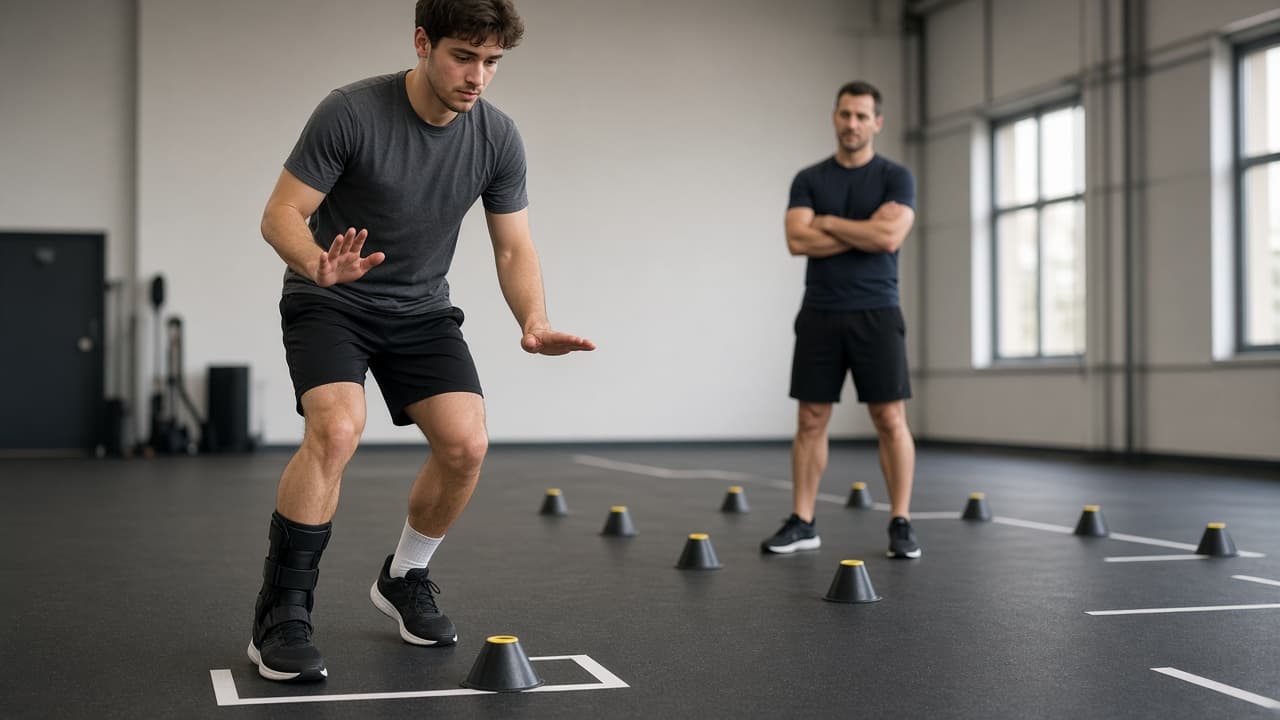
No cutting sports until hop and cut feel stable.
Step 07
Escalate care and plan a safe return to sport
Some sprains are fractures or high-grade tears. Escalate when home care stalls or red flags appear.
Do this step in order
7a
Book care if weight bearing fails after two to three days
Mild sprains usually allow guarded walking within a day or two. If you still cannot put weight on the foot, schedule an exam.
7b
Recheck recovery at five to seven days
Book an assessment if pain and the ability to bear weight have not clearly improved within a week. A delayed exam can identify a missed fracture, tendon injury or sprain that needs rehabilitation.
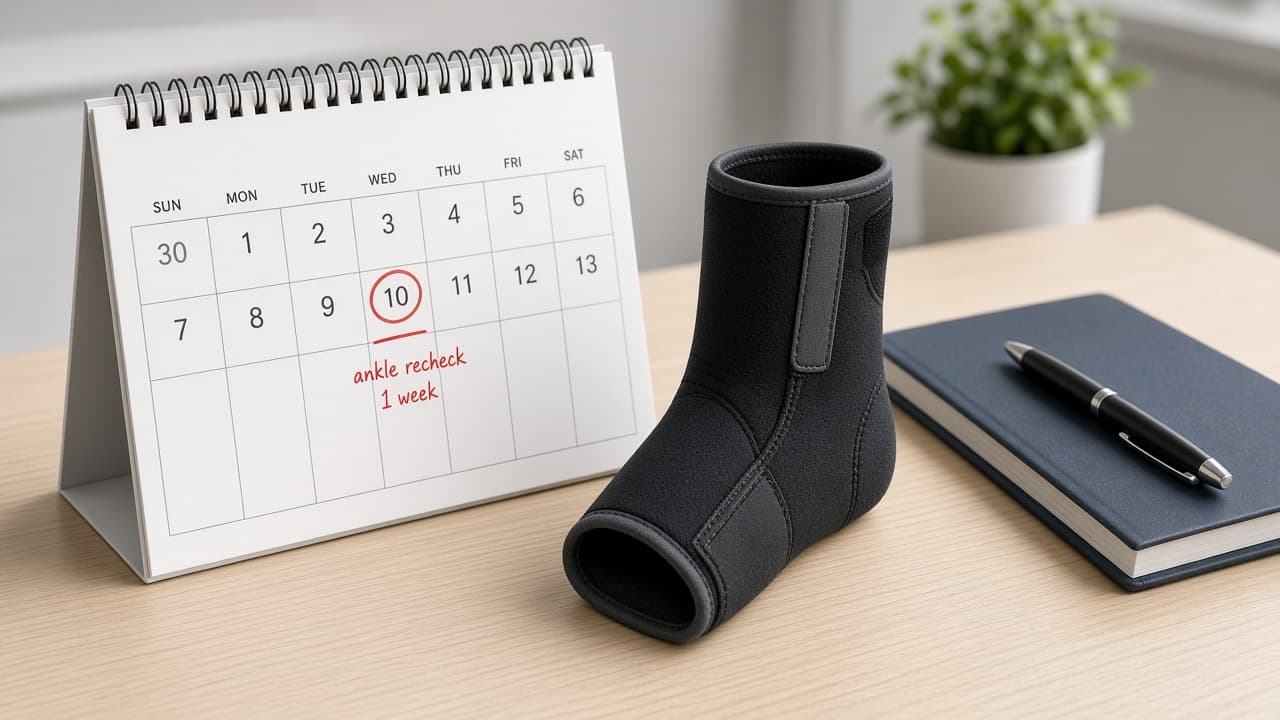
No clear improvement in a week means get examined. 7c
Use therapy for repeat sprains or grade 3 tears
Physical therapy helps people who roll the same ankle often and those with high-grade tears. Do not return to cutting sports until you can hop, balance and change direction without sharp pain.
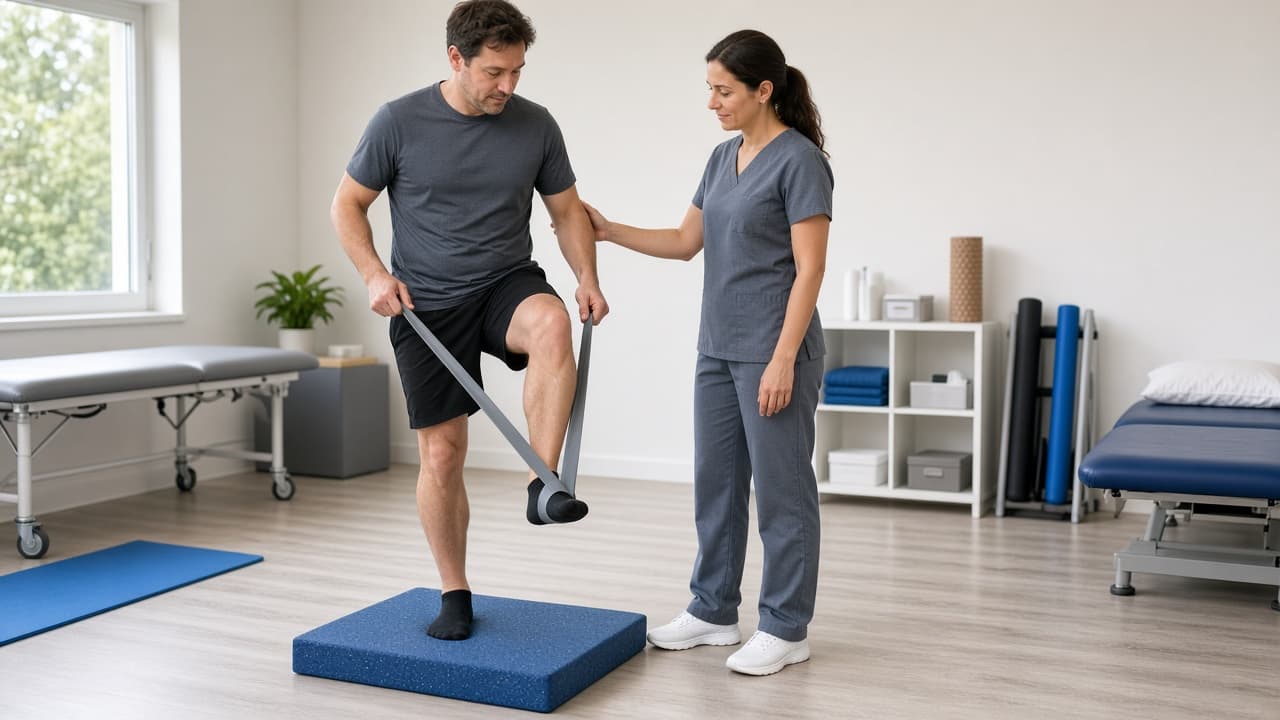
Rehab rebuilds control after bad tears or repeat sprains. 7d
Common mistake: clearing yourself on vibes alone
Common mistake: declaring the ankle ready because swelling looks better in the morning. Use hop tests, sport-specific drills and, when needed, clinician clearance before full competition.
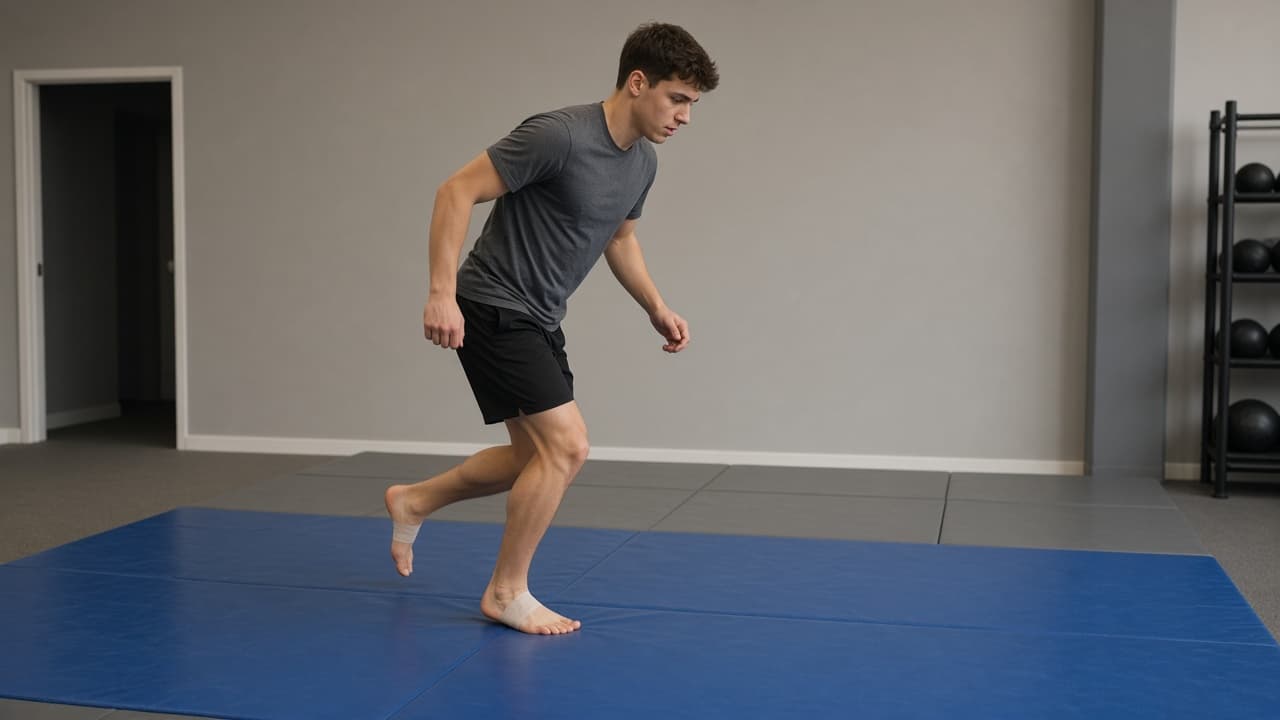
Objective hop and cut tests beat morning optimism.
Done when
- Pain and swelling assessed right after the injury
- Ottawa-style red flags checked for imaging
- Ankle protected with brace or firm footwear
- Ice and elevation used in short rounds
- Gradual loading plan started once walking improves
- Sport return delayed until hop and cut feel stable
Eagle Frame's takeaway: check fracture red flags first, protect and compress a likely sprain, then restore movement and load in stages. Cold can help pain, but it does not replace a brace, sensible loading or an exam when the Ottawa ankle rules point to imaging.