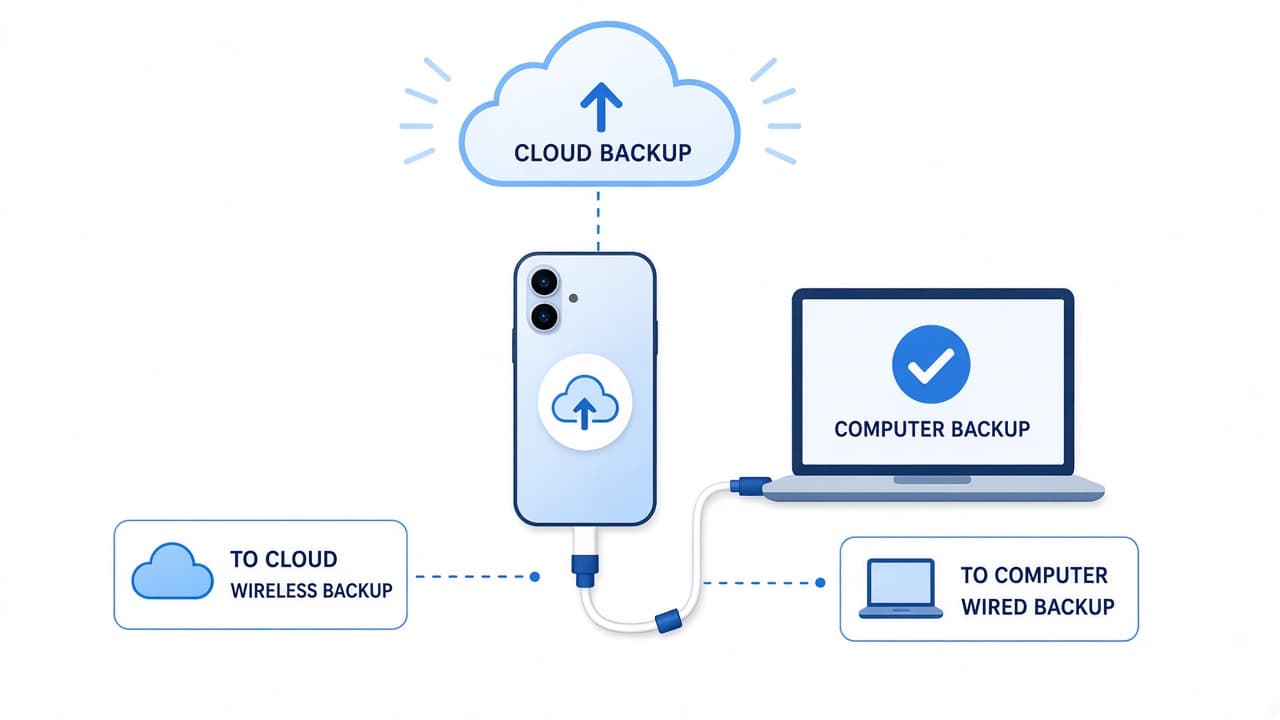
How to back up a phone
Turn on iCloud Backup or Google One backup, run a manual backup on Wi-Fi and power, copy key media to a computer and verify you could restore before you need it.
A phone backup is a recoverable copy of your data: photos, messages, app data and settings, depending on the method. Cloud backup runs in the background when the phone is charging, locked and on Wi-Fi. A computer copy of your camera roll is a second safety net when cloud storage is full or you want an offline archive.
On iPhone, open Settings > [your name] > iCloud > iCloud Backup, turn on Back Up This iPhone and tap Back Up Now. Stay on Wi-Fi until it finishes and note the timestamp. On Android, open Settings, find Google backup (often Settings > Google > All services > Backup or a Backup entry), turn backup on and tap Back up now. Photos may sync separately through Google Photos or iCloud Photos.
Storage space stops more backups than bad cables. Free iCloud and Google storage fills with mail and photos. Check storage before you blame the toggle. Delete old device backups you no longer need, manage Photo Library sync or buy a small storage plan if the backup cannot complete.
Verify restore paths while nothing is wrong. Know that iPhone restores happen during setup after erase or on a new device. Android restores during setup when you add the same Google Account. A USB copy of DCIM photos is not a full app restore, but it saves the pictures people care about most. Back up again before a factory reset, sale or major OS update.
Step-by-step guide
Time: 20 to 60 minutes for setup and a first full backup; large libraries take longer
What you need
- iPhone or Android phone
- Wi-Fi and a charger
- Apple Account with iCloud or Google Account with backup enabled
- Optional: computer and cable for a media copy
- Enough cloud storage for the backup size
Before you start
- Back up before a factory reset, sale or risky repair. Erasing without a backup can wipe messages and local photos permanently.
- Cloud backups are tied to your account password. Use a strong password and two-factor authentication.
- A USB copy of photos is not a complete phone clone. App data and settings still need iCloud or Google backup (or vendor tools).
Step 01
Back up an iPhone with iCloud
iCloud Backup stores device settings, app data and more that do not already sync item by item.
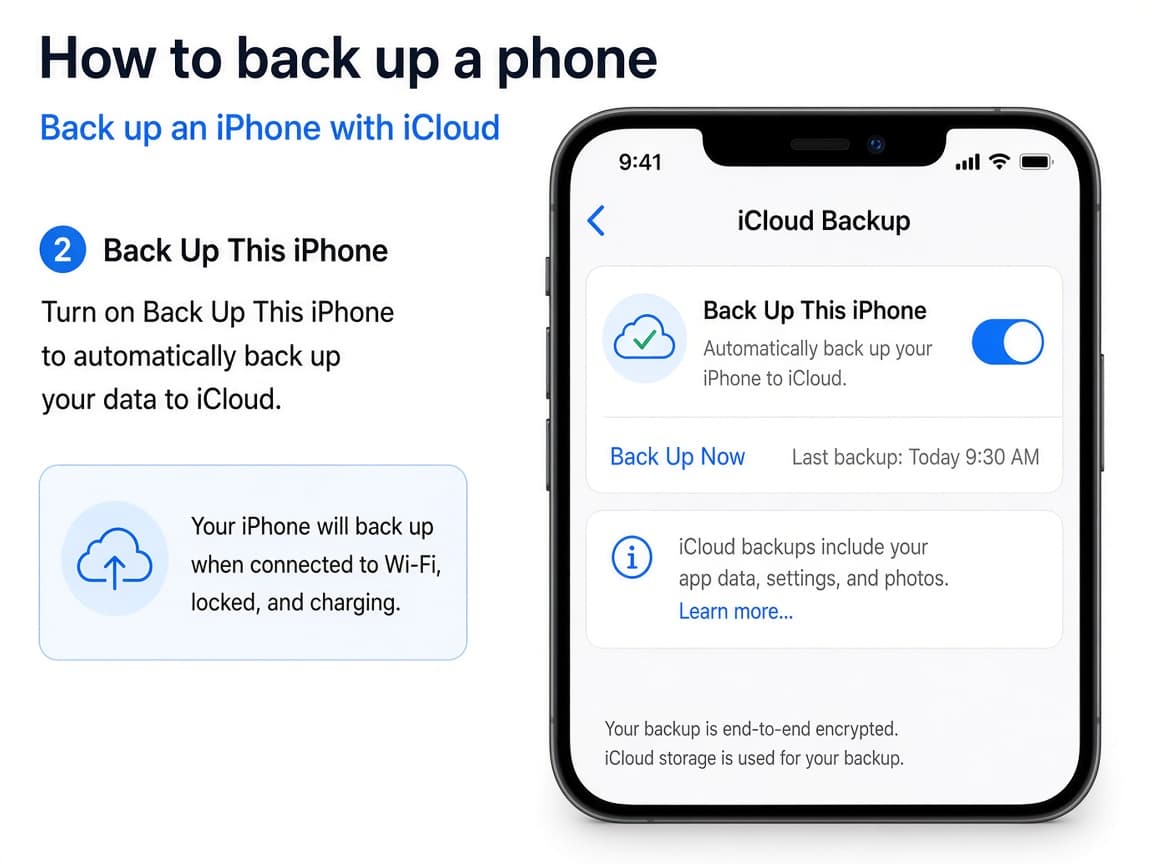
iCloud Backup is the standard on-device safety net for iPhone. Do this step in order
1a
Open Settings > [your name] > iCloud > iCloud Backup
Connect to Wi-Fi. Tap your name at the top of Settings, tap iCloud, then iCloud Backup.
1b
Turn on Back Up This iPhone and tap Back Up Now
Enable Back Up This iPhone. Tap Back Up Now. Keep the phone on Wi-Fi until it finishes. Optional: enable Back Up Over Cellular only if you understand the data use.
1c
Confirm the date and time of the last backup
Read the timestamp under Back Up Now. If storage errors appear, free iCloud space or manage what apps are included in the backup.
1d
Optional: also back up to a computer
Connect to a Mac and back up in Finder or use the Apple Devices app on Windows. A local backup is useful when iCloud is full or you want an encrypted copy with more data types.
Step 02
Back up an Android phone with Google
Google’s backup saves many settings, contacts, call history, SMS and supported app data to your Google Account.
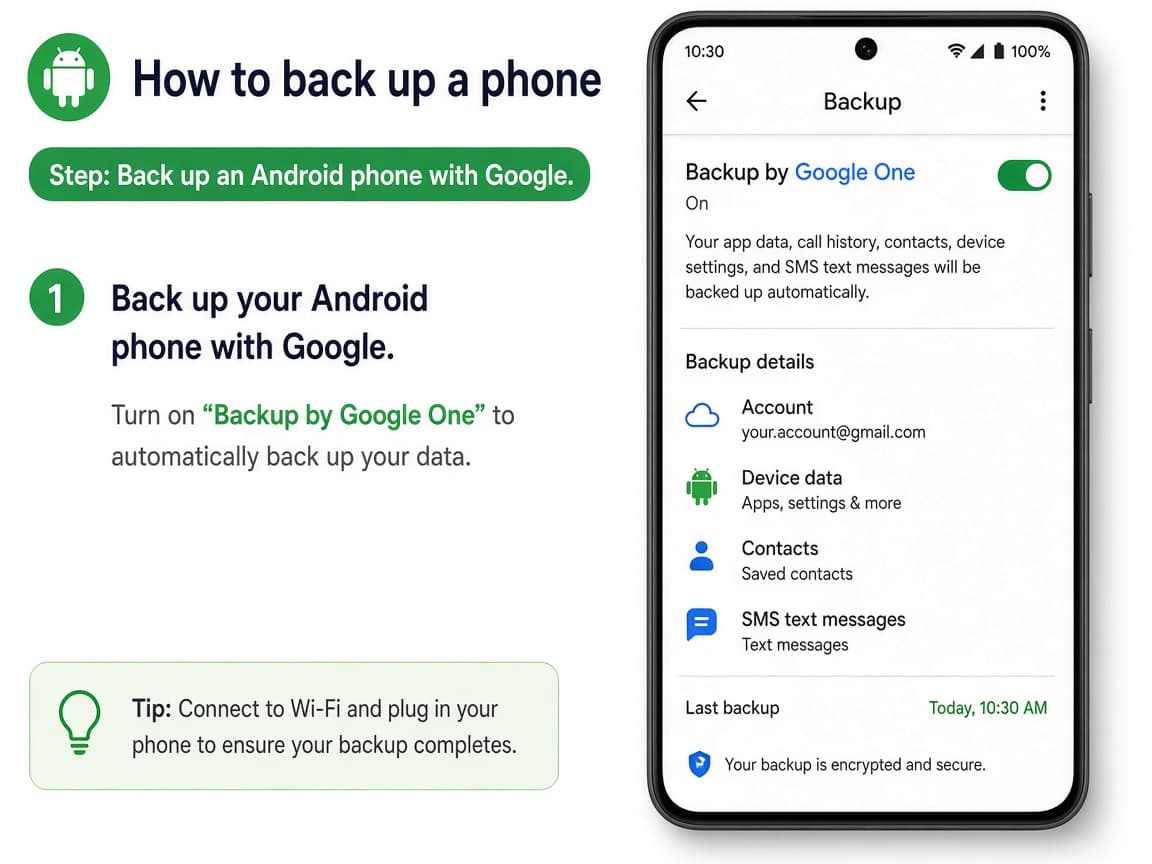
Menu names vary by manufacturer, but the Google backup switch is the goal. Do this step in order
2a
Open the Backup settings for your Google Account
Open Settings and search for Backup or go to Google > All services > Backup (wording varies). Sign in to the Google Account you will use on a replacement phone.
2b
Turn backup on and tap Back up now
Enable Backup / Backup by Google One. Tap Back up now. Connect to Wi-Fi and keep the phone charged. The first run can take a while.
2c
Confirm photos sync separately if you rely on Google Photos
Open Google Photos and check Backup is on for the camera roll. Device backup and Photos backup are related but not identical. Irreplaceable pictures deserve Photos sync or a computer copy.
2d
Check storage and manage old backups
If backup fails, open Google One or Drive storage and free space. Remove backups for phones you no longer own when the product allows it.
Step 03
Make an offline copy of photos and documents
Cloud accounts get locked, cancelled or filled. A folder on a computer is boring and valuable.
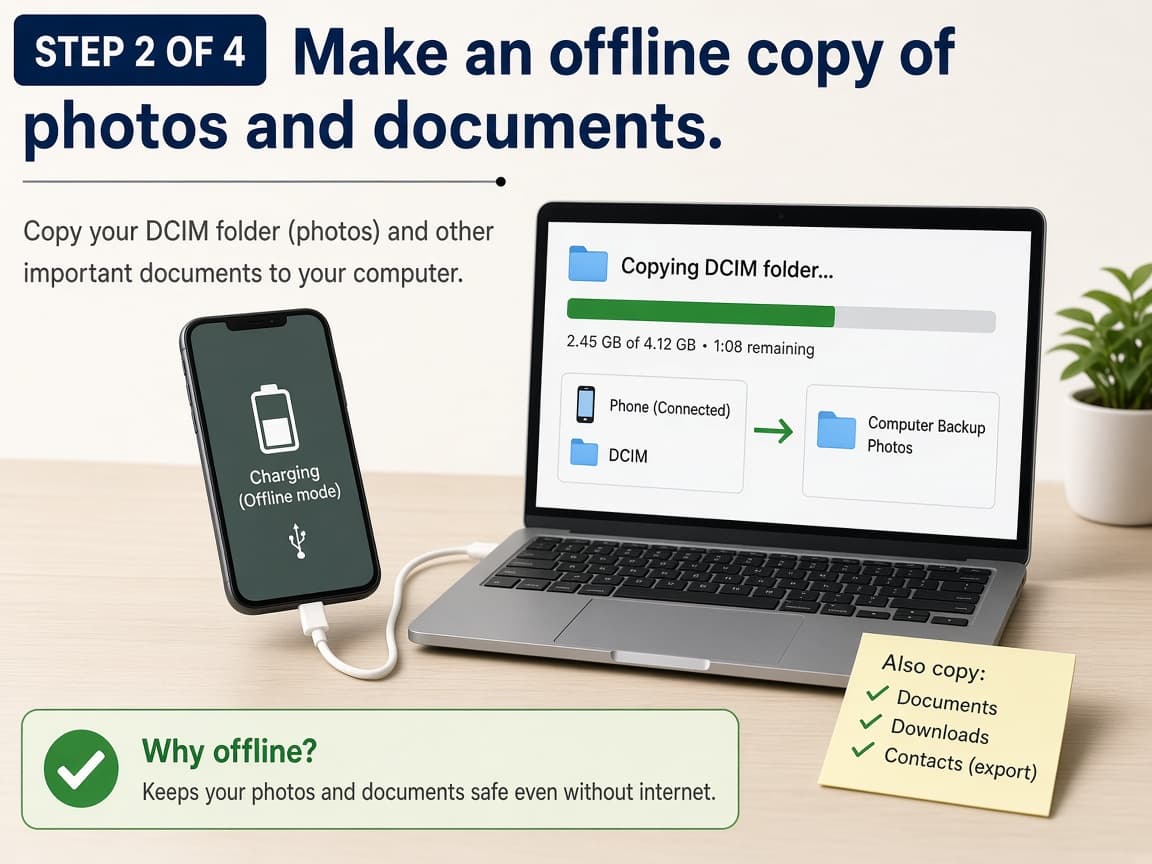
Copying DCIM is the simple offline photo rescue. Do this step in order
3a
Connect the phone and choose file transfer
Use a data cable. On Android choose File transfer / MTP when prompted. On iPhone, use Finder, Photos or the Apple Devices app rather than expecting a simple USB drive mode.
3b
Copy DCIM, Download and key document folders
On Android, copy DCIM, Pictures, Download and Documents to a dated folder on the computer. On iPhone, import photos through Photos/Finder. Label the folder with today’s date.
3c
Eject safely and spot-check a few files
Open a handful of photos and a PDF on the computer before you delete anything from the phone. Then eject or disconnect cleanly.
Step 04
Verify restore and back up before risky changes
Know how you would get the data back, then keep the habit.
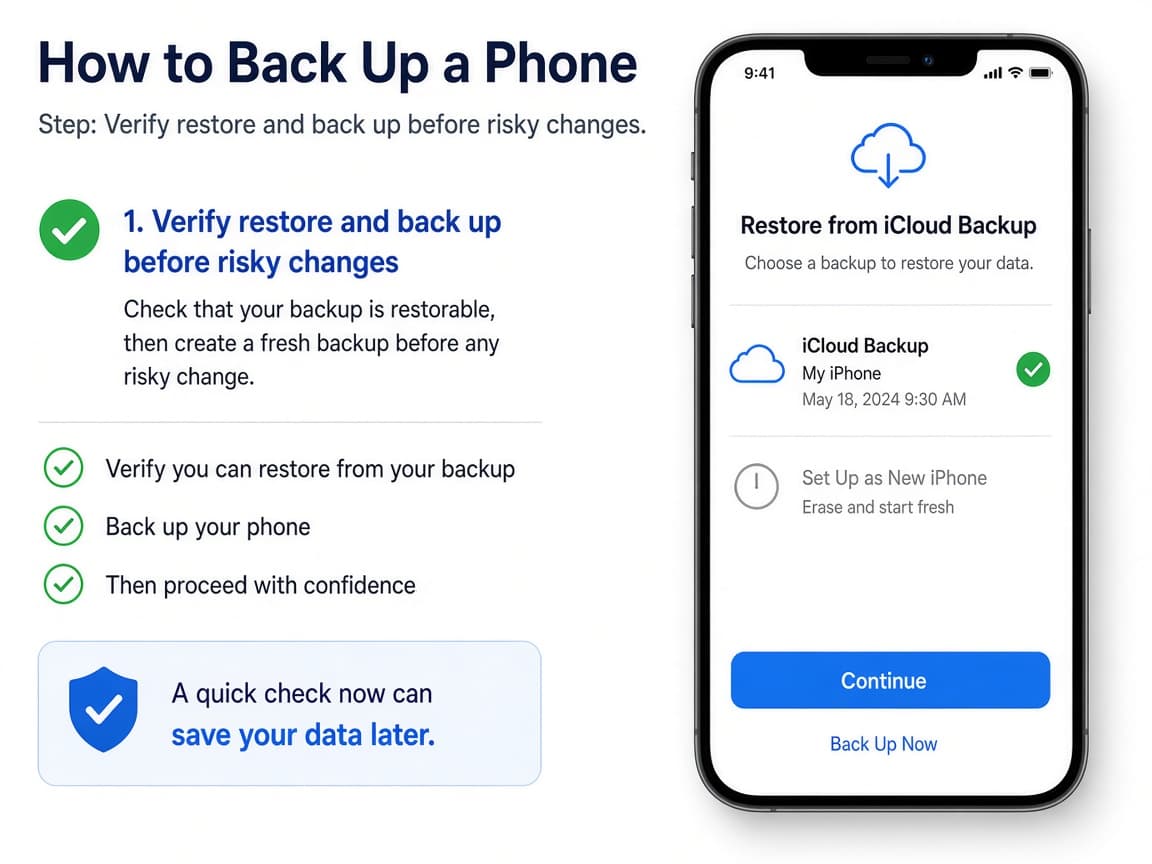
Restore happens during new-phone or post-erase setup on both platforms. Do this step in order
4a
Learn the restore moment for your platform
iPhone: Apps & Data > Restore from iCloud Backup (or computer) during setup. Android: add your Google Account during setup and follow restore prompts. You generally cannot fully restore app data weeks later without that setup step.
4b
Back up again before reset, sale or major upgrades
Run Back Up Now the night before a factory reset, trade-in or big OS install. Confirm the timestamp in the morning. Common mistake: resetting first and remembering the photos afterward.
4c
Protect the account that owns the backup
Turn on two-factor authentication for Apple or Google. Store recovery codes somewhere safe. A perfect backup behind a lost account is still out of reach.
4d
Keep automatic backup on and glance at timestamps monthly
Leave cloud backup enabled. Once a month, open the backup screen and confirm a recent date. Fix storage warnings early instead of on the day the phone dies.
Done when
- Cloud backup toggle on
- Manual Back Up Now completed with a fresh timestamp
- Storage space confirmed sufficient
- Important photos also copied or synced
- Restore path understood for your platform
Eagle Frame’s takeaway: enable cloud backup, run Back Up Now on Wi-Fi and power, confirm the timestamp, keep an offline copy of irreplaceable photos and practice the restore path before an emergency. A backup you never tested is only a hopeful folder name.