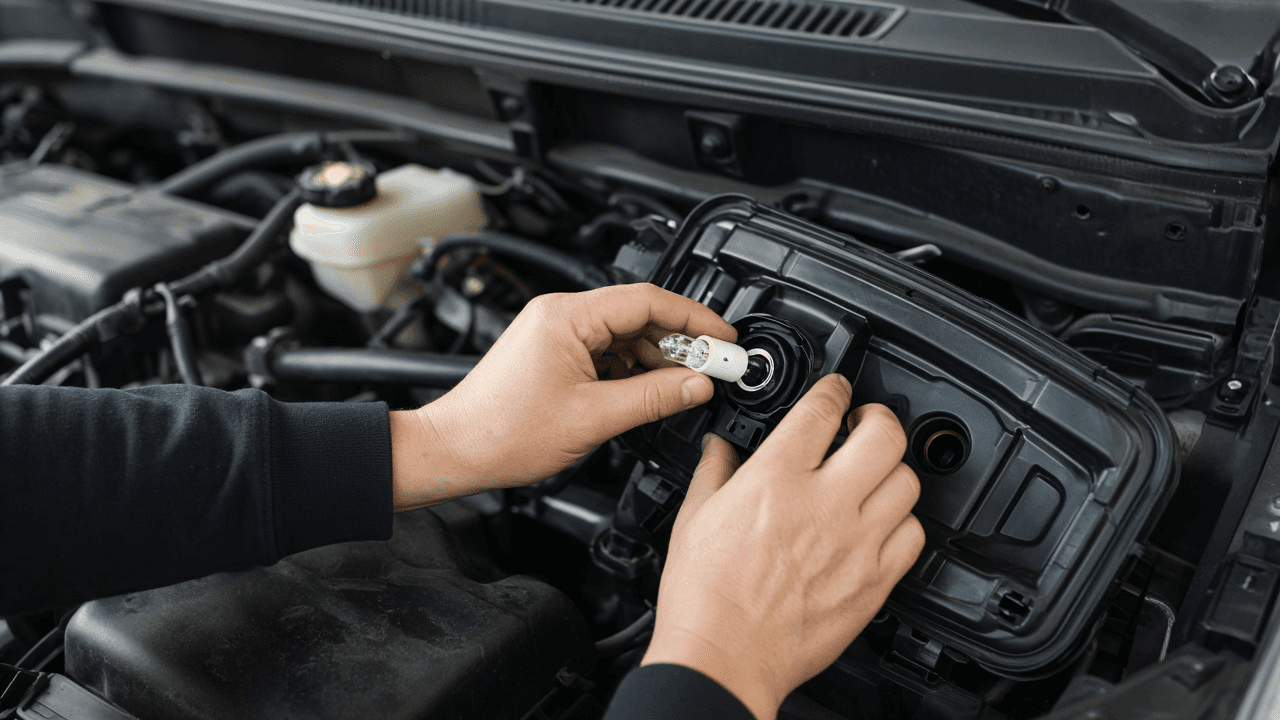
How to change a headlight bulb
Check which bulb type your car uses, open the hood or wheel-well access panel, unplug the old bulb without touching the glass, seat the new one and test high and low beams before you drive at night.
A failed headlight reduces your view and makes the vehicle harder for others to see. Some cars use a replaceable halogen capsule, while others use HID lamps, serviceable LED bulbs or sealed LED modules. The owner manual decides whether this is a home bulb change, not the shape of the lamp from outside.
Use the manual's bulb chart to match the exact position, type, number and wattage. Low beam, high beam and daytime running light may use different parts even inside one housing. Do not install an LED conversion in a housing specified for halogen unless the vehicle maker and local rules explicitly permit it.
Park on level ground, set the parking brake, switch off the lights and ignition, remove the key and let the lamp cool. Halogen bulbs contain pressurized gas, so wear gloves and eye protection. HID systems can retain dangerous high voltage and sealed LED modules may require a trained technician.
Follow the model-specific access route under the hood or through a wheel-well panel. Photograph the dust cover, connector and retaining clip before disassembly, then release each part without pulling wires. Stop if major components must be forced aside or if sharp edges prevent safe hand access.
Handle a halogen bulb only by its base. Finger oil on the glass can create a hot spot that shortens life or contributes to breakage, while scratches and drops can weaken the pressurized capsule. If glass is touched accidentally, follow the bulb maker's cleaning instructions before installation or replace the contaminated bulb.
Align the locating tabs, seat the bulb fully, lock the retainer, reconnect the plug and close the dust seal. Test low beam and high beam from outside the engine bay. Flicker, a dark replacement or an obviously wrong beam pattern calls for rechecking the connector and seating, then professional diagnosis if the fault remains.
Step-by-step guide
Time: 15 to 30 minutes per side on most halogen cars
What you need
- Replacement bulb matching your vehicle spec
- Owner manual or verified parts lookup
- Clean nitrile gloves
- Eye protection
- Optional: small flat screwdriver for clips
- Flashlight
- Phone camera for layout photos
Before you start
- Do not touch halogen bulb glass with bare fingers.
- Work with lights and engine off to avoid burns and shorts.
- Some LED or HID housings are not user-serviceable. Check before you buy.
- Do not force a bulb that does not seat easily. Recheck orientation.
Step 01
Identify the failed lamp and exact bulb
The right part number saves a second trip and protects the housing.
Do this step in order
1a
Identify the failed function
Check low beam, high beam and daytime running lights from outside with a helper operating the controls. If several lights failed together, check fuses before assuming every bulb is burned out.
1b
Read the vehicle manual chart
Find the bulb chart using year, model, trim and lamp position. Stop if the manual identifies a sealed LED module, HID high-voltage service or dealer-only procedure.
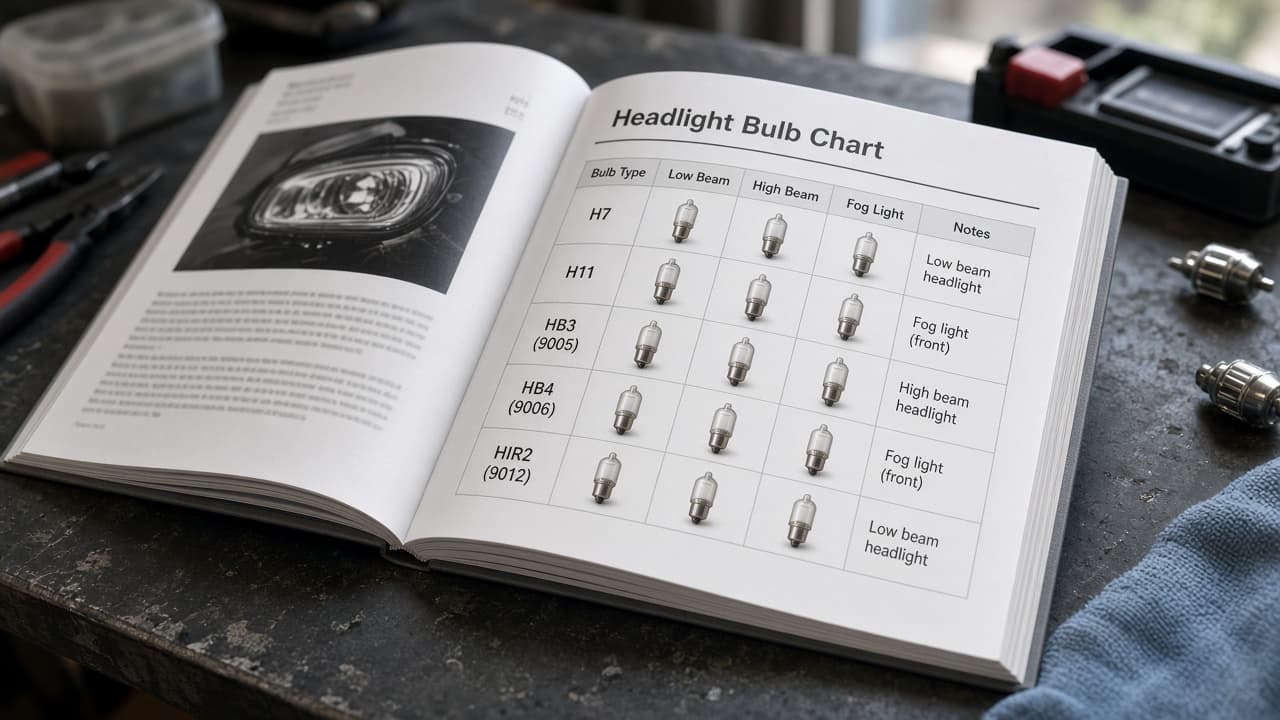
The manual decides whether this is a DIY bulb job. 1c
Match type, number and wattage
Compare the manual specification with the box and the old bulb when available. Do not force a similar-looking base.
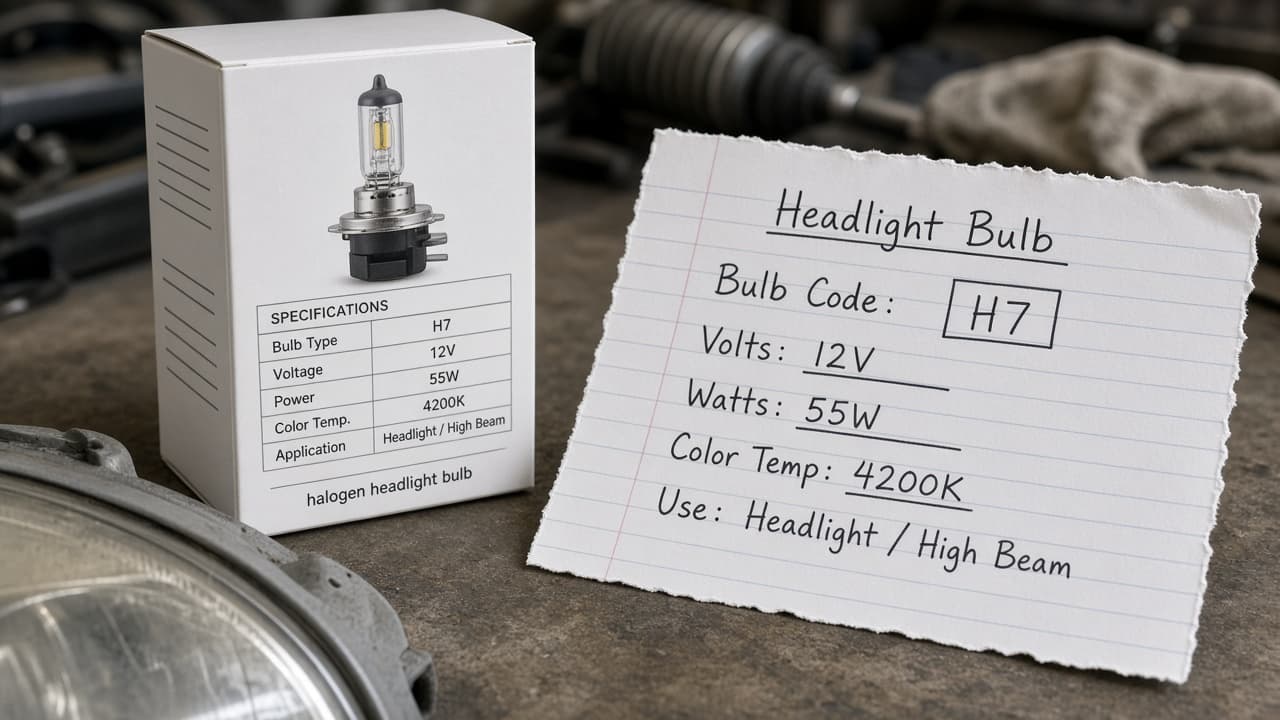
Exact match beats a close-looking base. 1d
Common mistake: unapproved LED conversions
Common mistake: installing an LED conversion in a halogen housing because it looks brighter on the shelf. Focus, heat and legality can differ. Follow the vehicle maker and local rules.
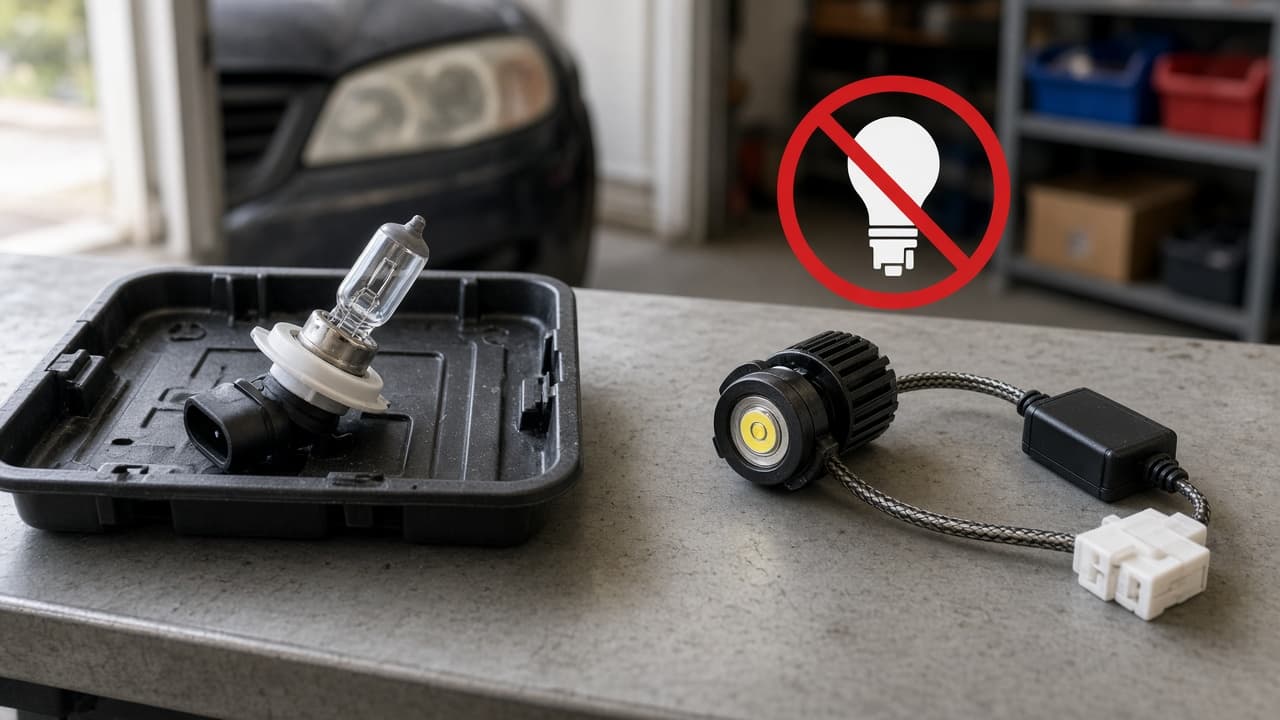
Use the specified bulb type unless the maker and rules allow otherwise.
Step 02
Power down, cool the lamp and gather protection
Burns and shorts are easier to prevent than to fix mid-job.
Do this step in order
2a
Park level and set the parking brake
Shut off lights and ignition, remove the key or move the smart key away and wait until the bulb and nearby parts are cool.
2b
Bring gloves, eye protection and a light
Clean nitrile gloves protect halogen glass from skin oil. Eye protection matters because halogen capsules are pressurized.
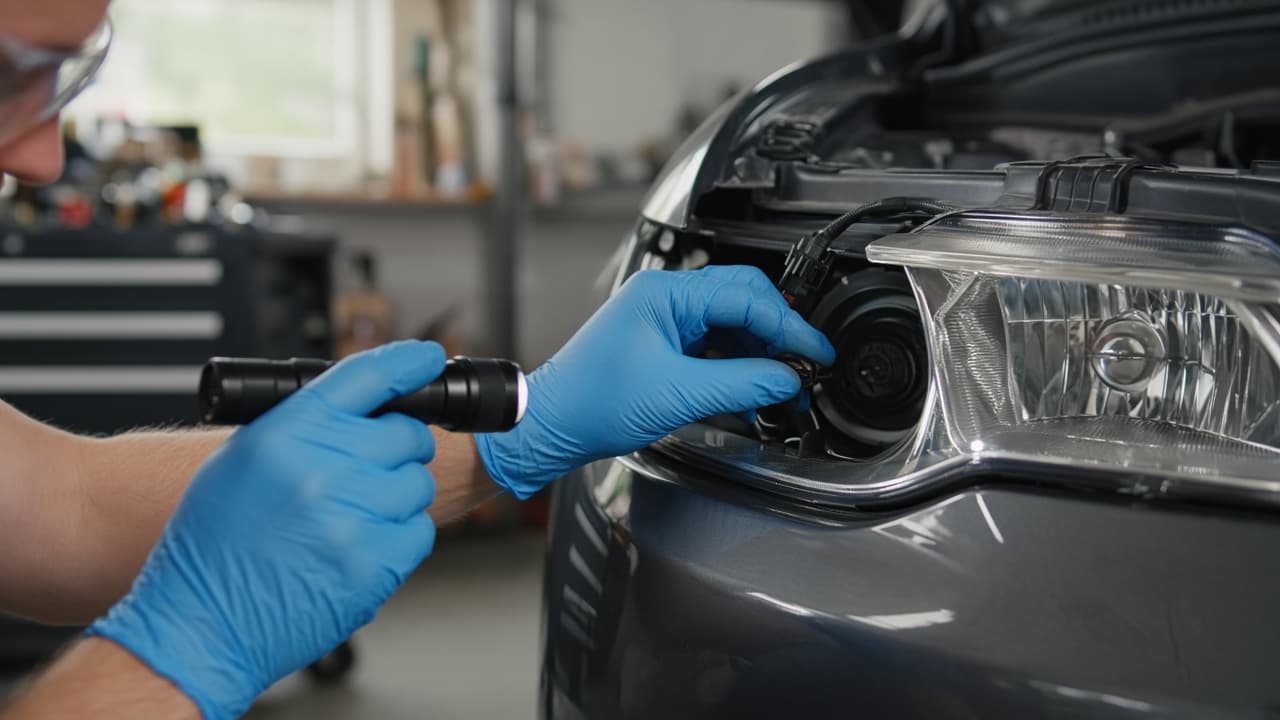
Gloves and eye protection belong on before the dust cover opens. 2c
Keep the new bulb packaged
Leave the replacement in its package until the socket is ready so the glass stays clean.
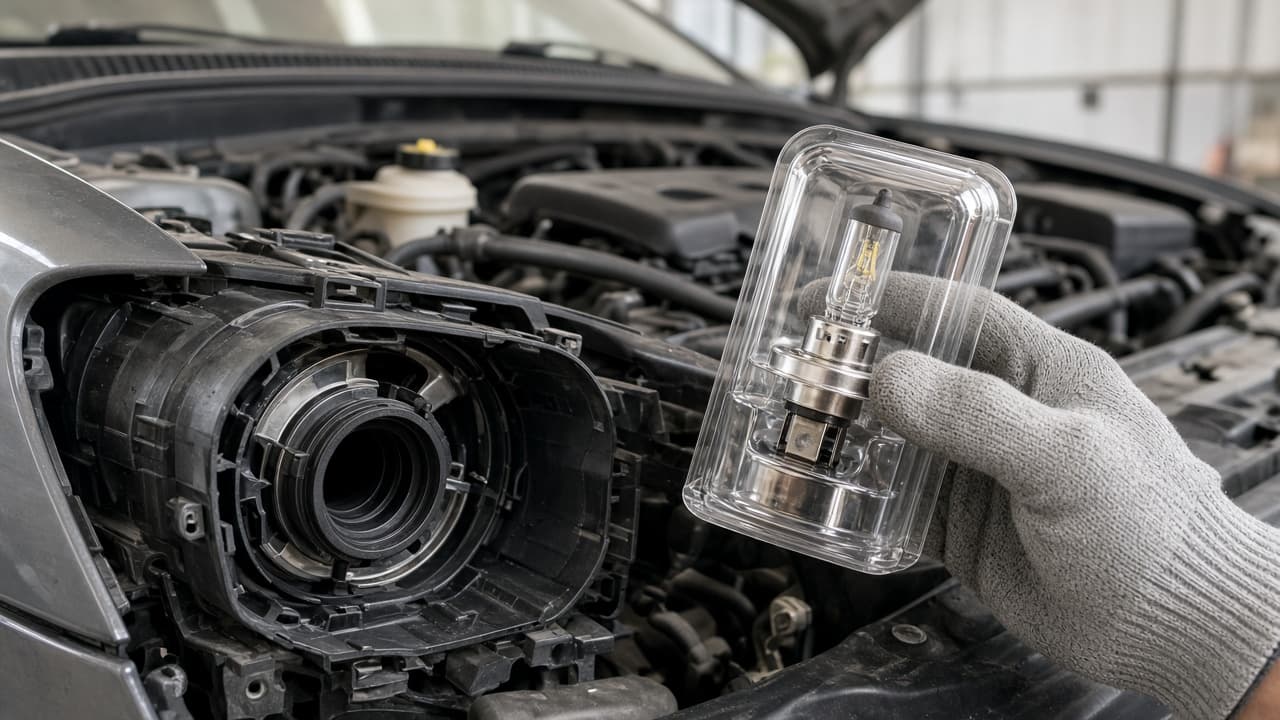
Packaging is temporary clean storage, not clutter. 2d
Common mistake: grabbing a hot bulb bare-handed
Common mistake: opening a recently used lamp with bare fingers because the swap feels quick. Wait for cool-down and wear gloves.
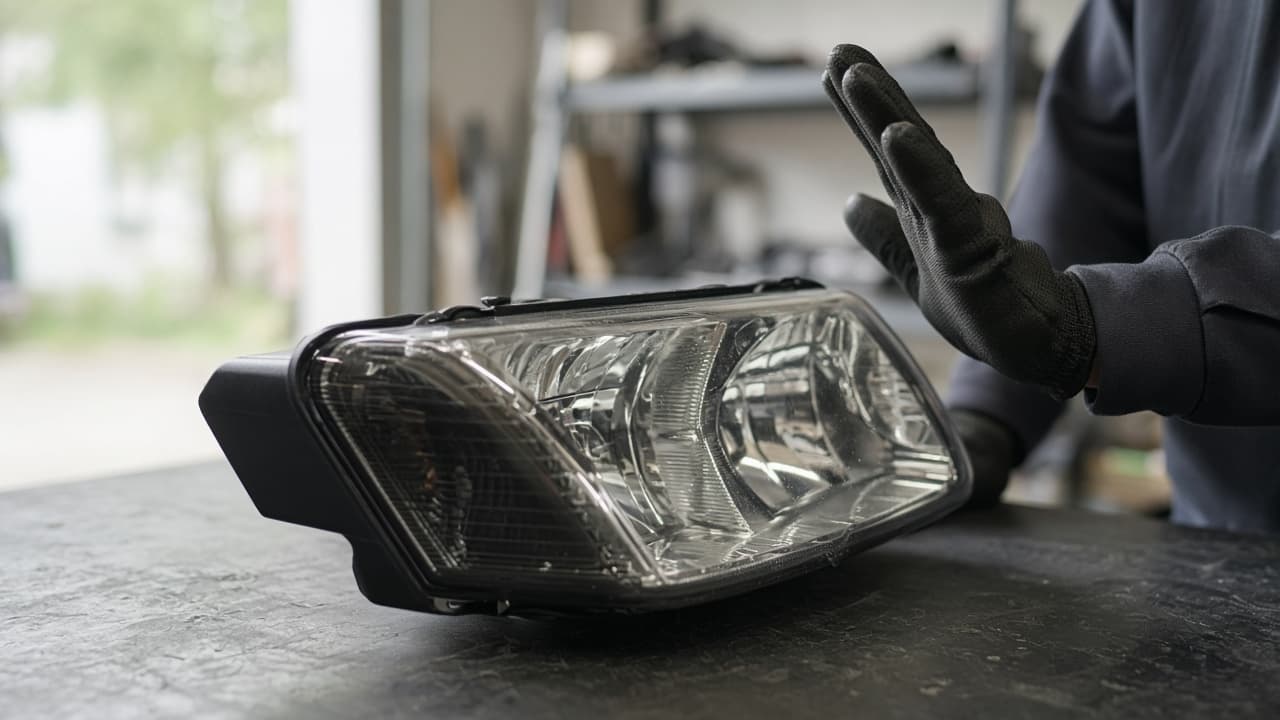
Cool parts first. Hot glass and skin oil are a bad pair.
Step 03
Open the specified access path
Reach the bulb from under the hood on most sedans. Some cars need a wheel-well panel.
Do this step in order
3a
Follow only the manual access route
Locate the rear cover under the hood or the correct wheel-well panel. Stop if access requires unsupported lifting or work beside fans you cannot isolate.
3b
Photograph the original layout
Take clear photos of the connector, dust cap, retainer and wire routing before touching them.
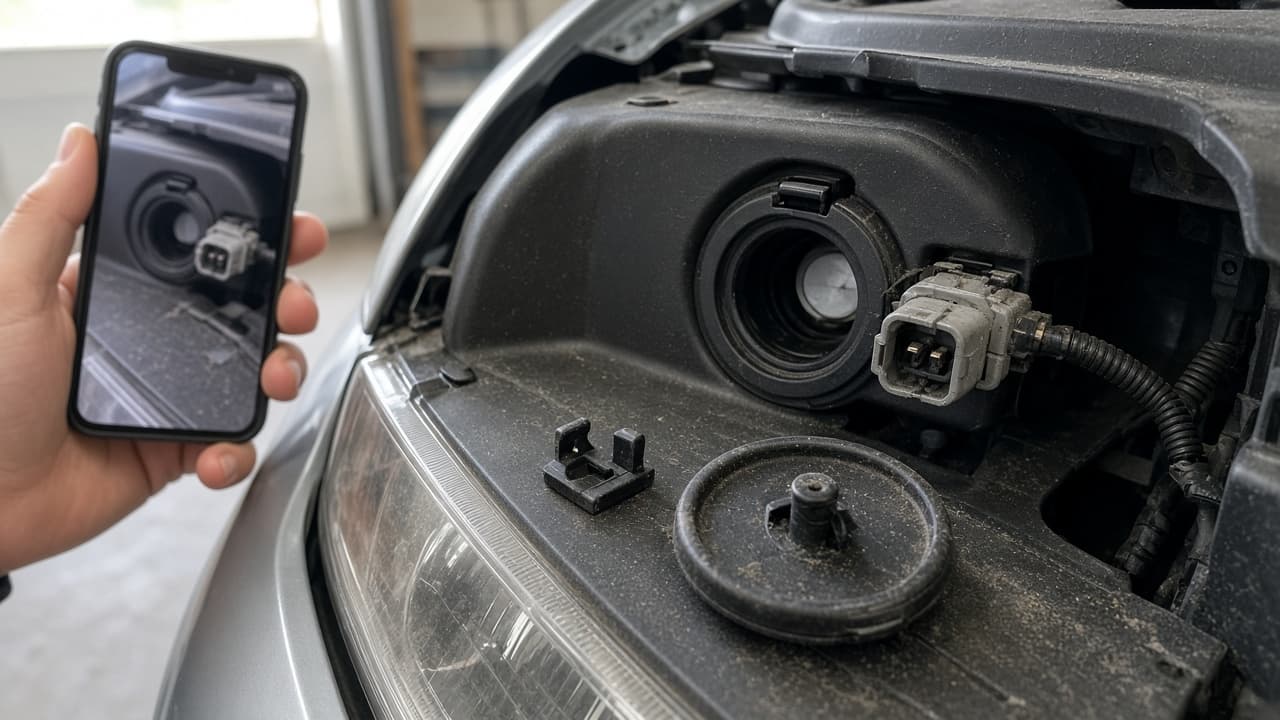
Photos prevent a reversed seal during reassembly. 3c
Remove the dust cover carefully
Twist or unclip the cover without prying against fragile plastic ears.
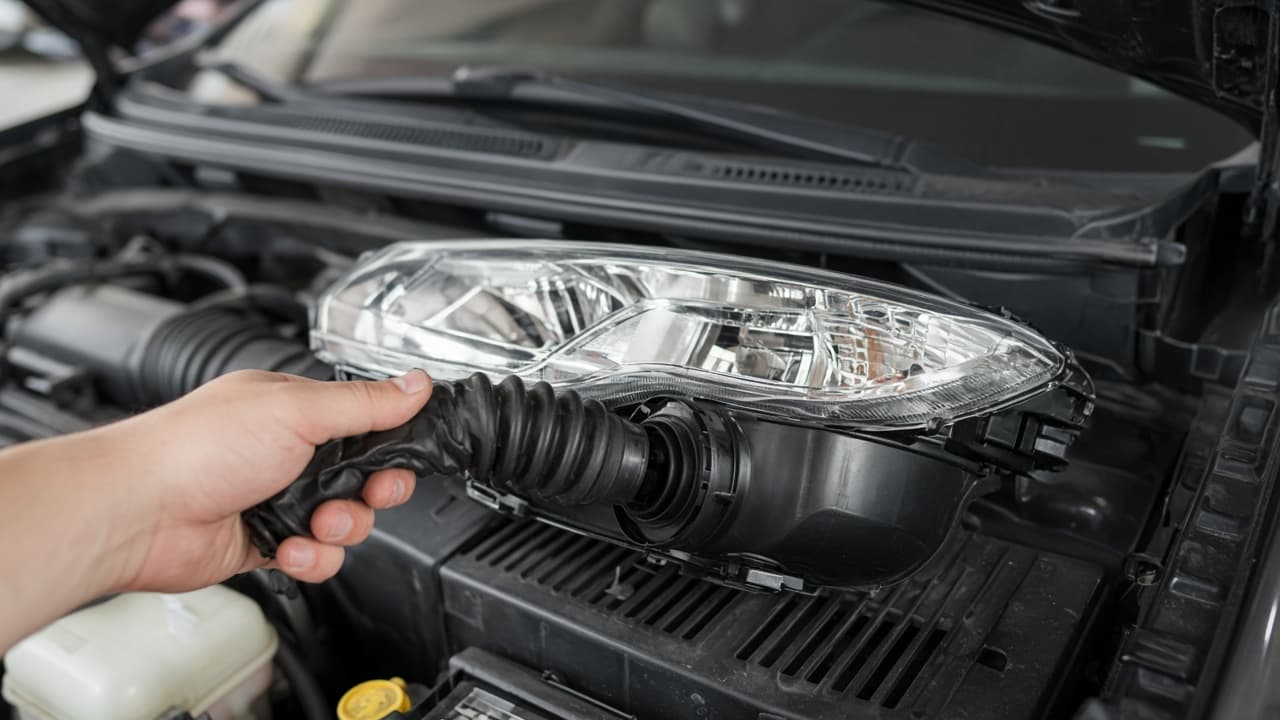
Remove the cover the way it was designed to release. 3d
Common mistake: forcing unrelated parts aside
Common mistake: bending coolant tanks or batteries out of the way without support. If the bulb is not reachable as designed, stop for a shop instead of breaking clips.
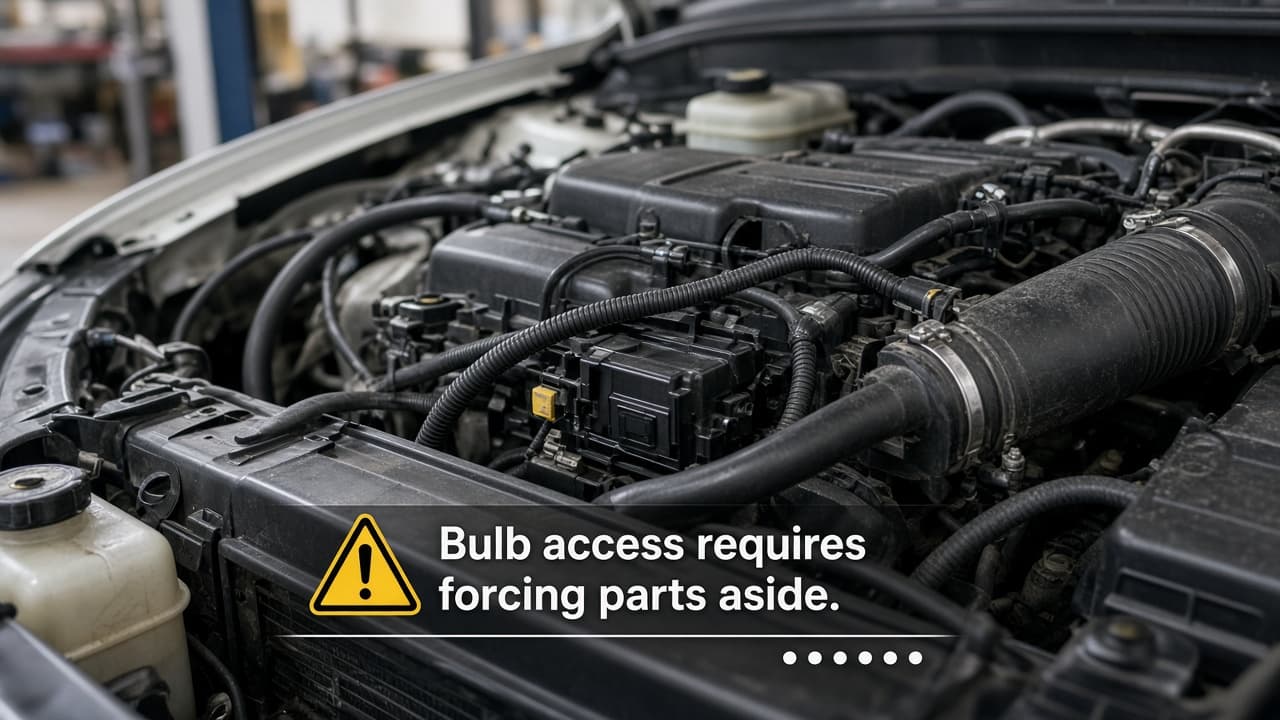
No forced access. Inaccessible housings belong in a shop.
Step 04
Disconnect the plug and release the old bulb
Pull the connector body, then release the retainer exactly as the manual shows.
Do this step in order
4a
Disconnect by the plug body
Release the locking tab and pull the connector housing straight back with a gentle wiggle. Never pull on wires.
4b
Release the specified retainer
Twist the bulb base or release its spring clip exactly as the manual shows. Do not pry blindly.
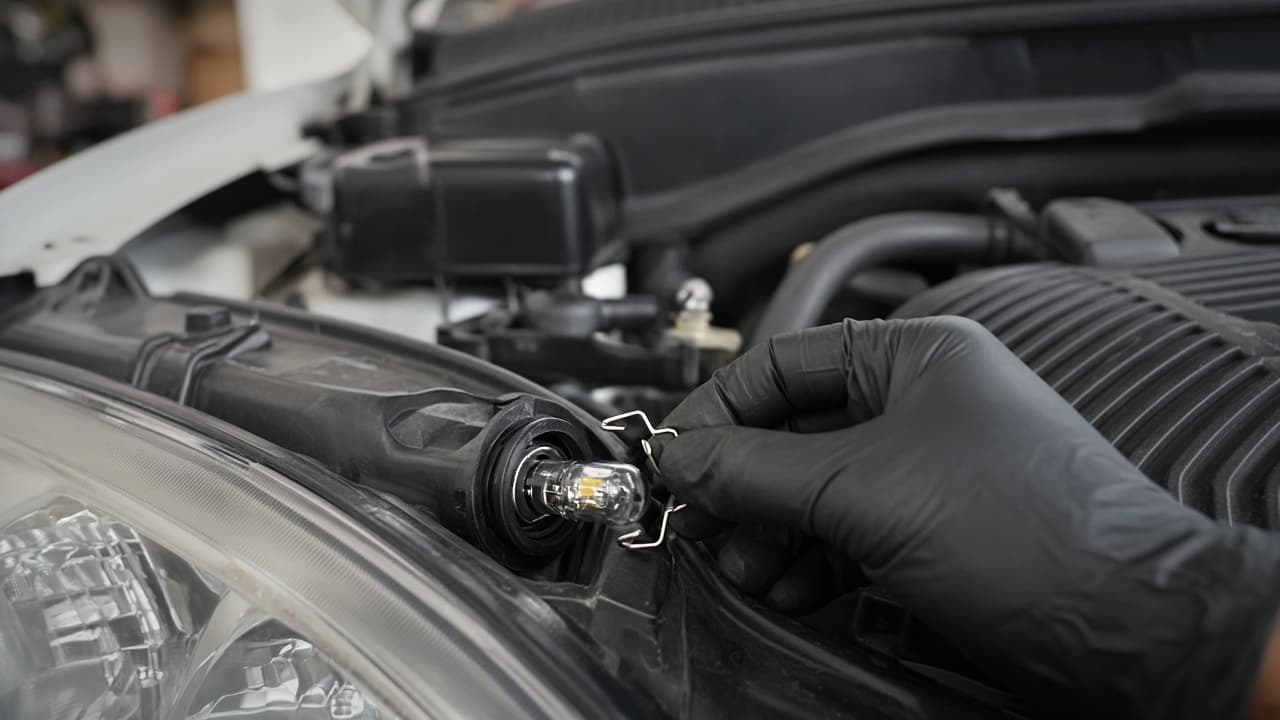
Follow the retainer design. Blind prying bends clips. 4c
Note orientation before removal
Observe locating tabs and photograph them before pulling the old bulb straight out.
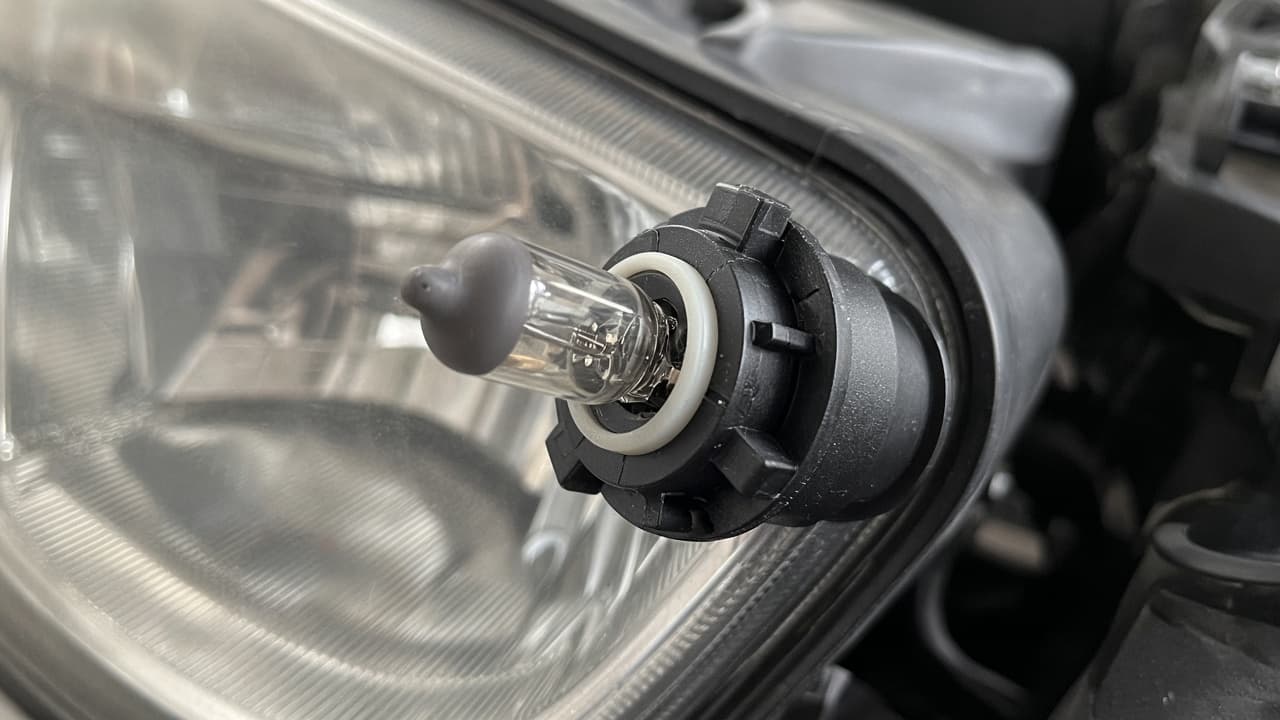
Tab orientation must match on the new bulb. 4d
Common mistake: yanking the wires
Common mistake: pulling the harness leads because the plug feels stuck. That can break terminals. Squeeze the tab and pull the connector housing only.
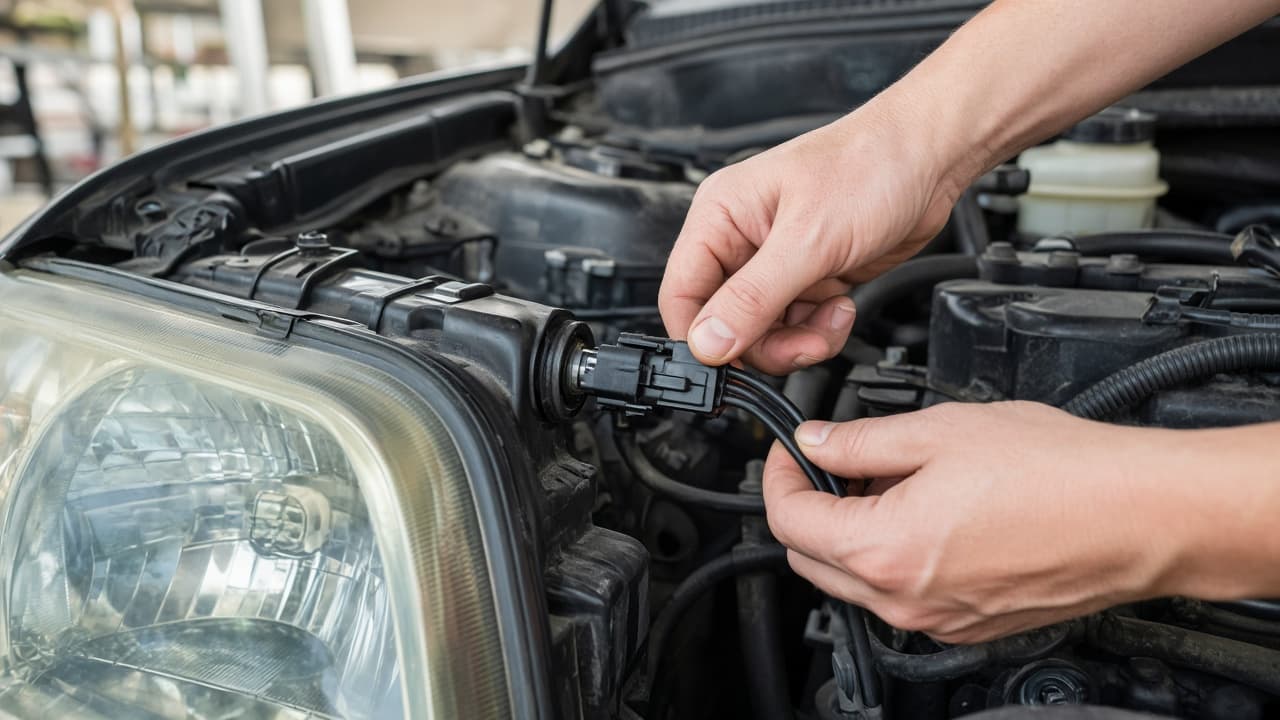
Connector body only. Wires stay unpulled.
Step 05
Install the new bulb without touching the glass
Handle halogen glass by the base, seat the tabs and lock the retainer.
Do this step in order
5a
Handle the new bulb by its base
Wear clean gloves and keep every finger, cloth and tool away from halogen glass.
5b
Align tabs and seat flush
Insert the bulb squarely until its base sits flush. Stop and recheck the part number if it rocks or binds.
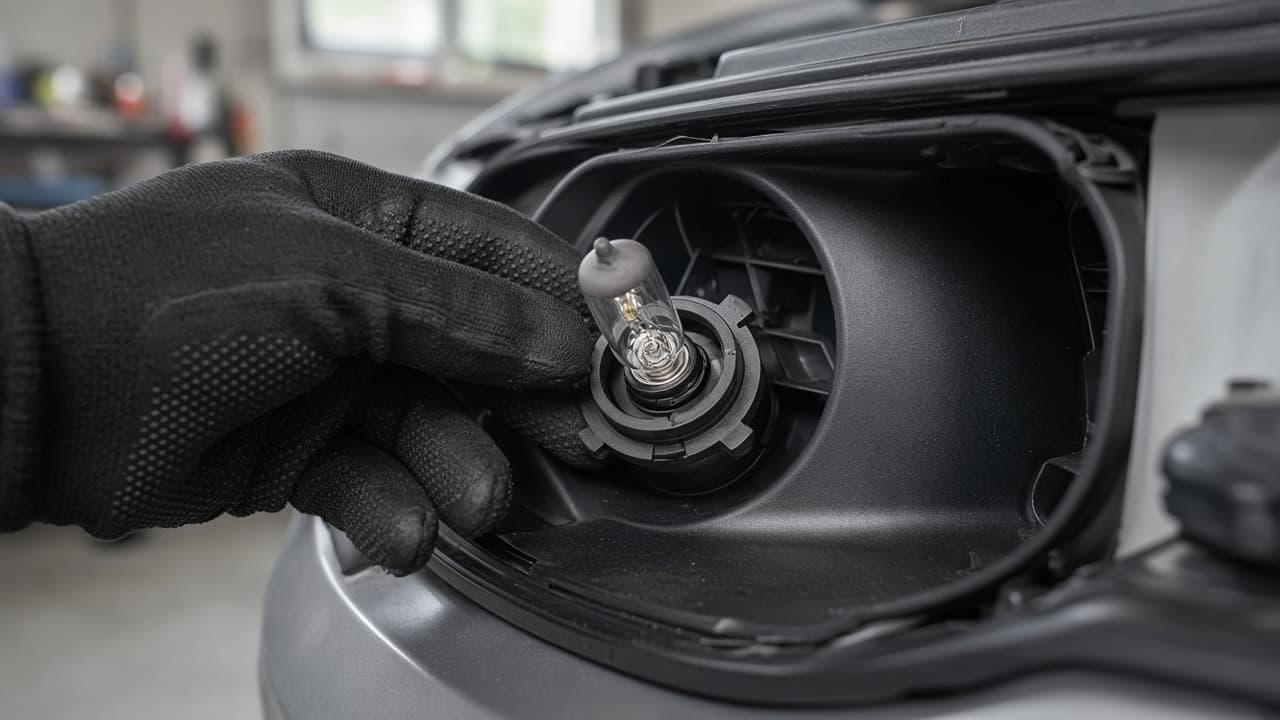
Flush seating comes before any retainer lock. 5c
Lock the ring or clip
Secure the retainer so the bulb cannot vibrate loose, then keep the glass untouched through the whole move.
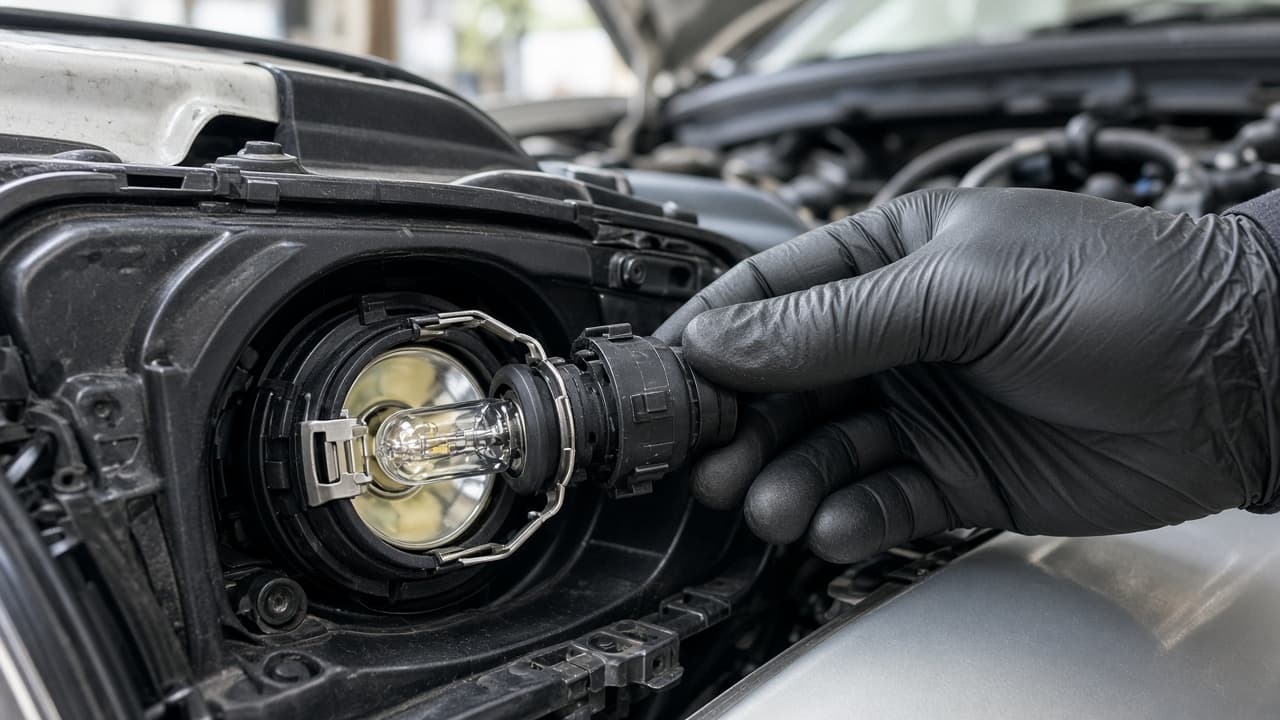
A locked retainer keeps the beam aimed and the bulb secure. 5d
Common mistake: fingerprints on halogen glass
Common mistake: touching the glass while lining up stubborn tabs. Oil can create a hot spot. Clean per the bulb maker or use another uncontaminated bulb.
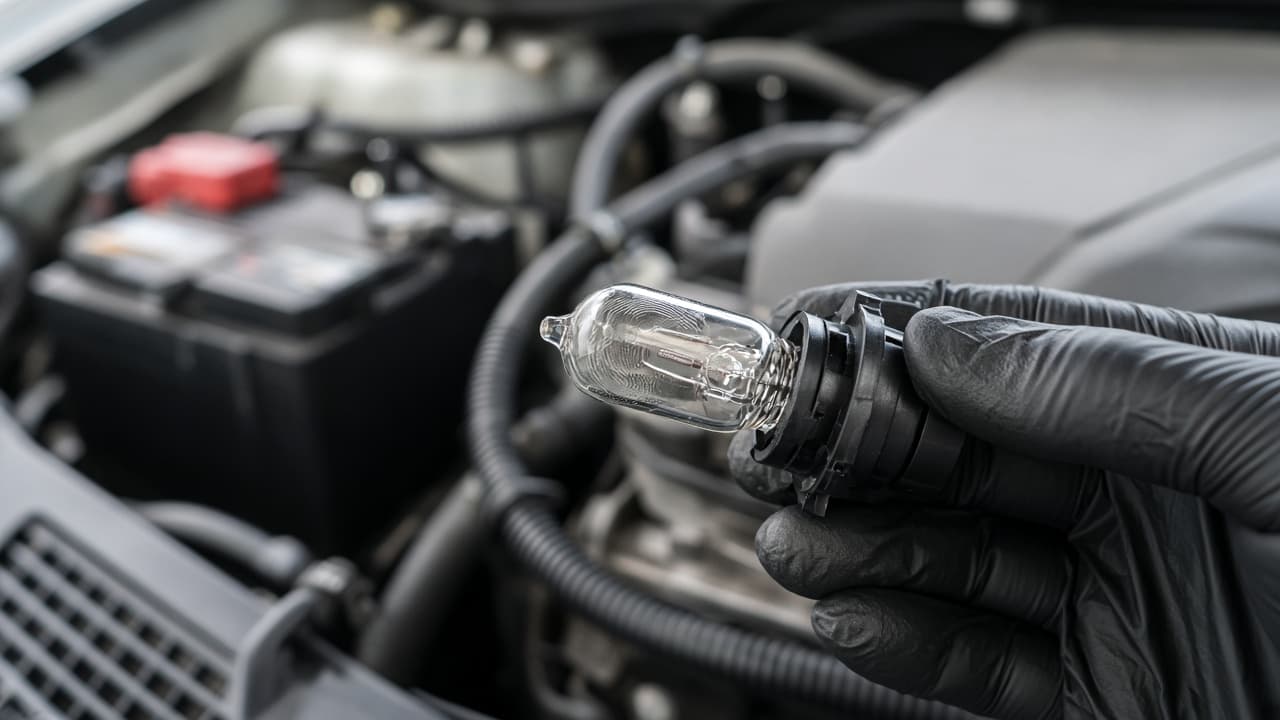
No bare fingerprints on halogen glass.
Step 06
Restore the connector, seal and work area
Moisture and loose tools cause the next failure if you rush reassembly.
Do this step in order
6a
Reconnect until the lock engages
Push the connector onto the base until its lock clicks and route wires as photographed.
6b
Reinstall the dust cover evenly
Seat the cover so the seal is complete all the way around. A loose cap lets moisture into the reflector.
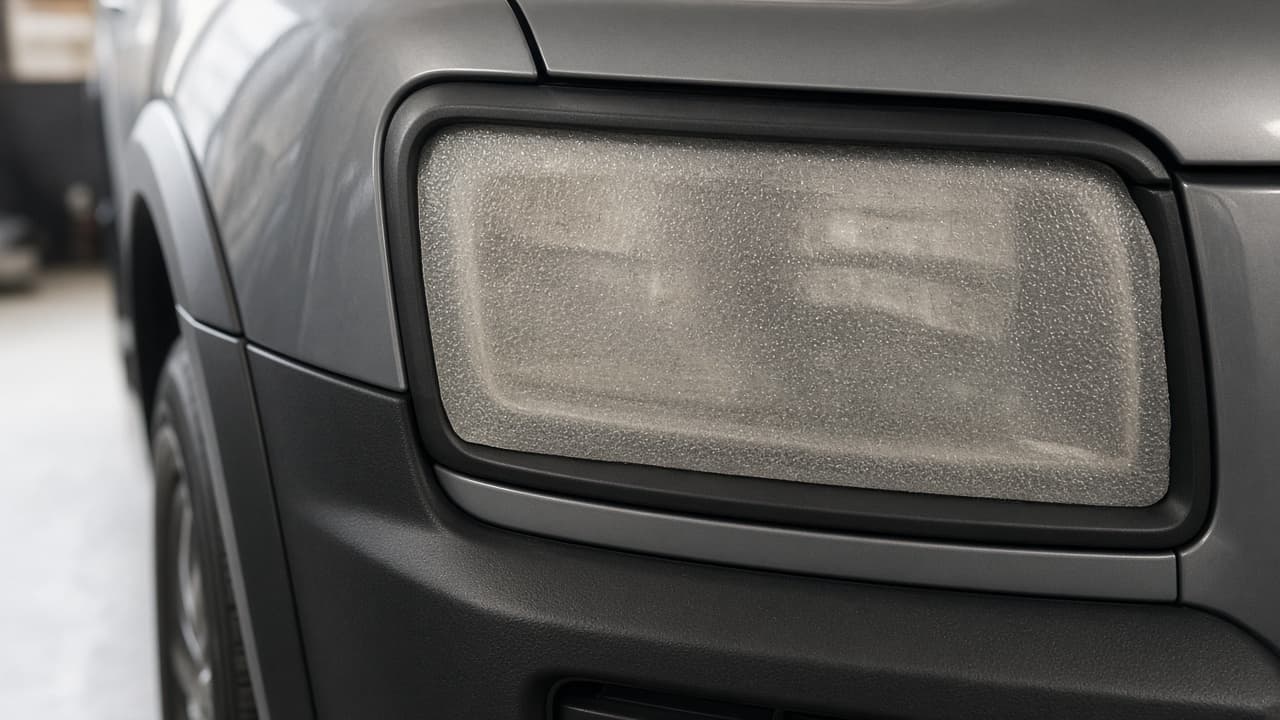
An even seal keeps water and dirt out of the reflector. 6c
Clear tools before power returns
Remove tools, packaging and rags from the engine bay, then close access panels as the manual directs.
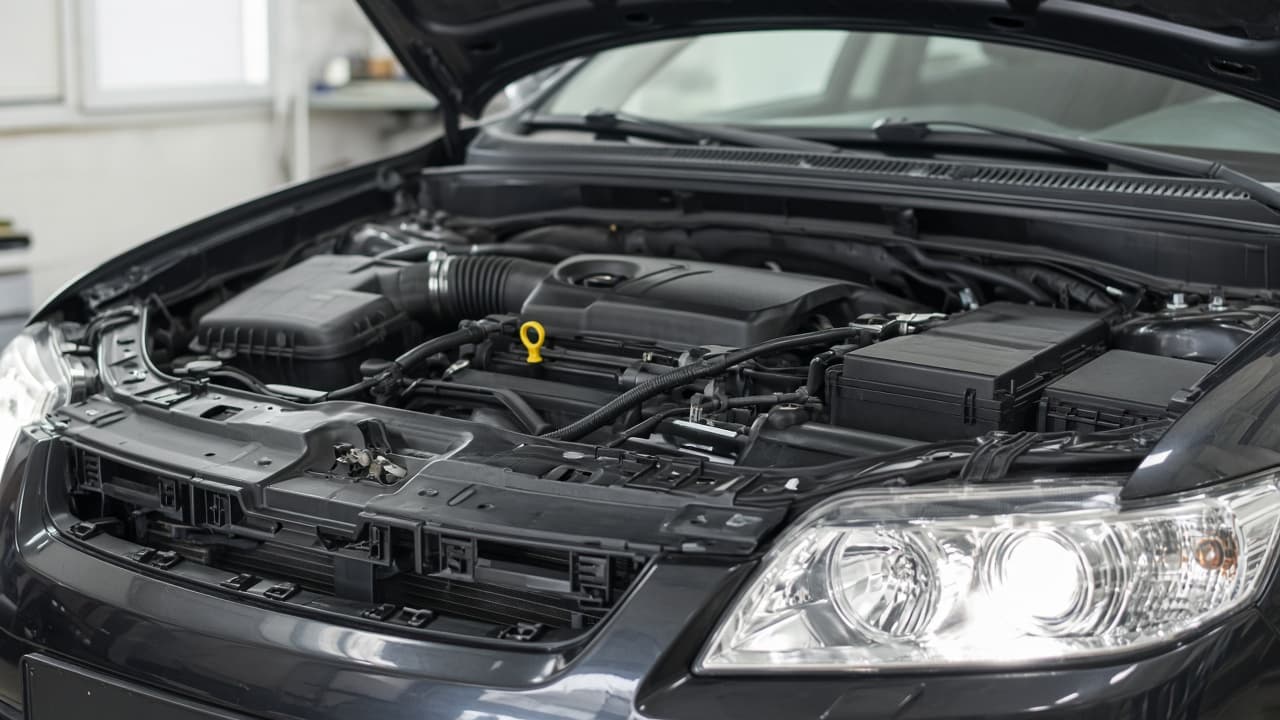
Clear the bay before ignition or headlight switches go on. 6d
Common mistake: leaving the dust cover loose
Common mistake: pressing the cover on one side only because the bulb already works in a quick test. Moisture fog and corrosion follow a bad seal.
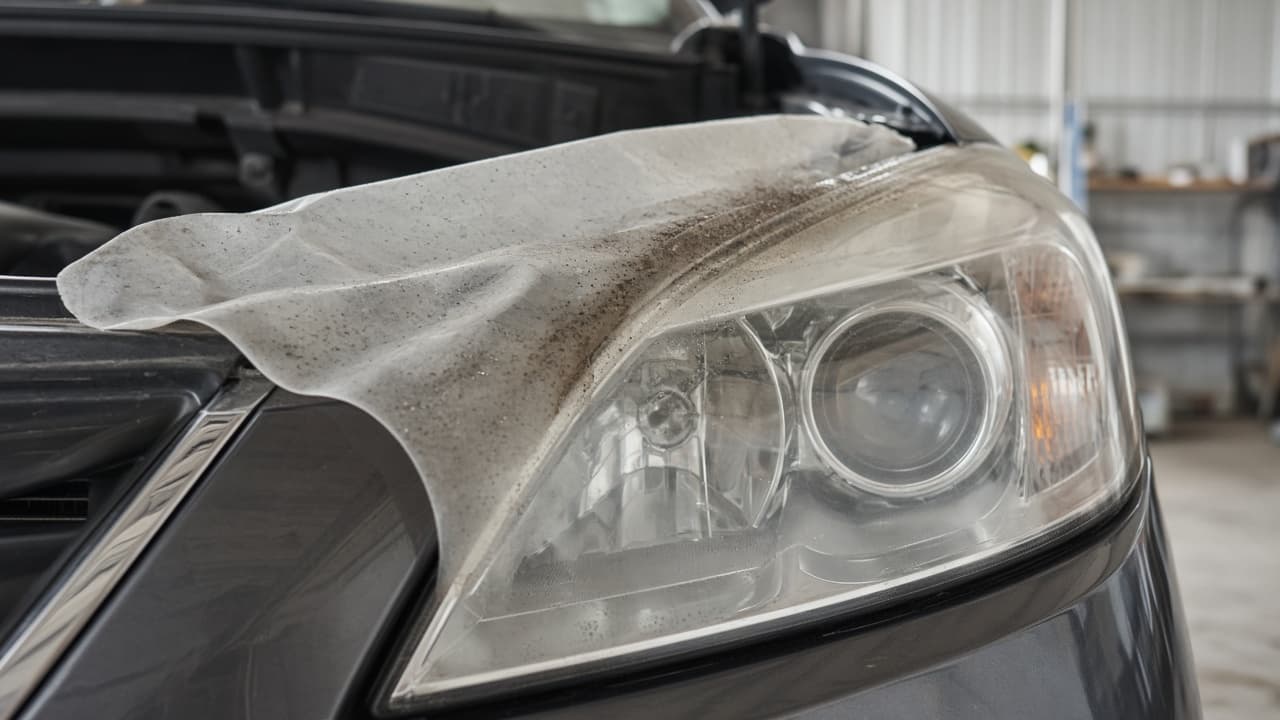
Fully seat the cover. A quick light test does not excuse a bad seal.
Step 07
Test both beams and know when to stop
Confirm functions from outside the car before night driving.
Do this step in order
7a
Test low beam and high beam
Stand in front of the parked vehicle and verify every relevant function. Turn everything off and reseat the connector if the lamp is dark or flickers.
7b
Compare beam height and shape
Look for an obviously crooked or scattered pattern that suggests poor seating or a wrong bulb type.
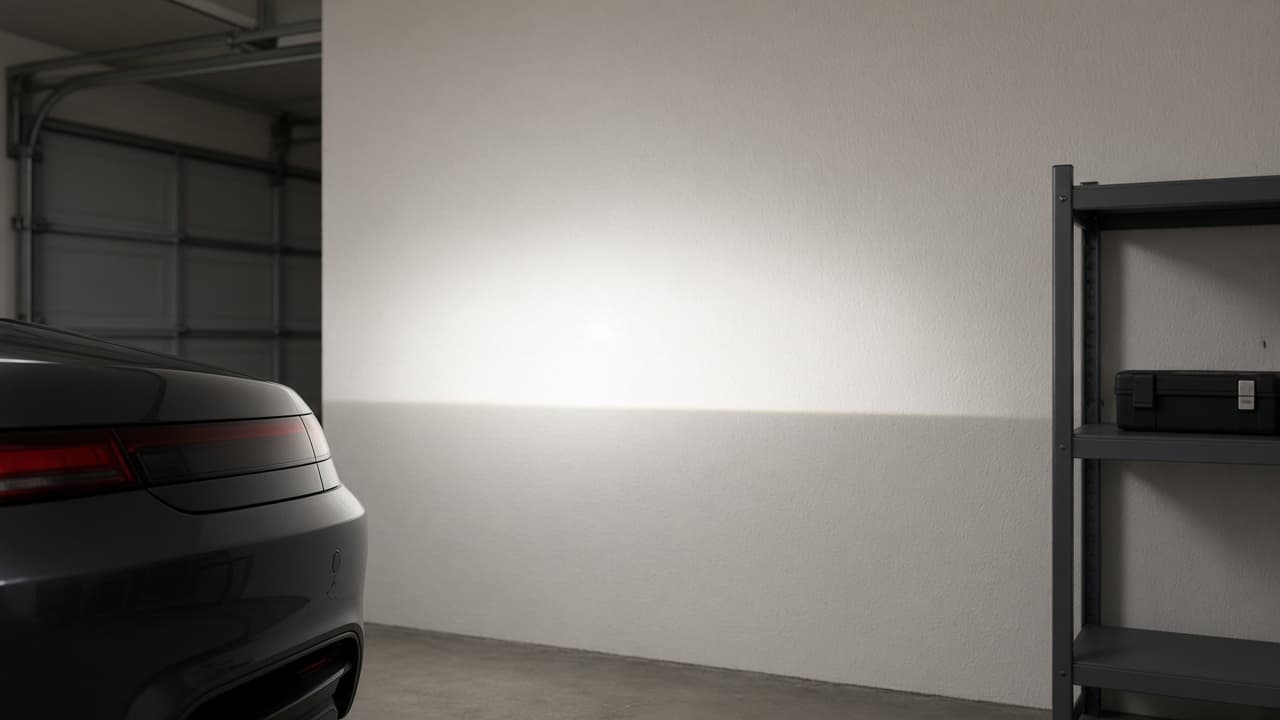
A clean pattern suggests correct seating and bulb type. 7c
Consider the matching second bulb
When one halogen bulb fails from age, the other is often close behind. Replace the pair only through the same verified procedure.
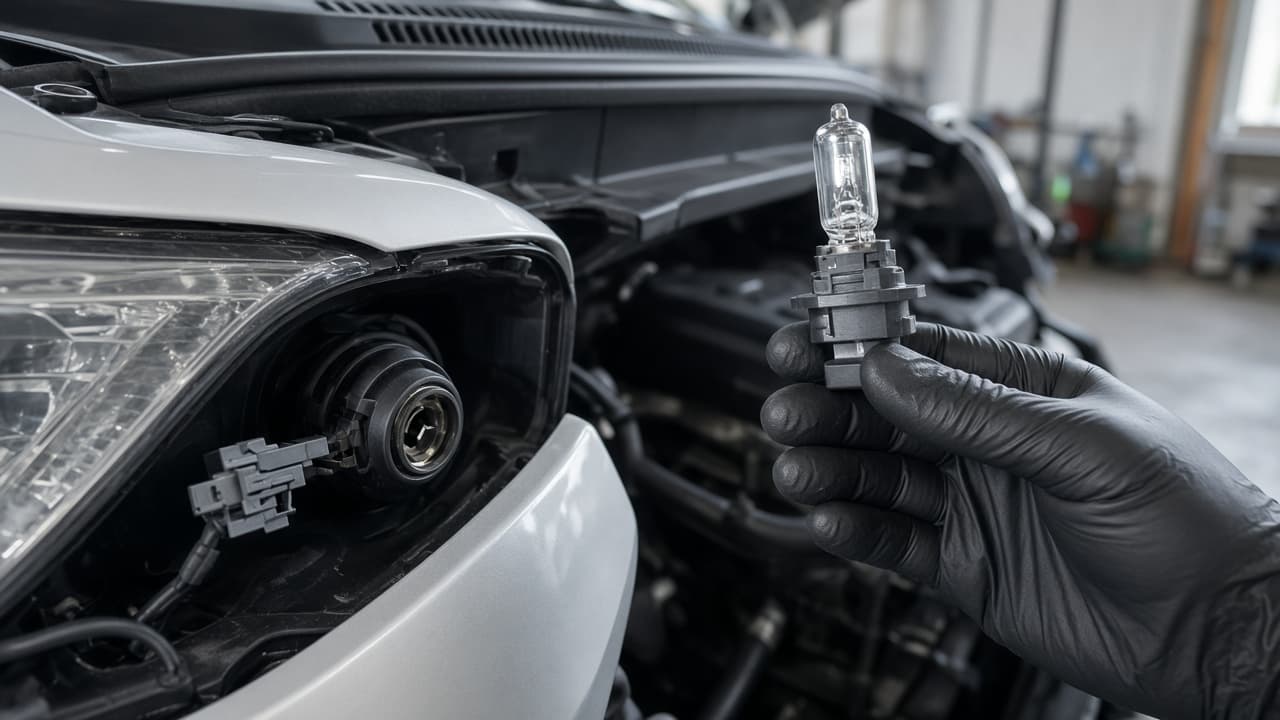
Aged pairs often fail close together. Use the same careful method. 7d
Common mistake: driving on a bad pattern
Common mistake: accepting glare or a dark patch because the bulb lights up. Seek help if the beam aims wrong, moisture collects, a fuse blows again or the connector shows heat damage.
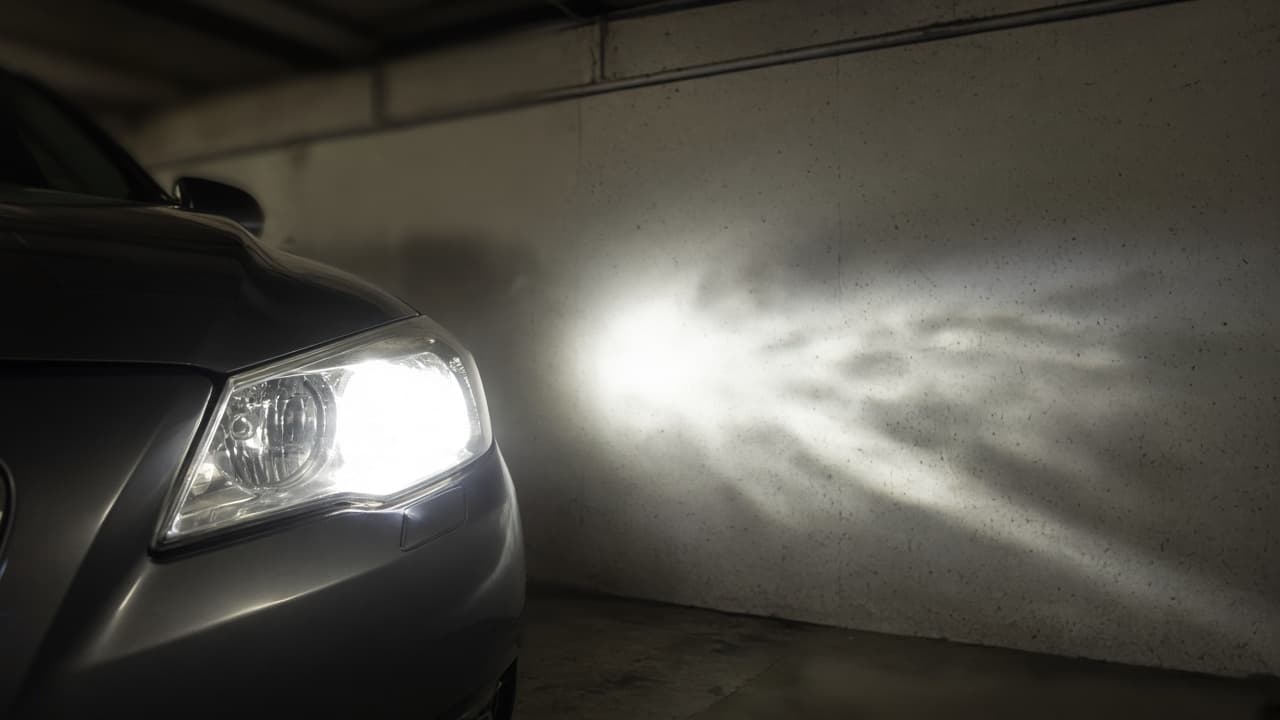
Lit is not enough. Wrong aim needs a fix before night driving.
Done when
- Look up correct bulb number for your car
- Shut off engine and headlights and let parts cool
- Open housing access from hood or wheel well
- Photograph layout, then disconnect the plug
- Remove old bulb without touching glass
- Install new bulb, restore seals and reconnect
- Test low and high beams before night driving
Eagle Frame's takeaway: verify the exact bulb in the owner manual, shut down and cool the car and never touch halogen glass. Copy the original orientation, restore every seal and test both beams. Leave HID voltage, sealed LEDs and inaccessible housings to a qualified shop.