How to tailor your own clothes
Start with beginner hems and simple side seams on woven cotton. Mark, pin, try on and hand- or machine-stitch small adjustments. Send structured jackets, delicate silk and heavy alterations to a pro.
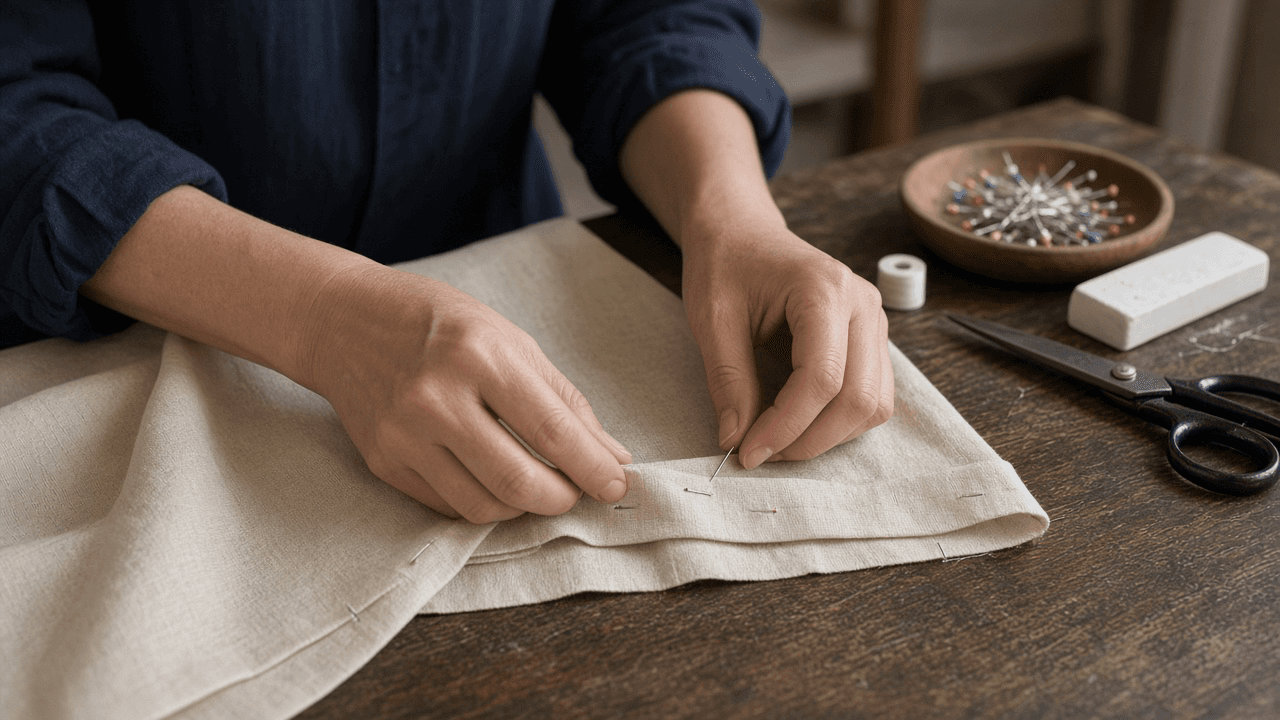
Home tailoring starts with reversible changes that follow existing construction. A straight hem on woven cotton trousers or a simple skirt teaches measuring, pressing and stitch control without disturbing shoulders, pockets or lining. Start on an inexpensive garment before altering something difficult to replace.
Wash and dry a washable garment before measuring so later shrinkage does not undo the work. Put on the shoes and undergarments you will normally wear, then mark the finished length while standing naturally. A helper can measure from the floor more accurately than you can while bending toward your own hem.
Pin the full circumference and test the garment while walking and sitting. Preserve enough hem allowance to turn the raw edge under, and do not cut until both legs or sides look even. Curved, bias-cut and stretchy hems need different handling, so beginners should stop when a fold will not lie flat without puckering.
Pressing is part of sewing, not a final cosmetic step. A double fold encloses a raw edge on many stable woven fabrics, while a finished raw edge and blind stitch suit dress trousers and skirts. Match iron heat, needle, thread and stitch to the fabric label, then test everything on a hidden allowance or scrap.
Sew slowly near the inner fold with a straight stitch of about 2.5 to 3 millimeters for ordinary woven fabric. Remove pins before the needle reaches them and backstitch briefly at the start and finish. For a blind hem, adjust the foot so the needle barely catches the garment fold and practice before using the real piece.
Simple side-seam changes require equal pinning, basting and a full try-on before permanent stitching. Stop at zippers, pockets, boning, lining or major pattern matching because moving those parts changes more than width. Blazer shoulders, leather, silk, beading and formalwear are professional jobs.
Step-by-step guide
Time: 45 to 90 minutes for a first hem; longer for side seams
What you need
- Measuring tape
- Tailor's chalk or washable fabric marker
- Sharp pins
- Iron and pressing board
- Sewing machine or hand needle and thread
- Fabric scissors and seam ripper
- Optional: blind-hem foot
Before you start
- Cut fabric only after a pinned try-on you trust.
- Knits and stretch denim behave differently from woven cotton.
- Structured jackets and leather belong with a professional tailor.
- Unplug the iron and machine when you step away.
Step 01
Choose a beginner project and prepare the fabric
Hems on cotton trousers or skirts are the safest first tailor job.
Do this step in order
1a
Choose stable woven fabric
Start with washable cotton trousers, a straight skirt or another unlined piece whose hem is easy to reach. Stop if the garment is leather, silk, beaded, lined, bias-cut or built with a complex cuff.
1b
Prewash and press
Wash and dry the garment as you plan to care for it, then press out wrinkles at the label's safe temperature.
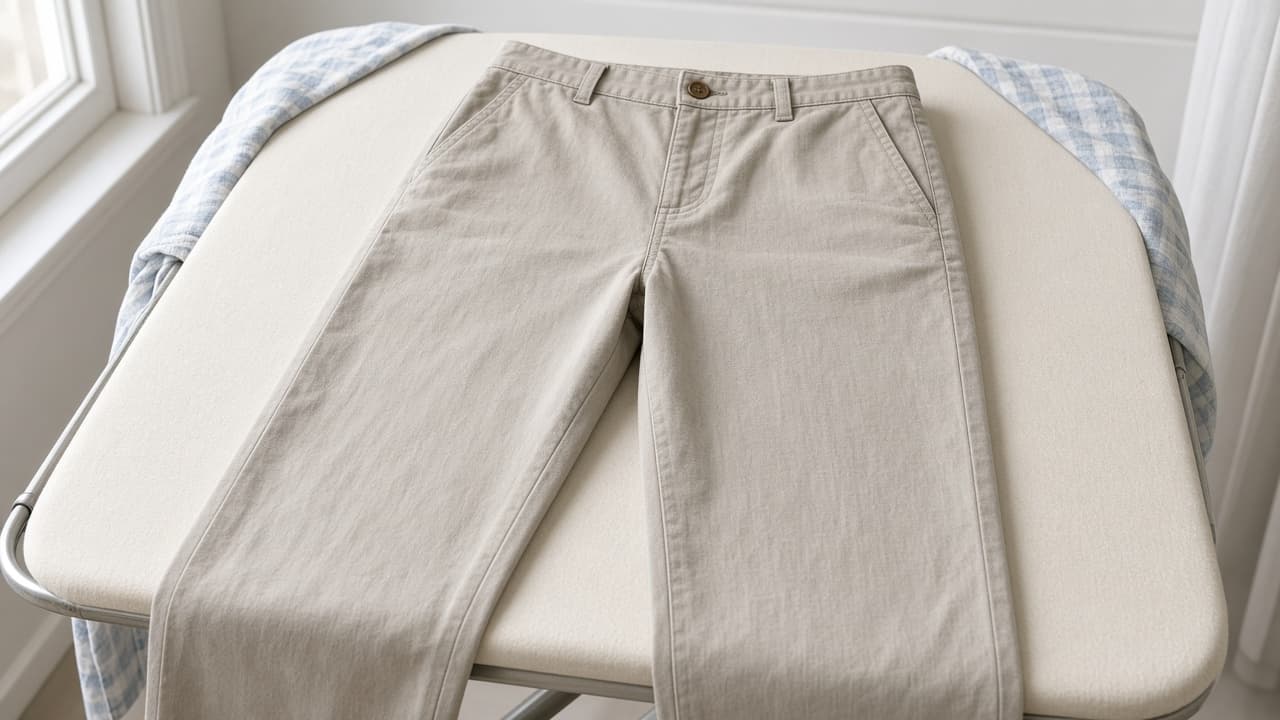
Prewash so later shrinkage does not undo the hem. 1c
Gather measuring and marking tools
Set out tape, chalk, pins, iron and the machine or hand needle you will use. Clear a flat cutting surface before you start fitting.
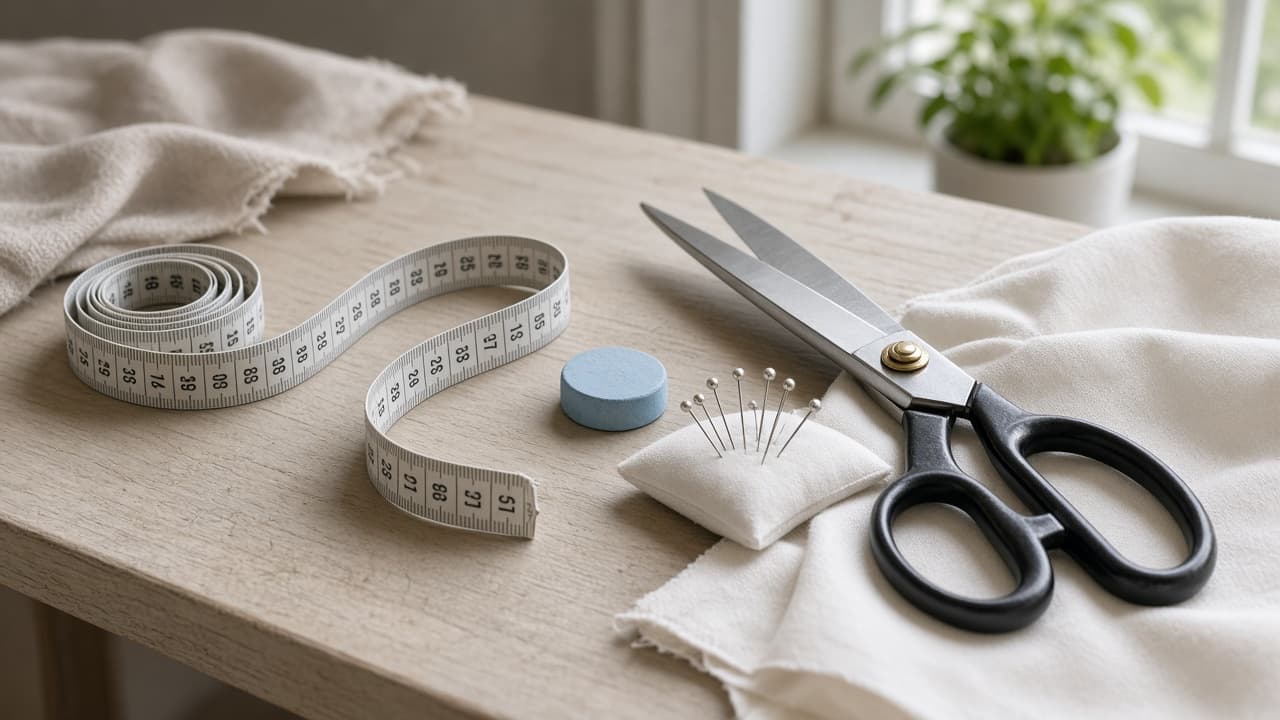
Stage tools before the fitting so you are not hunting mid-pin. 1d
Common mistake: starting on a blazer
Common mistake: practicing on a structured jacket or silk dress. Those pieces hide canvas, lining and irreversible cuts. Learn on inexpensive woven cotton first.
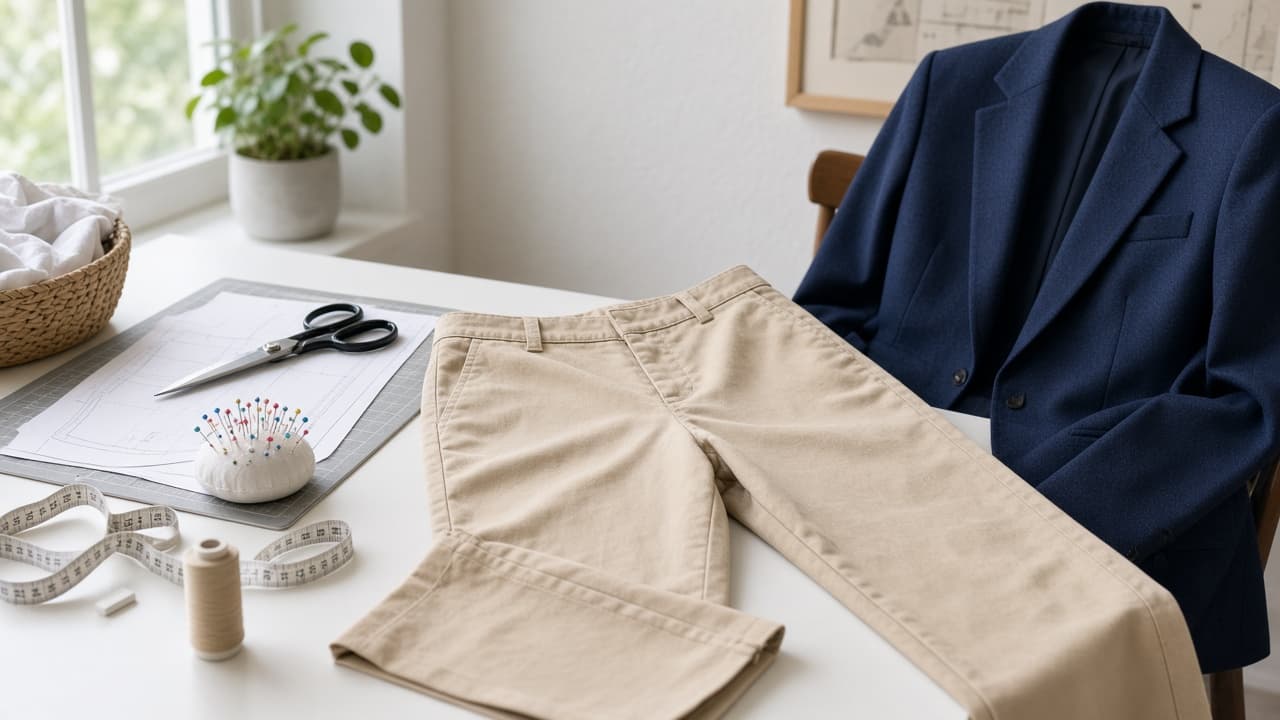
Blazers wait for a pro. Cotton hems teach the basics.
Step 02
Mark the finished length on the body
Mark while standing in the shoes you will actually wear with the garment.
Do this step in order
2a
Dress for the real fitting
Put on the usual shoes, belt and undergarments because they change how fabric hangs. Stand with weight balanced.
2b
Mark one level finished line
Use tailor's chalk and a ruler or helper to mark an even distance from the floor around both legs or the skirt.
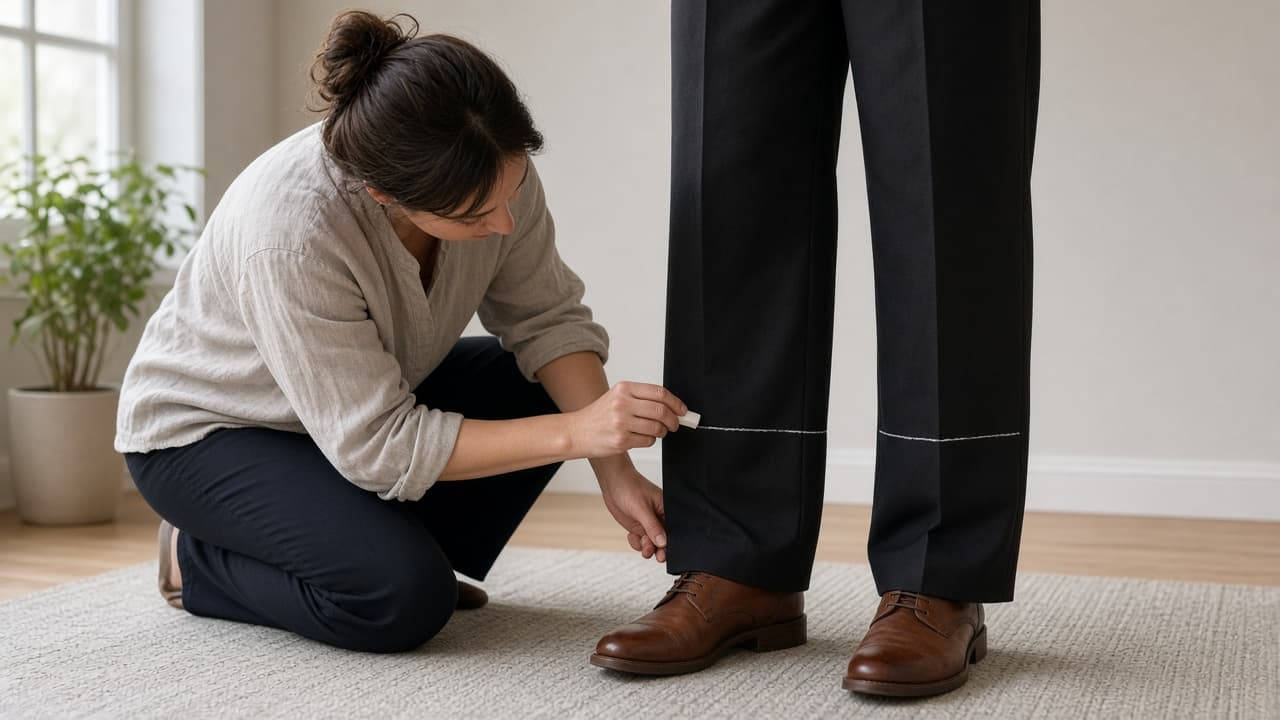
A helper marks more accurately than bending toward your own hem. 2c
Compare front, side and back
Check the marks in a mirror. Redo any marks made while you were bending or shifting weight to one foot.
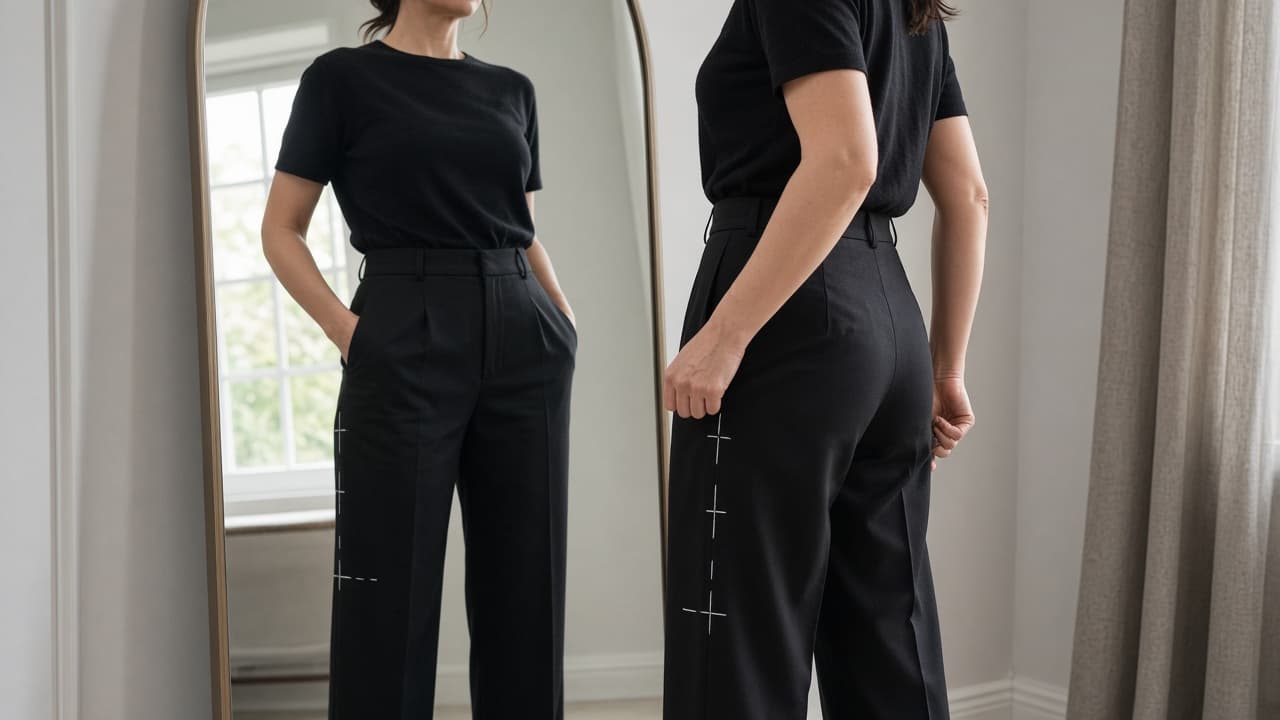
Mirror checks catch a high back or dipping side early. 2d
Common mistake: marking while bent over
Common mistake: folding forward to chalk your own hem and locking in a crooked line. Stand straight or get help.
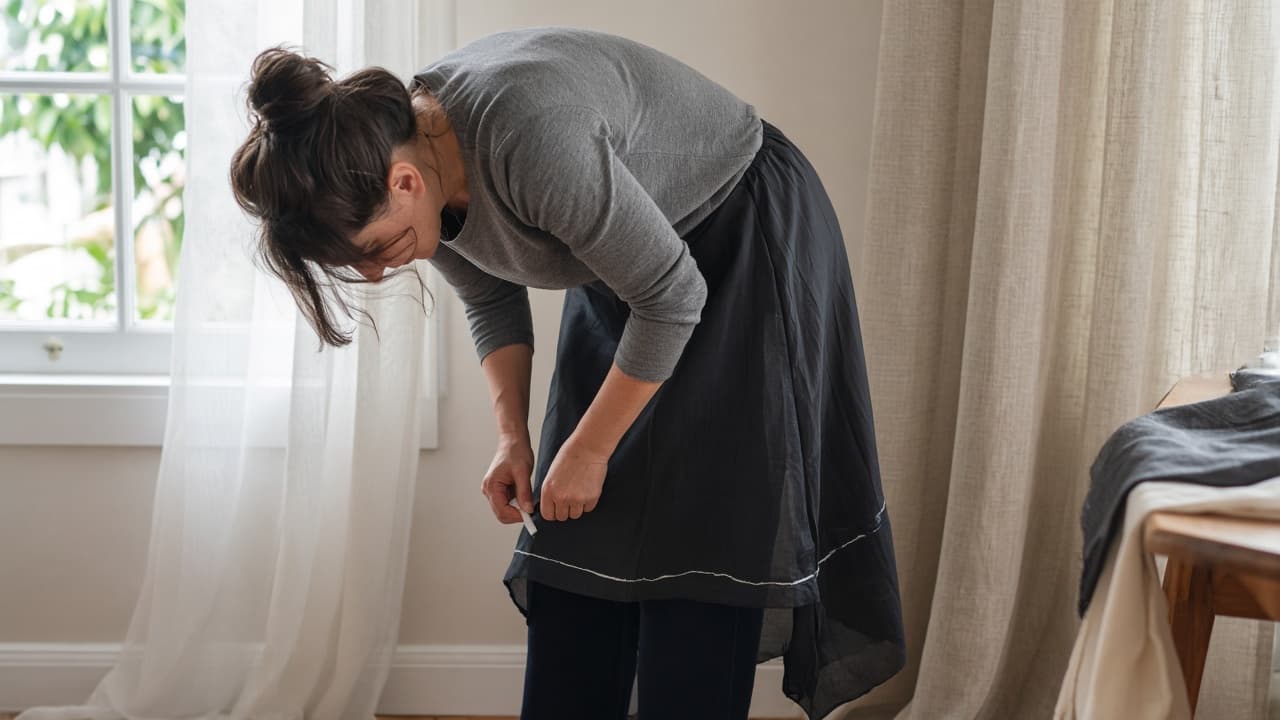
Bending while marking creates a hem that looks wrong when you stand.
Step 03
Pin, try on and adjust before you cut
Folding and pinning beats guessing with scissors.
Do this step in order
3a
Calculate the hem allowance
Measure inward from the finished line for the fold style you plan to sew. Allow enough for two narrow folds or the original hem depth.
3b
Fold and pin evenly
Turn the excess to the wrong side along the finished line and pin perpendicular every 2 to 3 inches. Keep side seams aligned.
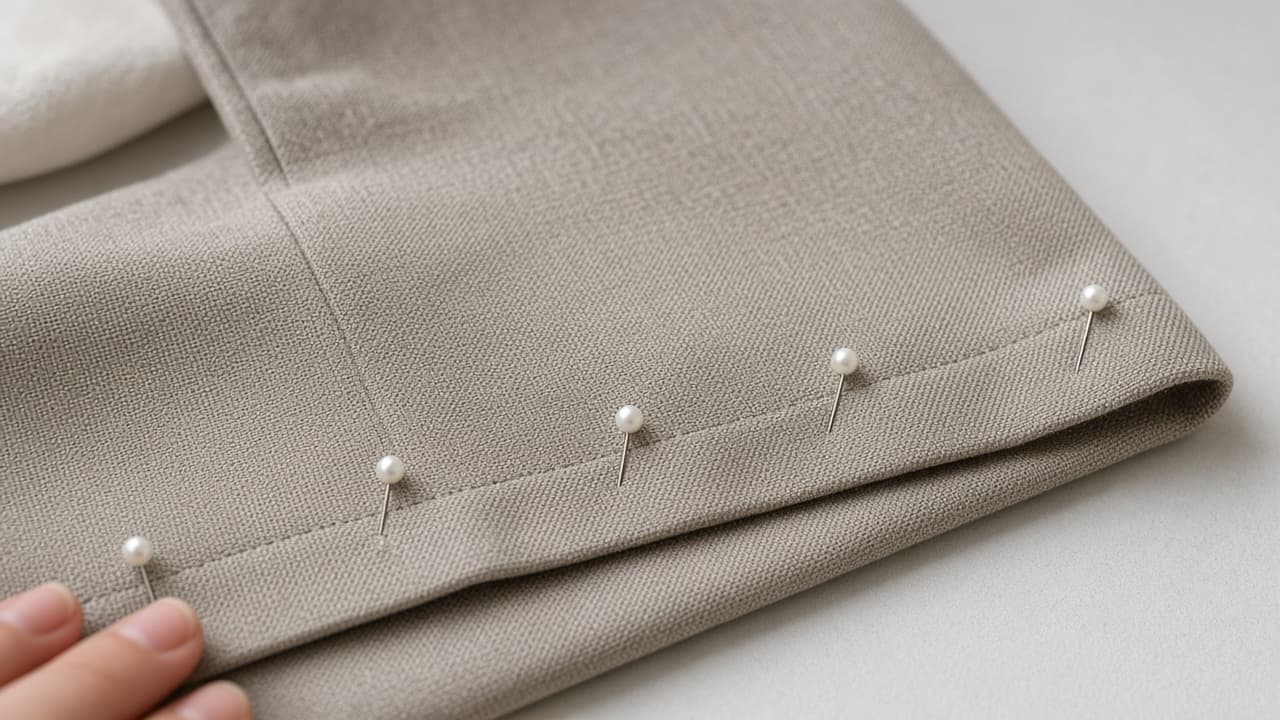
Perpendicular pins hold the fold without shifting sideways. 3c
Test walking and sitting
Try the pinned garment on, then walk, sit and check both sides in a mirror. Repin any pooling or riding hem.
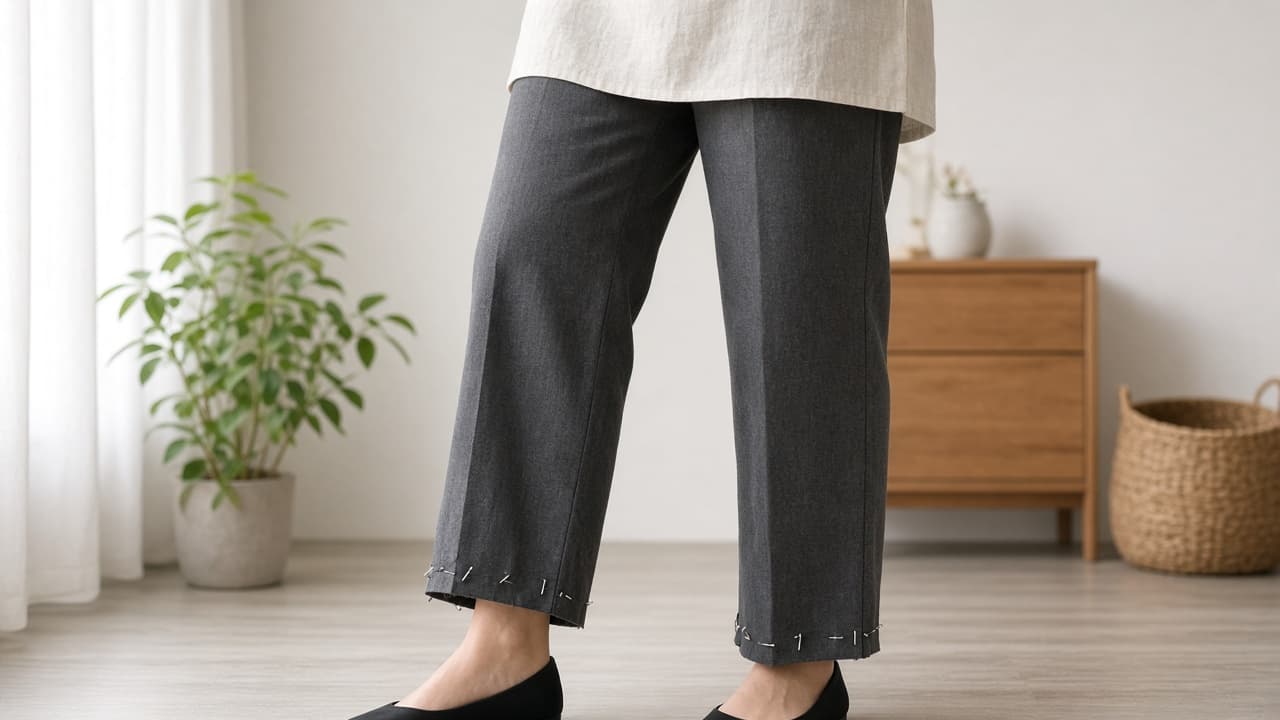
Movement testing beats a static mirror glance. 3d
Common mistake: cutting before the pinned try-on
Common mistake: trimming as soon as one leg looks right. Cut only after both sides survive a full movement test.
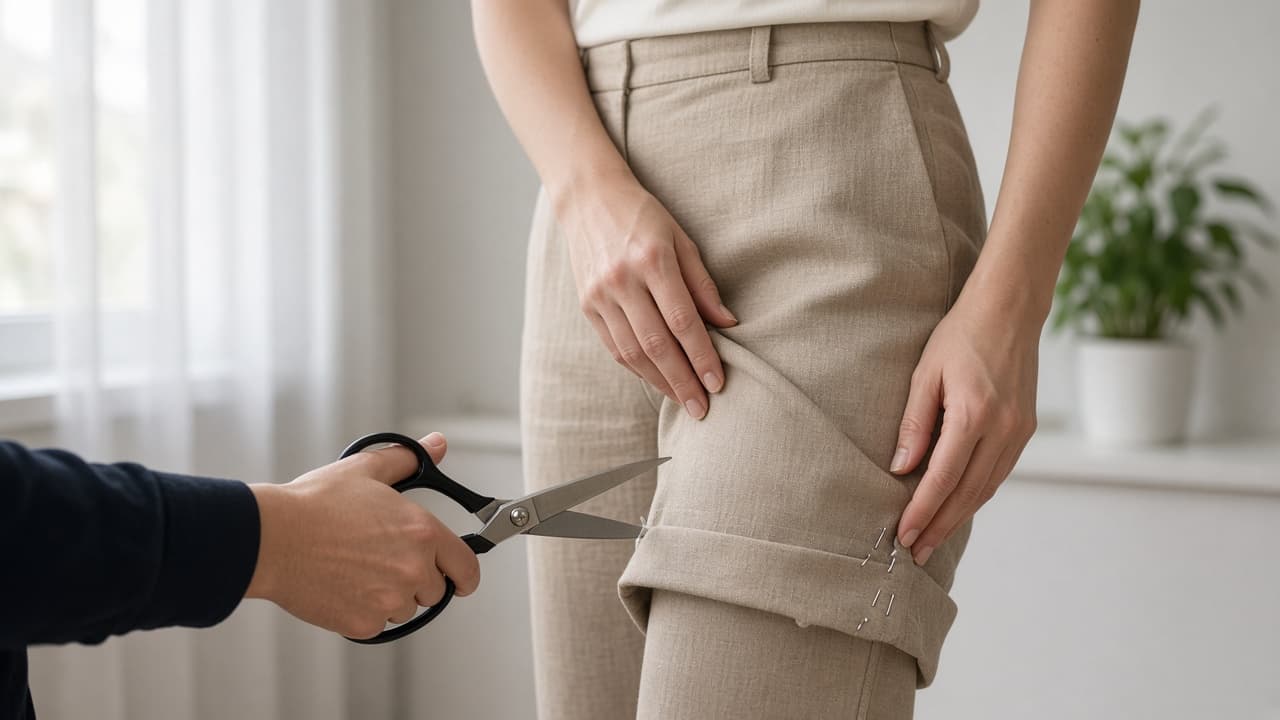
Pins first. Scissors wait for approval.
Step 04
Trim only the confirmed excess
Leave the full planned allowance and cut on a flat surface.
Do this step in order
4a
Mark the cutting line from the fold
Measure from the confirmed finished edge and mark the full allowance all the way around.
4b
Cut flat, one layer at a time
Use fabric scissors on a table. Never trim while wearing the garment.
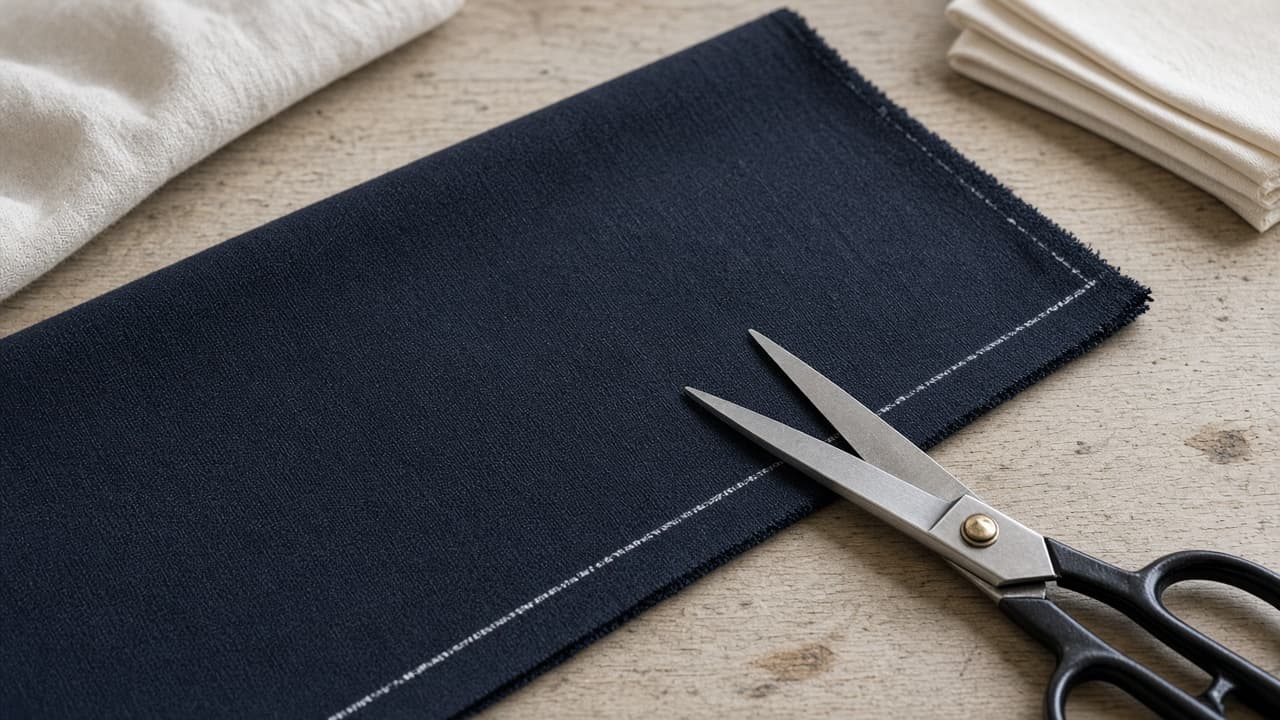
A flat cut stays even. A worn cut does not. 4c
Keep both legs or sides matched
After cutting one side, compare the removed strip with the other side before you cut again.
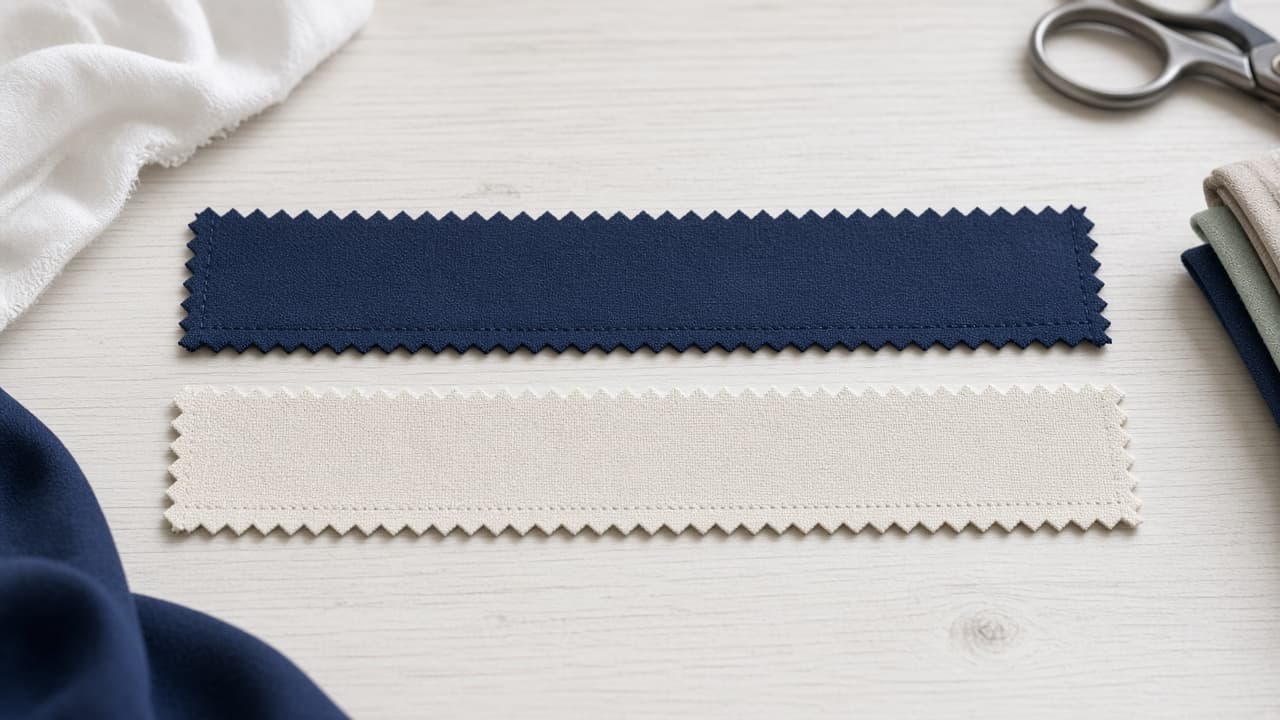
Matching offcuts prove both sides lost the same amount. 4d
Common mistake: trimming while wearing
Common mistake: snipping the hem while the trousers are on because it seems faster. Fabric shifts on the body and you can cut too deep.
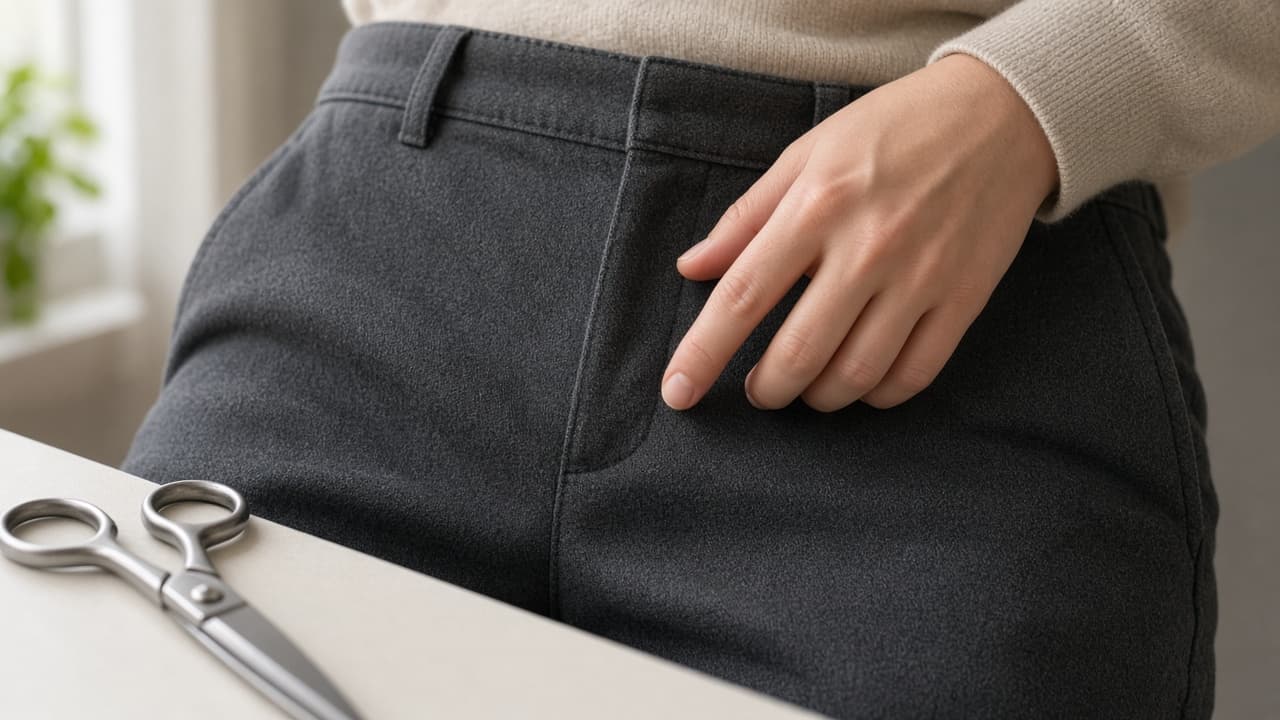
Take the garment off before any cutting.
Step 05
Press each fold before you sew
A pressed fold makes machine stitching straighter than pins alone.
Do this step in order
5a
Set iron heat for the fiber
Check the care label and use a pressing cloth on delicate finishes. Lift and place the iron instead of dragging it.
5b
Press the first fold, then the second
If you are using a double fold, press one narrow turn, then the second, so the raw edge is enclosed and the finished edge is sharp.
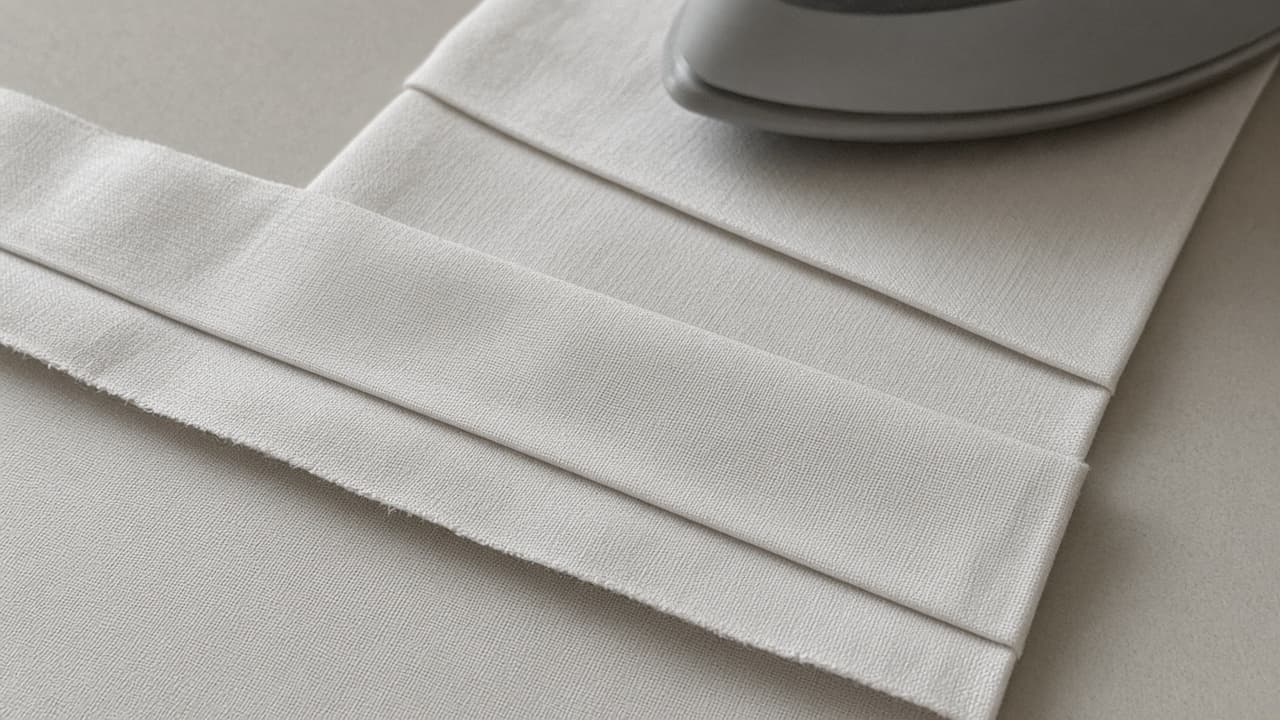
Two pressed turns enclose the raw edge cleanly. 5c
Stop if the fabric reacts badly
Stop if the fabric shines, melts or changes color. Lower the heat or switch to a pressing cloth and scrap test.
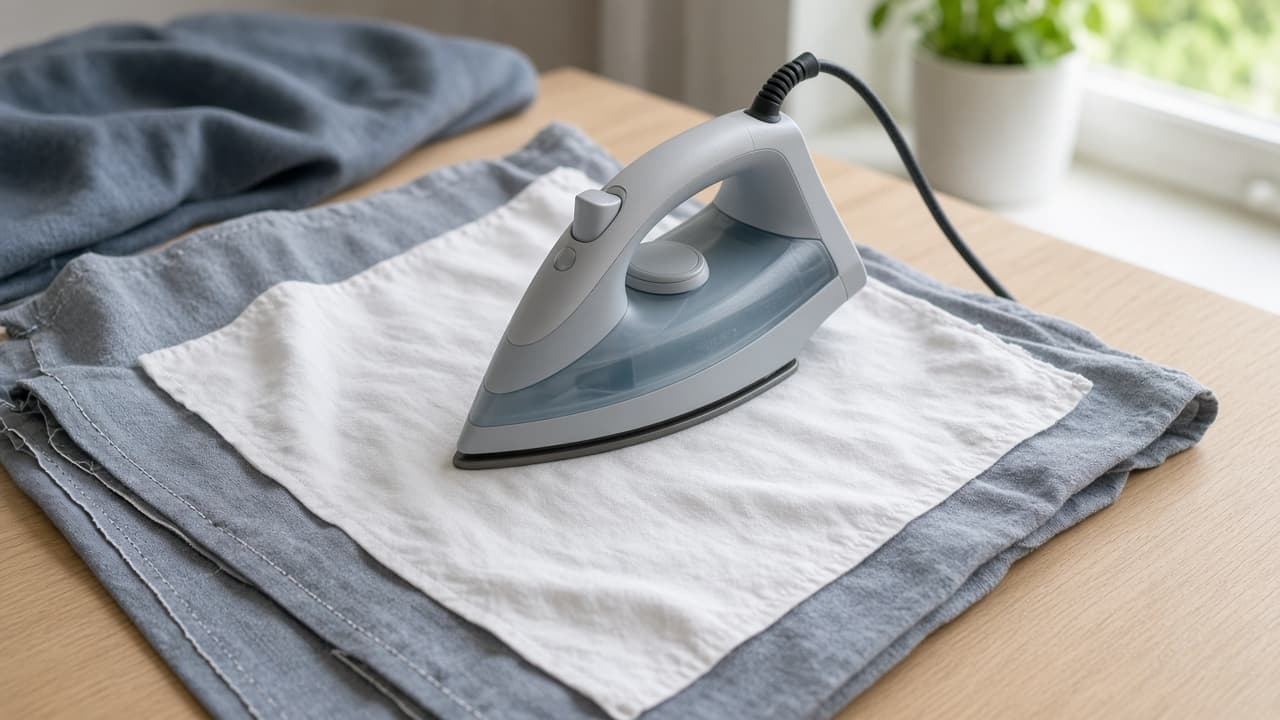
Heat damage shows before stitches. Protect the face of the cloth. 5d
Common mistake: sewing an unpressed soft fold
Common mistake: stitching a floppy fold because pressing feels optional. Soft folds wander under the foot and look wavy on the right side.
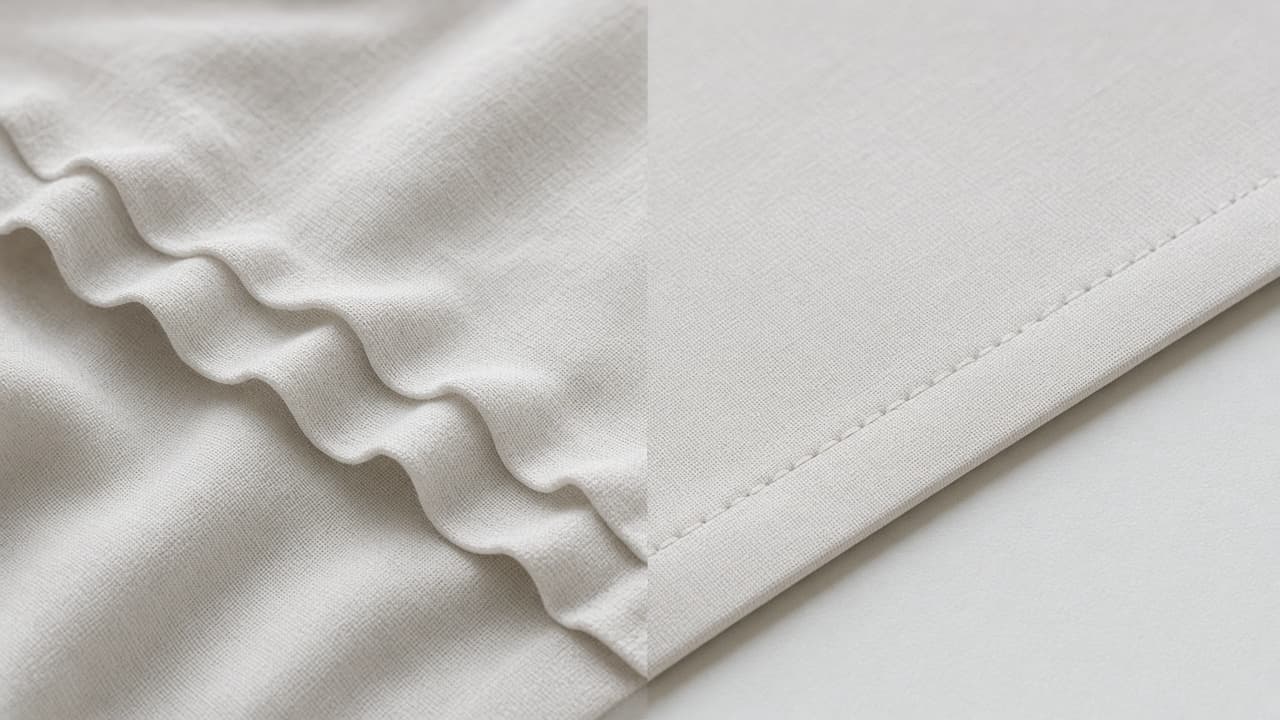
Press first. Soft folds sew crooked.
Step 06
Test the stitch, then sew the hem
Match thread and needle, then sew slowly beside the inner fold.
Do this step in order
6a
Test on scrap or a hidden allowance
Use matching all-purpose thread and a suitable needle. A 2.5 to 3 millimeter straight stitch suits many woven hems.
6b
Sew beside the inner fold
Start at a side seam, backstitch briefly and guide the fold without pulling it. Remove each pin before it reaches the presser foot.
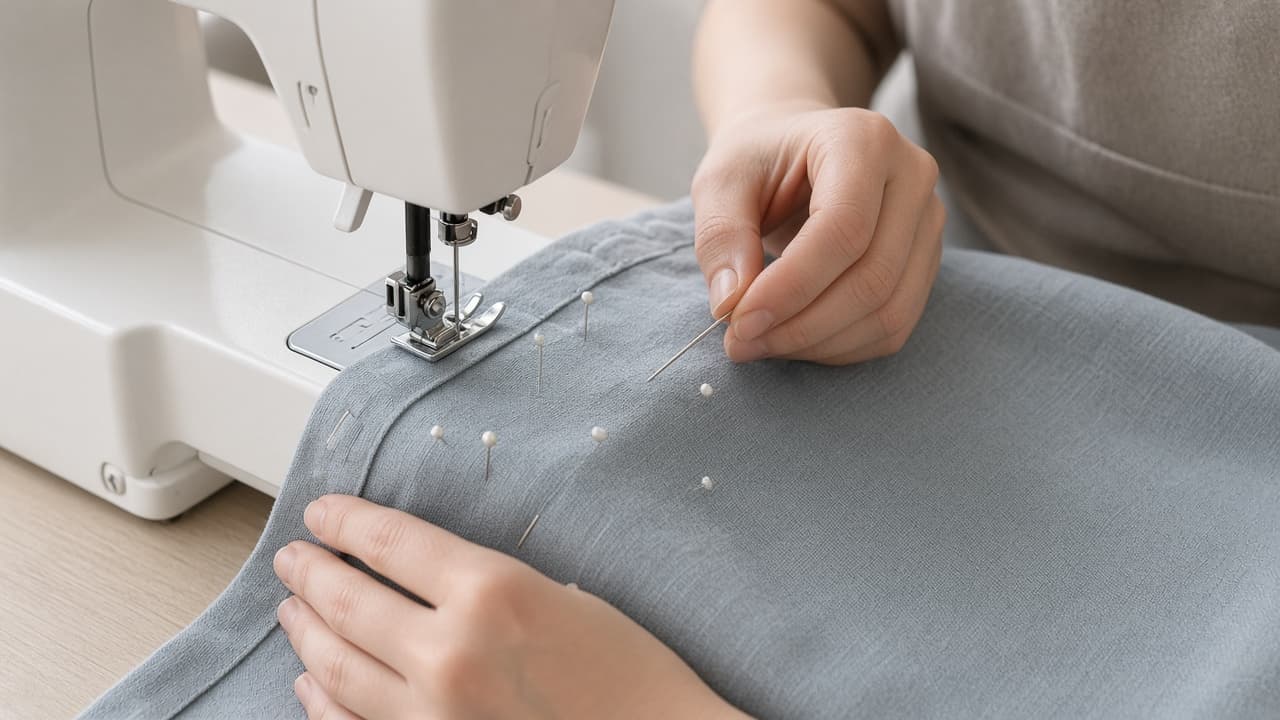
Pins out before the foot. Sewing over pins can break needles. 6c
Use blind stitch only after practice
For a nearly invisible hem, set a blind-hem foot so the sideways stitch barely catches the folded garment. Practice until the right side shows only tiny points.
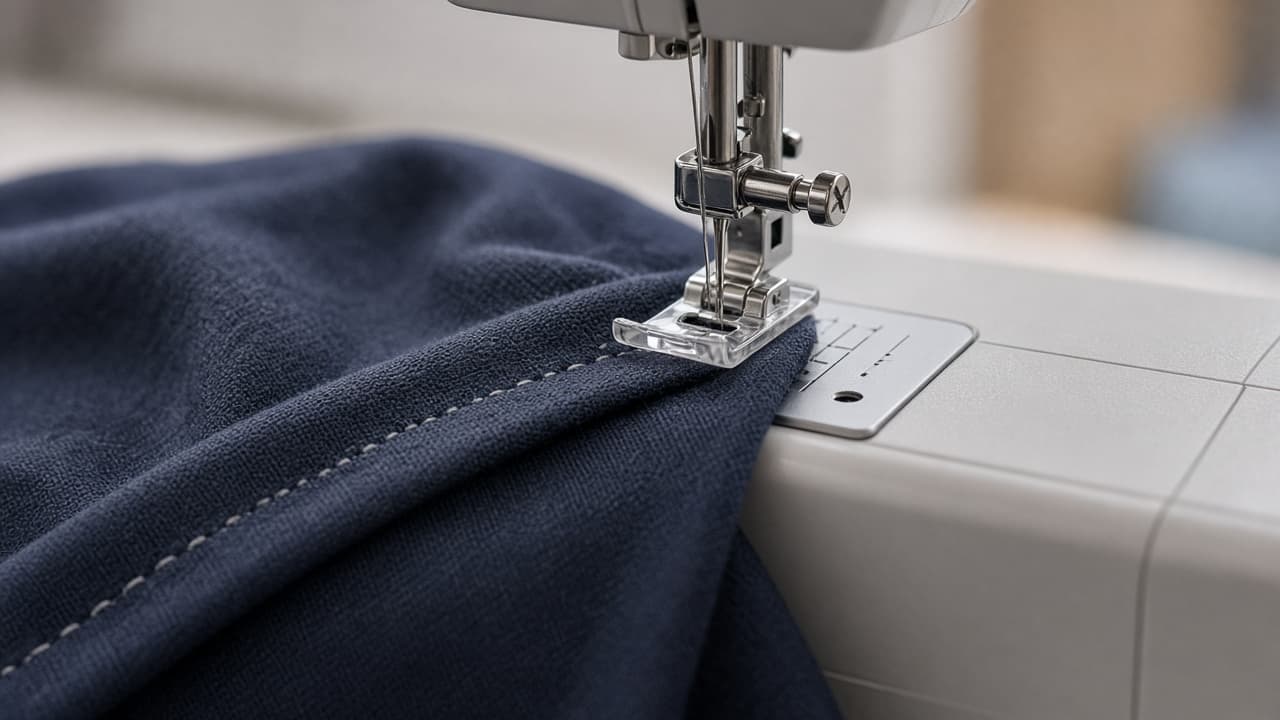
Tiny catch points keep a blind hem nearly invisible. 6d
Common mistake: sewing over pins
Common mistake: stitching straight over pins to save time. A hit pin can break the needle and damage the machine timing.
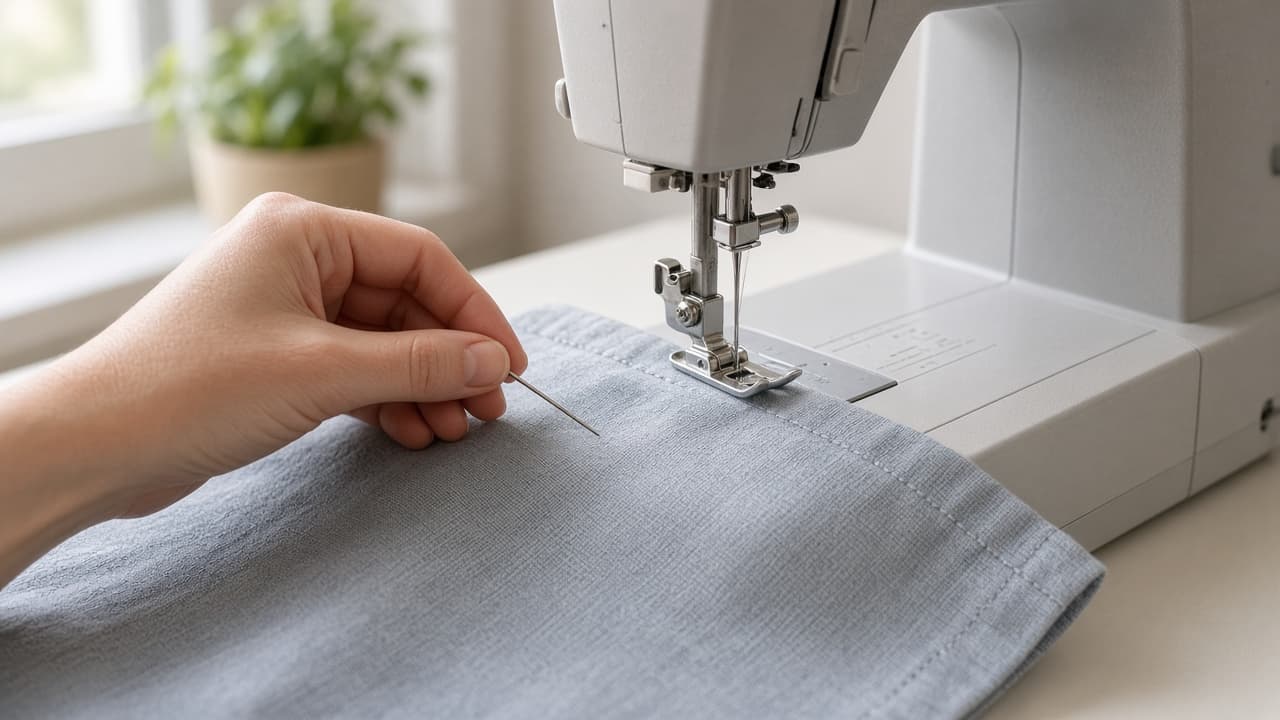
Pull pins early. Broken needles are not a shortcut.
Step 07
Final fit check and know when to see a pro
Wear the finished piece and recognize limits before you attack complex garments.
Do this step in order
7a
Press and inspect the finished hem
Press from the wrong side to settle stitches, then check that the edge lies flat without ripples.
7b
Repeat the movement test
Wear the garment with the fitting shoes and check it while standing, walking and sitting.
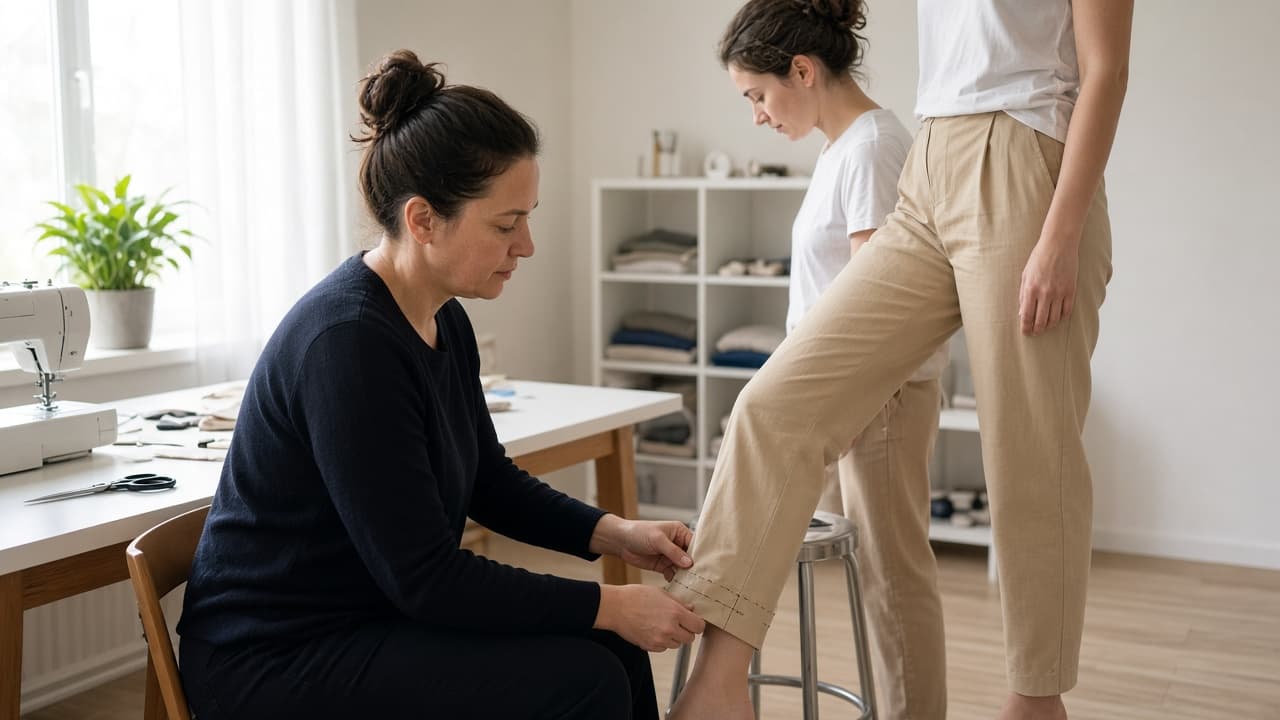
Final movement testing confirms length in real use. 7c
Treat side seams as a separate skill
On a simple unlined woven garment, pin equal amounts from both sides, baste and try on before permanent sewing. Do not cut away the old allowance until the new seam survives a fit check.
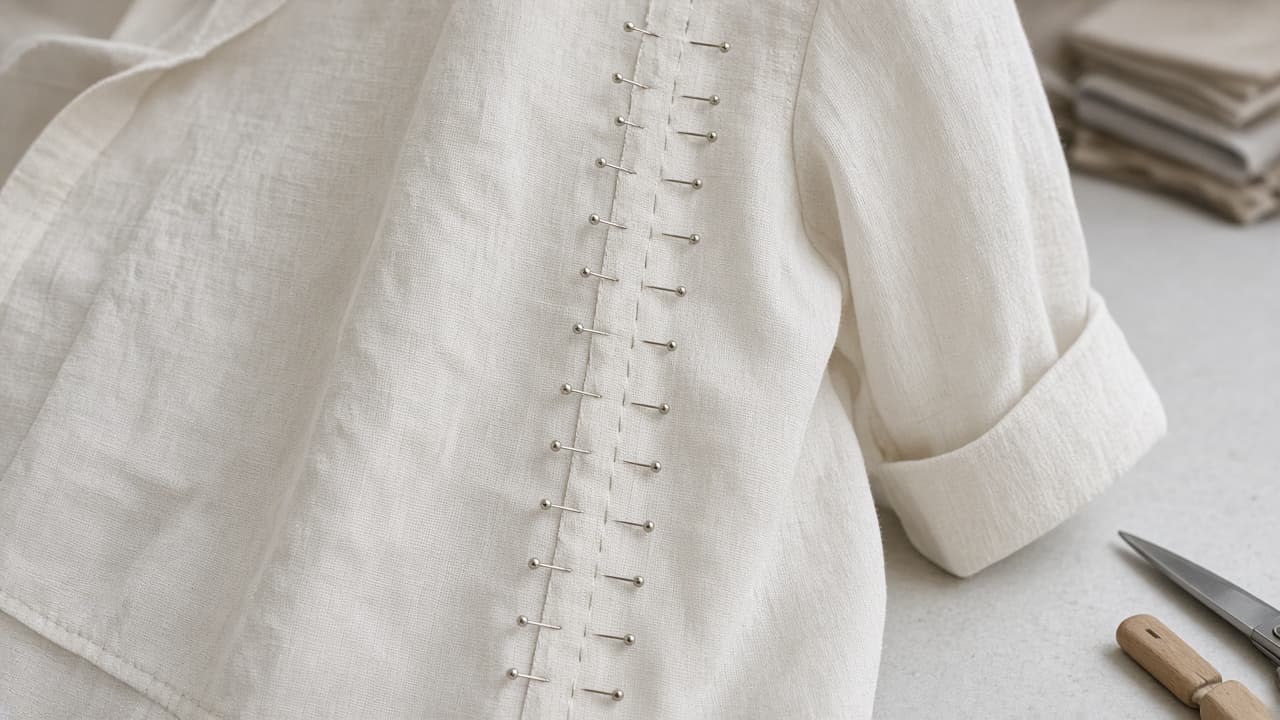
Baste and try on before any permanent side-seam stitch. 7d
Common mistake: DIY on structure and delicates
Common mistake: opening a blazer shoulder or silk gown after one successful cotton hem. Use a professional for shoulders, lined coats, zippers, pockets, leather, silk, beadwork and formalwear.
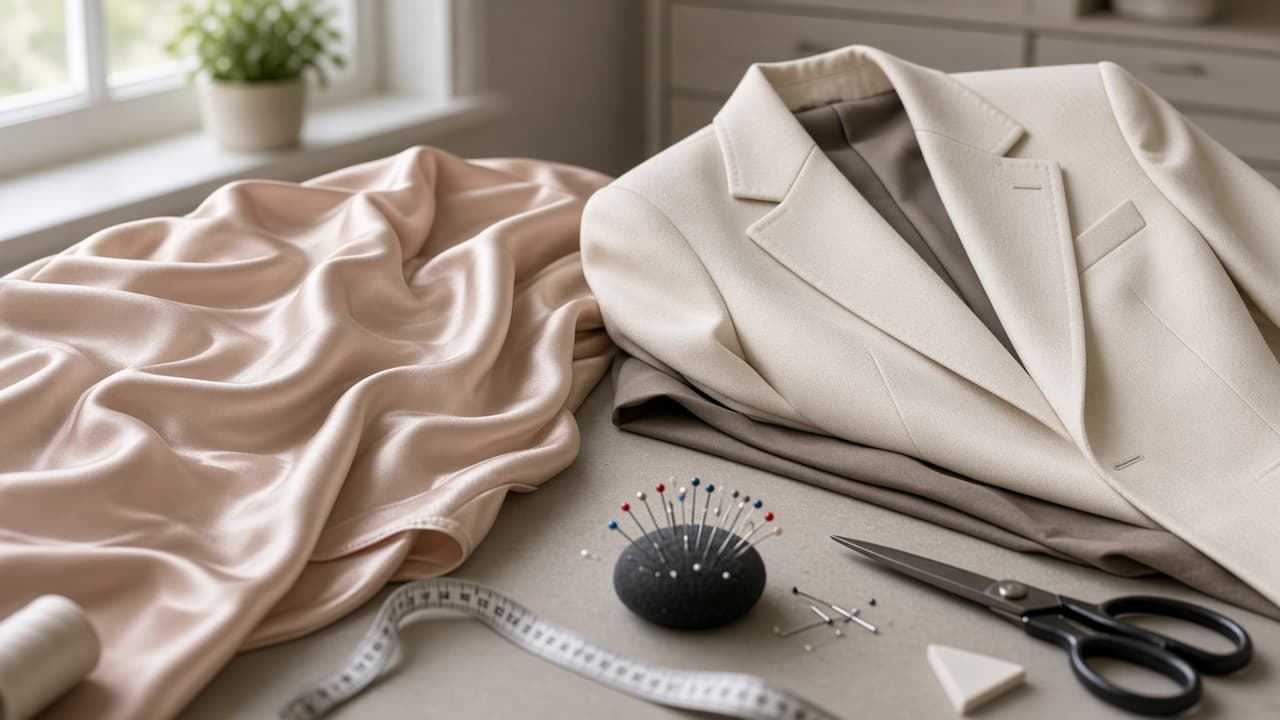
Know the stop line. Structure and delicates belong with a tailor.
Done when
- Choose a stable woven beginner project
- Prewash and mark desired length while wearing the garment
- Pin evenly and try on before cutting
- Press the new fold
- Test stitch on scrap, then sew
- Try on again and press the finish
- Send structural work to a pro
Eagle Frame's takeaway: begin with a stable woven hem, mark the finished length on the body and test the pinned fold before cutting. Press each fold and test the stitch. A small clean alteration is better than an ambitious cut that cannot be reversed.