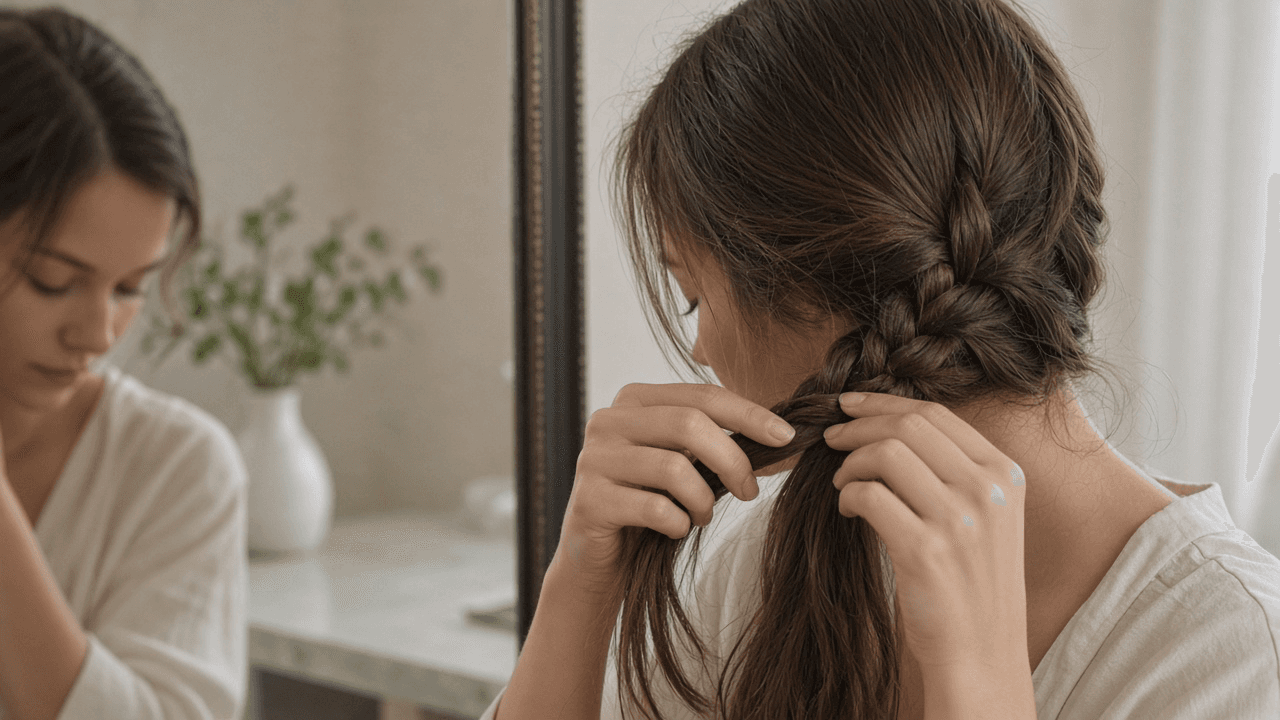
How to do a French braid
Brush hair smooth, start a regular three-strand braid at the crown and add a thin section from each side into the outer strands as you move down. Keep tension even and secure the tail with an elastic.
A French braid is a three-strand braid anchored to the head by adding loose hair to each outside strand before it crosses the center. Each outside strand becomes the new center in turn. The finished braid follows the scalp, then changes to a regular braid once all loose hair has been collected.
Detangle first because hidden knots interrupt the hand rhythm and create bumps. Dry hair with a little natural texture is easy to control, while a fine water mist or light texturizing product can add grip. Avoid soaking wet hair because it is heavier, stretches more easily and can conceal painful tension.
Take a centered section near the hairline or crown and divide it into three equal strands. Make one or two standard crosses to create an anchor: right over center, then left over the new center. Keep the strands separated between your fingers and your palms close to the head.
For every new stitch, gather a narrow slice from the same side as the outside strand, combine them smoothly and cross the enlarged strand over the center. Alternate right and left while taking similar amounts from progressively lower parts of the hairline. Unequal pickups pull the braid off center.
Firm tension keeps the braid neat, but tight is not the goal. Regrip near the scalp after each cross, smooth tangles before they enter and loosen immediately if the scalp aches or small hairs pull. Rest your palms against the head when your arms tire instead of letting the braid sag.
At the nape, divide any last loose hair evenly among the three strands and continue a plain braid. Secure it 1 to 2 inches from the ends with a snag-free elastic. Pin short layers in the direction they naturally lie rather than repeatedly tightening the whole braid.
Step-by-step guide
Time: 15 to 30 minutes for beginners; faster with practice
What you need
- Hairbrush or wide-tooth comb
- Hair elastic without metal clasp
- Optional: light texturizing spray or water mist
- Mirror setup if braiding your own hair
- Optional: bobby pins for short layers
- Optional: mannequin head for practice
Before you start
- Braid on dry or slightly damp hair. Soaking wet hair is slippery and heavy.
- Do not pull so tight that you feel scalp pain.
- Snag-free elastics reduce broken ends at the tail.
Step 01
Detangle and add only enough grip
Smooth hair first so knots do not interrupt the braid rhythm.
Do this step in order
1a
Brush from ends upward
Hold the hair above each knot and brush the ends before moving toward the roots. Stop pulling if the brush catches or the scalp hurts.
1b
Mist only if hair is slippery
Mist lightly with water or texturizing spray and comb through. Hair should feel controlled, not wet, sticky or stiff.
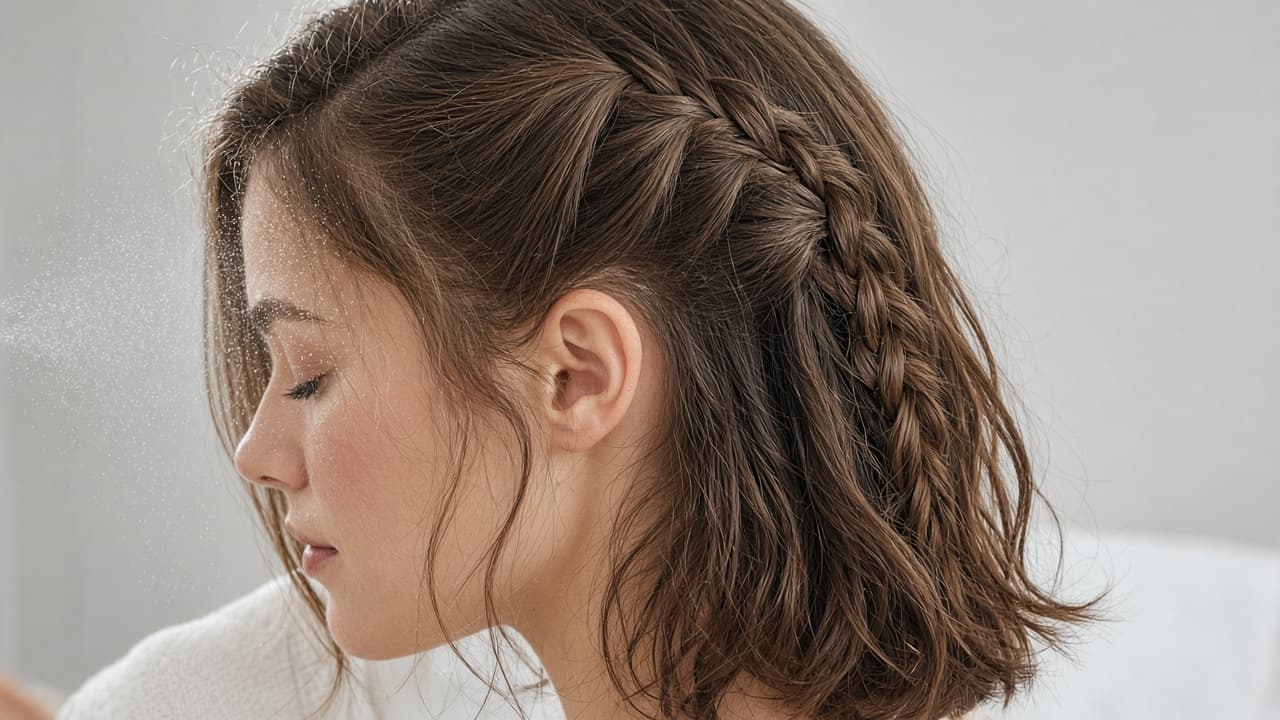
A light mist adds grip. Soaking wet hair is too heavy. 1c
Choose a comfortable working height
Sit or stand where your arms can stay raised without rushing. Use two mirrors if you are braiding your own hair.
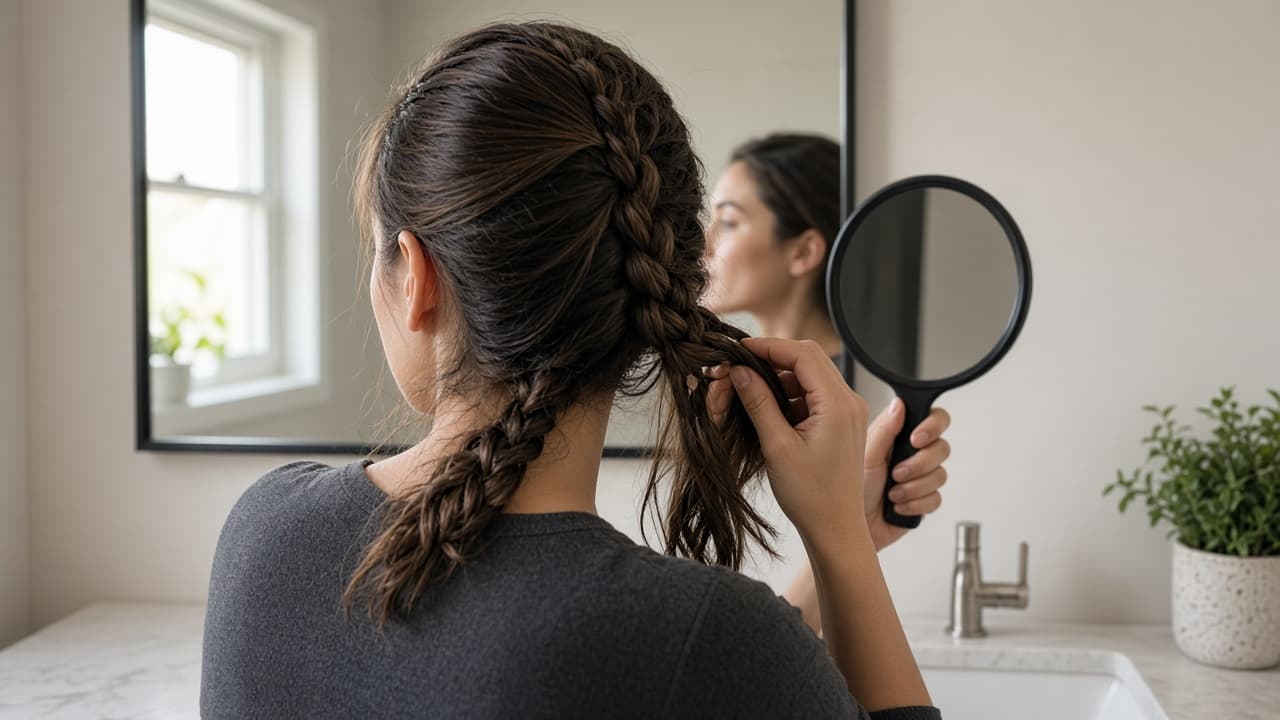
Mirror setup matters as much as product for a self-braid. 1d
Common mistake: braiding soaking wet hair
Common mistake: soaking the hair so it looks sleek, then braiding. Wet hair stretches, hides painful tension and can dry into a different shape.

Dry or lightly misted hair is easier to control.
Step 02
Section a centered starter into three strands
Isolate the first three strands where you want the braid to begin.
Do this step in order
2a
Choose and center the start
Gather a 2 to 3 inch section near the crown for a classic braid or a smaller section near the hairline for a higher start.
2b
Confirm the center line
Use two mirrors or ask someone to confirm that the section sits on the center line before you divide it.
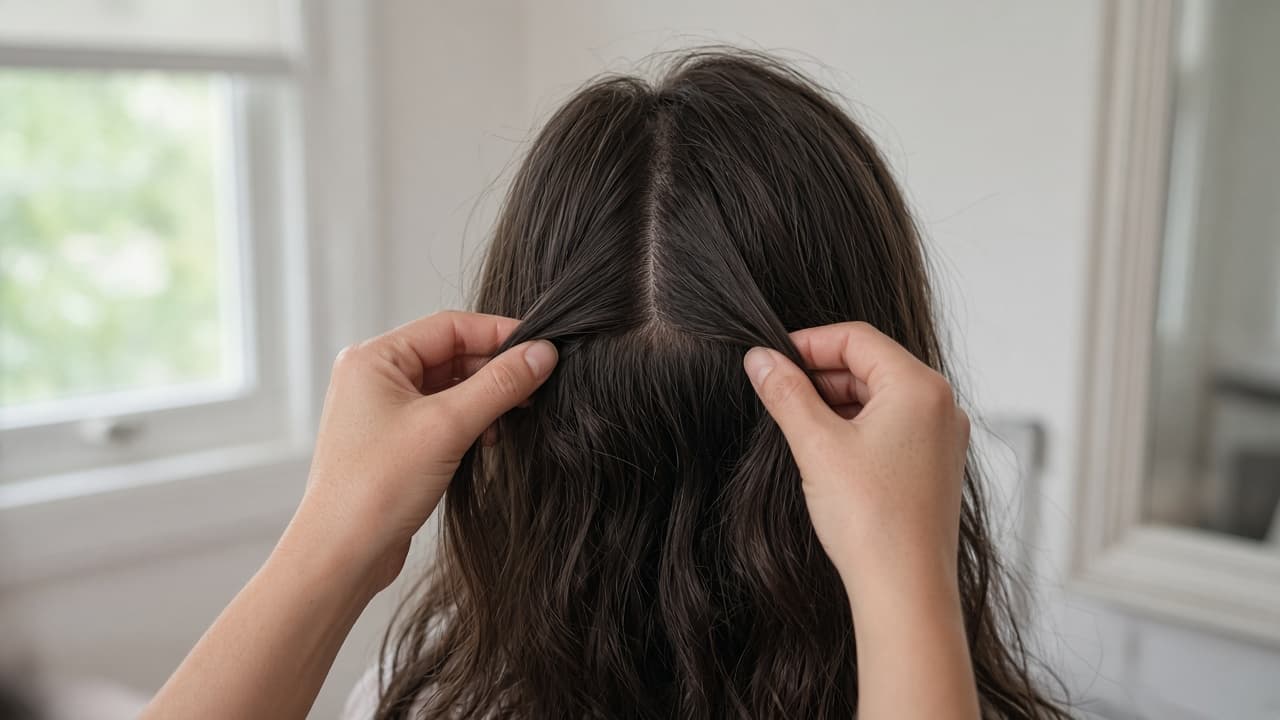
A centered start prevents a braid that drifts sideways. 2c
Make three equal strands
Divide the starter into left, center and right sections of similar thickness. Separate each strand to its ends now.
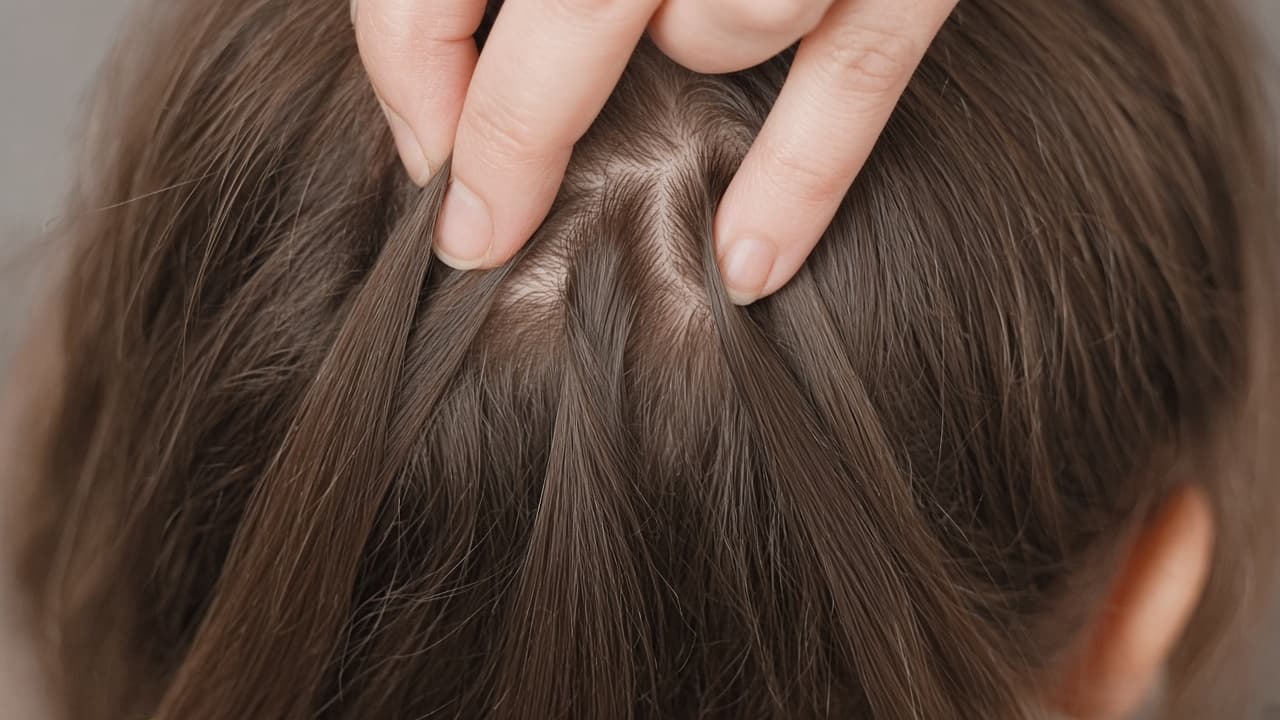
Equal starters keep early crosses balanced. 2d
Common mistake: uneven starter strands
Common mistake: making one strand much thicker because it is easier to hold. Uneven starters pull the braid off center within a few crosses.
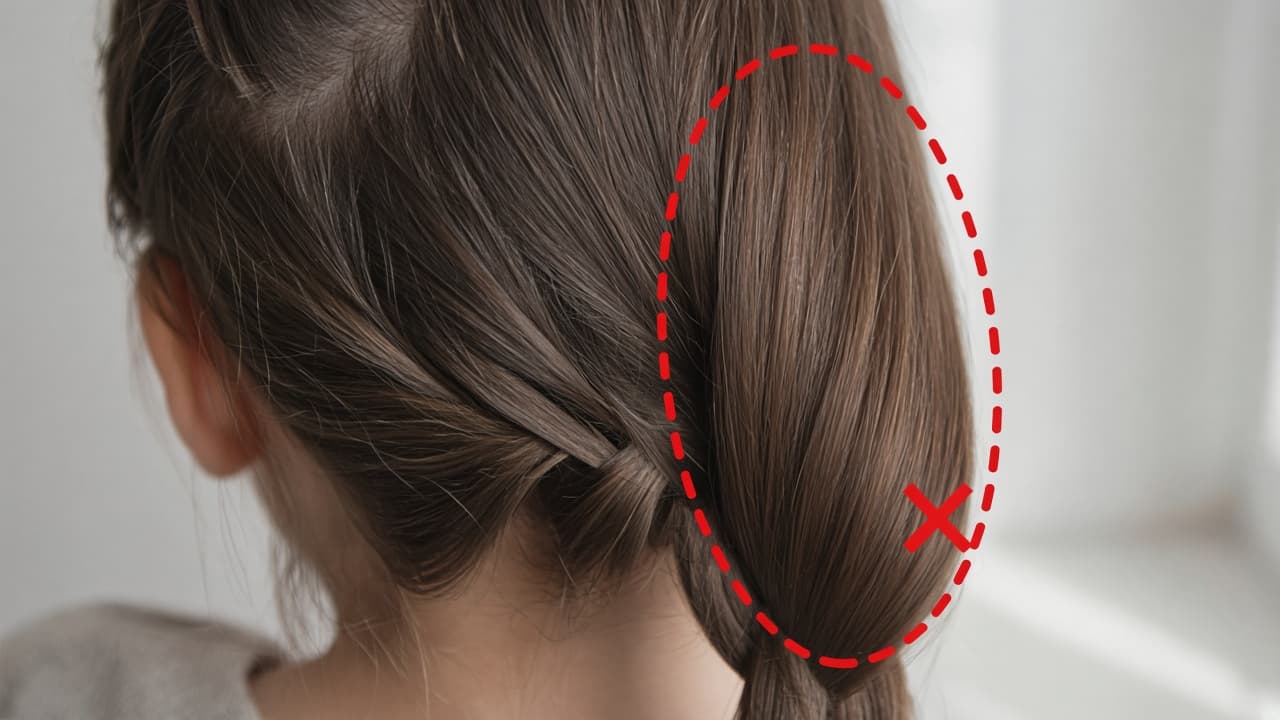
Match thickness before the first cross.
Step 03
Open with two basic crosses
Establish the right-over-center rhythm before you add hair from the sides.
Do this step in order
3a
Set a clear finger grip
Hold two strands separated between the fingers of one hand and the third in the other. Keep palms facing the head.
3b
Cross right over center
Move the right strand across the top of the center strand so it becomes the new center. Do not pass underneath, which starts a Dutch braid instead.
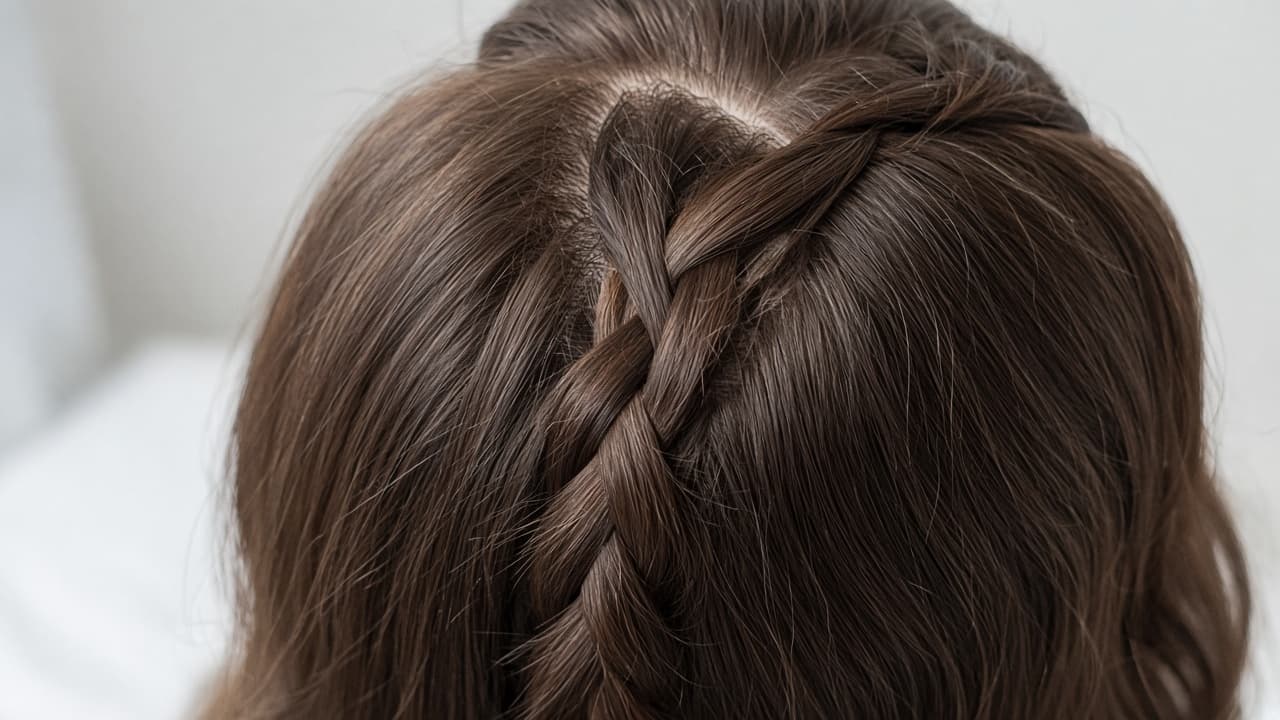
Over the center creates a French braid, not a Dutch braid. 3c
Cross left over the new center
Bring the left strand over the current center with the same tension. The first two crosses should form a flat anchor without pinching the scalp.
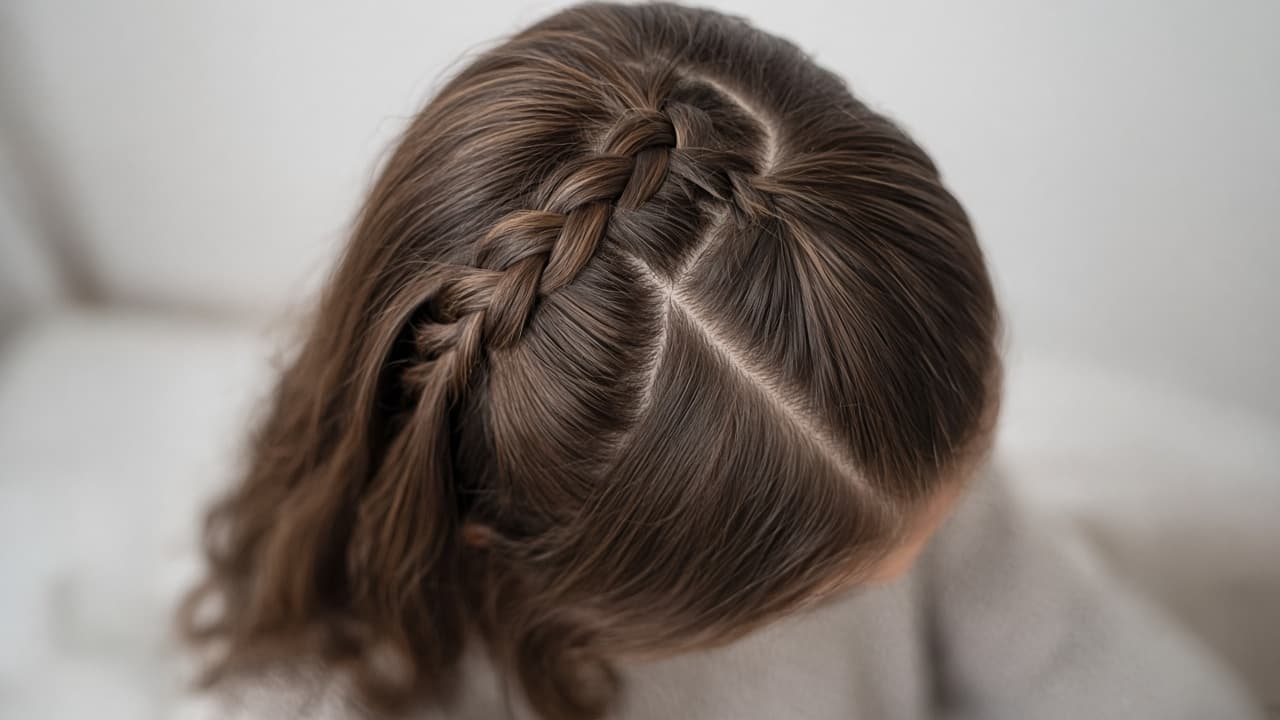
Two flat crosses lock the starter before pickups begin. 3d
Common mistake: crossing under like a Dutch braid
Common mistake: passing strands underneath because the motion feels familiar from another style. Under crosses build a raised Dutch braid, not a classic French braid.
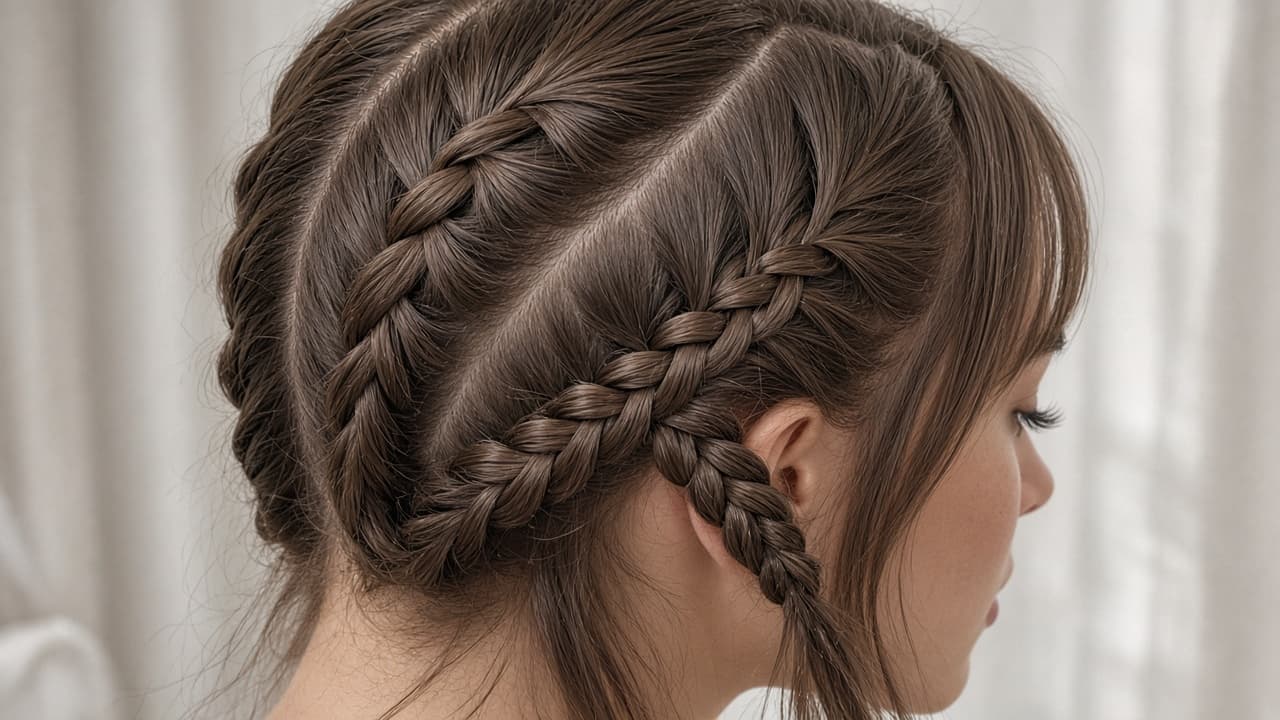
Over the center for French. Under for Dutch.
Step 04
Add a thin slice before every outer cross
This is the French technique: widen the outer strand with a matching new slice.
Do this step in order
4a
Pick up on the right
Trace a narrow line from the right hairline to the braid. Smooth that pickup into the right outer strand without borrowing hair from the left.
4b
Combine, then cross
Treat the right strand and its pickup as one section and cross all of it over the center. Regrip before gathering from the opposite side.
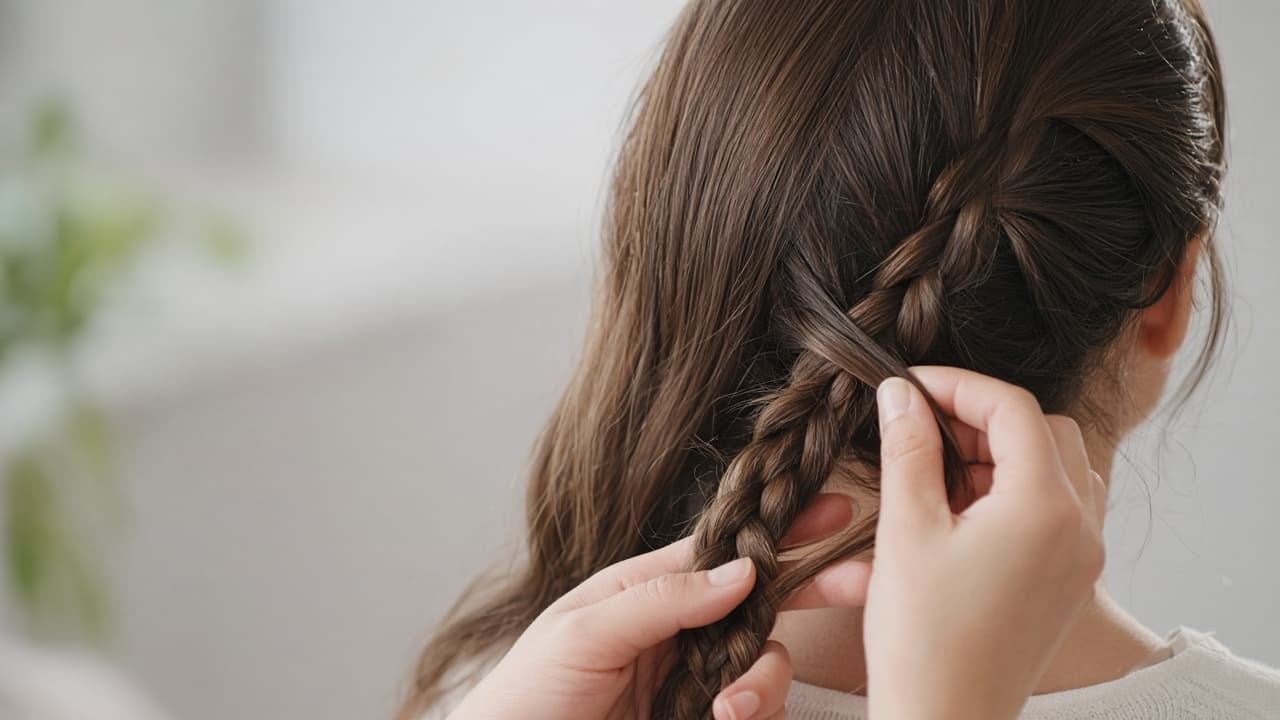
Combine fully, then cross. Do not leave the pickup hanging. 4c
Mirror the move on the left
Gather a similar-width slice from the left hairline, join it to the left outer strand and cross over center.
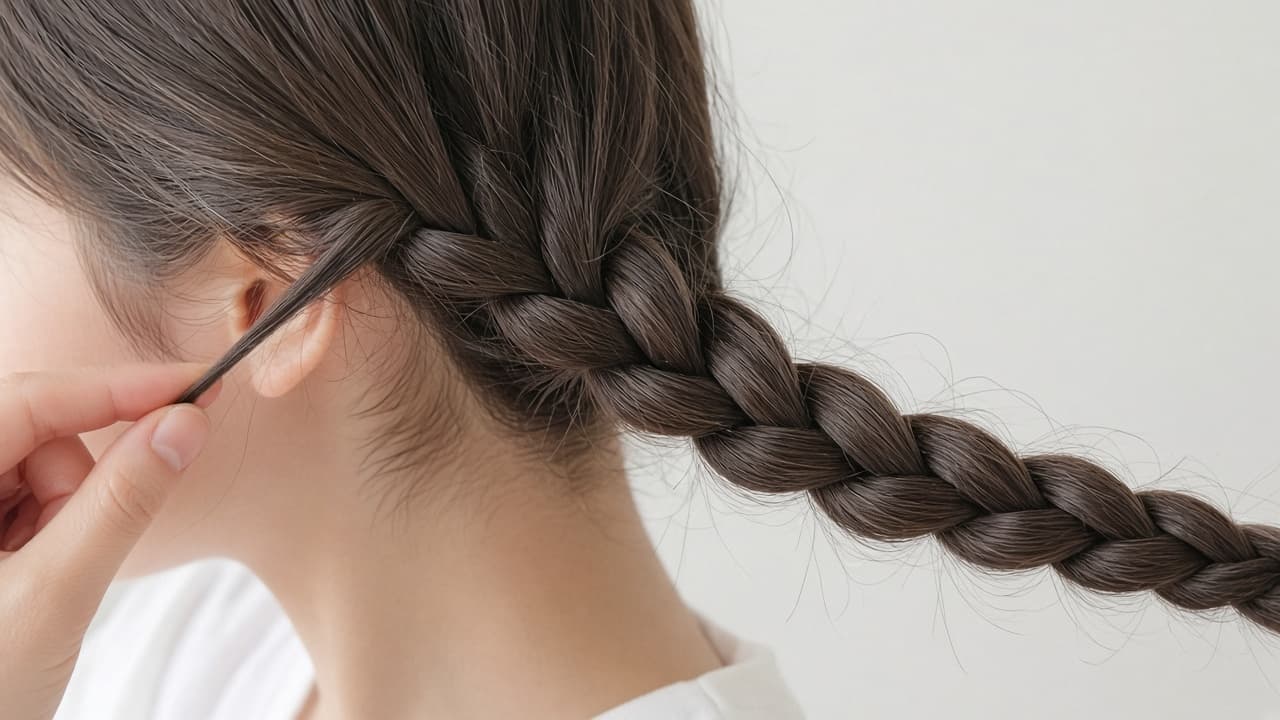
Match pickup width so the braid stays centered. 4d
Common mistake: huge uneven pickups
Common mistake: grabbing a thick handful on one side and a wisp on the other. Unequal pickups yank the braid off center and create lumps.
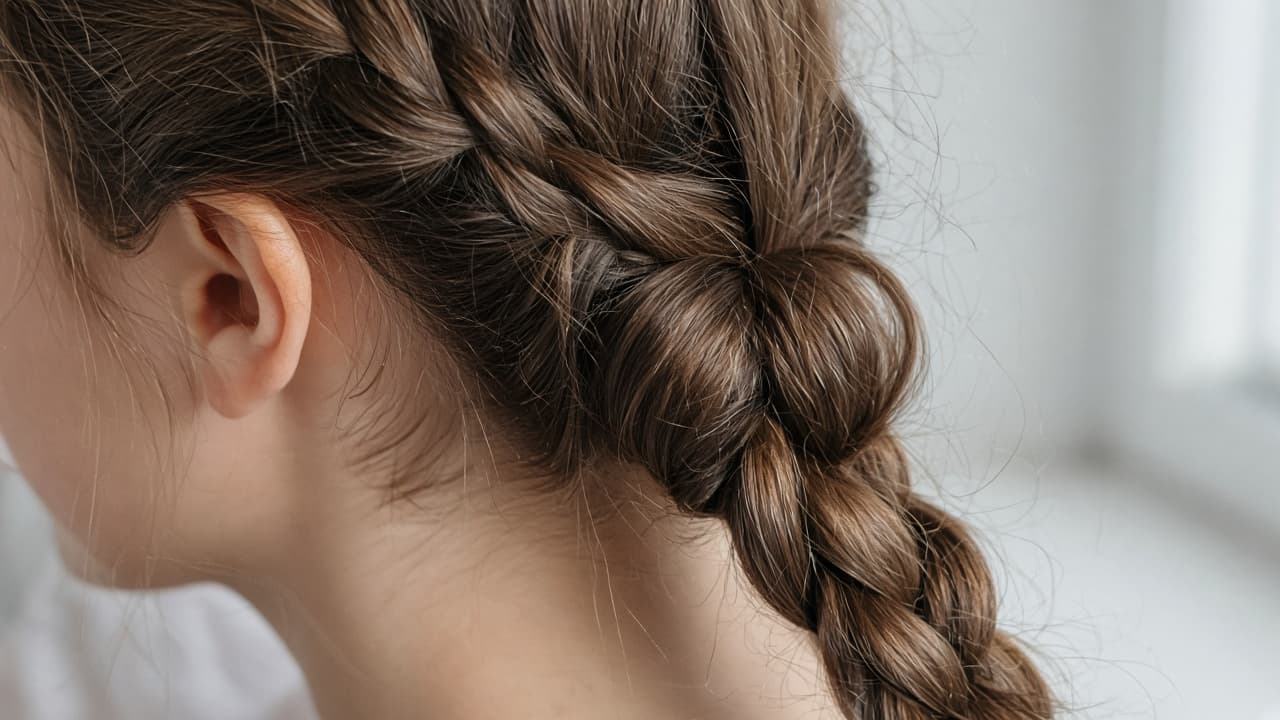
Thin matching slices beat uneven handfuls.
Step 05
Continue down with even tension
Keep hands close to the scalp and correct sagging stitches early.
Do this step in order
5a
Alternate sides without skipping
Keep alternating right and left. Do not make two pickups on one side because that side looks fuller.
5b
Regrip near the scalp after each cross
Bring both hands close to the head and separate the three strands cleanly before the next pickup.
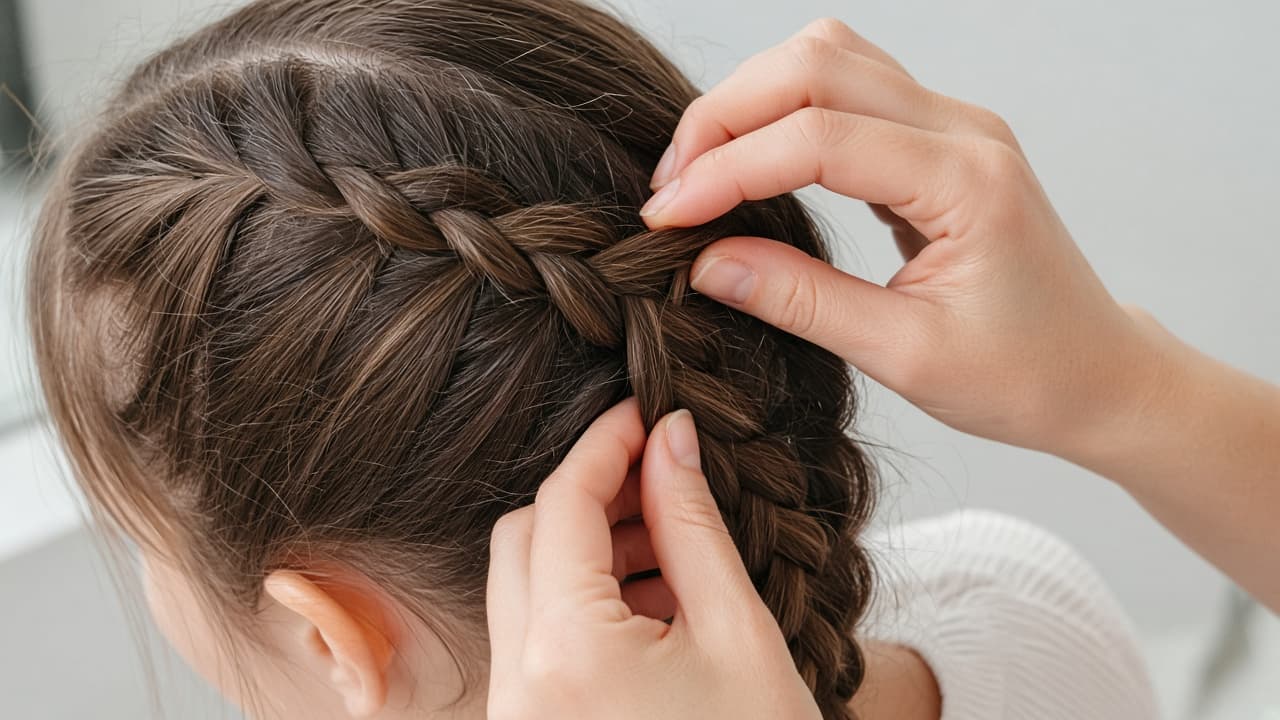
A clean regrip prevents merged strands and loose loops. 5c
Smooth tangles before they enter
Stop and brush a knot out of a pickup before it crosses. A knot locked into the braid is harder to fix later.
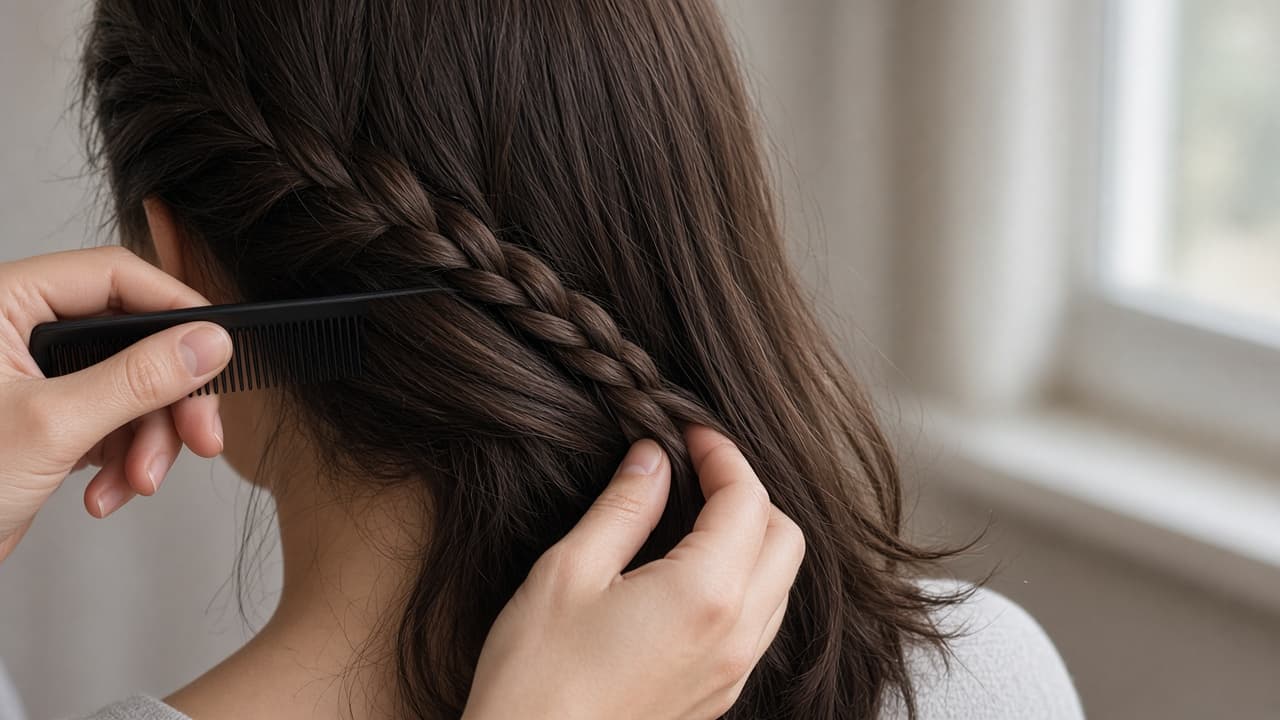
Clear tangles at the pickup, not after they are woven in. 5d
Common mistake: braiding with hands far from the head
Common mistake: letting the braid hang away from the scalp while your arms tire. That creates a loose, bumpy French section. Rest palms on the head and restart the last stitch if needed.
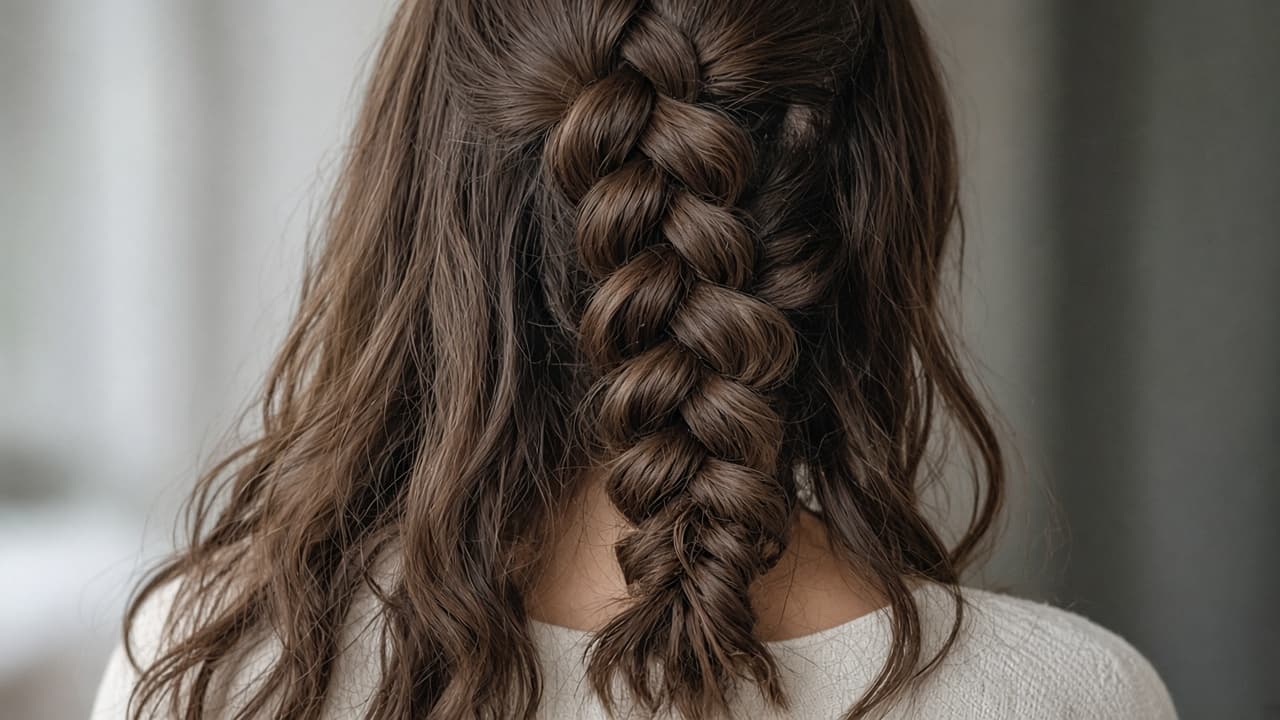
Palms near the head fix sag better than yanking later.
Step 06
Collect the nape and switch to a plain braid
When no loose hair remains at the sides, finish with a regular three-strand braid.
Do this step in order
6a
Add the final nape sections
Add the last loose hair from each side before your hands move below the skull. Divide remaining wisps among the three strands.
6b
Stop adding hair on purpose
Continue crossing right over center and left over center without new pickups once the sides are empty.
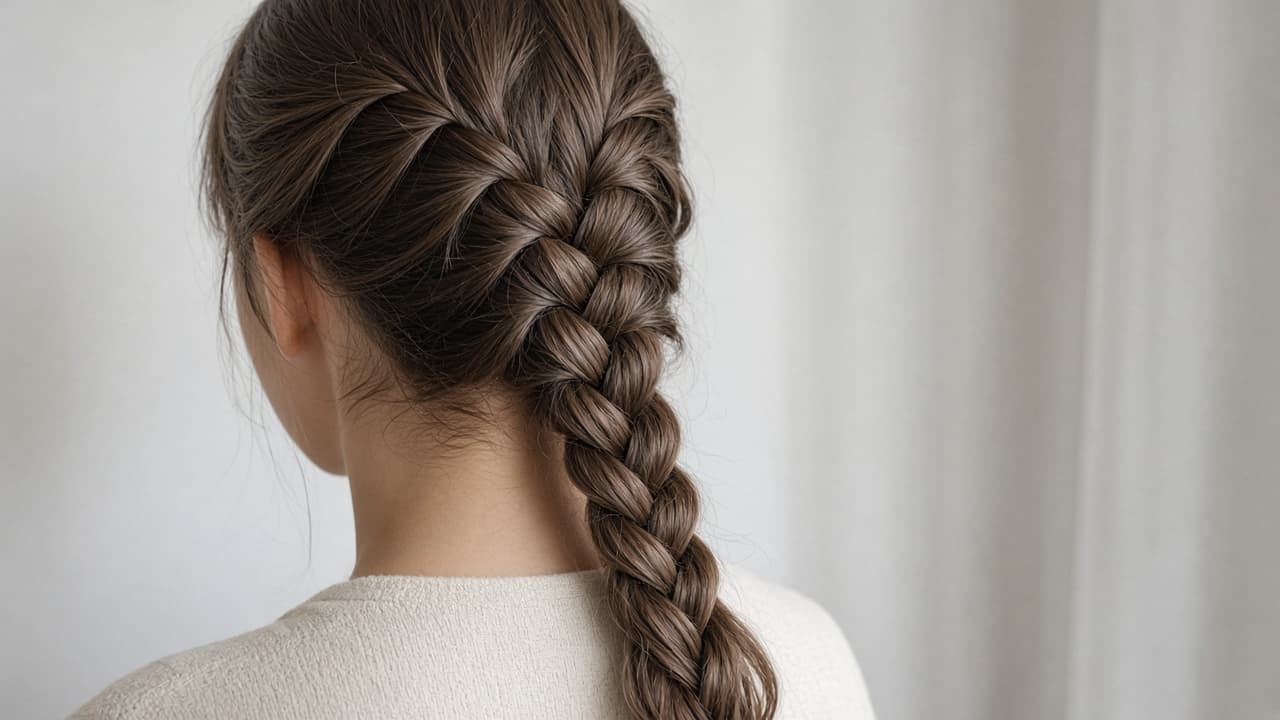
No more pickups below the nape. Plain braid only. 6c
Keep strand order if you move the tail
Bring the tail over one shoulder if your arms are tired, while keeping the strand order unchanged.
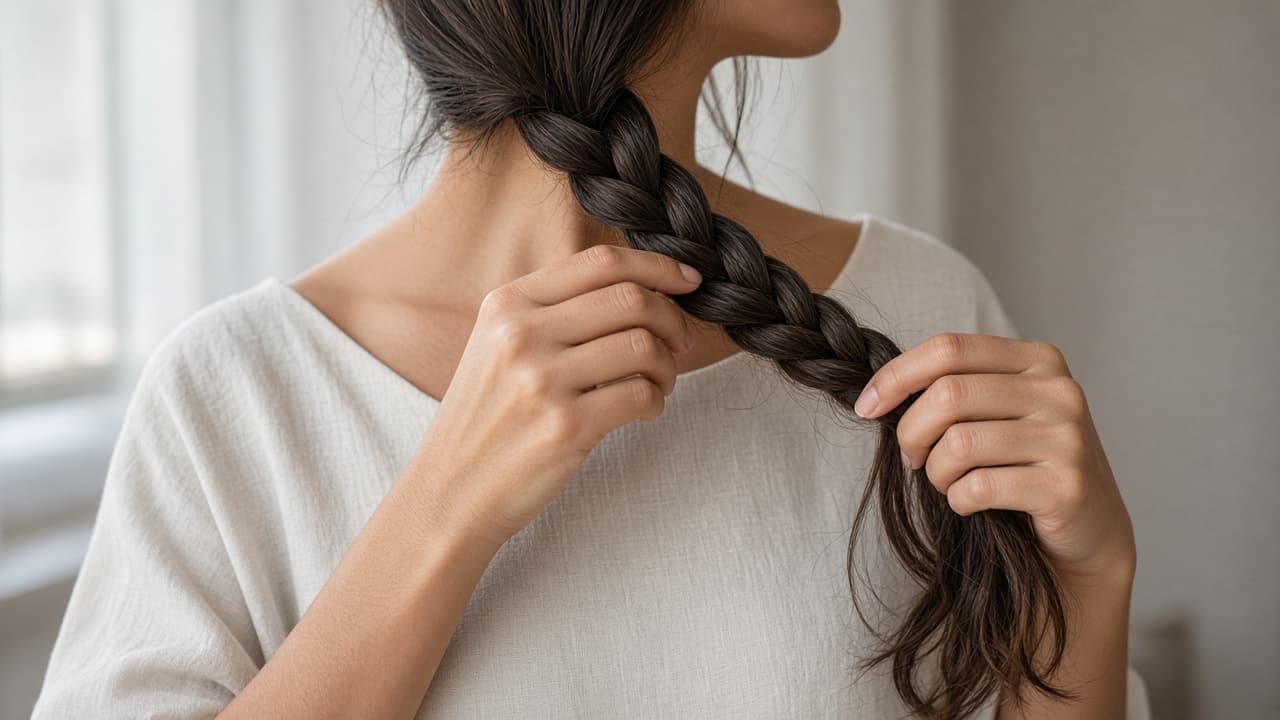
Moving the tail is fine. Mixing the strand order is not. 6d
Common mistake: leaving a bulky leftover panel
Common mistake: forgetting a side panel at the nape and tucking it in late with a pin. Collect leftovers into the three strands while you still have control.
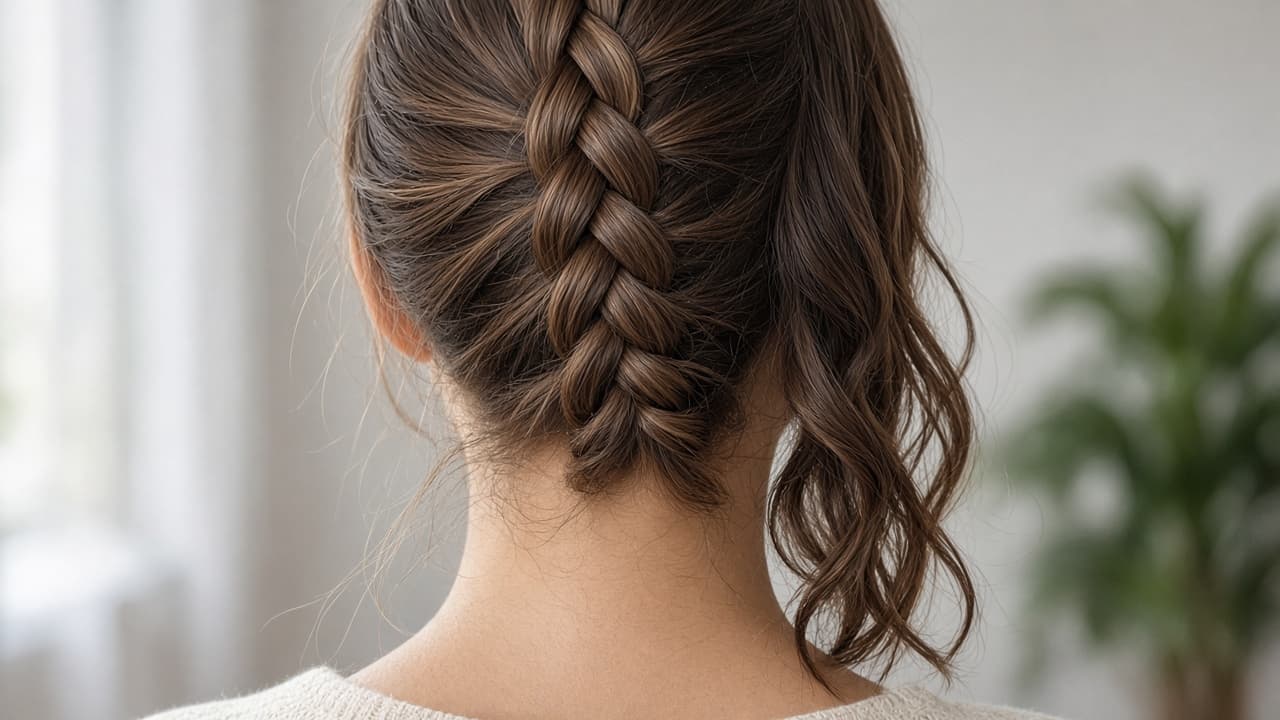
Sweep leftover nape hair into the strands before the plain braid.
Step 07
Secure the tail and finish comfortably
Hold the ends without crushing them, then tidy flyaways without over-tightening.
Do this step in order
7a
Stop 1 to 2 inches from the tips
Leave enough free end to wrap an elastic without crushing the last inch of hair.
7b
Use a snag-free elastic
Wrap until it holds without a metal clasp biting the ends. Avoid elastics with exposed metal.
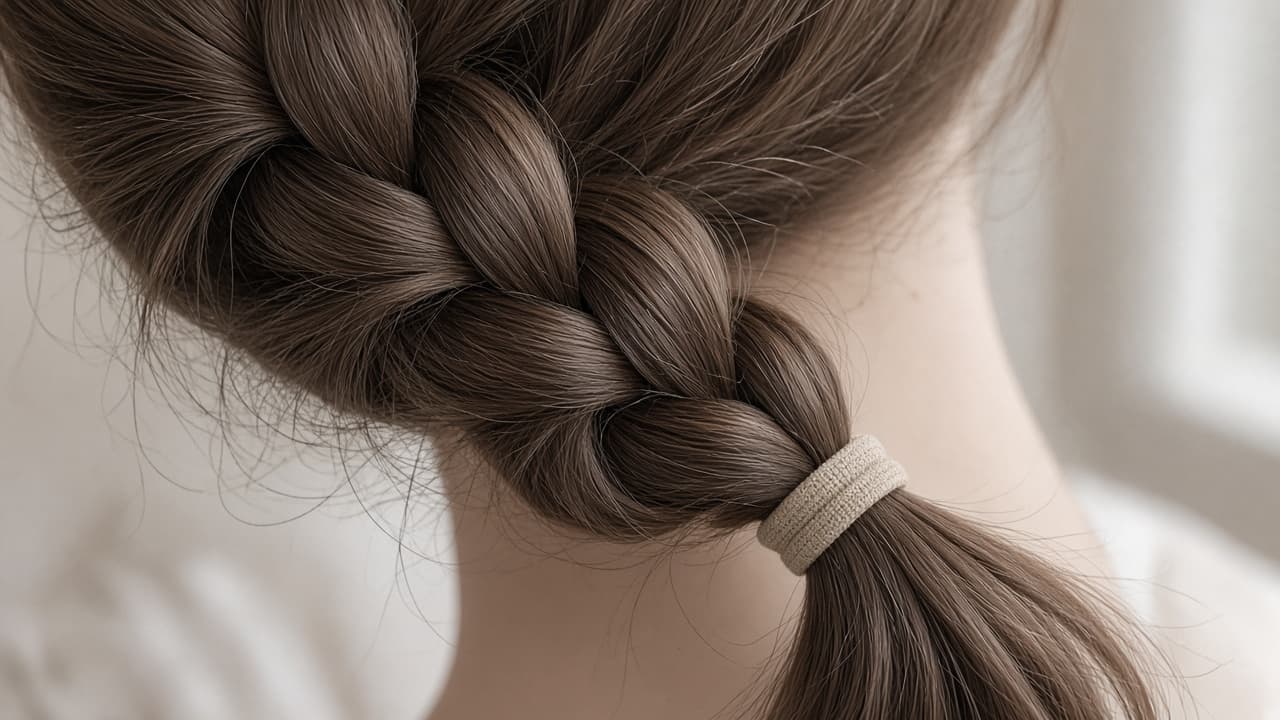
Snag-free elastics protect the ends. 7c
Pin short layers in their natural direction
Slide bobby pins in the direction short layers lie or use a light mist of hairspray. Do not yank the whole braid tighter to hide one wisp.
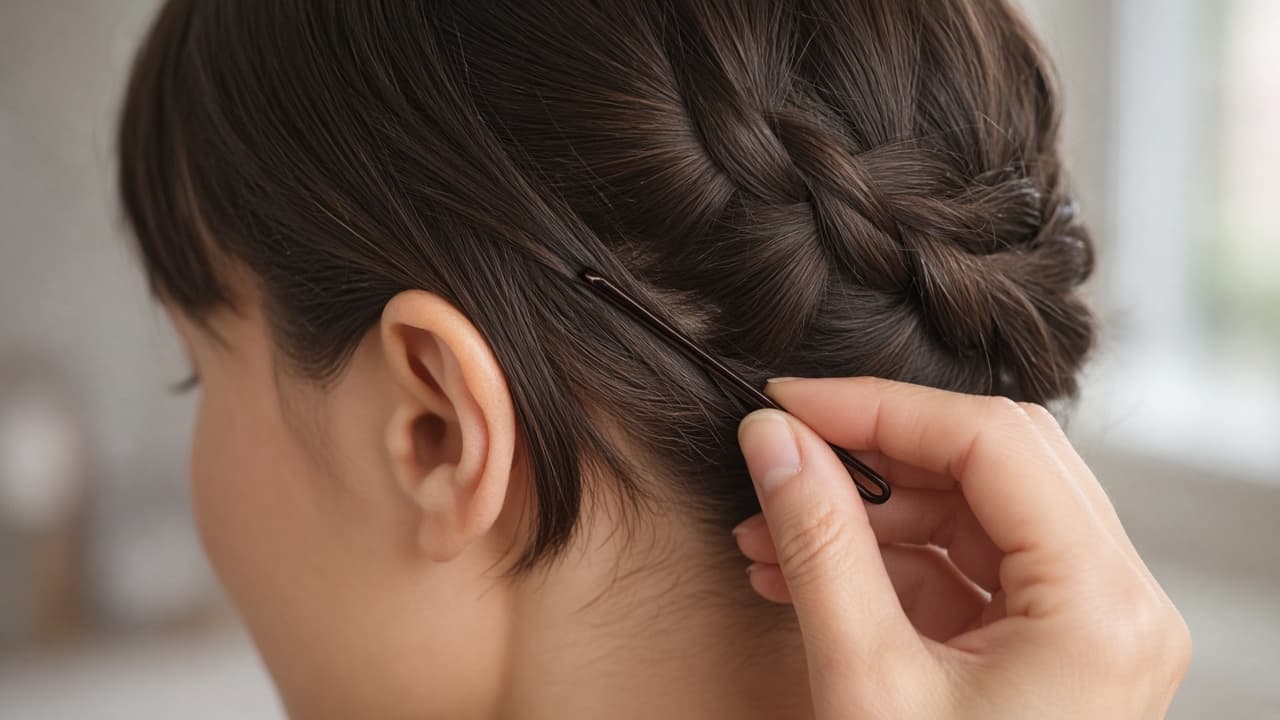
Pin with the hair's direction instead of over-tightening. 7d
Common mistake: pain means keep tightening
Common mistake: treating scalp pain as a cue to pull harder for a neater look. Loosen immediately if the scalp aches. A comfortable braid lasts longer and looks cleaner.
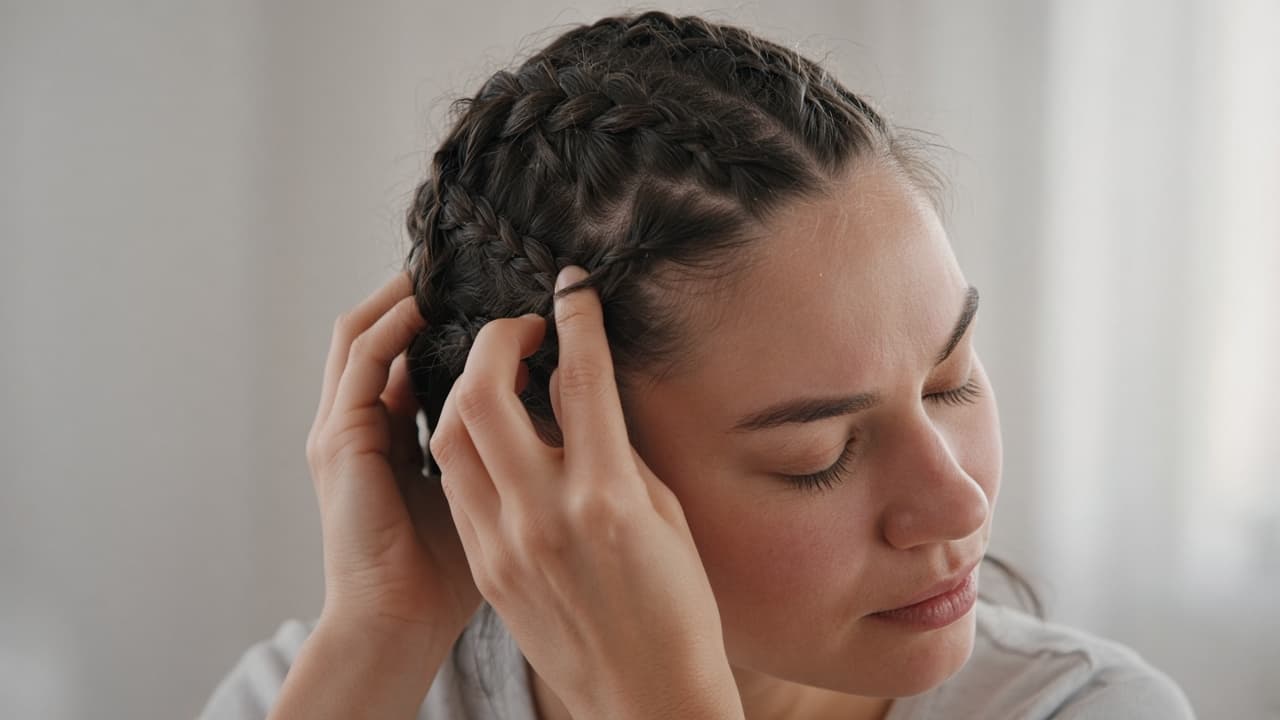
Pain is a stop signal, not a finish cue.
Done when
- Brush hair smooth and detangled
- Start three equal sections at the crown
- Anchor with two basic crosses
- Add side hair into outer strands before each cross
- Keep tension even down the head
- Finish a plain braid at the nape
- Secure with an elastic and check comfort
Eagle Frame's takeaway: start with three even strands, cross the outside over the center and add a matching slice before each new cross. Keep your hands close and tension comfortable. Consistent pickups matter more than speed.