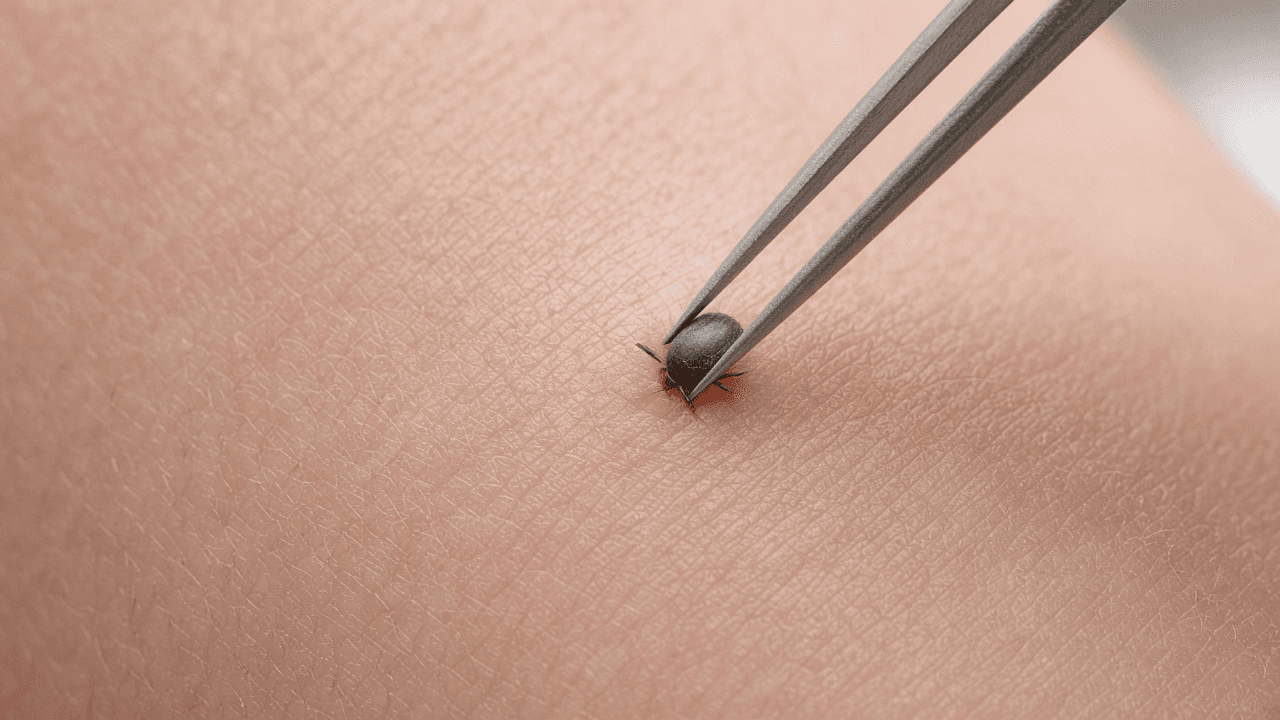
How to safely remove a tick
Use fine-tipped tweezers to grasp the tick close to the skin, pull upward with steady even pressure and clean the bite. Watch for rash or fever and call a clinician when Lyme risk or incomplete removal is a concern.
An attached tick should be removed as soon as you find it. Ticks feed by fixing their mouthparts in skin, and some can transmit Lyme disease or other infections. Risk varies with tick species, region and attachment time, so prompt removal and a useful exposure note matter.
The CDC recommends clean, fine-tipped tweezers. Grasp the tick at the skin surface and pull upward with steady, even pressure. Do not twist, jerk, crush, burn or coat it with petroleum jelly, nail polish or another substance.
Good light and a second pair of hands can help with the scalp, back or another hard-to-see area. Keep children and pets still, and do not dig blindly with a needle. If you cannot get a secure tweezer grip, seek medical help rather than repeatedly squeezing the tick.
After the tick releases, clean the bite and your hands with soap and water, rubbing alcohol or hand sanitizer. If mouthparts remain and do not lift easily with tweezers, leave them alone so the skin can heal. Aggressive digging causes more tissue injury and does not reduce infection already transmitted.
Record the date, body location and place where exposure probably happened. A clear photo or a sealed container may help identification, though CDC guidance does not recommend using commercial tick testing to decide treatment. Ask a clinician promptly about local Lyme guidance if the tick was swollen, may have been attached for a long time or came from a high-risk area.
Watch for rash, fever, chills, headache, fatigue, swollen lymph nodes or muscle and joint aches during the following days and weeks. A Lyme rash can expand without forming a perfect bullseye. Seek care if symptoms appear, and tell the clinician when and where the bite occurred.
Step-by-step guide
Time: 5 to 15 minutes including cleaning and bite notes
What you need
- Fine-tipped tweezers (pointed, not wide flat tips)
- Soap and water
- Rubbing alcohol or antiseptic (optional)
- Bright light or flashlight
- Small sealed bag or tape if you must save the tick for ID
- Pen and paper or phone note for date and location
Before you start
- Do not burn, smother or twist the tick. Steady upward pull only.
- Avoid crushing the tick body with your fingers.
- This guide is not medical advice. Seek care for symptoms or failed removal.
- Lyme risk varies by region. Ask local health guidance if unsure.
Step 01
Gather fine-tipped tweezers and wash your hands
Work with pointed tweezers, soap and enough light before you touch the tick.
Do this step in order
1a
Bring clean fine-tipped tweezers
Use pointed tweezers that can reach the tick at the skin line, plus soap and good light. Do not prepare matches, petroleum jelly, nail polish or essential oils.
1b
Wash hands before you start
Wash with soap and water, then dry so the tweezers will not slip. Ask another adult to help if the tick is on the scalp, back or a restless child.
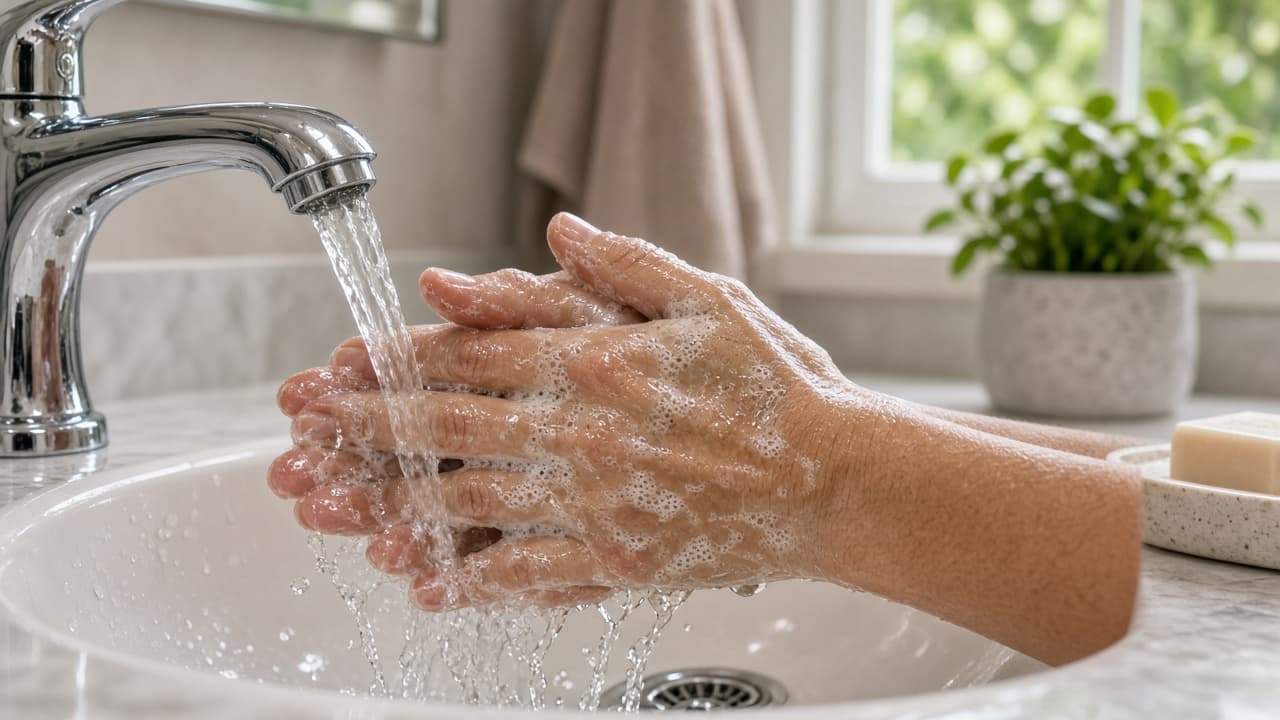
Clean hands reduce slip and contamination at the bite. 1c
Reject folk detachment methods
Set aside heat, oils and coatings. CDC guidance rejects burning and smothering because they can irritate skin and do not remove mouthparts cleanly.
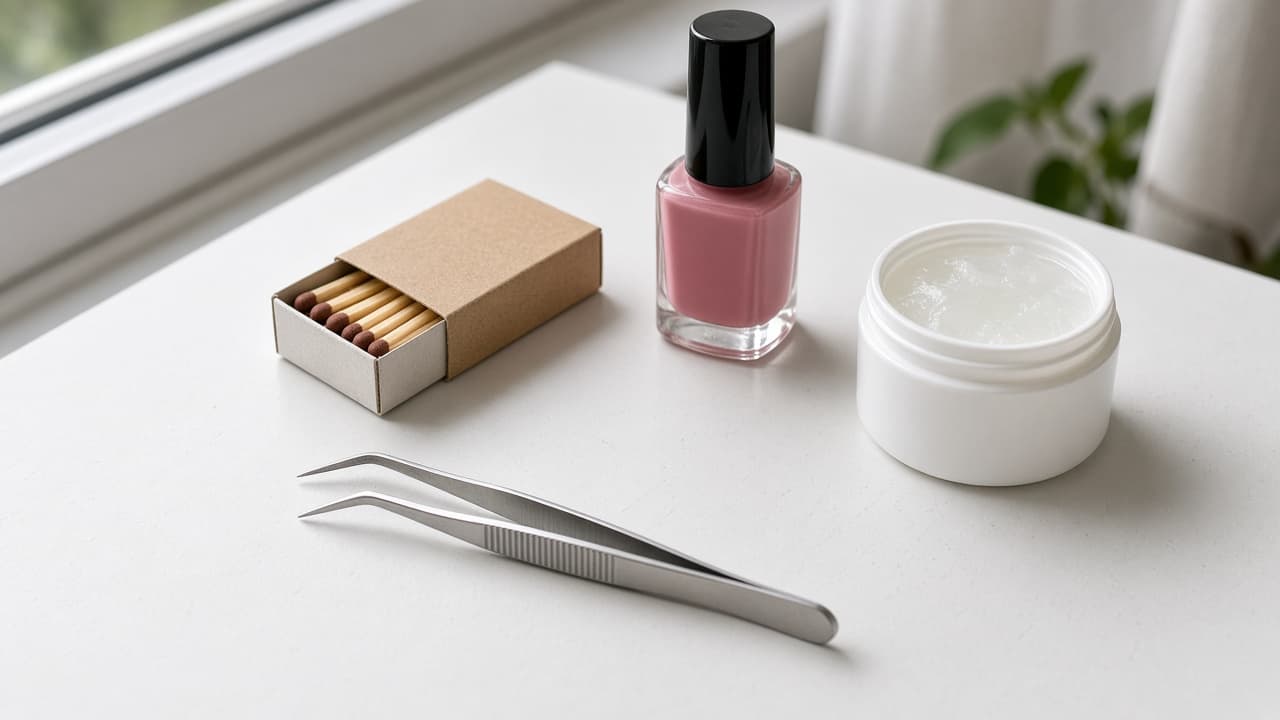
Tweezers only. Leave the folk remedies in the drawer. 1d
Common mistake: wide flat tweezers
Common mistake: grabbing with broad cosmetic tweezers that crush the body. Switch to fine tips or seek help rather than squeezing the engorged belly.
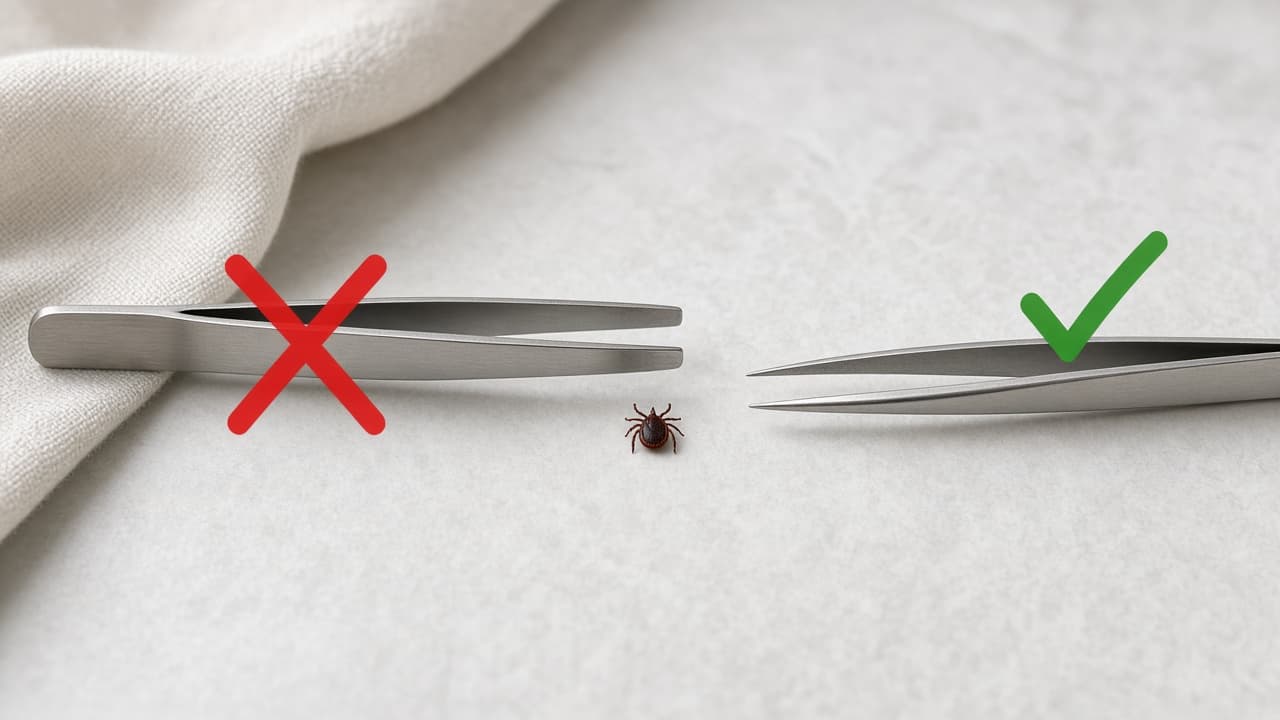
Fine tips at the skin line beat a crushing wide grip.
Step 02
Expose the whole attachment point
See where the tick enters the skin before you close the tips.
Do this step in order
2a
Steady the person and the limb
Position the person where the bite will not move. Brace a forearm on a table or have a helper hold still hair out of the way.
2b
Part clothing or hair completely
Move clothing aside and part hair with clips until you can see where the tick enters the skin. Stop if swelling or poor visibility prevents a controlled grip.
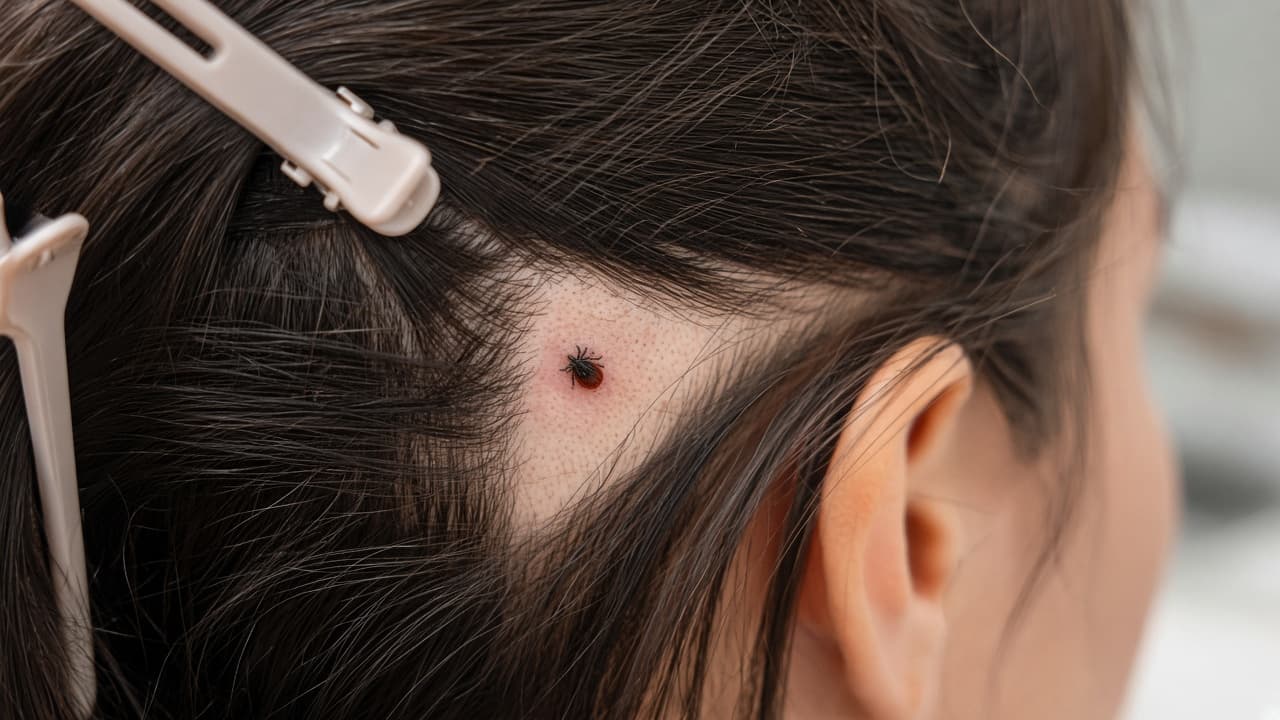
Full exposure comes before any tweezer pressure. 2c
Confirm you see mouthparts at skin
Look for the point where the tick meets the skin rather than only the rounded body. If you cannot see that junction, improve light or get medical help.
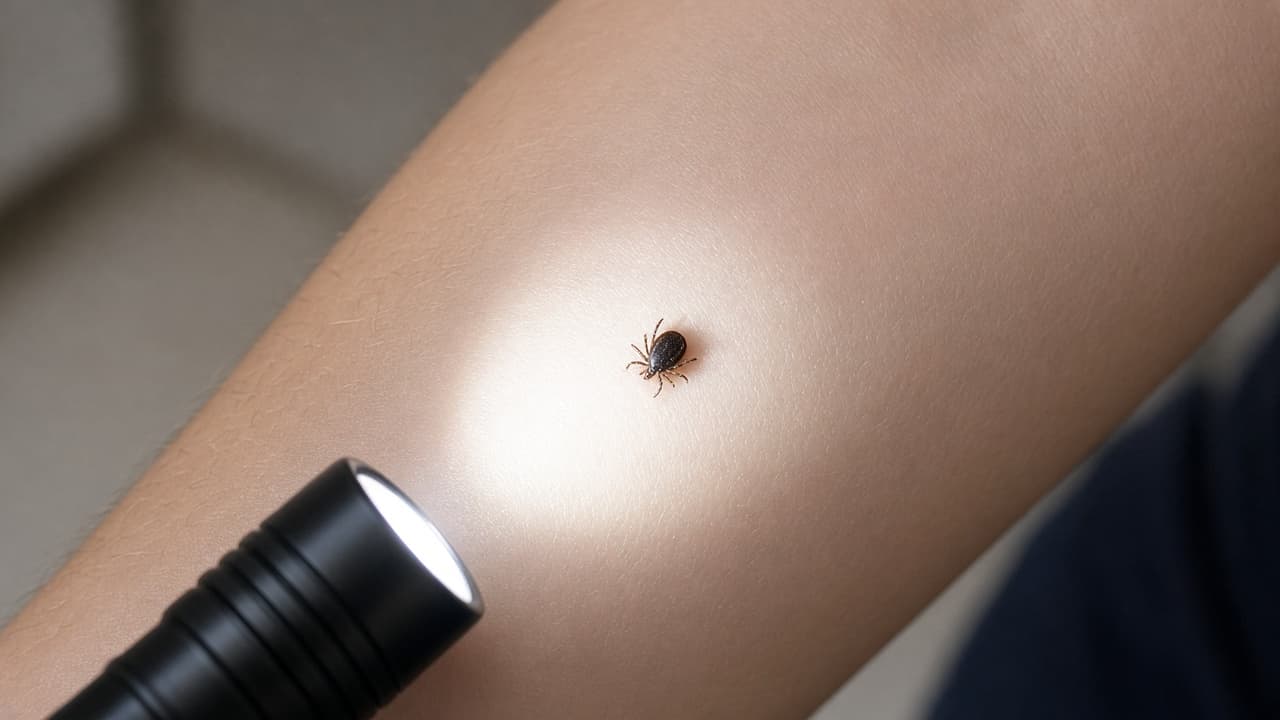
You need a clear view of the skin line, not only the belly. 2d
Common mistake: digging blindly
Common mistake: probing under hair with a needle or fingernail because the tick is hard to see. Blind digging injures skin and can tear the tick. Improve visibility or seek care.
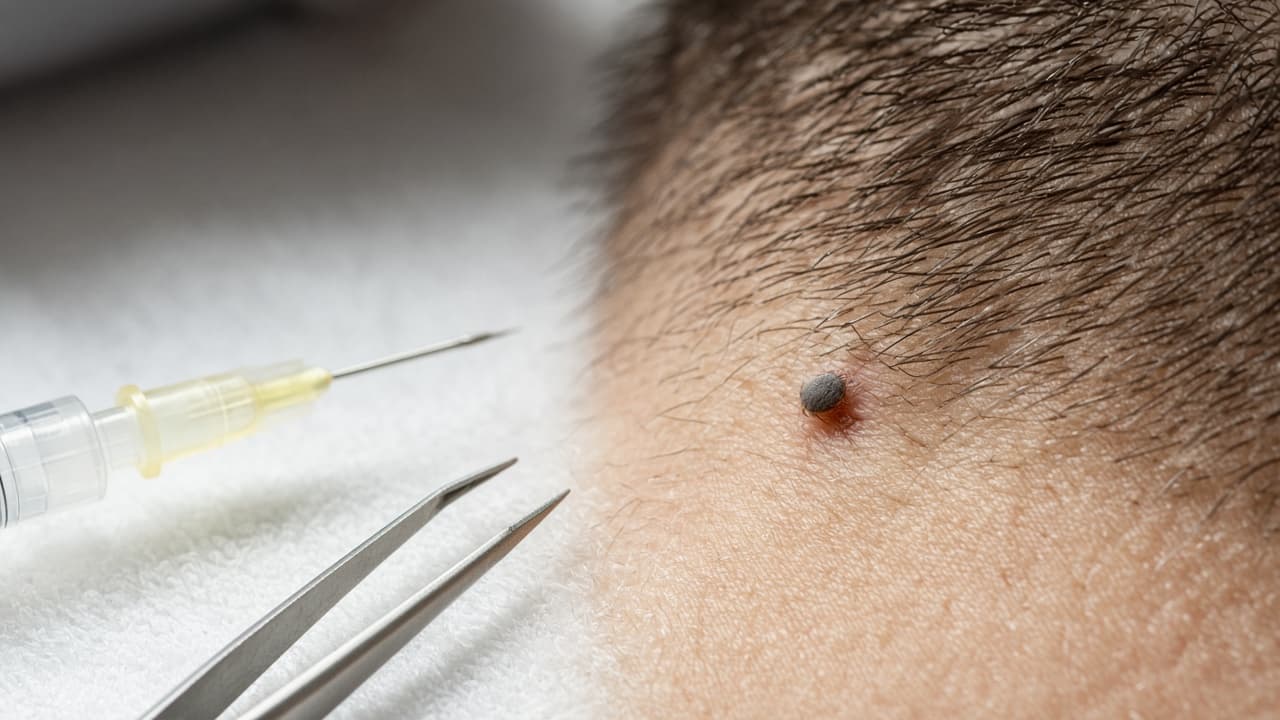
No blind digging. Light and tweezers, or a clinician.
Step 03
Grasp the tick close to the skin
Pinch the tick where it enters the skin, not on the engorged belly.
Do this step in order
3a
Slide tips to the skin surface
Slide the fine tips around the tick as close to the skin as possible. Aim for the mouthpart area, not the rounded or swollen body.
3b
Close with controlled pressure
Use enough pressure to hold the tick without crushing or cutting it. If your grip lands on the body, release and reposition before pulling.
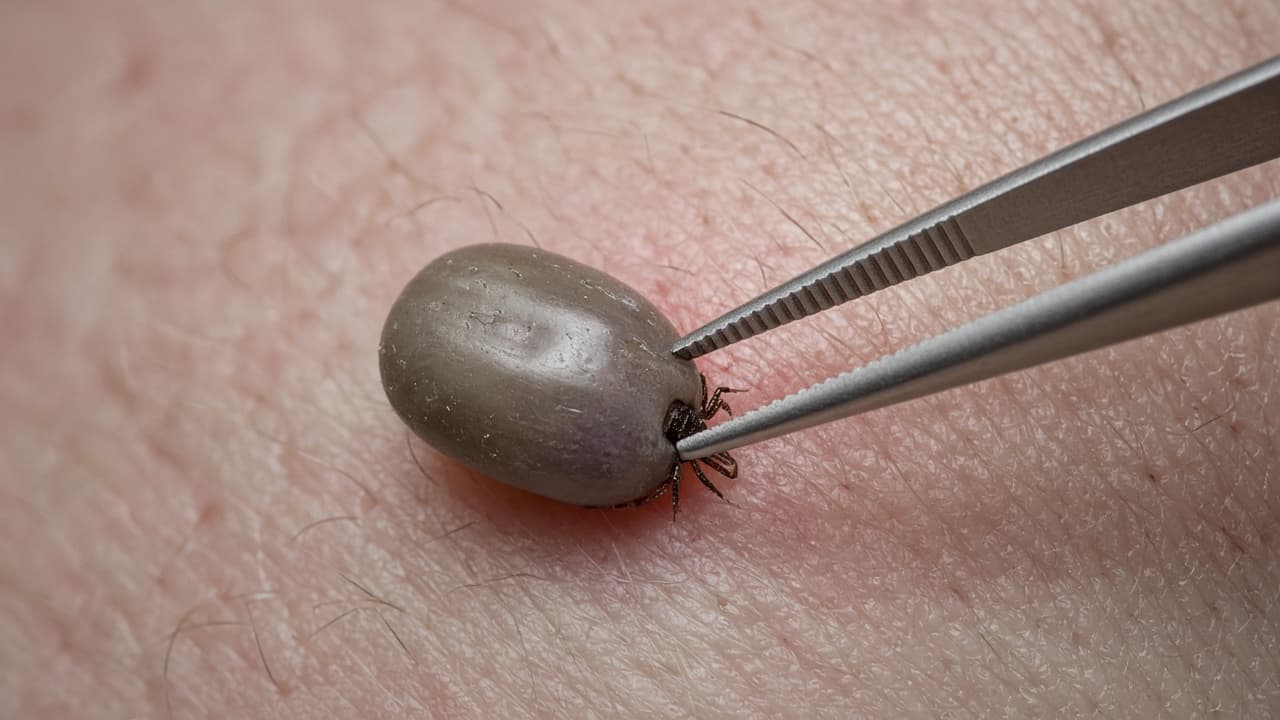
Hold the mouthparts. Leave the swollen body alone. 3c
Align a straight pull path
Brace your wrist so the next move can travel straight away from the skin without rotating.
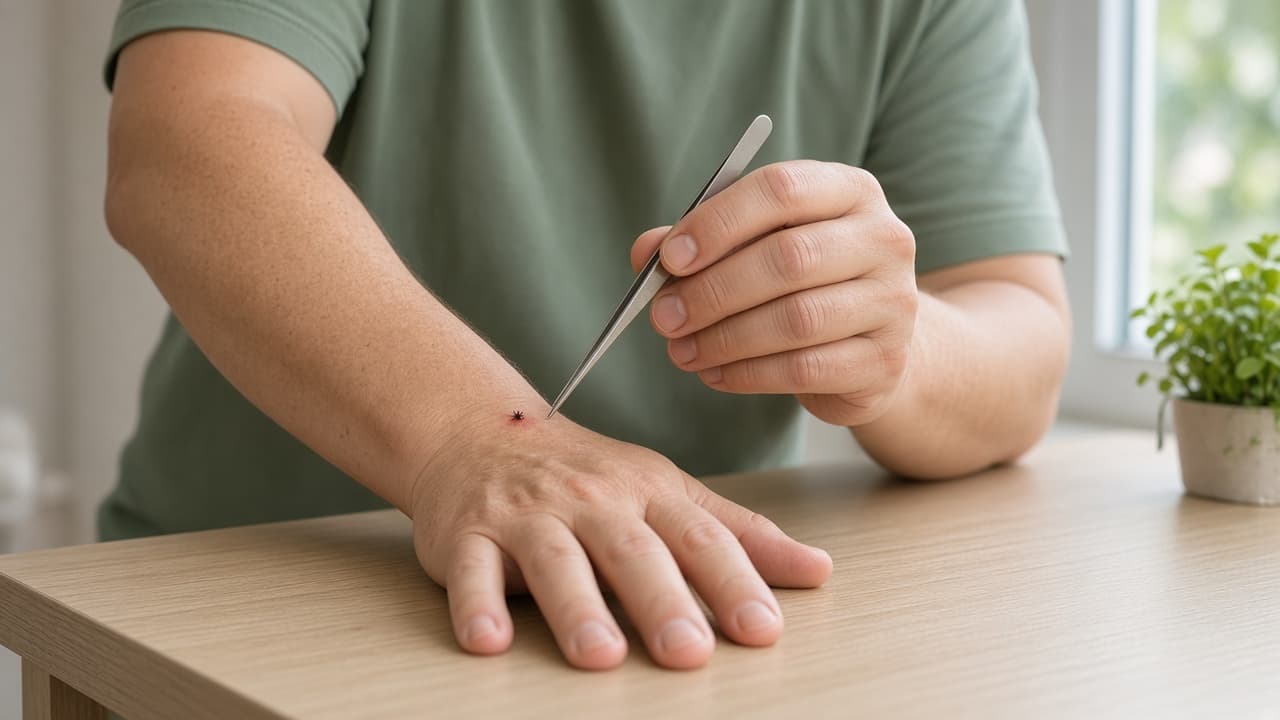
A braced wrist prevents a sideways snap. 3d
Common mistake: crushing the engorged body
Common mistake: clamping the fat body because it is easier to see. That can force fluid into the bite. Reposition at the skin line or stop for medical help.
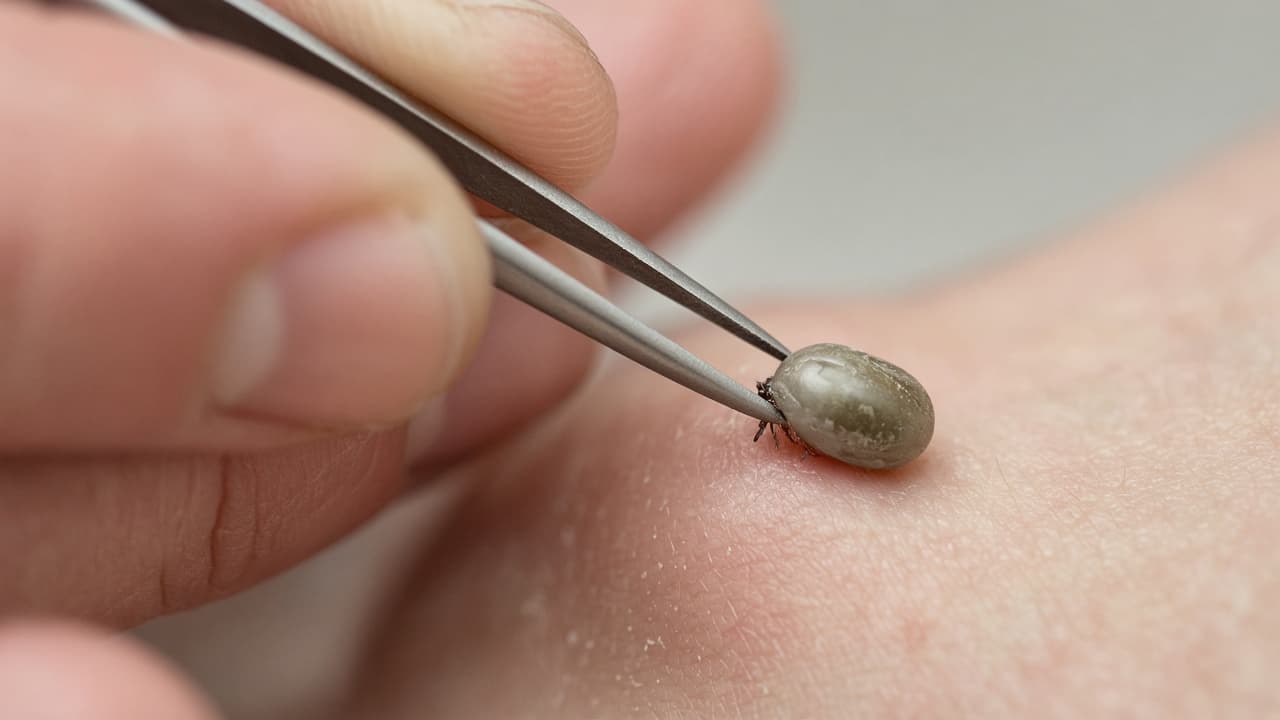
A body crush is the wrong grip even if it feels secure.
Step 04
Pull upward with slow steady pressure
Draw the tick straight out until it releases. Patience beats a quick rip.
Do this step in order
4a
Apply steady even upward pressure
Pull straight away from the skin in one slow controlled movement. Hold the pressure until the tick releases, even if that takes several seconds.
4b
Keep orientation fixed
Do not twist or snap. Keep the tweezers in the same orientation throughout the pull so mouthparts are less likely to break.
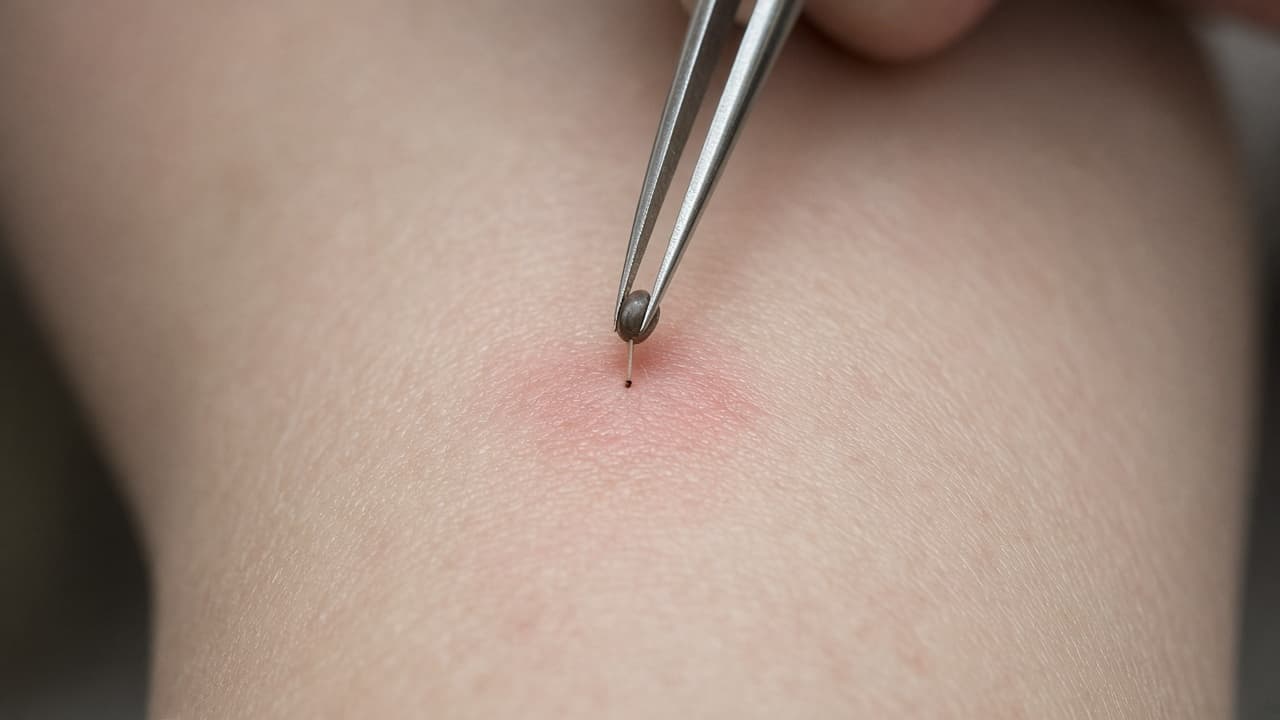
Straight up and steady. Twisting risks broken mouthparts. 4c
Wait through the release
Continue the same pressure if the tick resists for a few seconds. A sudden yank is more likely to leave fragments than a patient pull.
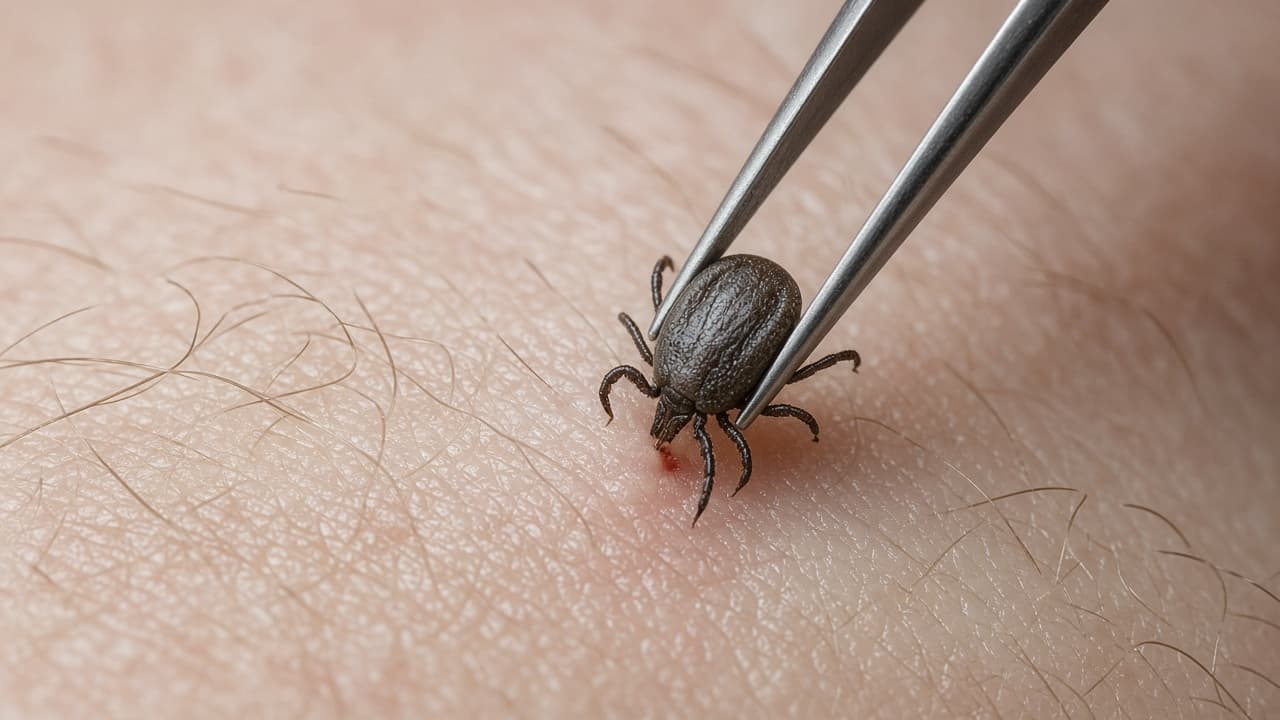
Seconds of even pressure are better than a rip. 4d
Common mistake: twisting to speed it up
Common mistake: rotating the tweezers like a screw because the tick feels stuck. Twisting breaks mouthparts. Hold the straight pull or get help.
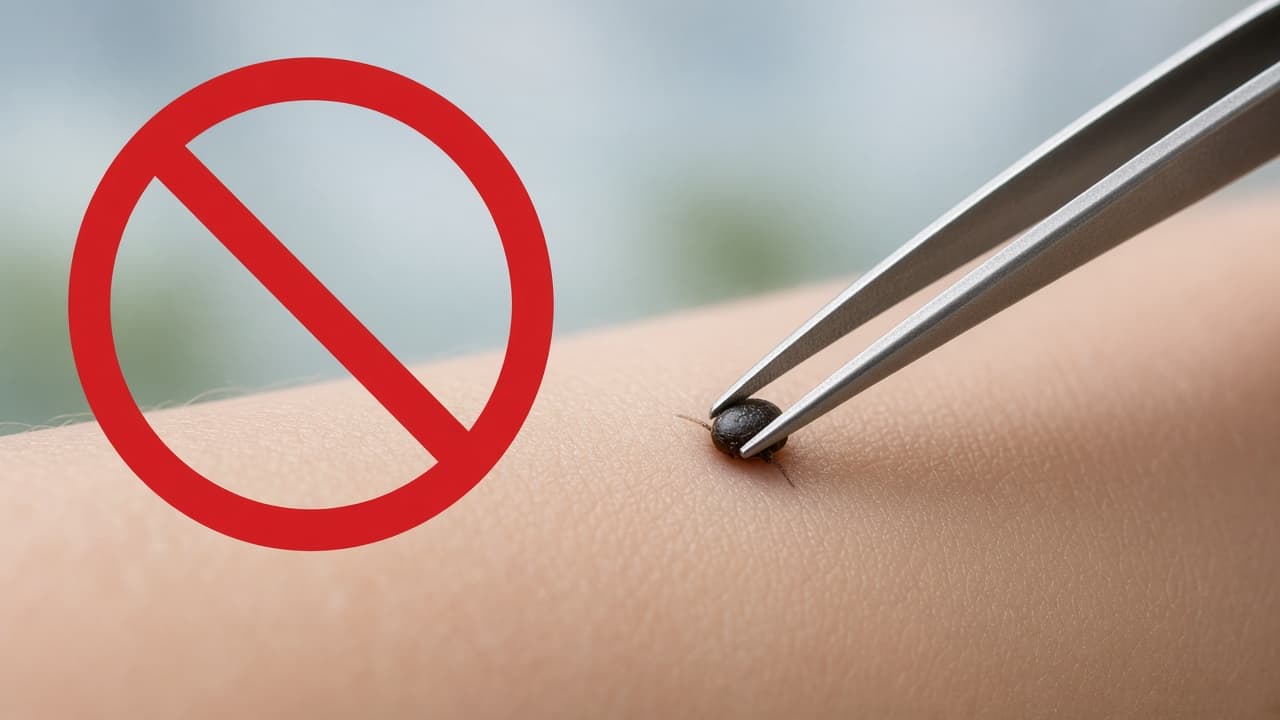
No corkscrew. Straight pressure only.
Step 05
Inspect the tick and the bite
Confirm the tick came out whole, then decide whether to save it for identification.
Do this step in order
5a
Look at the removed tick and bite
Check under bright light whether the tick looks intact and whether anything remains in the skin.
5b
Leave stuck fragments alone
If a fragment remains and does not come out easily with tweezers, leave it alone rather than opening the skin with a needle. The skin can expel small pieces as it heals.
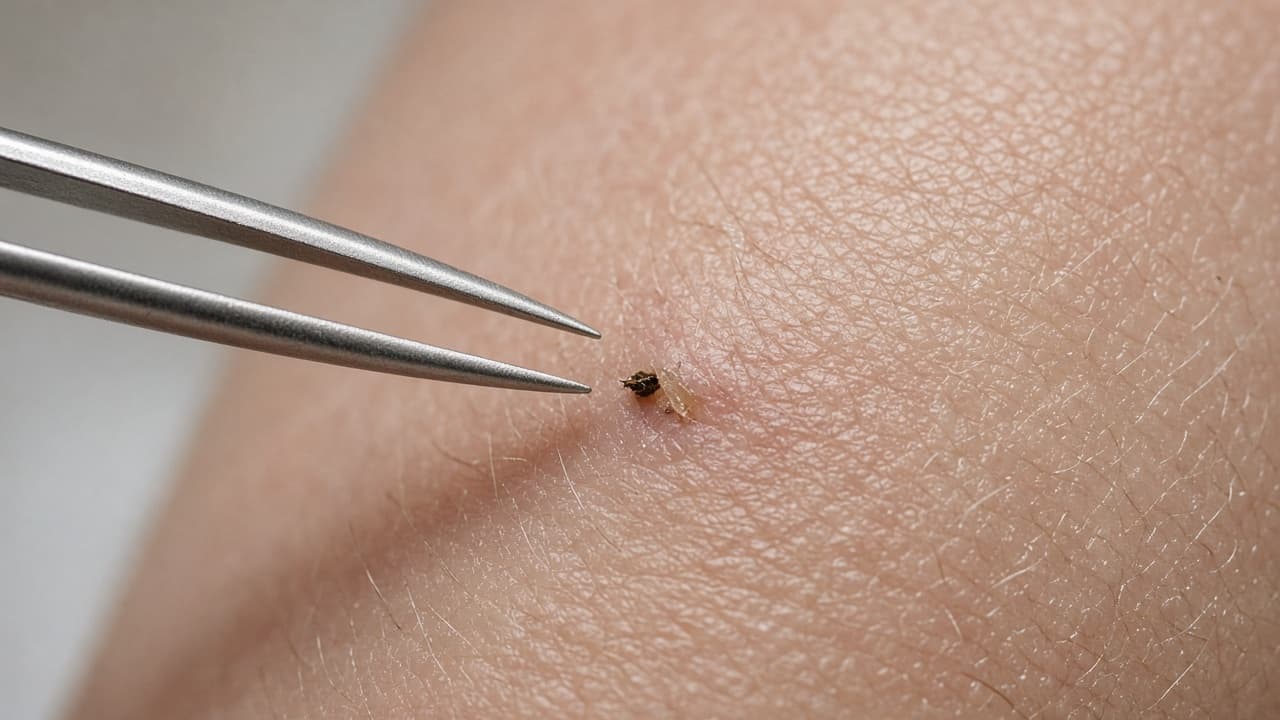
Do not dig. Easy tweezer lift only, then leave the rest. 5c
Contain the tick safely
Place the tick in a sealed container, wrap it tightly in tape, put it in alcohol or flush it. Never crush it with bare fingers.
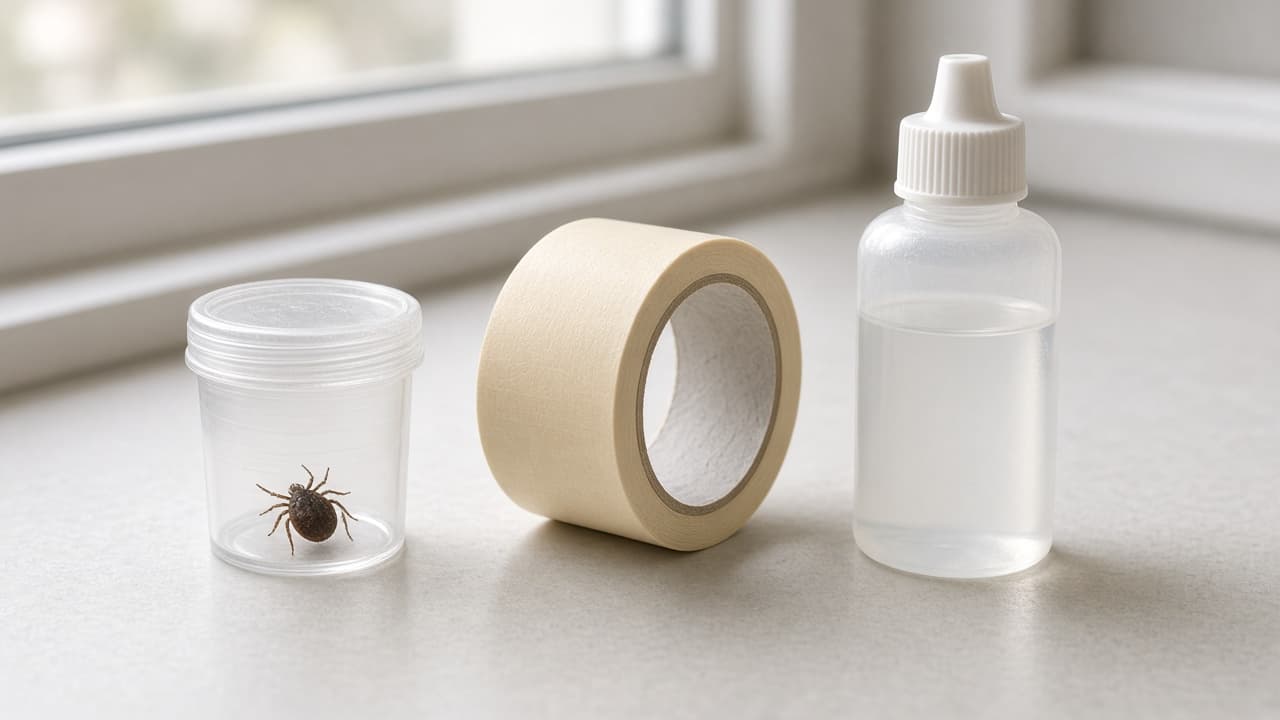
Seal or dispose safely. Keep containers away from children and pets. 5d
Common mistake: digging out mouthparts
Common mistake: using a needle or blade to excavate leftover mouthparts. That increases tissue injury without undoing transmission that already happened.
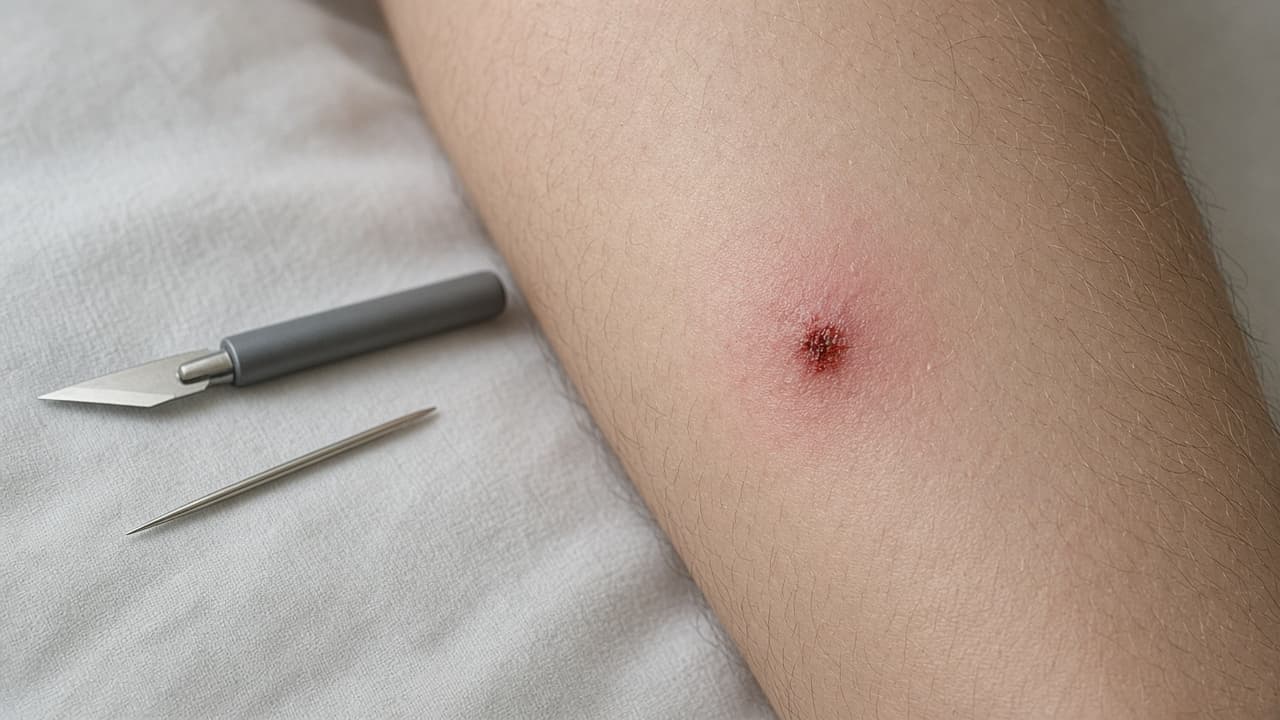
Aggressive digging helps the wound, not the infection risk.
Step 06
Clean the bite, tools and hands
Wash the area and your equipment before you write anything down.
Do this step in order
6a
Wash the bite gently
Clean the bite with soap and water, rubbing alcohol or hand sanitizer. Avoid harsh scrubbing of the wound.
6b
Clean tweezers before storage
Wipe the tweezers, let them dry and store them where they will not contaminate other items.
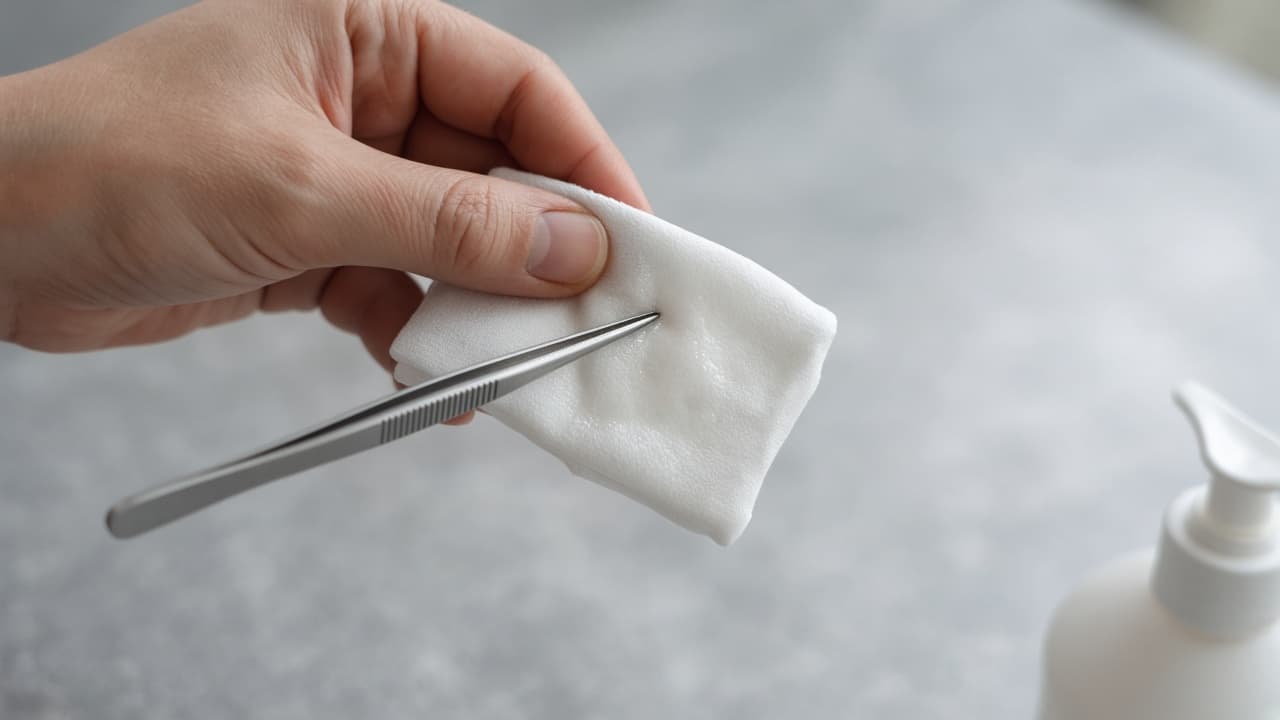
Clean tools belong back in the kit, not sticky in a drawer. 6c
Wash your hands again
Wash hands after handling the tick even if you wore a brief glove or used a tissue.
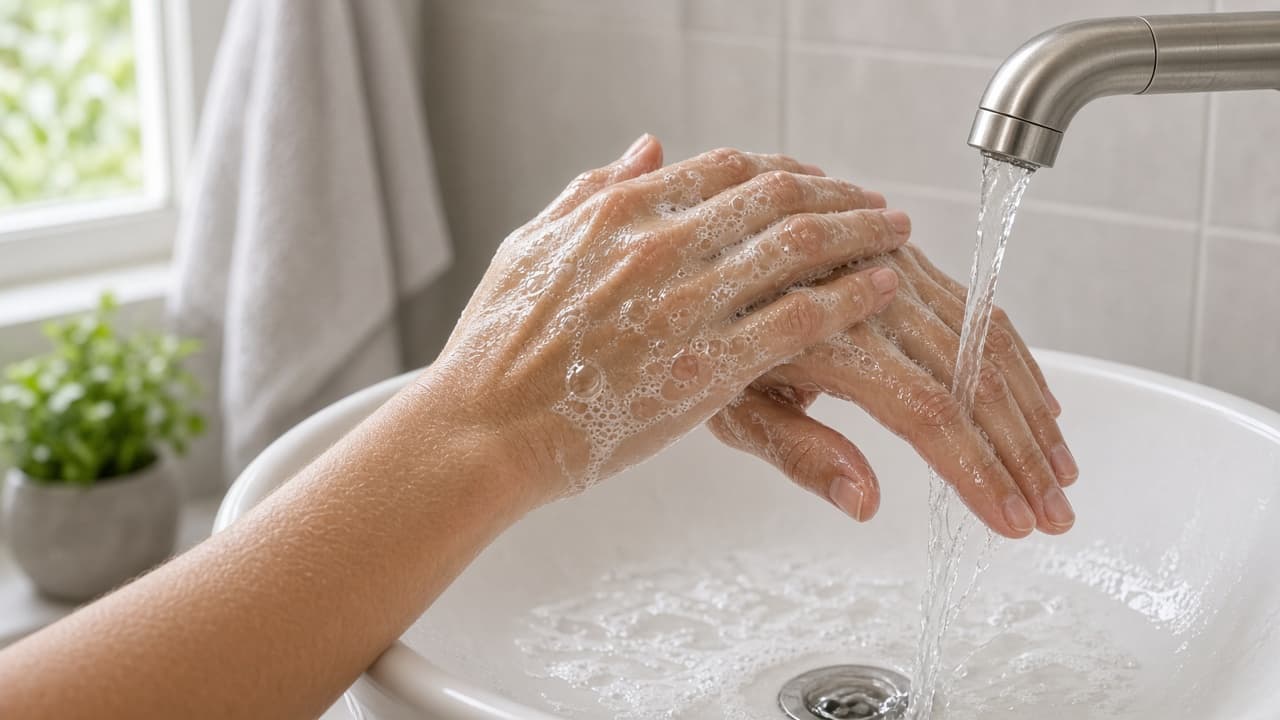
A second wash closes the removal stage. 6d
Common mistake: harsh scrubbing the wound
Common mistake: scrubbing the bite hard with alcohol until the skin is raw. Gentle cleaning is enough. Damaged skin is a worse problem than a light wipe.
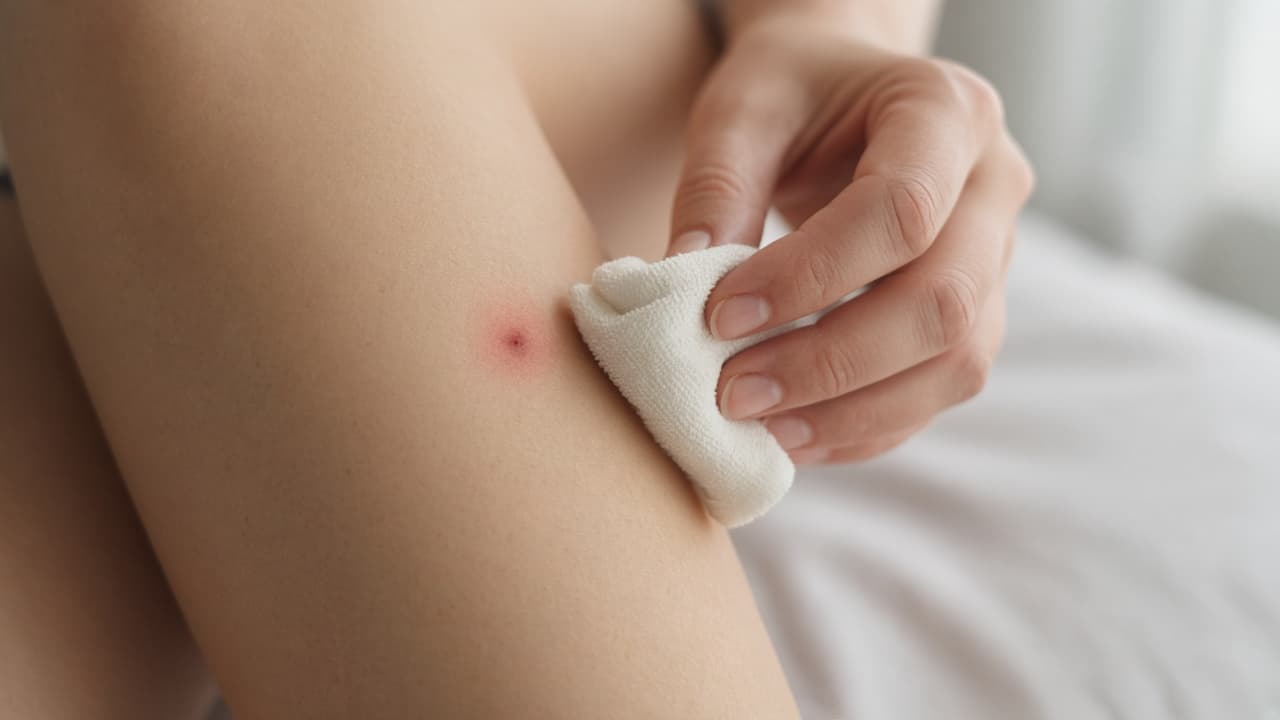
Clean gently. Raw skin is not more sterile care.
Step 07
Record exposure and watch for symptoms
Note the date and place, check for more ticks and know when to call a clinician.
Do this step in order
7a
Write date, place and body location
Note the date, body location, likely exposure place and whether the tick looked swollen. Take a clear photo beside a ruler if identification may matter later.
7b
Check the rest of the body
Inspect the scalp, behind the ears, armpits, waist, groin, backs of knees and between toes. Shower and check clothing, gear and pets after outdoor exposure.

One tick often means you should scan the whole body. 7c
Know routine follow-up questions
Ask a clinician about local Lyme guidance if the tick was engorged, may have been attached long or came from a high-risk area. Commercial tick tests are not a substitute for clinical advice.
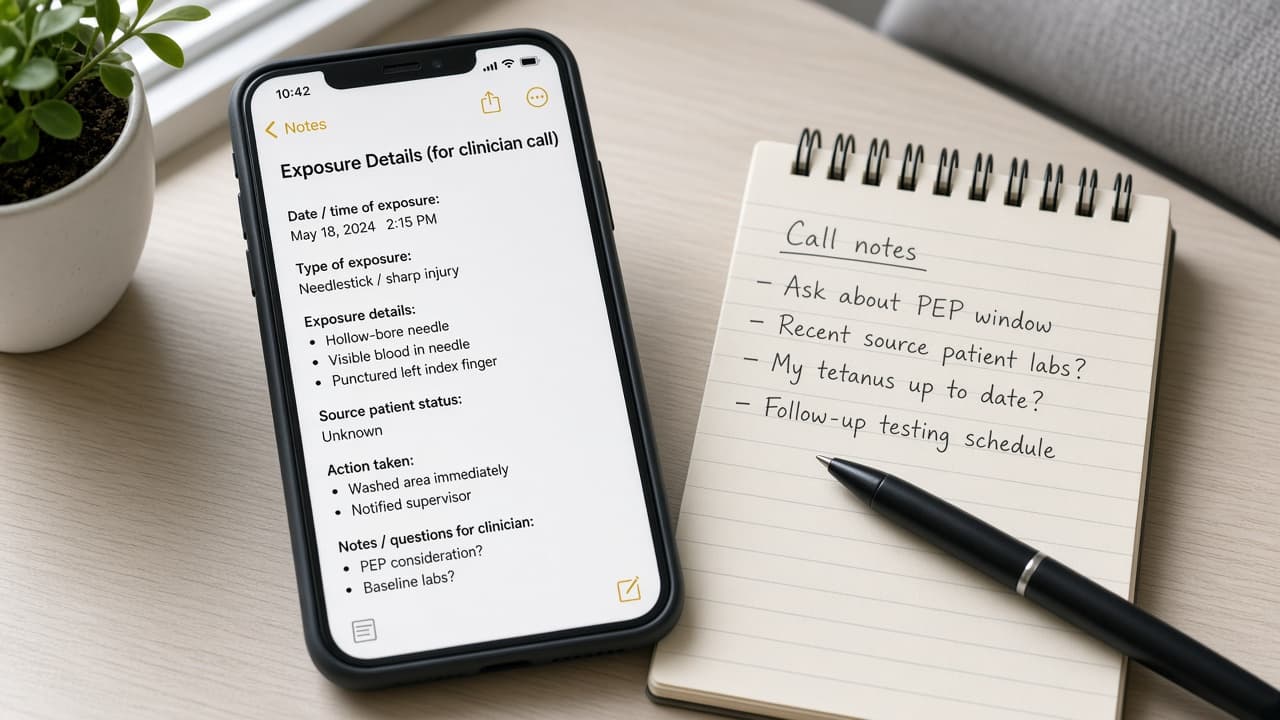
Useful notes beat a vague memory weeks later. 7d
Common mistake: ignoring rash without a bullseye
Common mistake: waiting for a perfect bullseye before seeking care. An expanding rash, fever or flu-like symptoms in the following weeks deserve a call even without a classic ring.
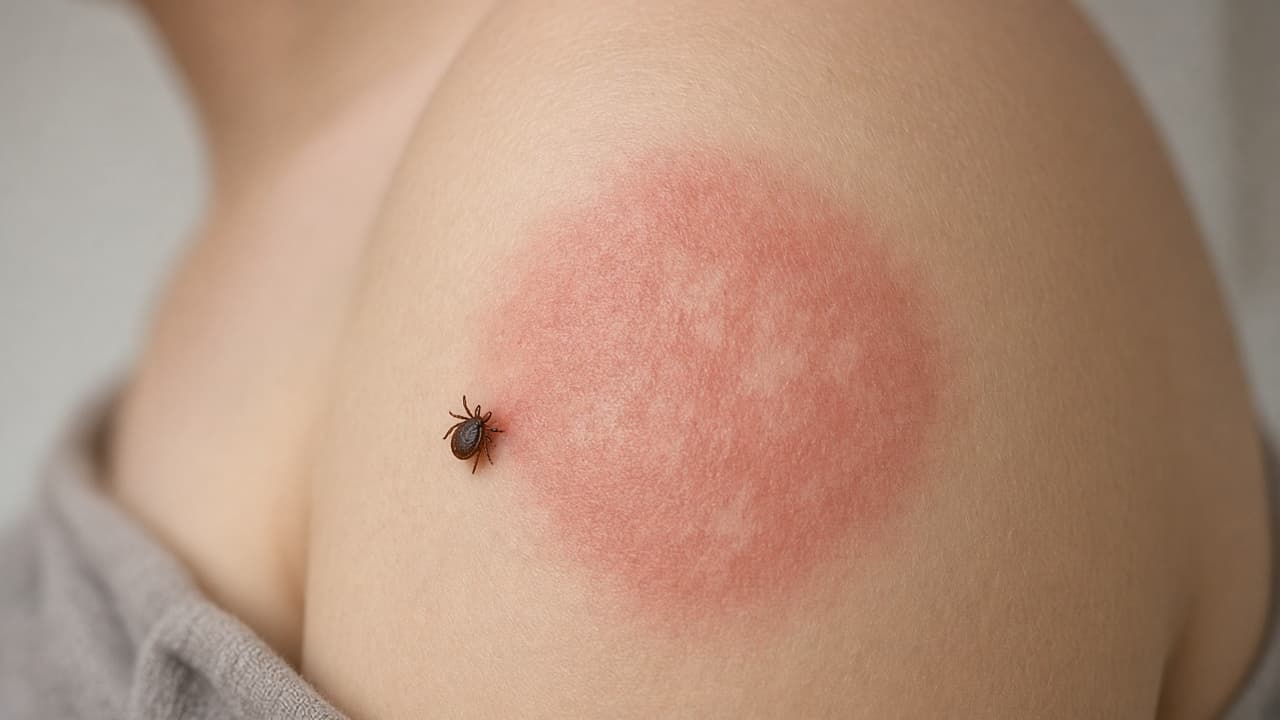
Any expanding rash or fever after a bite is worth clinical advice.
Done when
- Wash hands and locate the full tick
- Expose the attachment point in bright light
- Grasp with fine-tipped tweezers close to the skin
- Pull upward with steady even pressure
- Clean the bite and hands
- Note date, region and watch for rash or fever
- Call a clinician if mouthparts remain or symptoms develop
Eagle Frame's takeaway: use fine-tipped tweezers only, grip at the skin line and pull straight up with steady pressure. Clean the area, record the exposure and monitor your health. Burning, smothering and twisting add risk without improving removal.