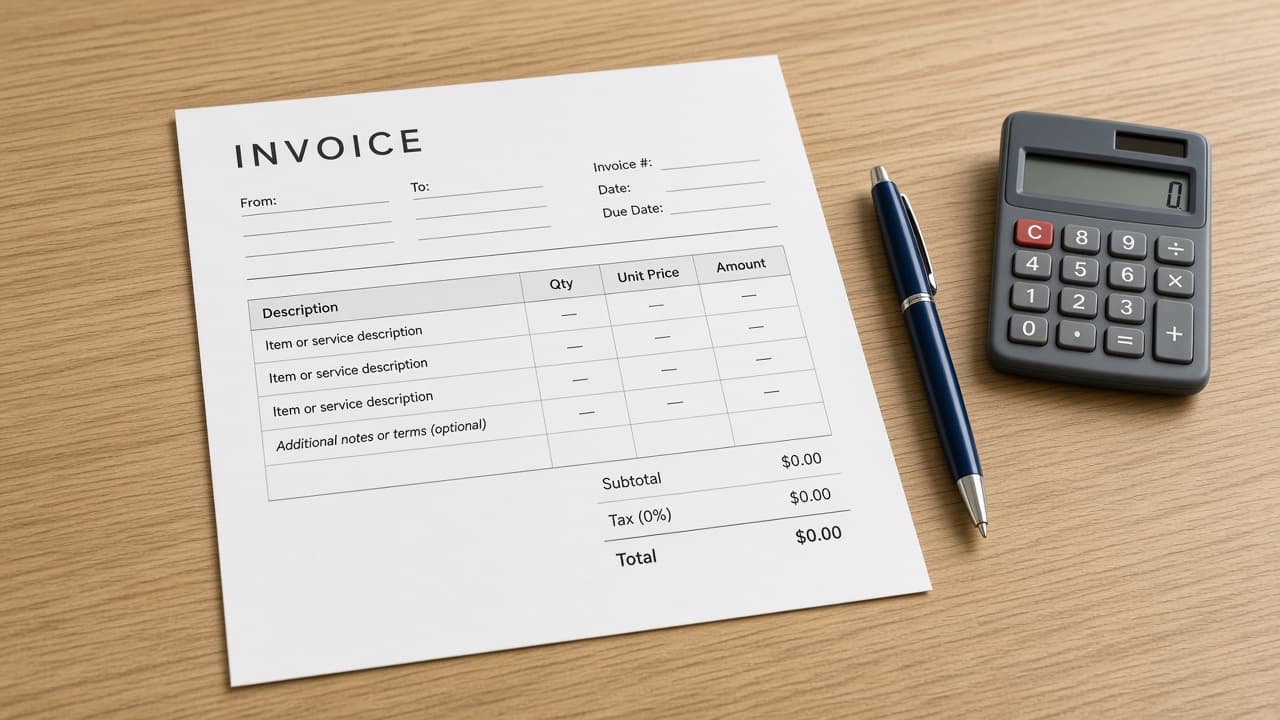
How to create a simple invoice
Put your details and the client’s details at the top, list clear line items, set a due date and payment method, then export a PDF and send it. Keep a copy for your records.
A simple invoice is a clear bill for work or goods you already delivered or agreed to deliver. It tells the client who is charging them, what they owe for, when payment is due and how to pay. You do not need fancy accounting software for a one-off freelance job or a small side project. A clean document in a spreadsheet, Google Docs, Word or a free invoice tool is enough if the fields are complete and easy to skim.
Start with who the invoice is from and who it is to. Add an invoice number and issue date so both of you can find it later. Then list line items with quantities, rates and totals. Finish with a due date, accepted payment methods and any short notes about late fees or tax labels your client already expects. Export a PDF, send it through a channel the client checks and keep a copy with the same number in your files.
This guide is practical paperwork for freelancers, makers and small service jobs. It is not legal advice, tax advice or accounting advice. Rules for sales tax, VAT, retention of records and contract language differ by country and industry. If the job is large, cross-border or unclear, ask a qualified professional before you rely on a template.
Worked example through the steps: you designed a logo package for a local cafe. Your rate is $75 per hour for 8 hours of design, plus a $40 stock-asset fee you passed through at cost. The invoice total is $640. You issue invoice INV-2026-014 on 22 August and set payment due in 14 days by bank transfer.
Step-by-step guide
Time: 20 to 40 minutes for a first clean template; 10 minutes once you reuse it
What you need
- Spreadsheet, Google Docs, Word or a free invoice app
- Your legal or trading name, address and contact email
- Client name and billing email or address
- List of work or goods with quantities and rates
- Bank details, payment link or other accepted methods
- PDF export and a folder for sent invoices
Before you start
- This is not legal or tax advice. Confirm sales tax, VAT and record-keeping rules for your location before you send.
- Do not invent invoice numbers. Keep a simple sequence so you never send two different bills with the same number.
- Never put full card numbers or passwords on an invoice. Share only the payment details the client needs.
Step 01
Fill the header: who it is from, who it is to and the document IDs
The top of the page should make the parties, the invoice number and the issue date obvious in one glance.
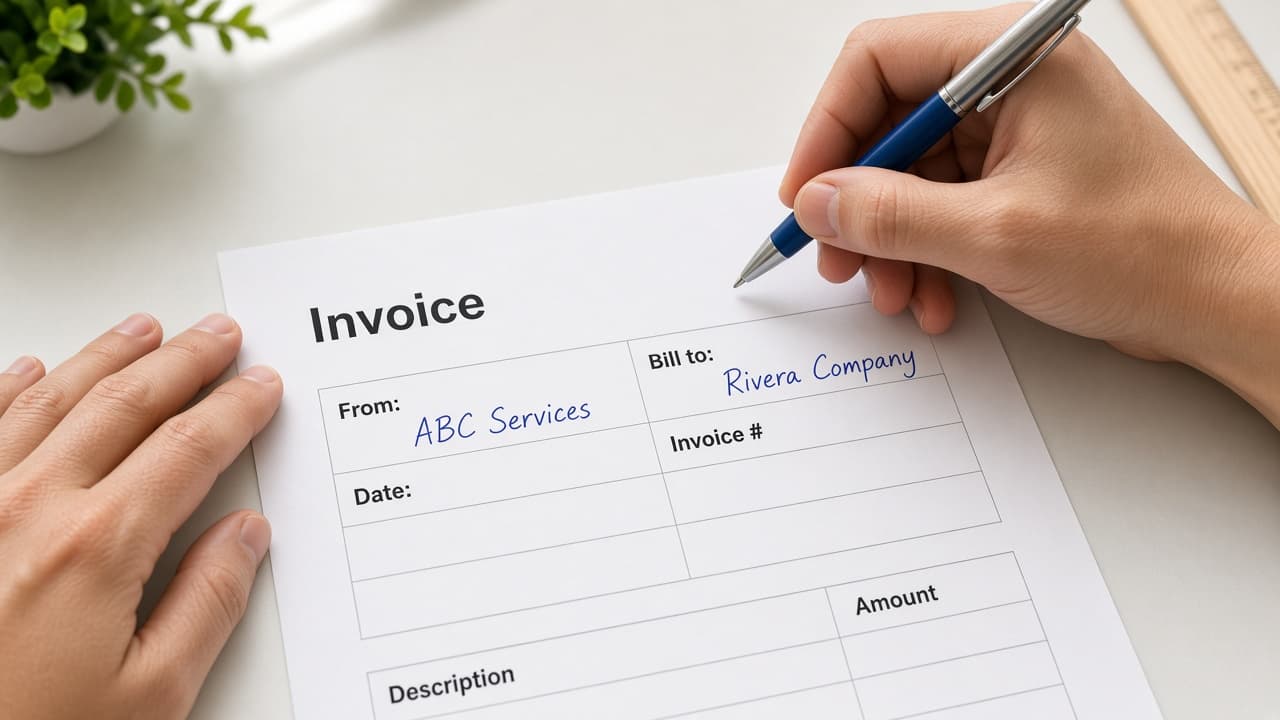
Illustrative: put your details, the client’s details, the invoice number and the issue date at the top. Do this step in order
1a
Write your “from” block
Put your name or business name, postal or service address, email and phone if you use one for billing. Add a tax ID or registration number only if your client or local rules require it. Keep the block short and readable.
1b
Write the “bill to” block
Add the client’s legal or trading name, billing contact and the email or address they use for accounts payable. Spell the company name the way their purchase order or contract spells it. Wrong “to” details delay payment.
1c
Assign an invoice number and issue date
Use a simple sequence such as INV-2026-014. Put today’s date as the issue date. Common mistake: recycling the same number after a revision. If you correct a bill, keep the number and mark it revised or issue a new number and void the old one in your records.
Step 02
List line items with quantities, rates and a clear total
Each line should answer what was done or sold, how much and at what rate so the math is easy to check.
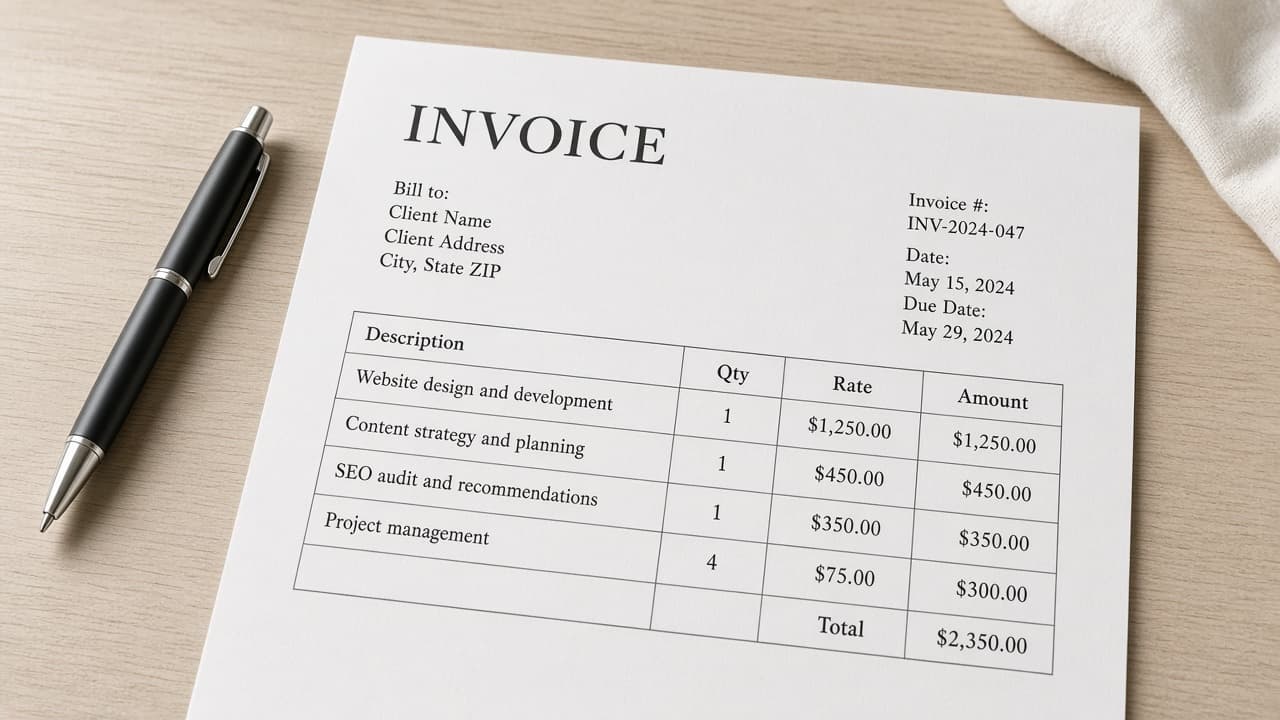
Illustrative: clear line items beat a single vague “design work” lump sum. Do this step in order
2a
Describe each deliverable in plain language
Write a short description the client will recognize: Logo package design, 8 hours or Menu print files, 1 set. Add dates of work or a project name if they track jobs that way. Avoid internal jargon they never used.
2b
Add quantity, unit rate and line total
Example: 8 hours × $75 = $600. Second line: stock assets × $40 = $40. Show currency once at the top or beside each amount. Double-check multiplication before you send.
2c
Show subtotal, any tax line and the amount due
Add a subtotal of all lines. If you must charge tax, label it clearly and show the grand total as Amount due. If tax does not apply, say so in a short note rather than leaving the client guessing. Common mistake: a total that does not match the sum of the lines.
Step 03
Set the due date and spell out how to pay
Payment stalls when the due date is vague or the bank details are buried in a paragraph.
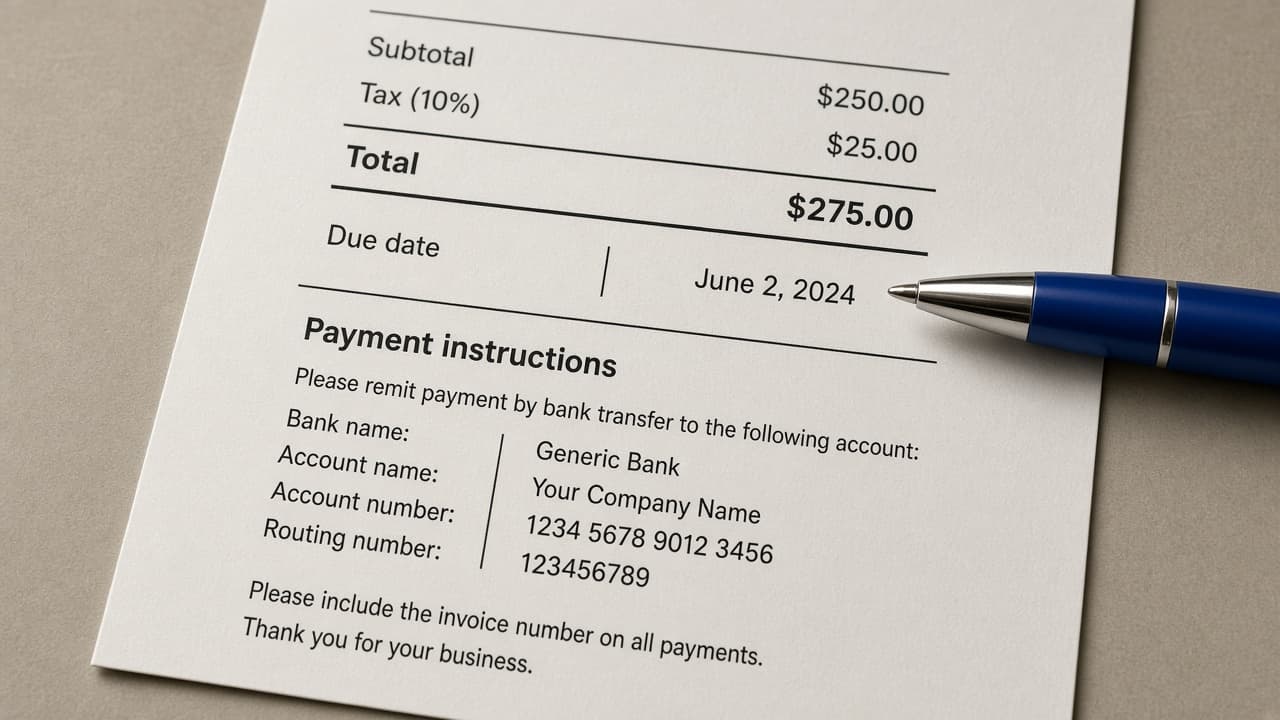
Illustrative: put the due date and payment method where the eye lands after the total. Do this step in order
3a
Choose a due date the client can calendar
Use a real calendar date such as Due 5 September 2026 or Net 14 from the issue date and still print the resulting date. Example from the worked case: issued 22 August, due 5 September. Confirm any different terms already in a contract.
3b
List accepted payment methods and exact details
Bank transfer, card link or other method you actually check. Include account name, account number or IBAN, sort code or routing number and a payment reference such as INV-2026-014. For a link, paste the full URL and say what the payer will see.
3c
Add only the notes that change behavior
One or two lines on late fees, purchase-order numbers or “thank you” is enough. Do not paste your full terms of service onto every page. Common mistake: three payment options with incomplete details for each so the client picks none.
Step 04
Export a PDF, send it and file the same copy
The version you send should be locked as a PDF (or the format they requested) and stored under the invoice number.
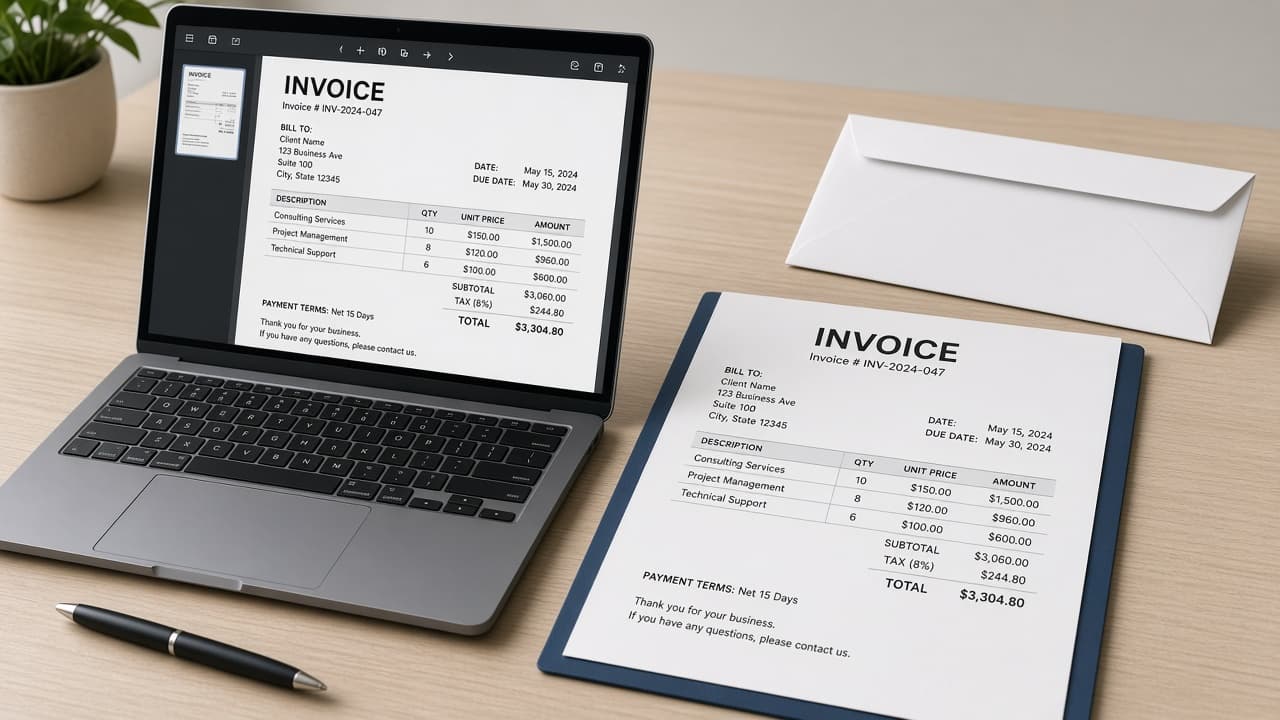
Illustrative: send a PDF the client can forward to accounts without editing your totals. Do this step in order
4a
Export or download a clean PDF
Export from your doc or tool to PDF. Open the file and confirm fonts, totals and payment details still look right. Name the file with the invoice number, such as INV-2026-014-Cafe-Logo.pdf.
4b
Send through a channel the client checks
Email the PDF to the billing contact with a short subject like Invoice INV-2026-014 from Your Name. In the body, restate the amount due and due date. If they use a portal, upload there and still keep your own copy.
4c
File the sent PDF and track payment
Save the exact file you sent in a Sent invoices folder. Mark it paid when the money clears. Common mistake: editing the live template after sending so you no longer have the version the client received. If you need a correction, send a revised PDF and note what changed.
Done when
- From and to blocks complete
- Invoice number and issue date set
- Line items with quantities, rates and a clear total
- Due date and payment details listed
- PDF saved, sent and filed under the same number
Eagle Frame’s takeaway: a simple invoice works when the client can answer four questions without emailing you back. Who is billing whom, what are the line items, when is payment due and how do they pay. Number it, PDF it, send it and file the same copy you sent.