How to create a Gmail account
Create a Gmail address through Google's official signup flow, choose a strong password, add recovery contact info and turn on two-step verification before you rely on the inbox.
A Gmail account is a Google Account with an @gmail.com address. That one login unlocks Gmail, Google Drive, Photos, Calendar and Android device backup when you choose to use those services. Always create accounts only at accounts.google.com or through official Google apps, never through third-party signup forms that ask for your password.
Google will ask for your name, birthday and gender in many regions. Some countries require a phone number for verification. Pick a username that you can live with professionally if this might become a work or school address. Gmail does not charge for the standard consumer inbox.
Password strength matters because this account becomes a recovery hub for other sites. Use a long unique passphrase and store it in a password manager. Add a recovery email and phone number you control so you can regain access if you forget the password or lose your device.
After signup, open Gmail on the web or install the Gmail app, then enable two-step verification in Google Account security settings. Review privacy options such as ad personalization and backup settings before you link the address to banking or shopping sites.
Google can suggest available Gmail addresses, let you create your own or let you build a Google Account around an existing third-party email. If you specifically want Gmail, choose an address ending in @gmail.com. The visible dots in a personal Gmail username do not create separate inboxes, so do not rely on punctuation to claim a taken name. Recovery details need to be independent of the account they protect. Google warns against using a Google Voice number as the recovery phone because losing the Google Account could also block access to that number.
Step-by-step guide
Time: 10 to 20 minutes including security setup
What you need
- Web browser or official Gmail app
- Phone number that can receive SMS or voice codes (if Google requests it)
- Password manager
- Optional recovery email you already own
- Notebook for backup codes stored offline
- Quiet time to finish 2FA without rushing
Before you start
- Create accounts only on Google's official sites and apps.
- Google may lock accounts that look like bots; use real recovery info.
- Children need Family Link or school admin flows in many regions.
- Do not reuse a password from another important account.
Step 01
Start at Google's official signup page
Type the address yourself or use a bookmark so you avoid look-alike phishing sites.
Do this step in order
1a
Visit accounts.google.com and choose Create account
Type accounts.google.com into the address bar and confirm the connection uses HTTPS with google.com as the domain. Click Create account, then choose the personal, child or business path that matches your use. A work or school administrator may require a managed account instead.
1b
Check whether you already have an account
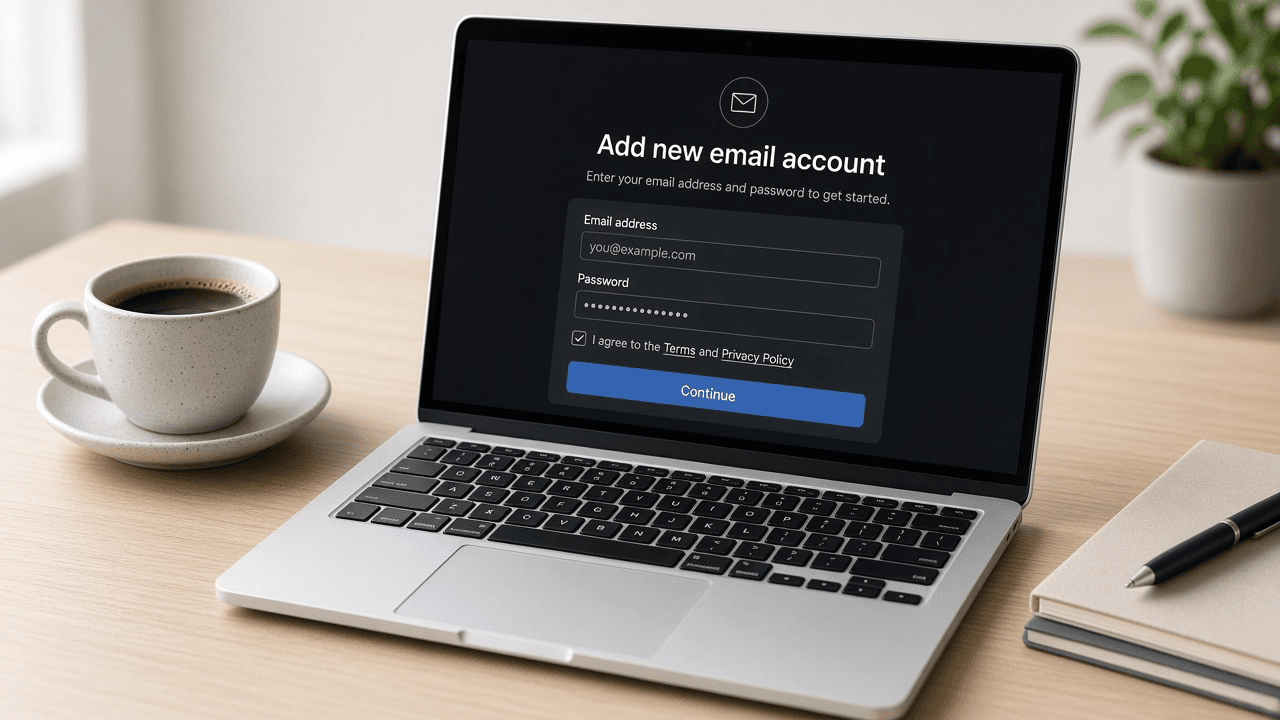
If you have signed into YouTube, Maps or another Google product, try that login before creating a duplicate. Use Google's username recovery flow when you remember a recovery phone or email but not the address. Do not use any paid service that claims it can recover a Google password.
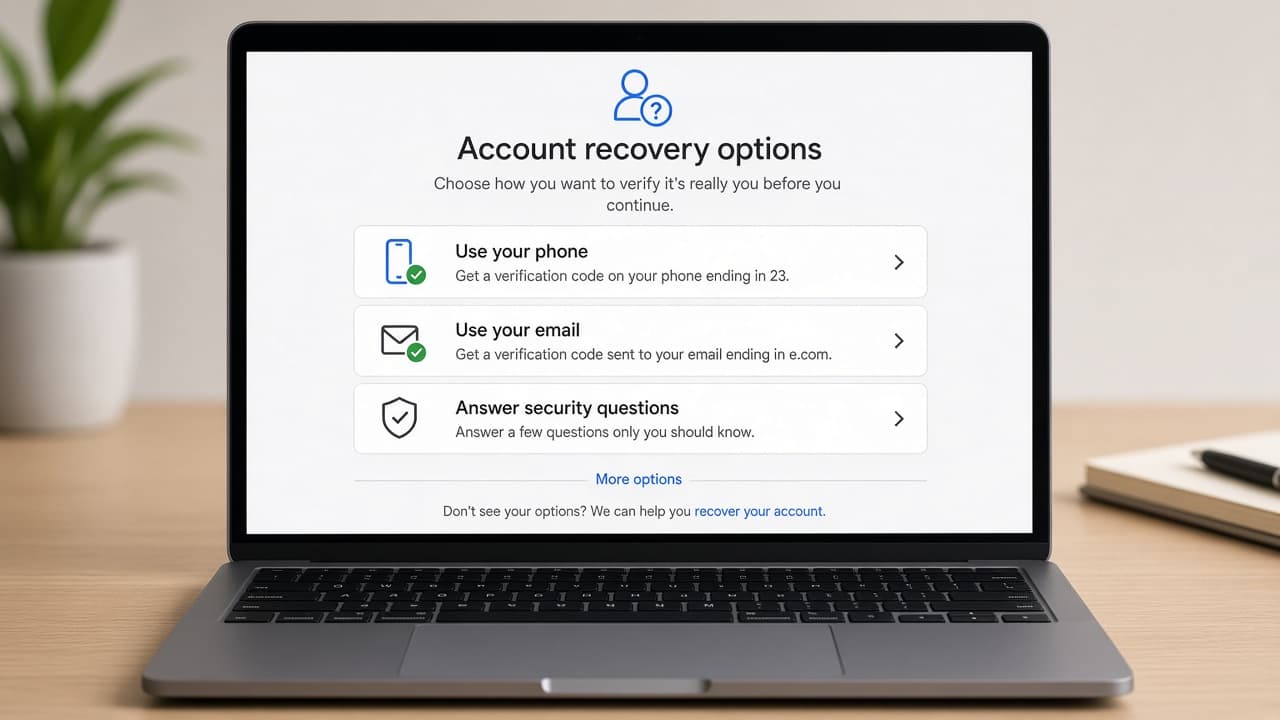
Recover an old login before you invent a second identity. 1c
Enter your name as you want it on messages
Enter the name you want recipients to recognize on outgoing mail. Use a professional version if the inbox will handle job applications, bills or school messages. You can change the display name later, but it does not change the Gmail address.
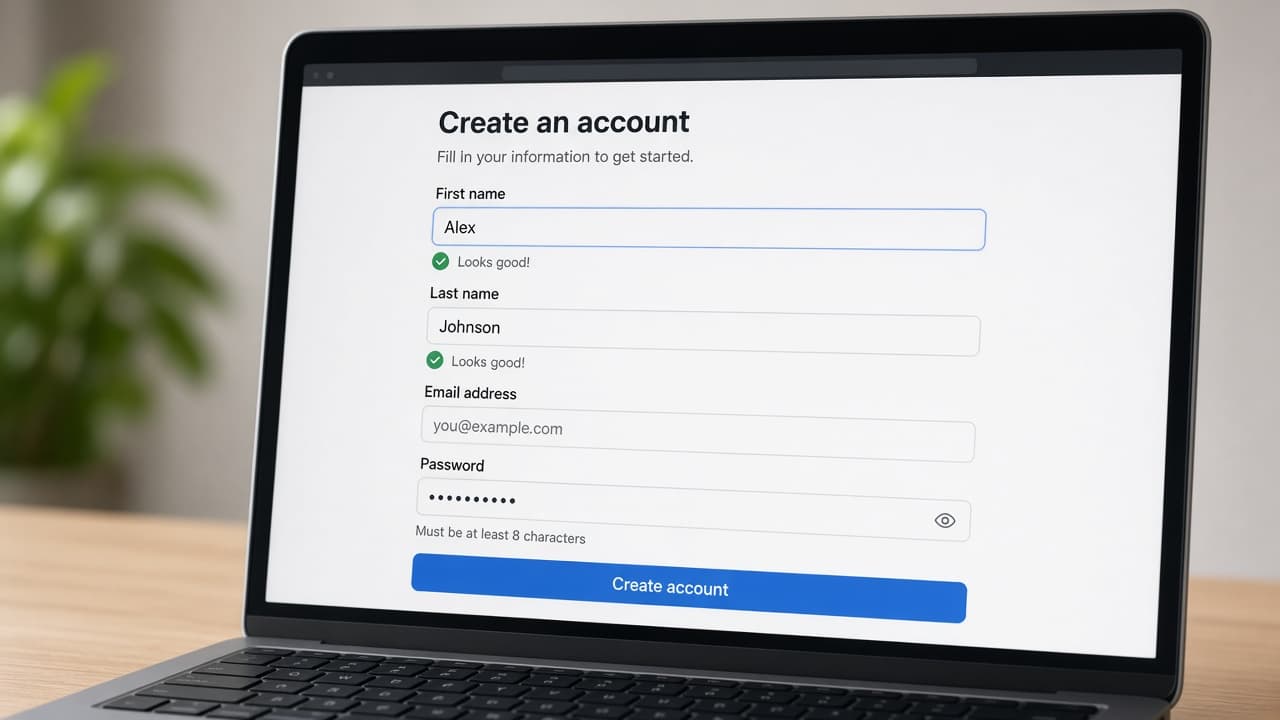
Display name is flexible; the address is lasting. 1d
Common mistake: typing credentials into a look-alike site
Common mistake: following an email or ad to a page that only resembles Google signup. Stay on accounts.google.com or the official app. If anything asks for payment to create a free Gmail inbox, leave immediately.
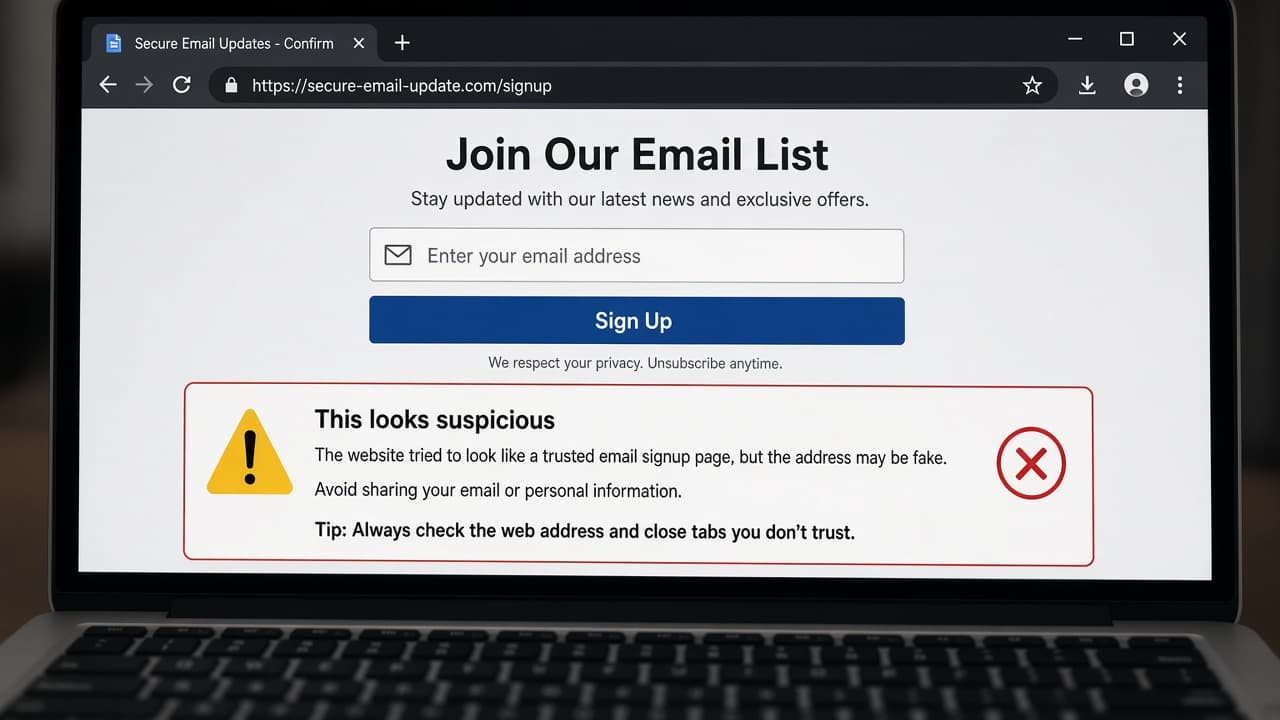
Free Gmail never needs a random third-party signup fee.
Step 02
Complete birthday and eligibility details honestly
Age affects account eligibility, parental controls and available services.
Do this step in order
2a
Enter birthday and gender where requested
Enter accurate information because age affects account eligibility, parental controls and available services. Follow the Family Link flow if Google identifies the user as below the local minimum age. Do not raise a child's birth year simply to bypass supervision.
2b
Choose the personal path unless you need admin control
Use the personal account path for ordinary inbox use. Business or school accounts belong under an administrator when your organization requires one. Mixing both later is possible, but the first choice should match who will control recovery.
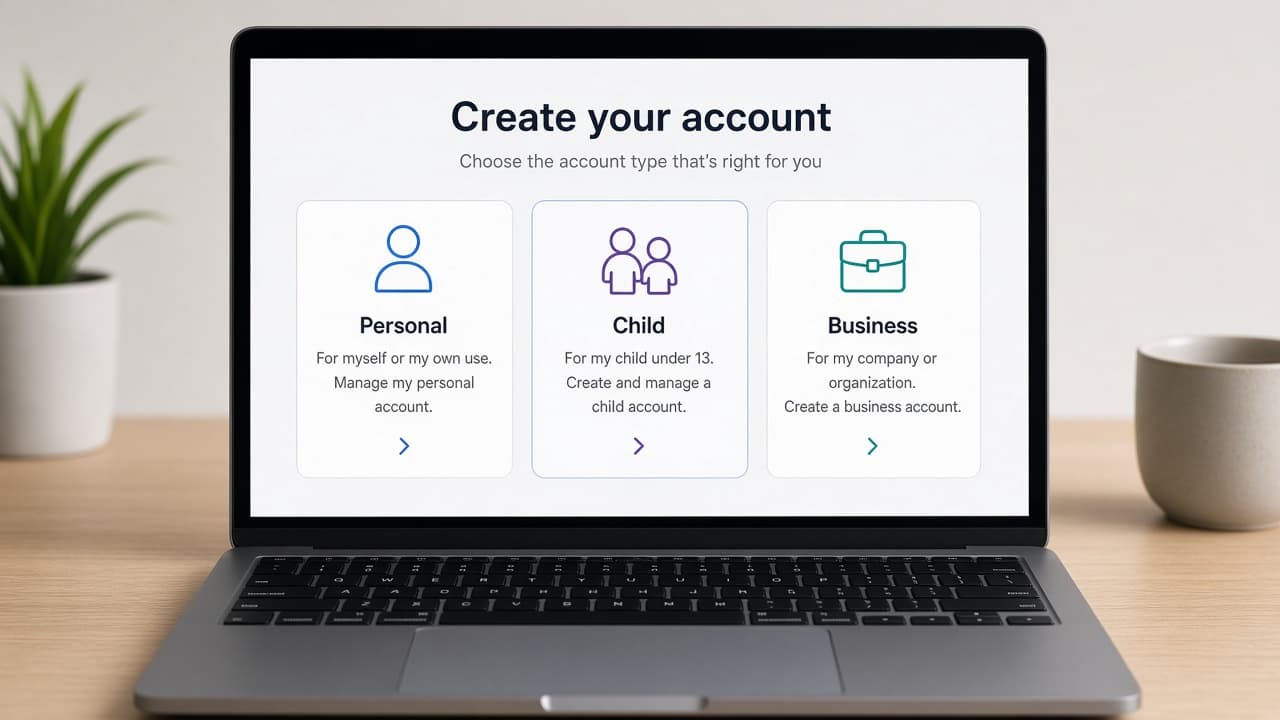
Pick the path that matches who controls the account. 2c
Pause if a child needs Family Link
Stop the adult-only flow when the user is a child who needs a parent-managed account. Complete Family Link supervision rather than inventing an adult birth date. School-managed accounts may also need the school's process instead of consumer signup.
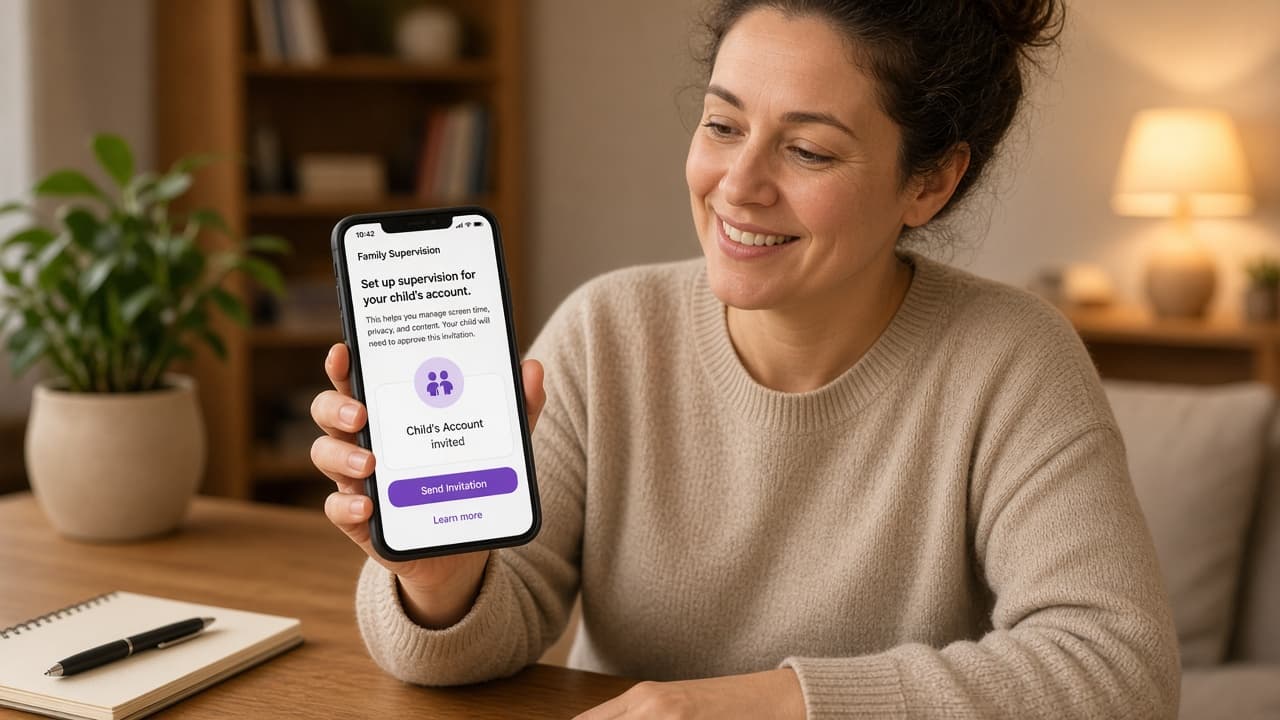
Children need the supervised path, not a fake adult birthday. 2d
Common mistake: faking an adult birthday for a child
Common mistake: entering an adult birth year so a child can skip supervision. That removes protections and can violate Google's rules. Use Family Link or a school account instead.
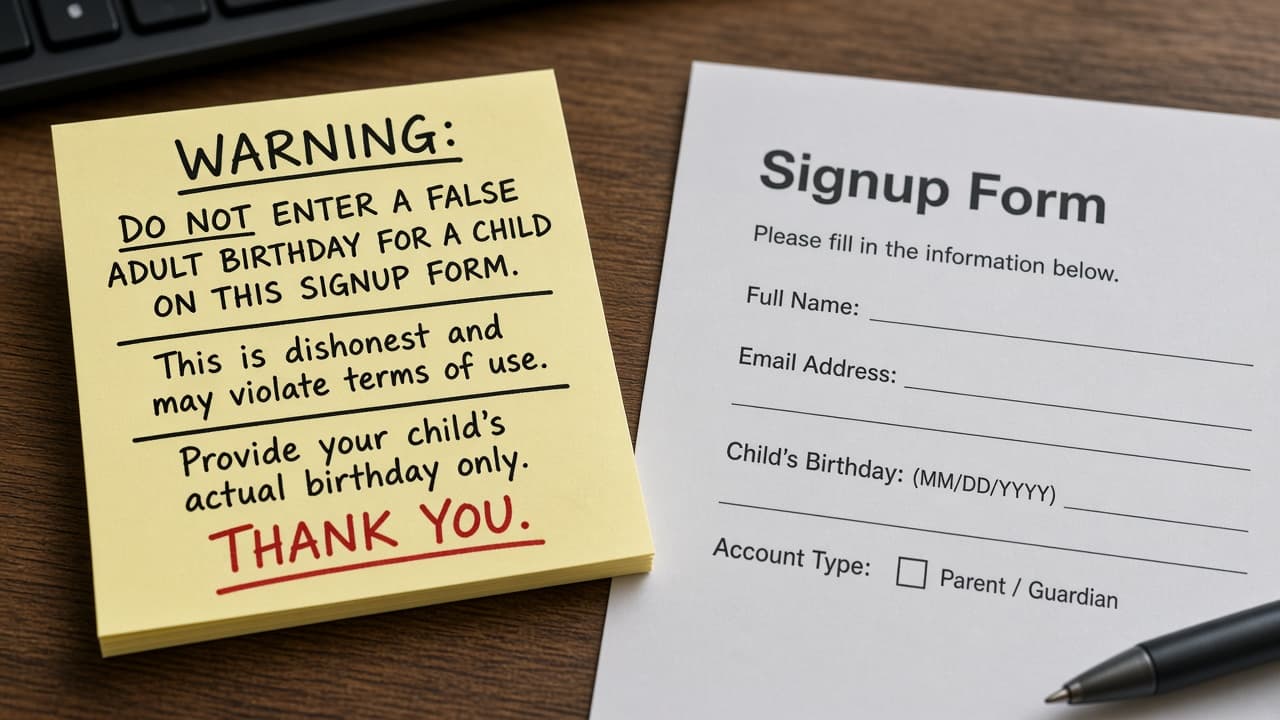
False ages remove protections the child still needs.
Step 03
Pick a Gmail address and strong password
Username availability is live; passwords should be unique and long.
Do this step in order
3a
Choose or create a username
Select one of Google's available suggestions or type a clear username you can say aloud without confusion. Avoid sensitive details such as a full birth date. Treat the address as permanent because changing the part before @gmail.com normally requires a new account.
3b
Create a long unique password
Generate a long random password in a reputable password manager or use a lengthy passphrase that exists nowhere else. Avoid names, birthdays and predictable substitutions. The strength meter is only a prompt, so uniqueness still matters most.
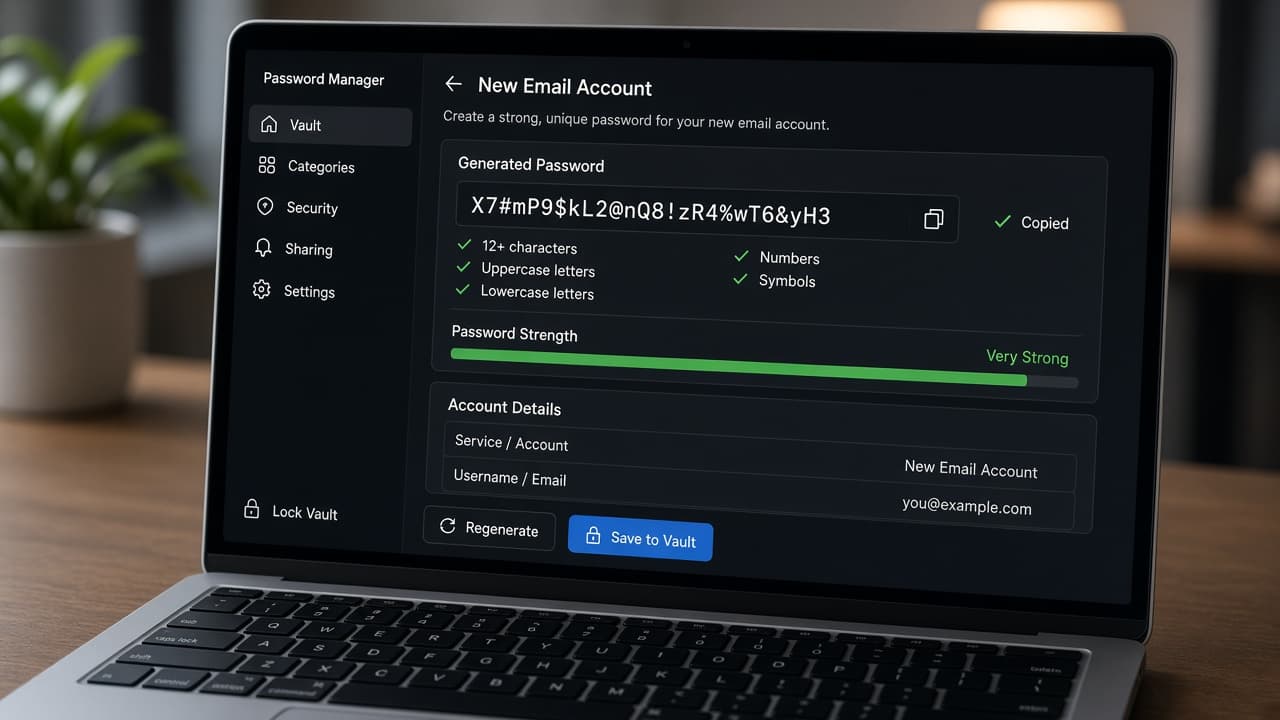
Unique and long beats a clever short password you reuse. 3c
Save the password before you leave the screen
Save the new entry in your password manager with the exact Gmail address and accounts.google.com URL. Lock the manager and reopen the entry to confirm it saved. Do not place the password in an unencrypted note, email draft or screenshot.
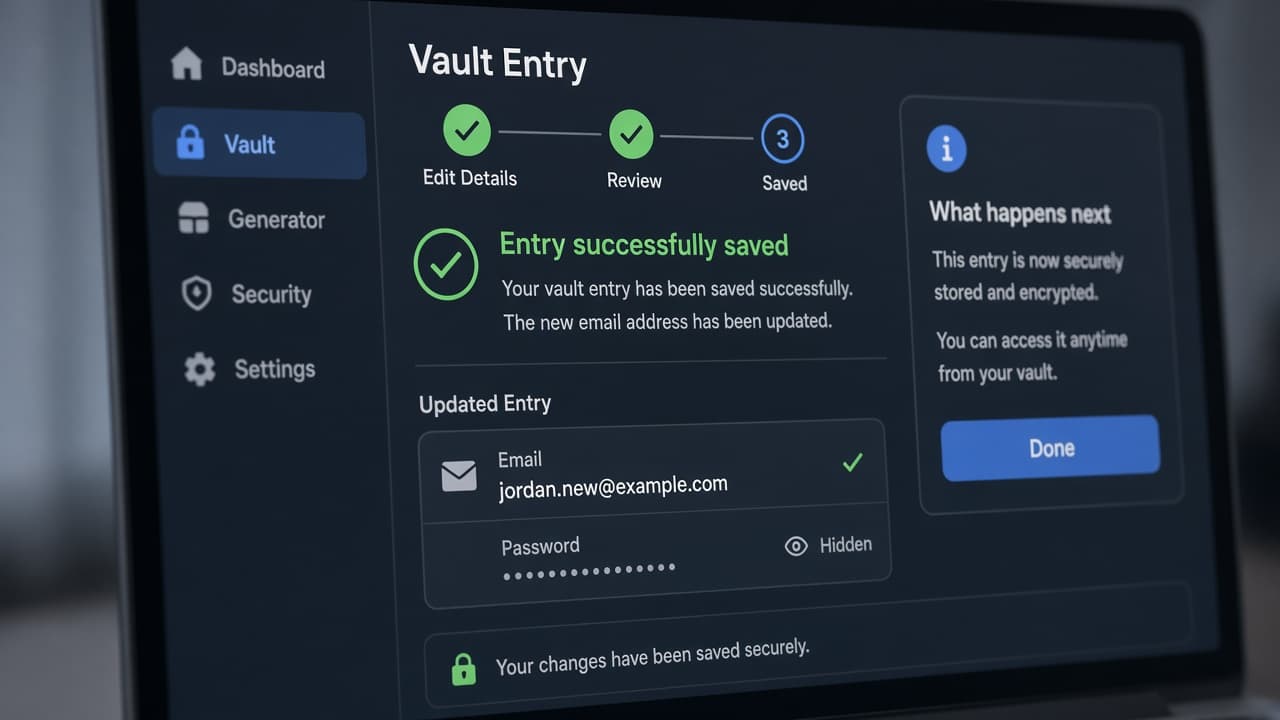
Confirm the save before you click Next. 3d
Common mistake: relying on dots to claim a taken name
Common mistake: adding dots to a taken username and expecting a separate inbox. On personal Gmail, dots in the username do not create a different mailbox. Read the full address twice and avoid confusing characters such as 1, l, 0 and o before continuing.
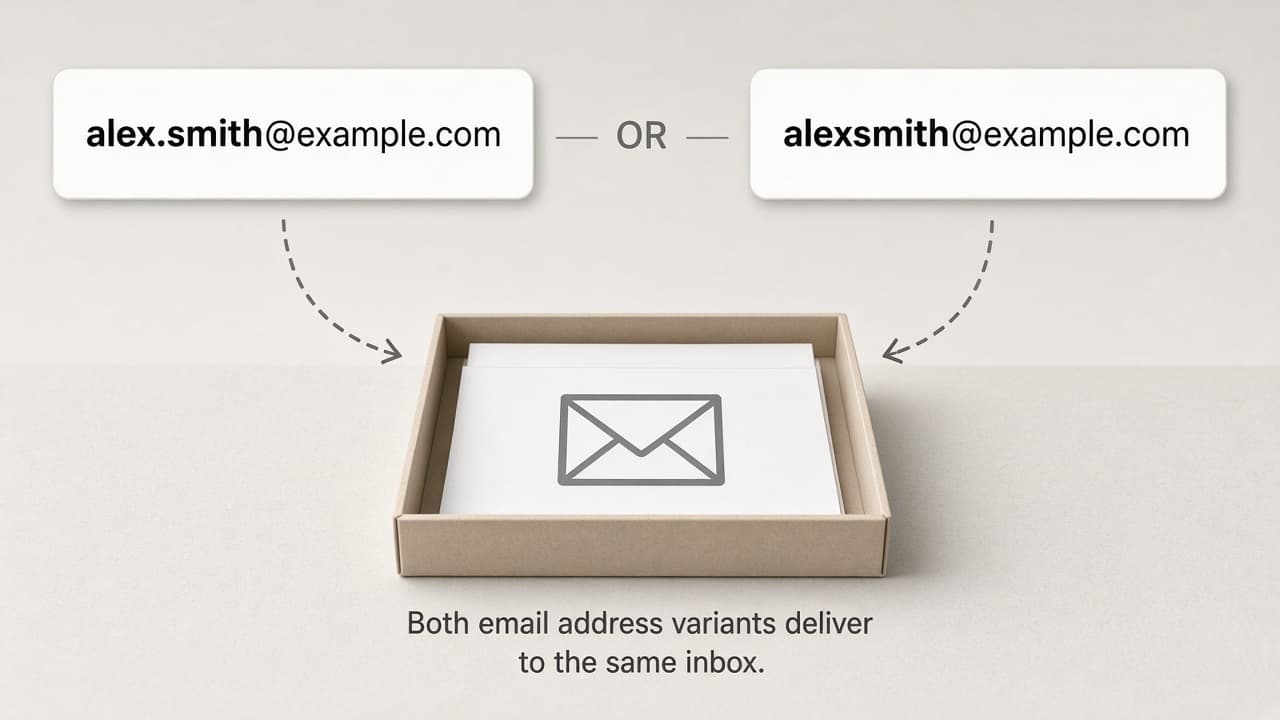
Dots do not invent a new personal Gmail mailbox.
Step 04
Verify your identity and review privacy choices
Google may text a code before the inbox opens.
Do this step in order
4a
Add a phone number when prompted
Enter a mobile number you control when Google requires or offers verification. Read the SMS code directly and type it into the Google page without sharing it with anyone. If no code arrives, confirm the country code and wait before requesting another or using the offered voice call.
4b
Review privacy and terms screens
Open the available privacy options instead of tapping through automatically. Decide whether to save web, app and YouTube history and review ad personalization choices. You can revisit these settings later under Data and privacy in your Google Account.
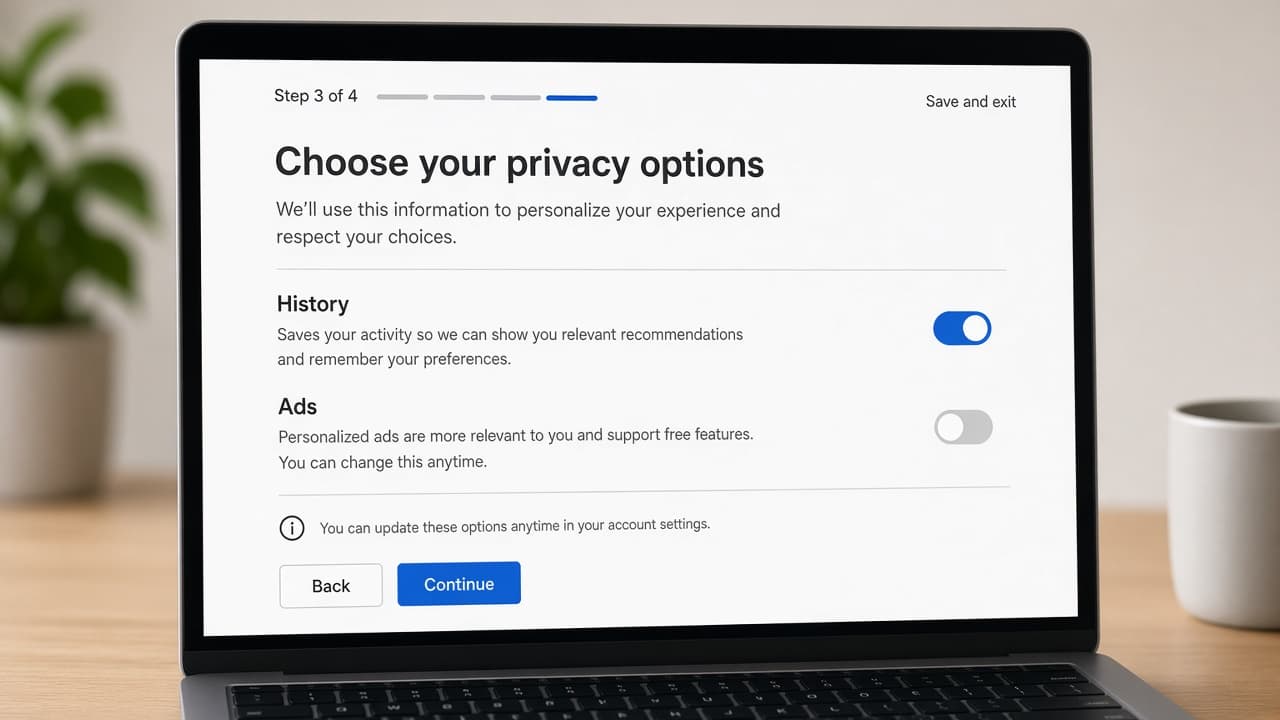
Privacy choices are easier to set now than to hunt later. 4c
Reject unexpected payment or software prompts
Standard consumer Gmail signup does not require buying antivirus or inbox upgrades from a third party. Close extra tabs that appear after search ads. Stay inside the official flow until Gmail opens.
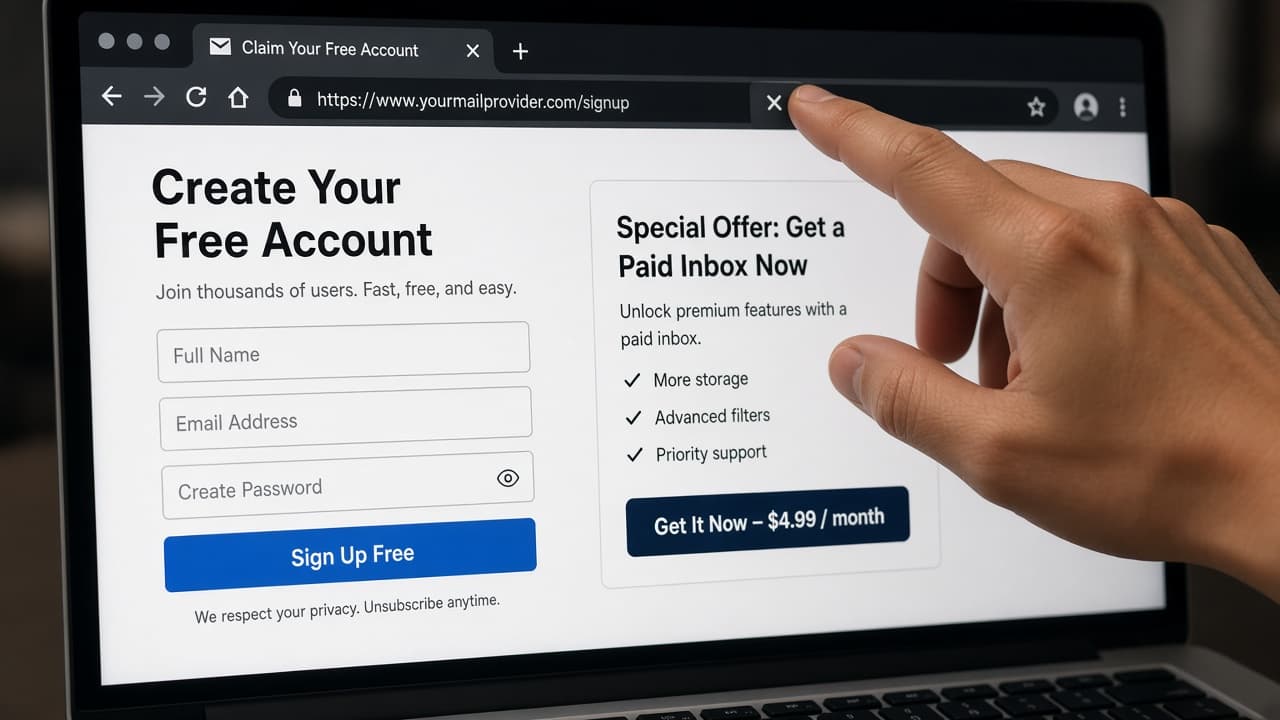
Extra paid offers are not part of creating Gmail. 4d
Common mistake: sharing the SMS code with a caller
Common mistake: reading the verification code to someone who phones claiming to be Google support. Google will not call you for that code during signup. Hang up and continue only on the official page.
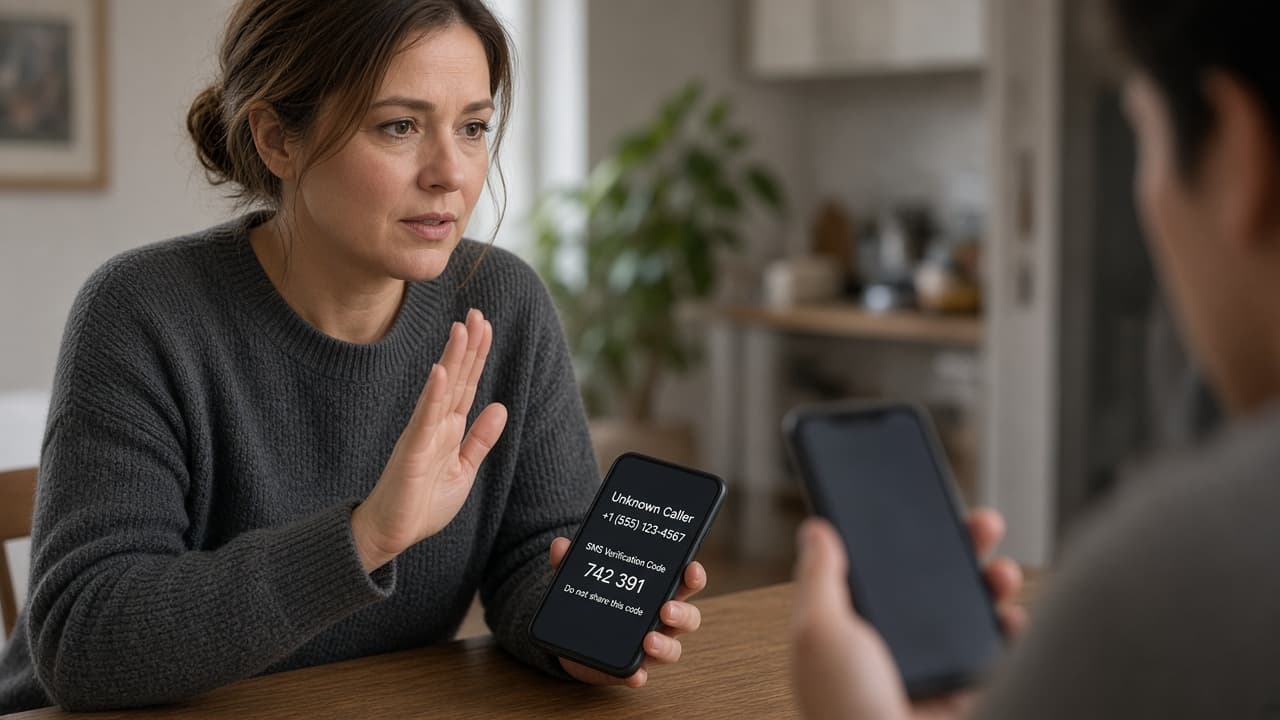
Verification codes stay on the official screen only.
Step 05
Open Gmail and confirm the address works
A quick send-and-reply test catches typos before you print the address on forms.
Do this step in order
5a
Open mail.google.com or the official Gmail app
Confirm the new address appears in the profile menu. Install the app only from the official store on your phone. Bookmark the correct URL on shared computers rather than saving the password in the browser alone.
5b
Send a test message to another inbox you own
Send a short test to another inbox you control, then reply from that inbox. Check both Sent and Inbox so you know the address was entered correctly. Fix display-name typos now while the account is still fresh.
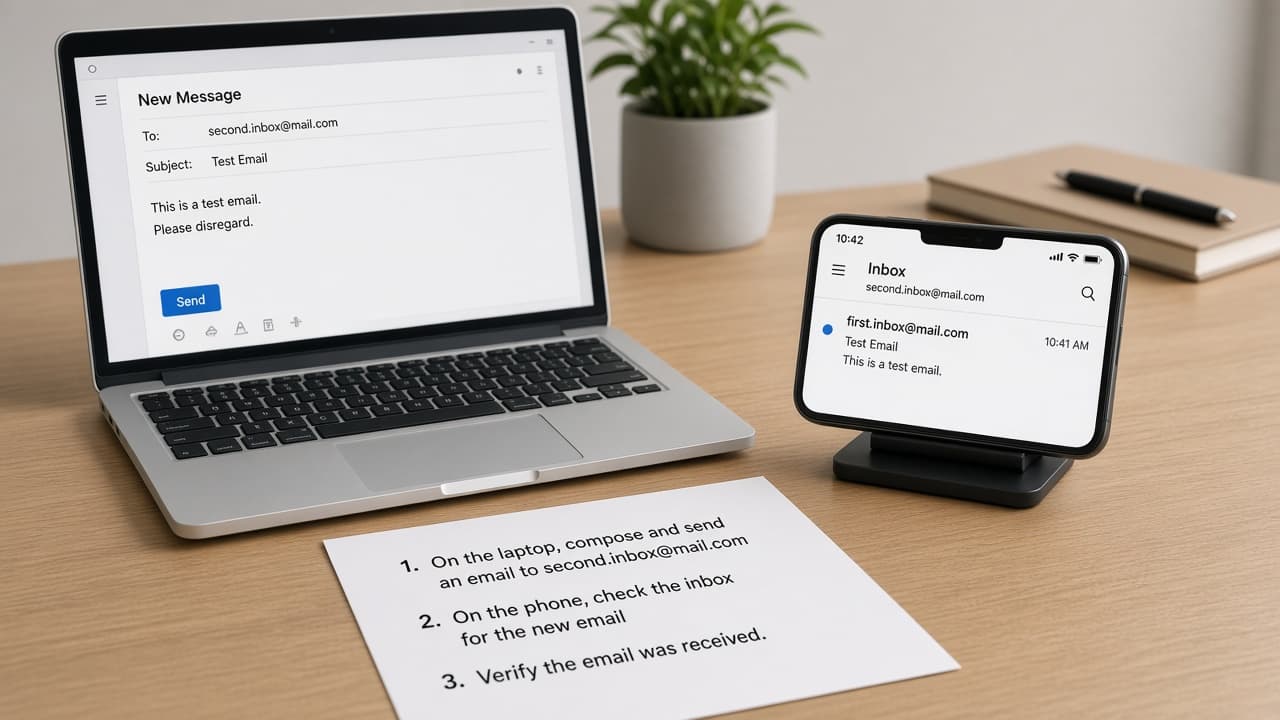
A round-trip message proves the address works. 5c
Recognize the first security alerts
Google may send welcome and security messages after the first sign-in. Open security notices through your account page rather than clicking an unexpected email link. Review and reject any device or location you do not recognize.
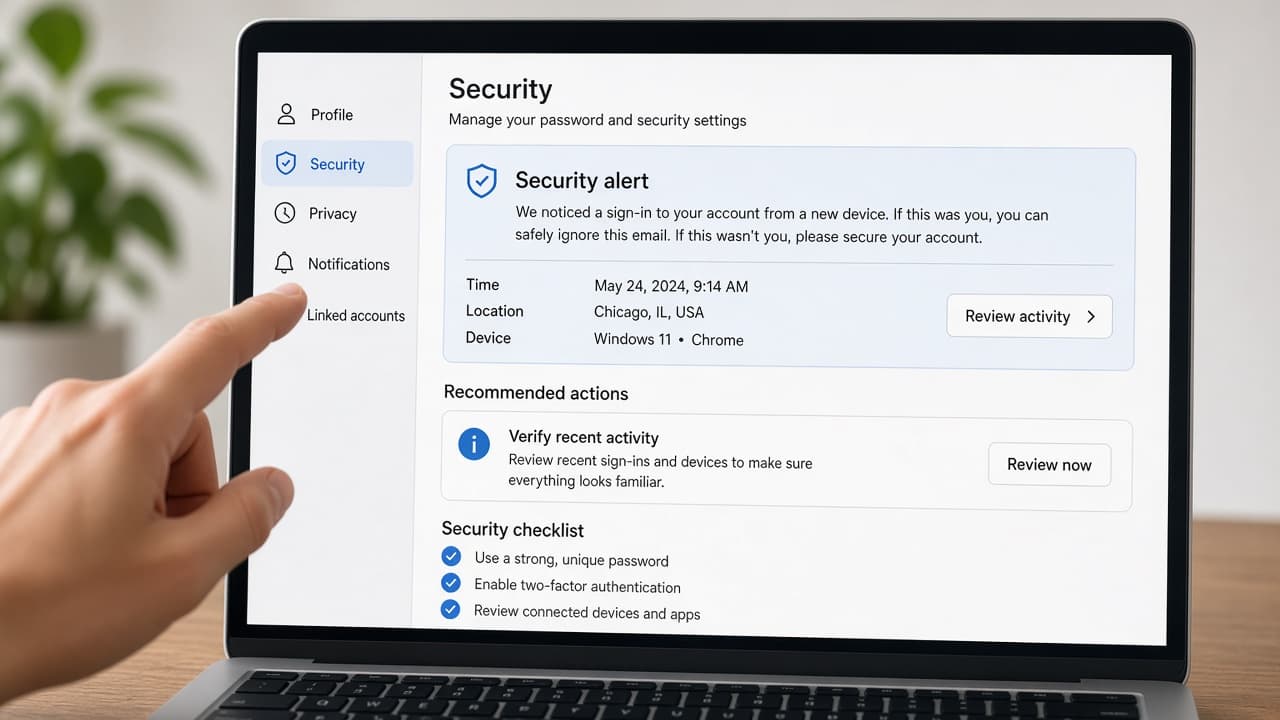
Treat early security mail as a review cue, not a click race. 5d
Common mistake: linking banks before 2FA is on
Common mistake: immediately using the new address for banking and shopping while recovery options and two-step verification are still empty. Harden security in the next steps first, then update important accounts.
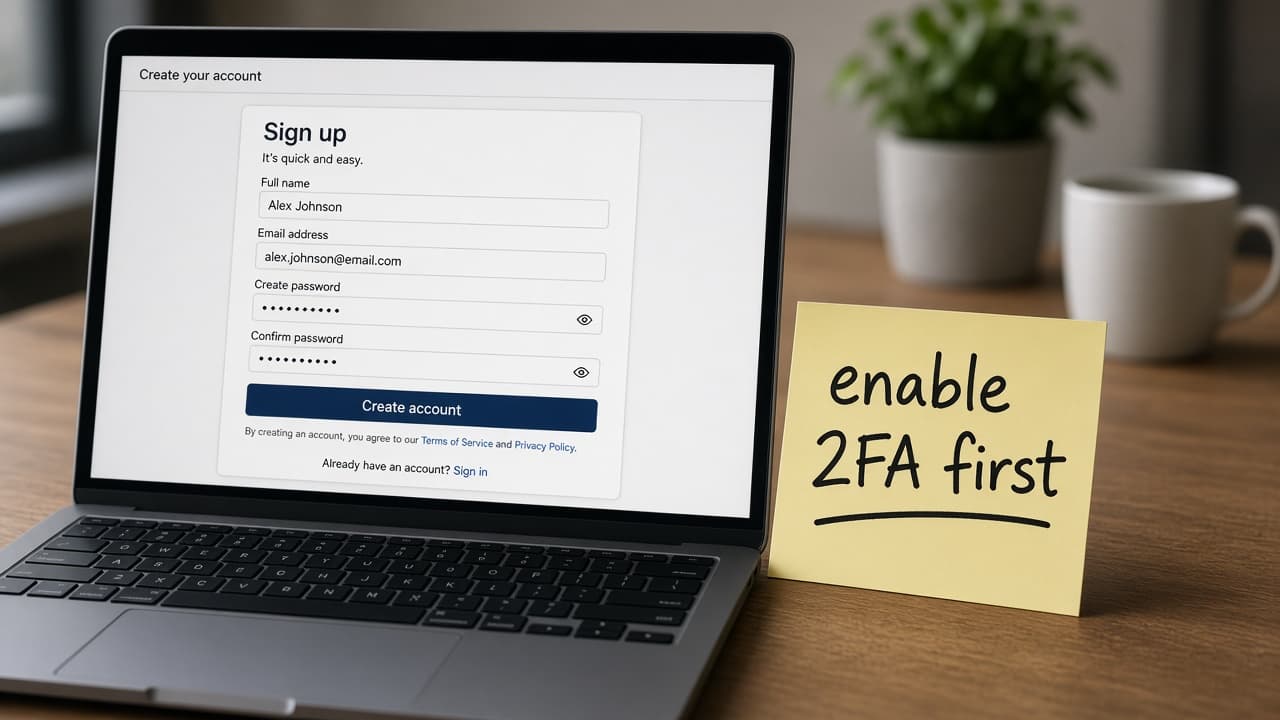
Secure the inbox before it becomes your recovery hub.
Step 06
Add recovery options that can reach you
Recovery details must work even when this Google Account is locked.
Do this step in order
6a
Add a recovery email and phone in Security settings
Open myaccount.google.com, choose Security and sign-in, then add a recovery phone and a separate recovery email you can access. Verify both when Google sends a code. Do not use a Google Voice number tied to the same account because a lockout could block the recovery code too.
6b
Confirm codes arrive where you expect
Trigger the verification messages and open them on the recovery devices. Update the entries if a number recently changed hands. Keep the recovery email on a different provider when possible.
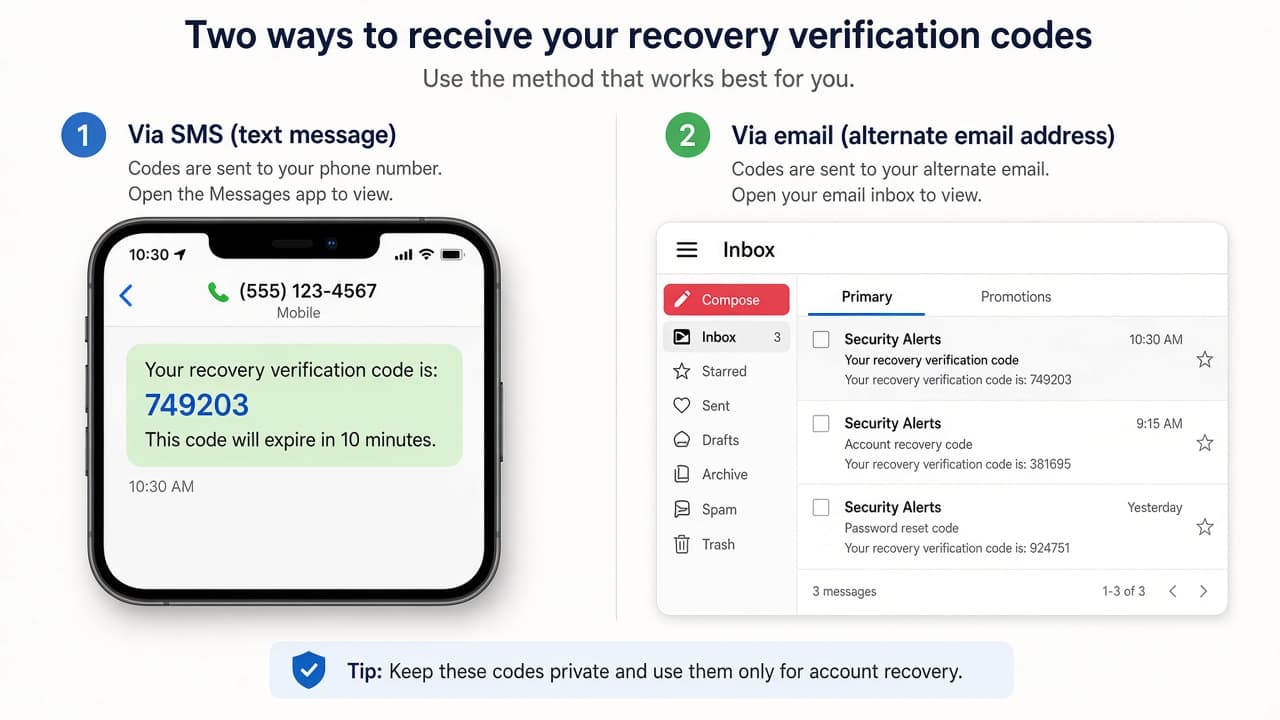
Test delivery before you need an emergency reset. 6c
Review connected devices and third-party access
Open Your devices and review the device type, location and last activity for every session. Sign out anything old, shared or unfamiliar and change the password if activity looks suspicious. Also remove unneeded third-party account access.
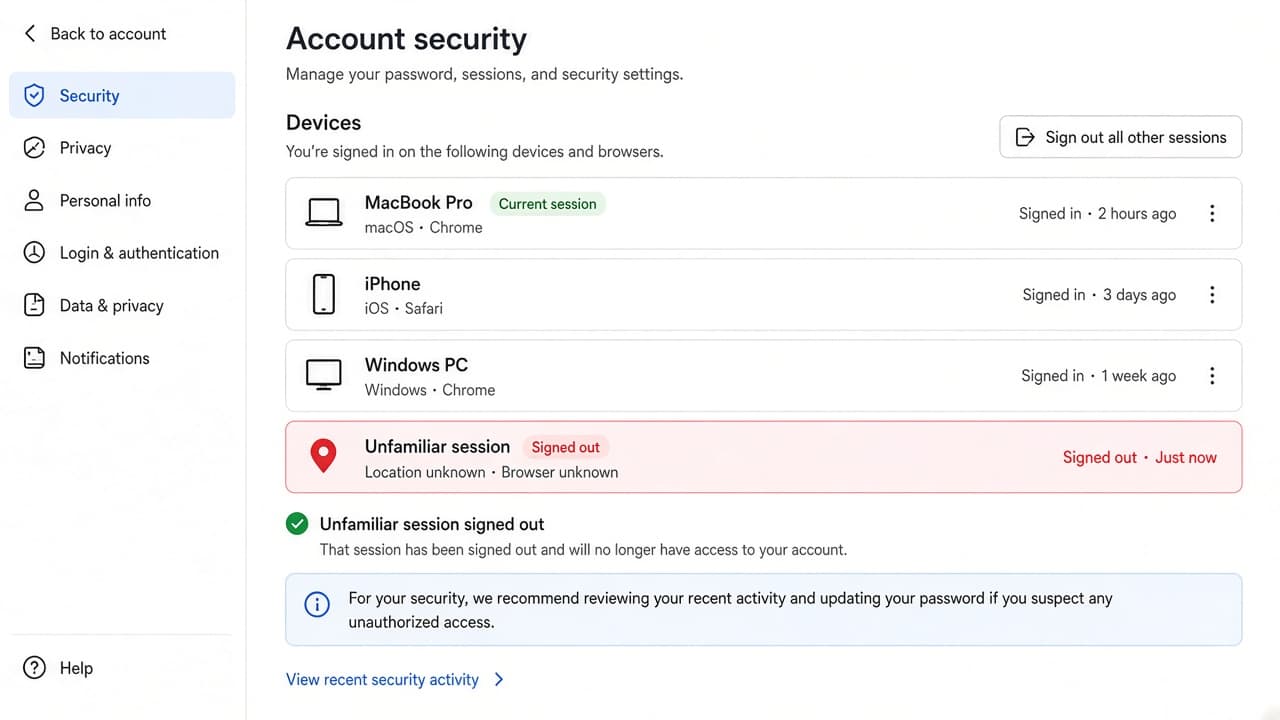
Unknown sessions deserve an immediate sign-out. 6d
Common mistake: recovery that depends on the same locked account
Common mistake: setting recovery to a Google Voice number or secondary address that only works while this account is open. Choose independent phone and email paths so a lockout still leaves you a door back in.
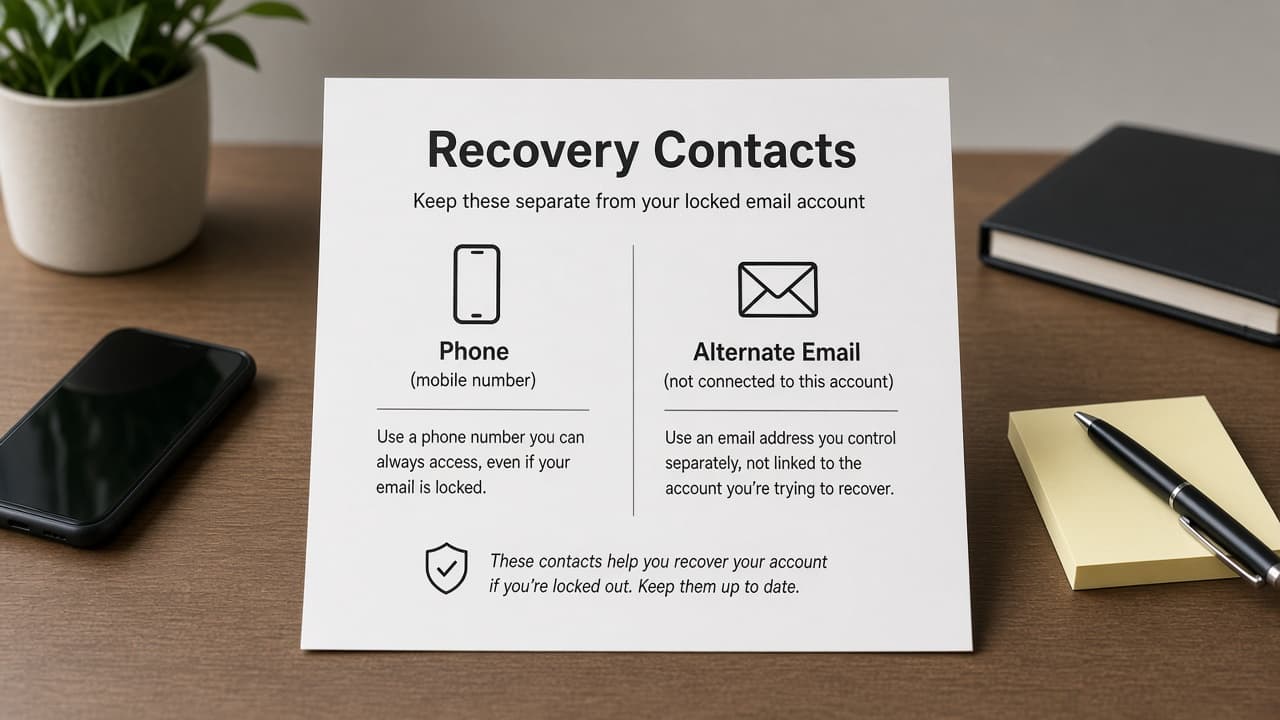
Recovery must work when Gmail itself is unavailable.
Step 07
Turn on two-step verification and store backup codes
2FA protects the account once shopping and banking sites use this email.
Do this step in order
7a
Enable two-step verification
Under How you sign in to Google, select Turn on 2-Step Verification and follow the prompts. Prefer a passkey, security key or Google prompt where practical because Google rates prompts and keys as stronger than text codes. Add an authenticator for times when the main device is unavailable.
7b
Generate and store backup codes
Generate backup codes after two-step verification is active and save them in an encrypted password manager or another secure offline place. Mark a code as used after an emergency sign-in because each works once. Confirm the recovery email still receives Google's verification message.
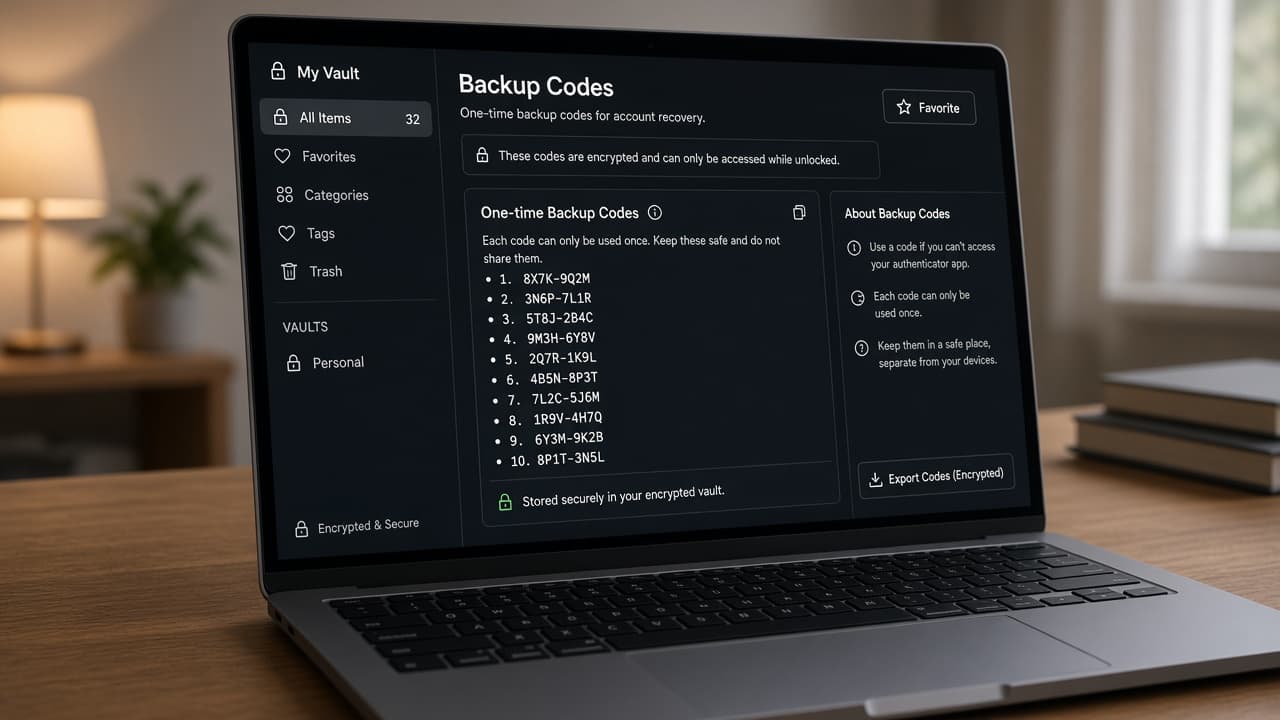
One-time backup codes are the spare key for a lost phone. 7c
Test a second-factor prompt on a trusted device
Sign out and back in once on a device you control to confirm prompts or authenticator codes work. Keep a spare method enrolled before you travel. Do not disable 2FA because a single prompt felt inconvenient.
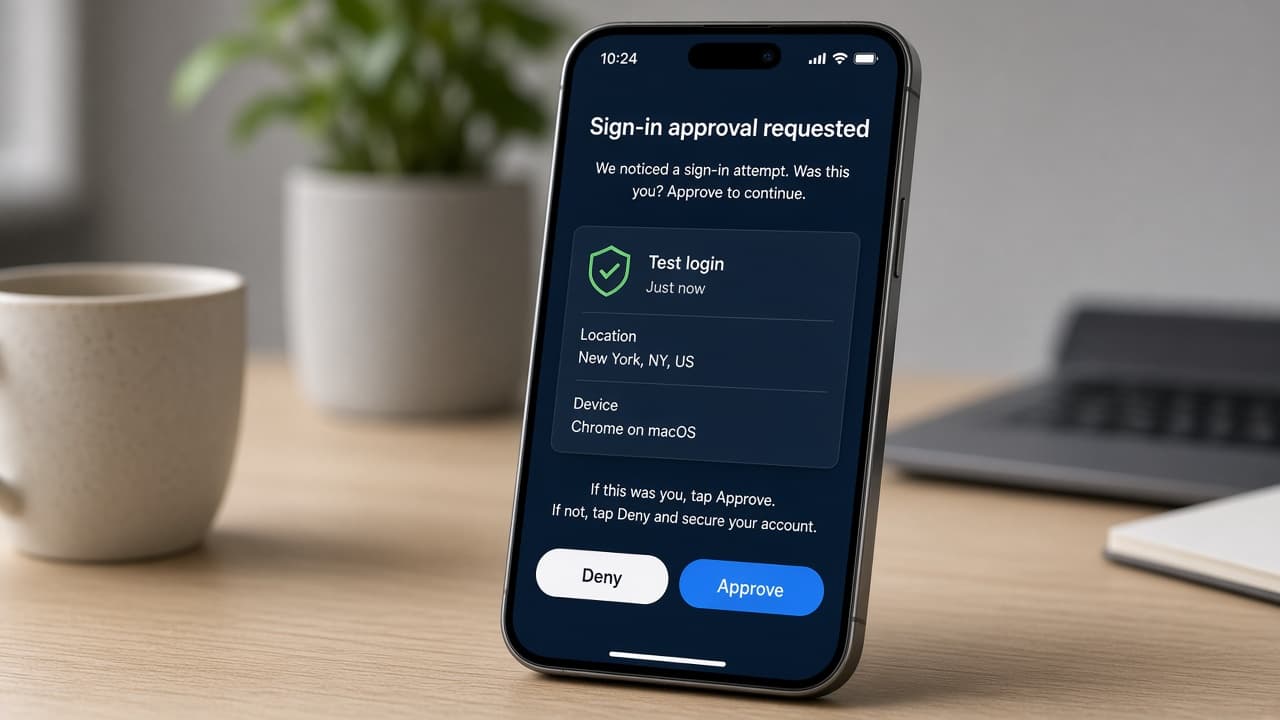
A successful test beats discovering a gap during travel. 7d
Common mistake: keeping only SMS as the second factor
Common mistake: stopping at text-message codes and never adding a prompt, key or authenticator. SMS is better than nothing and weaker than those options. Add a stronger second method before this inbox becomes the recovery address for your finances.
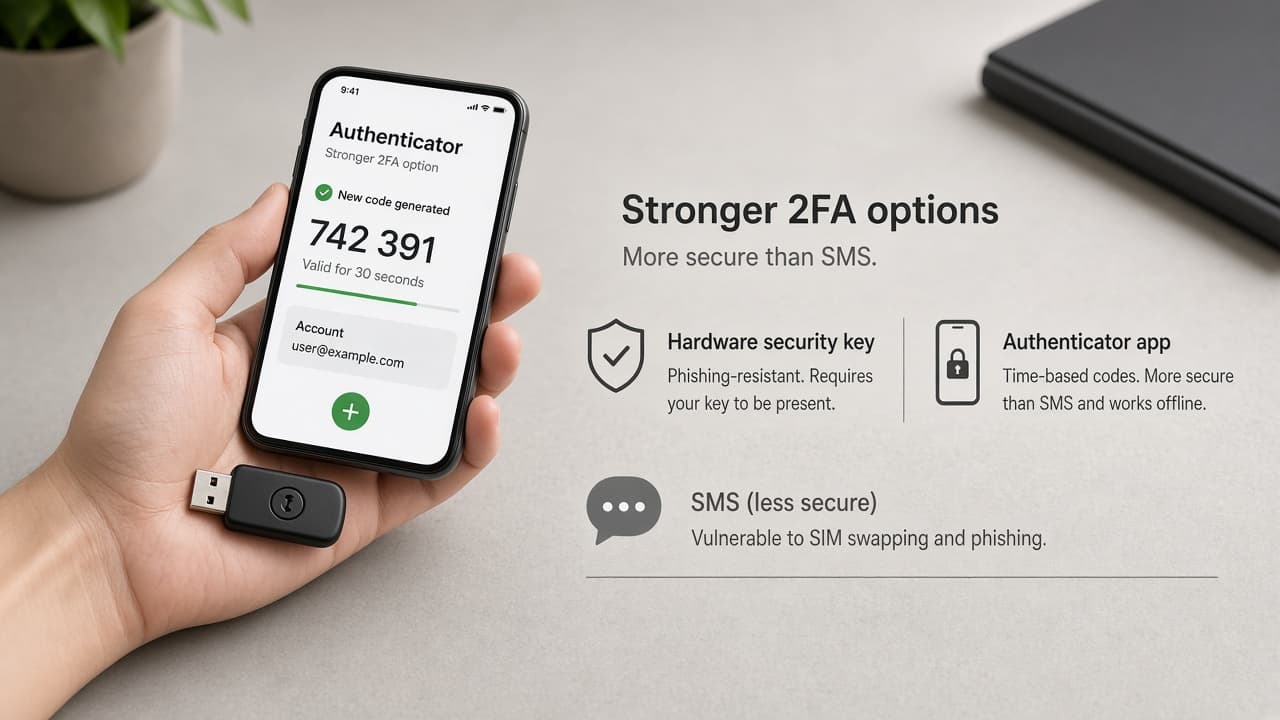
SMS alone is the fragile default; add a stronger method.
Done when
- Open accounts.google.com or Gmail signup
- Choose a username and strong unique password
- Complete birthday and terms steps honestly
- Verify phone or email if prompted
- Add recovery email and phone in Security settings
- Turn on two-step verification
- Store backup codes and send a test message
Eagle Frame's takeaway: open accounts.google.com, choose Create account, follow the prompts for name, birthday, username and password, verify with SMS if required, then secure the inbox with recovery info and 2FA before you use it everywhere.