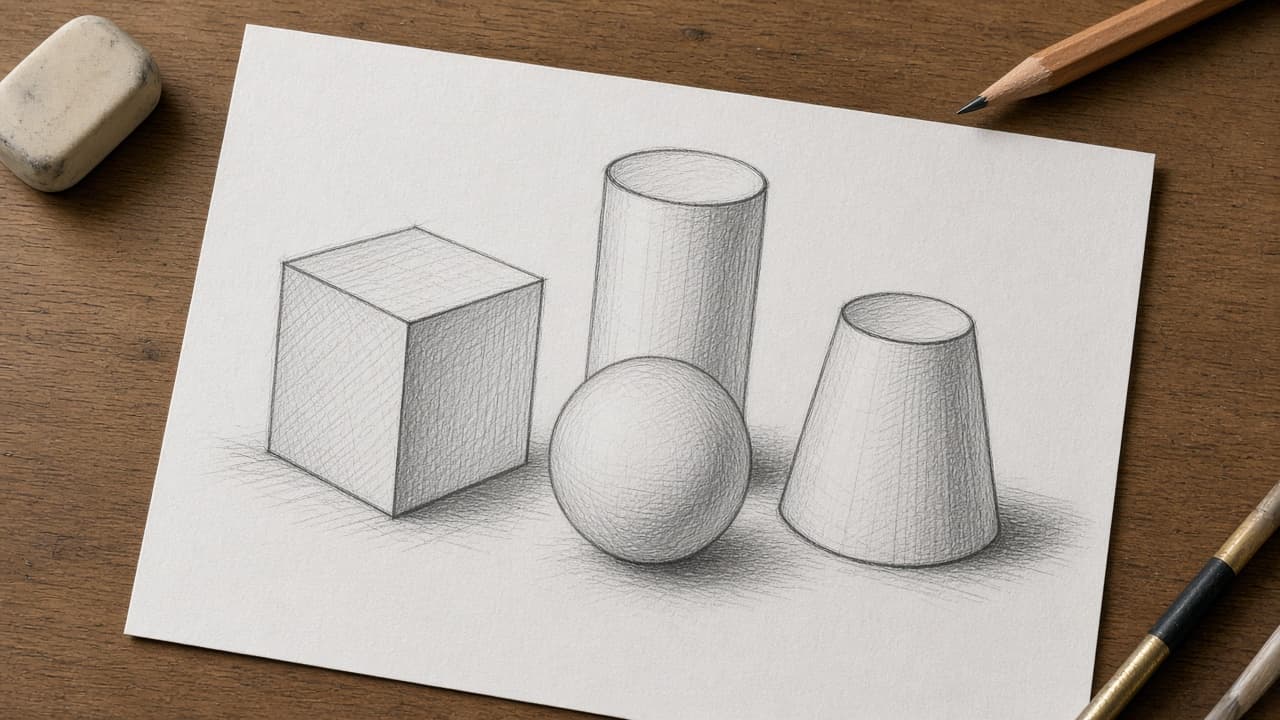
How to draw for beginners
Learn beginner drawing by seeing shapes, using light construction lines, observing edges and practicing a simple still life you can finish in one sitting.
Drawing starts with seeing, not with talent theater. Beginners improve fastest when they break subjects into big shapes, sketch light guidelines and correct proportions before they add detail.
You need a pencil, paper and something ordinary to look at. A mug, an apple and a folded cloth teach more than copying a finished internet sketch. Sit so you can see both the object and the page without twisting.
Expect early drawings to look stiff. That is normal. The skill is comparing angles and sizes: Is the cup taller than it is wide? Does the handle sit halfway down? Those questions matter more than fancy shading on day one.
Practice in short sessions. Twenty focused minutes beat a frustrated two-hour slog. Keep old pages so you can see progress after a week of still-life attempts.
Step-by-step guide
Time: 20 to 40 minutes per practice session
What you need
- HB or 2B pencil
- Eraser and blank paper or sketchbook
- Simple still-life objects (mug, fruit, cloth)
- Desk lamp or window light from one side
Before you start
- Do not press hard on first lines. Heavy grooves are hard to erase and train a stiff hand.
- Avoid tracing photos as your only practice. Observation is the skill you are building.
Step 01
Set up light, paper and a simple subject
A clear subject and one light source make beginner drawing easier to read.
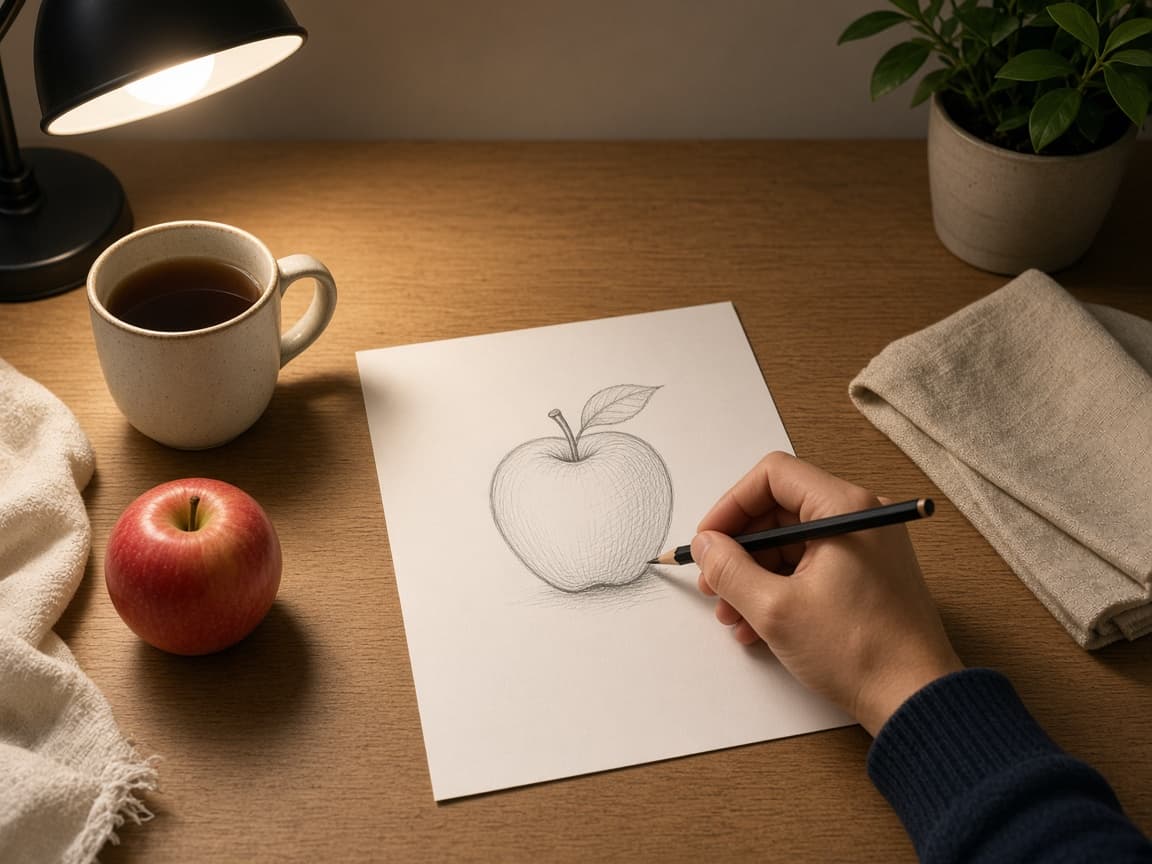
One object group and one light keep the scene readable. Do this step in order
1a
Place one or two objects at eye level
Set a mug and an apple on a table about an arm's length away. Sit so the page and objects are both in view. Looking only at the page while inventing the mug trains memory, not observation.
1b
Use light from one side
A desk lamp or window from the left or right creates clearer light and shadow. Overhead flat light makes form harder to see.
1c
Warm up with circles, ellipses and straight lines
Fill a margin with loose circles and ellipses. Cups are ellipse practice in disguise. Keep the wrist relaxed.
1d
Hold the pencil loosely for construction
Grip farther back for light guidelines. Save a tighter grip for later darker accents.
Step 02
Block big shapes with light construction lines
Every subject starts as circles, boxes and cylinders. Detail comes later.
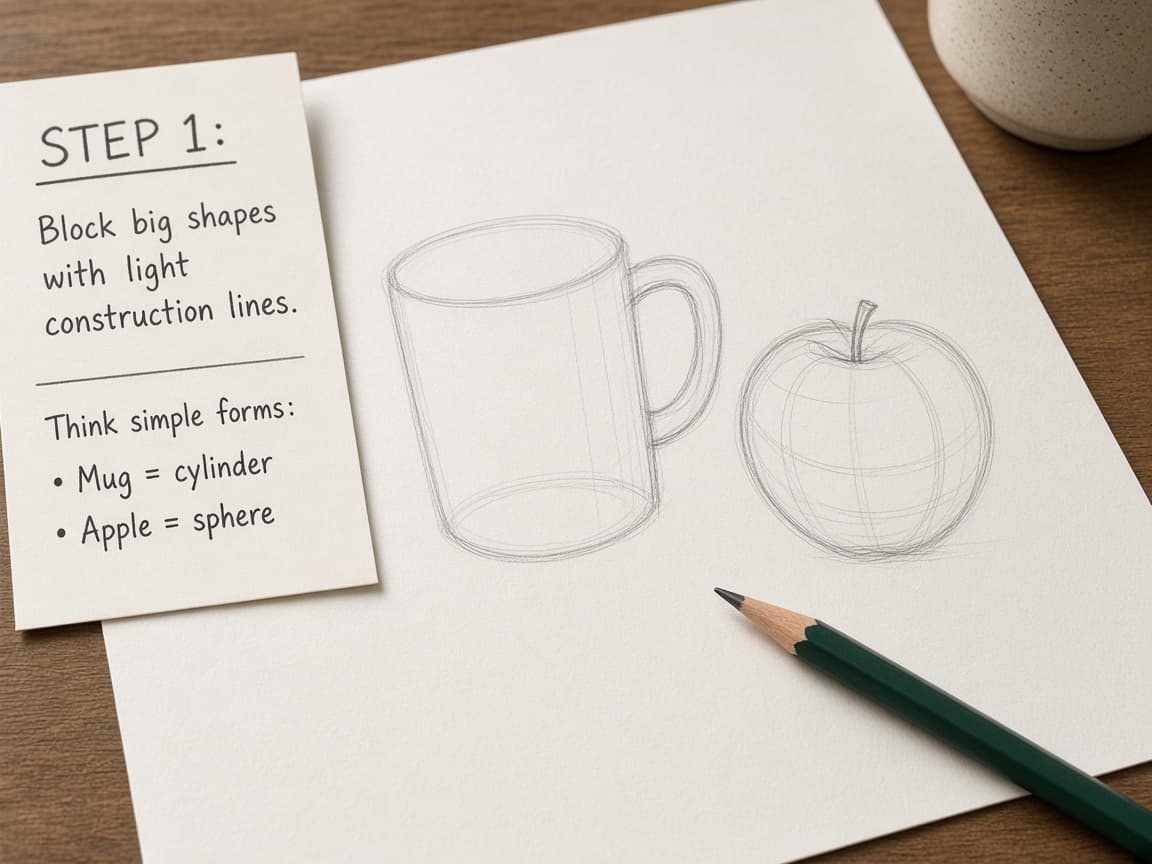
Big shapes first. Details wait. Do this step in order
2a
See the mug as a cylinder and the apple as a sphere
Sketch a vertical cylinder for the mug and a circle or oval for the apple. Ignore logos and textures. You are placing masses.
2b
Mark height and width with faint ticks
Compare: Is the mug taller than the apple? How many apple-widths fit across the mug? Tick those relationships lightly on the page.
2c
Add the handle as a simple C or D shape
Place the handle as a basic curve attached to the cylinder. Check where it starts and ends on the mug's height.
2d
Keep every line erasable
If a guideline is wrong, erase and redraw. Construction lines are scaffolding, not final art.
Step 03
Observe edges, angles and negative space
Look at relationships between objects, not one outline in isolation.
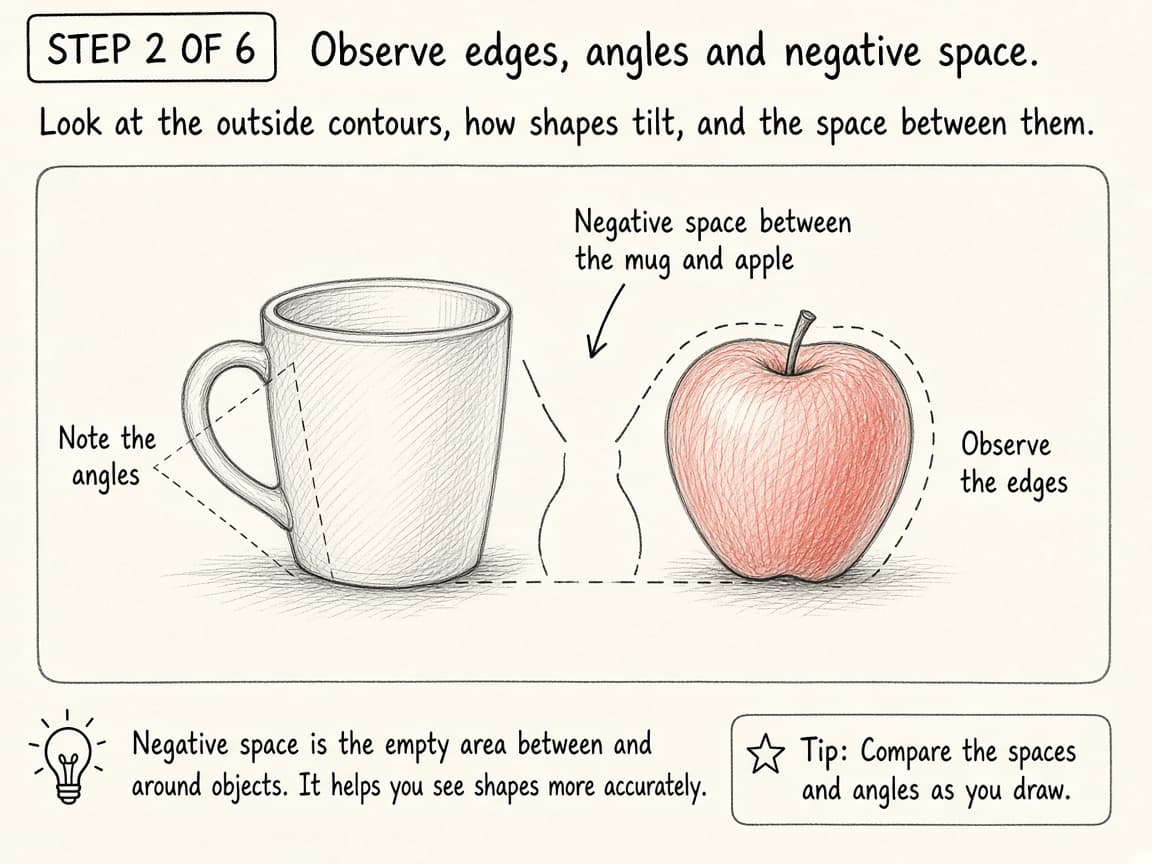
The empty shapes between objects help you place them. Do this step in order
3a
Compare angles with your pencil as a sighting tool
Hold the pencil at arm's length along an edge you see, then bring that angle to the page. This helps tilt the ellipse of a mug rim.
3b
Draw the mug rim as an ellipse, not a flat oval smile
From most viewpoints the top is an ellipse. The near edge may look thicker. Curve both sides; do not draw a straight line across.
3c
Check the gap between mug and apple
The empty space is a shape too. If that gap is wrong on the page, one object is misplaced.
3d
Only then darken the strongest outlines
Once placement feels right, press a bit firmer on edges that meet the background. Leave light lines in soft areas.
Step 04
Add simple shading and finish a practice still life
Suggest light and shadow with a few value groups, then stop before you overwork.
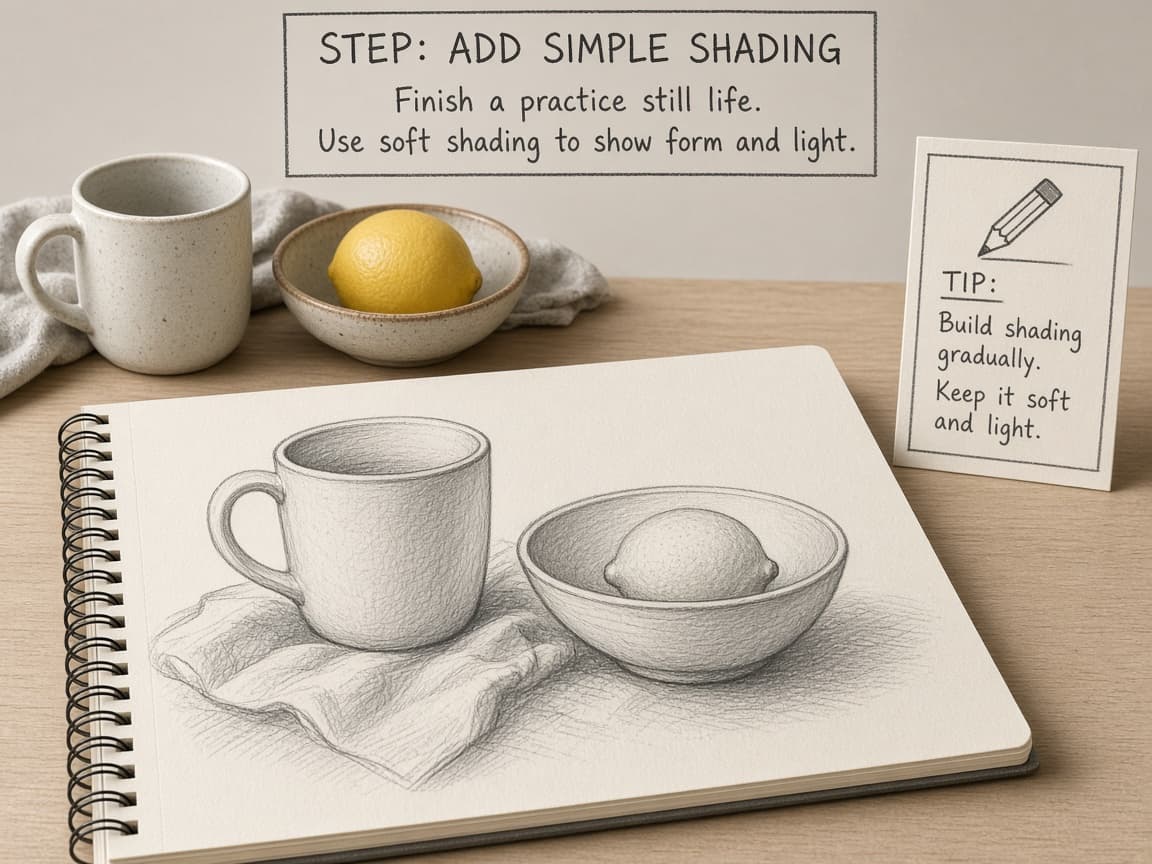
A complete simple drawing teaches more than a half-finished masterpiece. Do this step in order
4a
Map light, midtone and shadow in three groups
Squint at the real objects. Shade the darkest side of the mug and the apple's cast shadow lightly. Leave the brightest spots almost untouched.
4b
Shade with the side of the pencil lead
Use soft strokes in one direction or gentle cross-hatching. Avoid scribbling black holes. You can always darken later.
4c
Stop when the objects read clearly from arm's length
Step back. If you can tell mug from apple and see the light direction, you are done for this session. Over-detailing hides proportion errors.
4d
Date the page and repeat tomorrow with a new angle
Write the date. Next session, rotate the mug or change the light. Repetition with small changes builds skill faster than waiting for inspiration.
Done when
- Light construction shapes sketched
- Proportions checked before detail
- One still life completed
- Edges and simple shadows suggested
- Session notes written for next practice
Eagle Frame's takeaway: draw big shapes lightly, check proportions against what you see, then darken only the lines that earn their place. A simple still life repeated a few times will teach more than scrolling tutorials without a pencil in your hand.