How to factory reset an iPhone
Back up to iCloud or a computer first, then erase with Settings > General > Transfer or Reset iPhone. Decide about eSIM, enter your passcode and Apple Account password and restore only after the Hello screen.
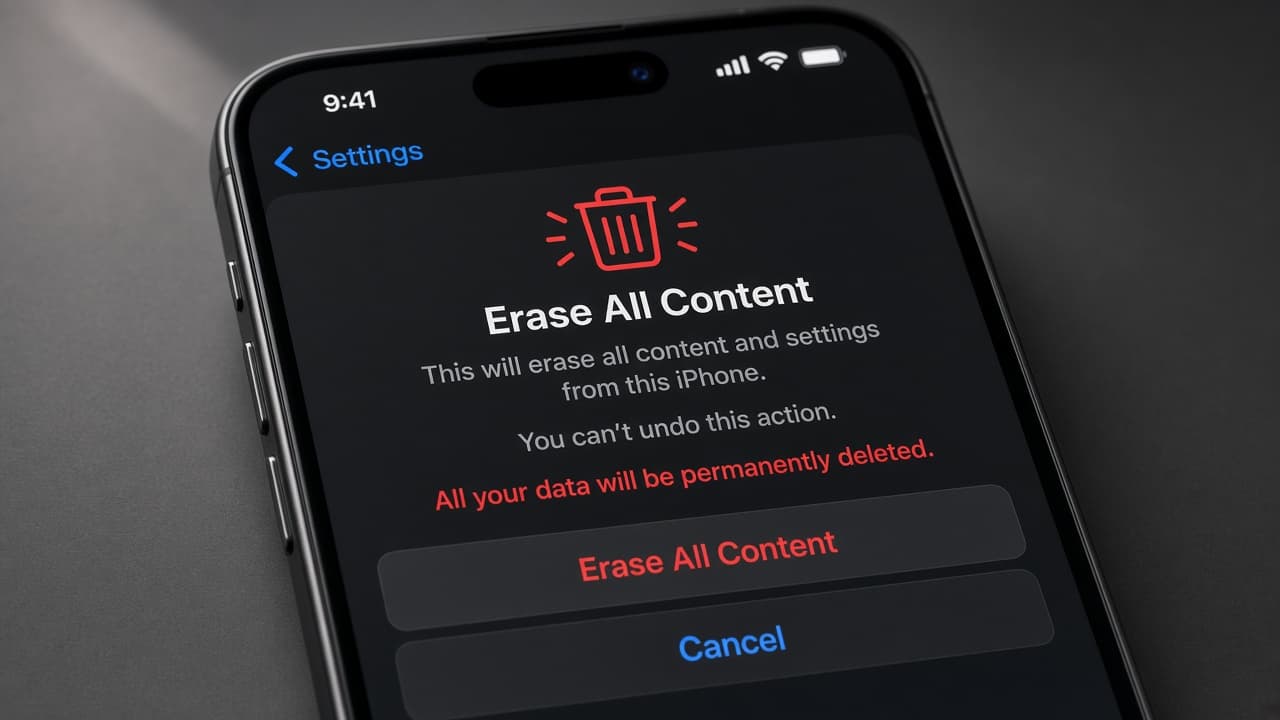
A factory reset erases apps, photos stored only on the phone, settings and other personal data, then returns the iPhone to a clean setup state like new. Apple’s on-device path is Settings > General > Transfer or Reset iPhone > Erase All Content and Settings. Use it before you sell or give away a phone or when you need a clean software start after you already tried simpler fixes.
Back up before you erase. An iCloud backup or a computer backup is the only reliable way to bring messages, Home Screen layout and many app settings back later. Go to Settings > [your name] > iCloud > iCloud Backup > Back Up Now on Wi-Fi or connect to a Mac/PC and back up there. Wait until the timestamp under Back Up Now updates. Do not start the erase while a backup is still running.
Erasing the iPhone does not delete everything stored in iCloud itself. Photos already uploaded, iCloud Drive files and many account-synced items remain in the cloud. What vanishes is the local device copy and anything that never left the phone. If you erase the eSIM when prompted, you may need your carrier to reactivate cellular service.
You will need the device passcode and your Apple Account password to turn off Activation Lock during erase. If you forgot either, solve that before you begin. After the Hello screen appears, you can restore from the backup you made or set up as new. Selling? Sign out and erase so the next owner is not blocked by your Apple Account.
Step-by-step guide
Time: 30 to 90 minutes including backup and erase; restore can take longer on a big backup
What you need
- iPhone you want to erase
- Device passcode and Apple Account password
- Wi-Fi for iCloud Backup or a computer cable for a local backup
- Enough iCloud or computer storage for the backup
- Charger so the phone does not die mid-erase
Before you start
- Back up before you erase. A factory reset permanently removes data that is not in a backup or already synced to the cloud.
- Do not erase someone else’s iPhone. Activation Lock can block setup without their Apple Account.
- If you erase the eSIM, contact your carrier before you assume cellular will return on its own.
- Keep the phone on power during erase and the first restore. Interruptions waste time and add stress.
Step 01
Back up the iPhone before you touch Erase
Treat backup as a required step, not an optional tip. Verify it finished.
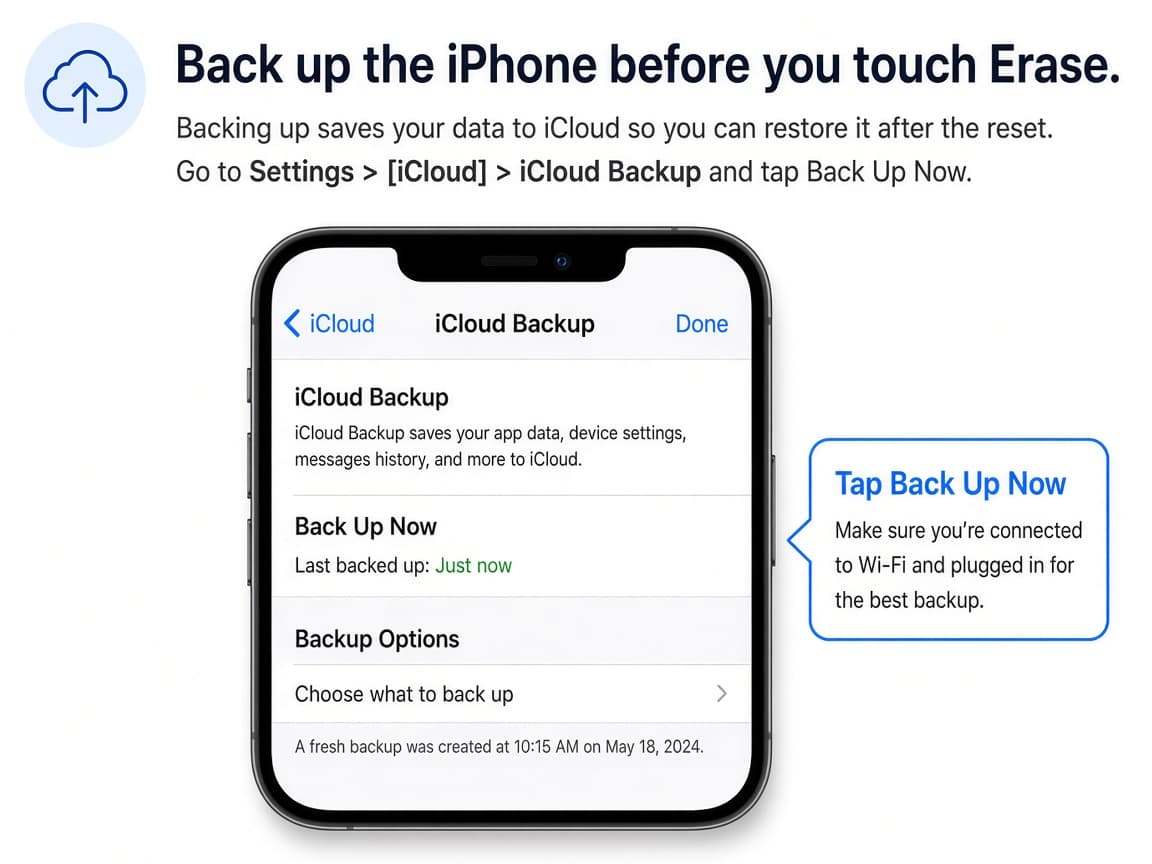
Confirm the date and time under Back Up Now before you erase. Do this step in order
1a
Connect to Wi-Fi and open iCloud Backup
Plug into power if you can. Go to Settings, tap your name, tap iCloud, then iCloud Backup. Turn on Back Up This iPhone if it is off.
1b
Tap Back Up Now and wait for completion
Tap Back Up Now. Stay on Wi-Fi until it finishes. Watch for errors about storage. Free space or buy more iCloud storage before you continue if the backup cannot complete.
1c
Note the new backup date and time
Under Back Up Now, confirm today’s date and a recent time. That stamp is your proof. Optional: also make a computer backup in Finder (Mac) or the Apple Devices app (Windows) for a second copy.
1d
Know what a backup does not replace
Some content lives mainly in apps’ own clouds. Sign in to those accounts after restore. Photos you never allowed to upload may exist only in this backup. That is why the pre-erase backup matters.
Step 02
Start Erase All Content and Settings
This is the factory reset path on current iOS versions.
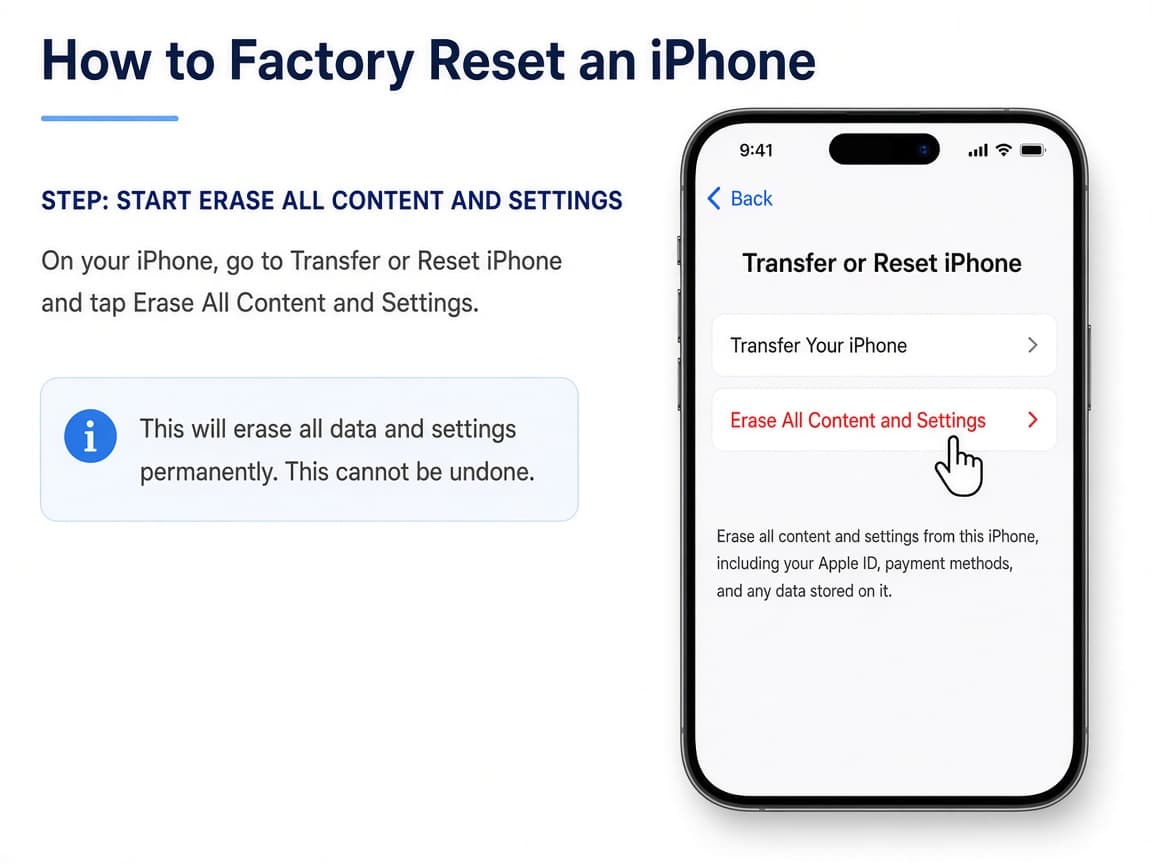
General > Transfer or Reset iPhone is where the erase control lives. Do this step in order
2a
Open Settings > General > Transfer or Reset iPhone
Scroll to Transfer or Reset iPhone near the bottom of General. Tap it. You will see options for preparing a new phone and for erase.
2b
Tap Erase All Content and Settings
Tap Erase All Content and Settings. Read the explanations Apple shows. Tap Continue when you are sure this is the device you mean to wipe.
2c
Choose whether to keep or delete the eSIM
If asked about eSIM, keep it when you will keep the same line on this hardware after restore. Delete it when you are giving the phone away or moving the line elsewhere. Deleting may require carrier help to reactivate.
2d
Enter passcode and Apple Account password
Enter the device passcode, then your Apple Account password when prompted so Activation Lock can turn off. Wait while the iPhone erases. Leave it alone until the Hello screen appears.
Step 03
Set up again and restore from backup
Hello means the wipe finished. Now choose how much of your old phone to bring back.
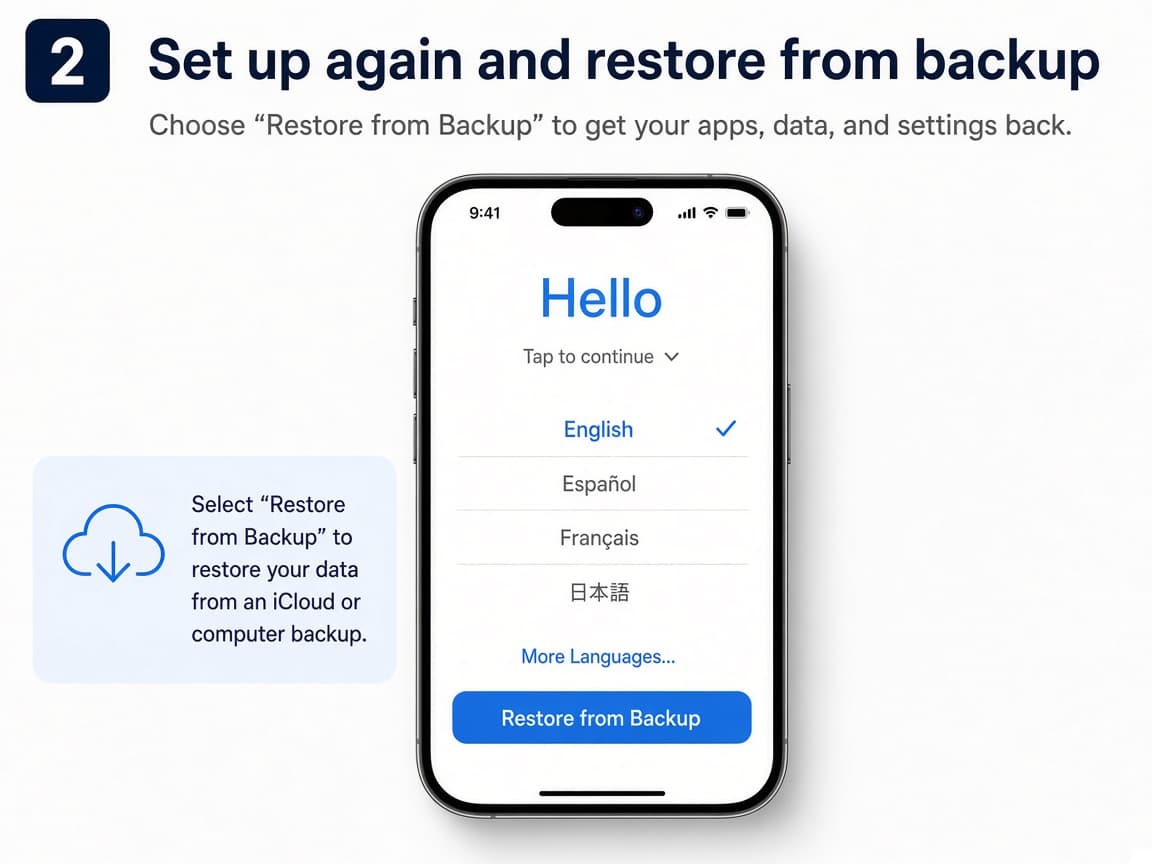
Hello is the clean starting point after erase. Do this step in order
3a
Walk through language, Wi-Fi and Activation Lock sign-in
Choose language and region, join Wi-Fi and sign in with the Apple Account you used before if Activation Lock asks. Use the same account that owns the backup you want.
3b
Choose Restore from iCloud Backup (or computer)
When Apps & Data appears, tap Restore from iCloud Backup and pick the backup with the timestamp you verified. Or restore from Mac/PC if that is where you backed up. Set Up as New only if you truly want a blank phone.
3c
Stay on Wi-Fi and power until restore finishes
Apps and media continue downloading after the first unlock. Keep the phone on Wi-Fi and power. Open Messages and Photos later to confirm key data returned.
Step 04
Prepare the phone for sale or troubleshoot a blocked erase
Different goals need different finishing steps.
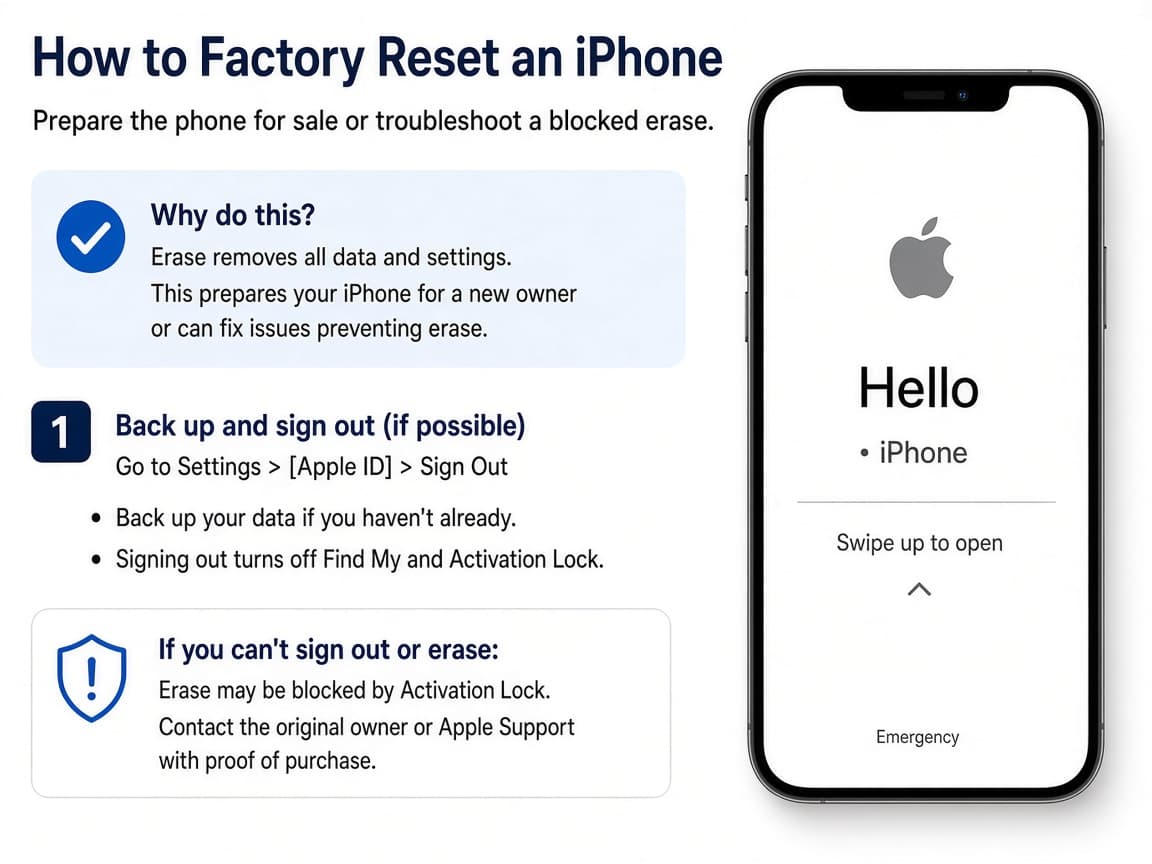
A phone for sale should end at Hello without your Apple Account still locking it. Do this step in order
4a
For sale or trade-in, erase after you remove your account
Sign out of iCloud if you are following Apple’s sell guide, then erase so Activation Lock clears. The next owner should see Hello and be able to sign in with their own account.
4b
If you cannot erase because of passcode or account issues
Recover the Apple Account password at iforgot.apple.com before you force a computer restore when possible. A computer restore still leaves Activation Lock if Find My was enabled with that account.
4c
Try simpler resets before a full erase when you only need settings help
Reset All Settings (without erasing content) can fix network or display oddities while keeping photos and apps. Use full erase when you need a true wipe or a clean handoff.
4d
Confirm cellular works after you kept or restored service
Place a test call and check mobile data. If you deleted eSIM, contact the carrier with your account details before assuming the phone is broken.
Done when
- Latest backup timestamp verified
- Apple Account password known
- eSIM keep-or-delete decision made
- Erase All Content and Settings completed to Hello
- Restore or set-up-as-new chosen on purpose
Eagle Frame’s takeaway: back up first and verify the latest backup time, then use Erase All Content and Settings only when you are ready to wipe the device. Keep or delete eSIM on purpose, enter passcode and Apple Account details when asked and restore from that backup after Hello if you still need your data.