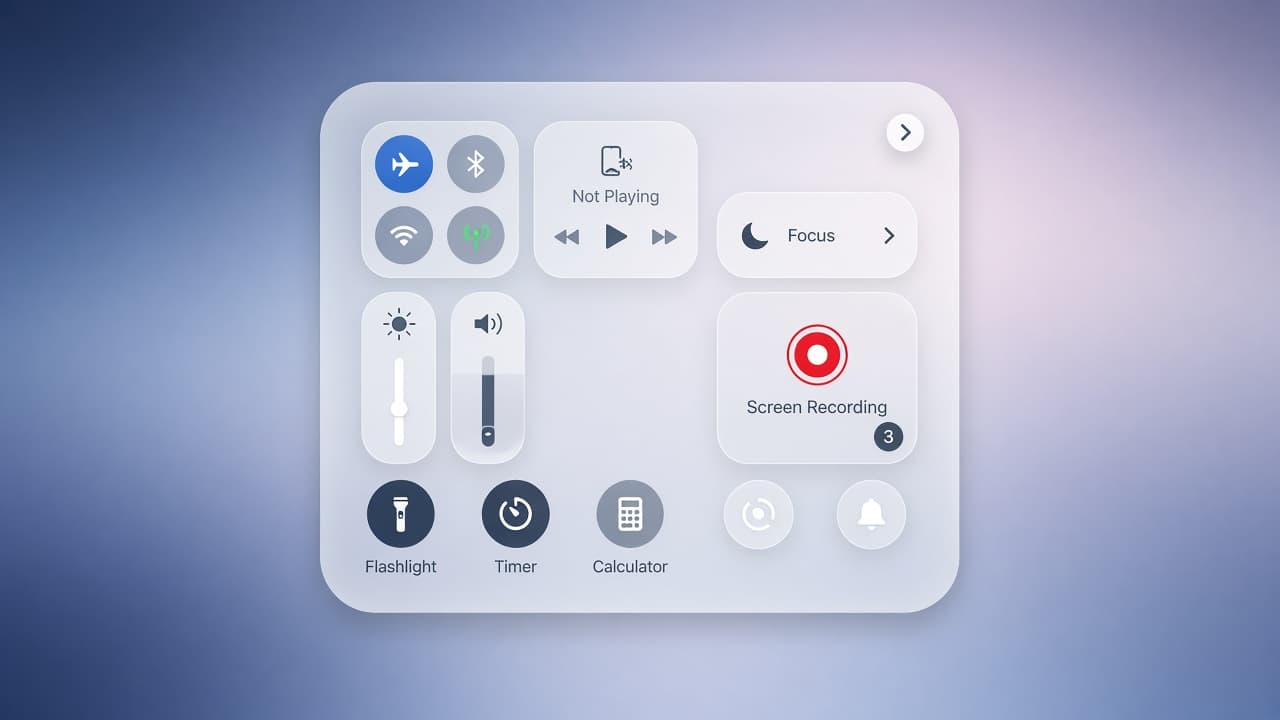
How to record the screen on an iPhone
Add Screen Recording to Control Center, start a clip with or without the microphone, stop from the red status indicator and find the video under Photos.
iPhone screen recording captures whatever is on the display as a video and saves it to Photos. It is built into iOS. You start it from Control Center after you add the Screen Recording control once. No App Store download is required for everyday clips.
Open Control Center by swiping down from the top-right on Face ID iPhones (or up from the bottom on older Home button models). If you do not see the record button, touch and hold the Control Center background, tap Add a Control and add Screen Recording. After that, a single tap starts a three-second countdown and recording begins.
For narration, touch and hold the Screen Recording button, turn Microphone on, then start. Microphone off records the screen without your voice. Some apps block recording of their content for security. You also cannot screen record and use screen mirroring at the same time.
Stop by tapping the red status pill at the top of the screen, then confirm Stop. Or reopen Control Center and tap the red record control. Open Photos to find the video in your library. On recent iOS versions you can also browse Media Types for Screen Recordings. Trim the ends before you share so the Control Center fumble is not part of the clip.
Step-by-step guide
Time: 5 to 10 minutes including adding the control and a practice clip
What you need
- iPhone with a recent iOS version
- Control Center access
- Photos app to review the clip
- Optional: silence switch and Do Not Disturb for cleaner recordings
Before you start
- Screen recordings can include notifications, passwords and private messages. Enable Do Not Disturb and close sensitive apps first.
- Some apps block screen recording. A black or paused capture can mean the app refused, not that your phone broke.
- Microphone recordings pick up nearby voices and TV audio. Turn the mic off when you only need silent taps.
Step 01
Add Screen Recording to Control Center
You only need this setup step once on each iPhone.
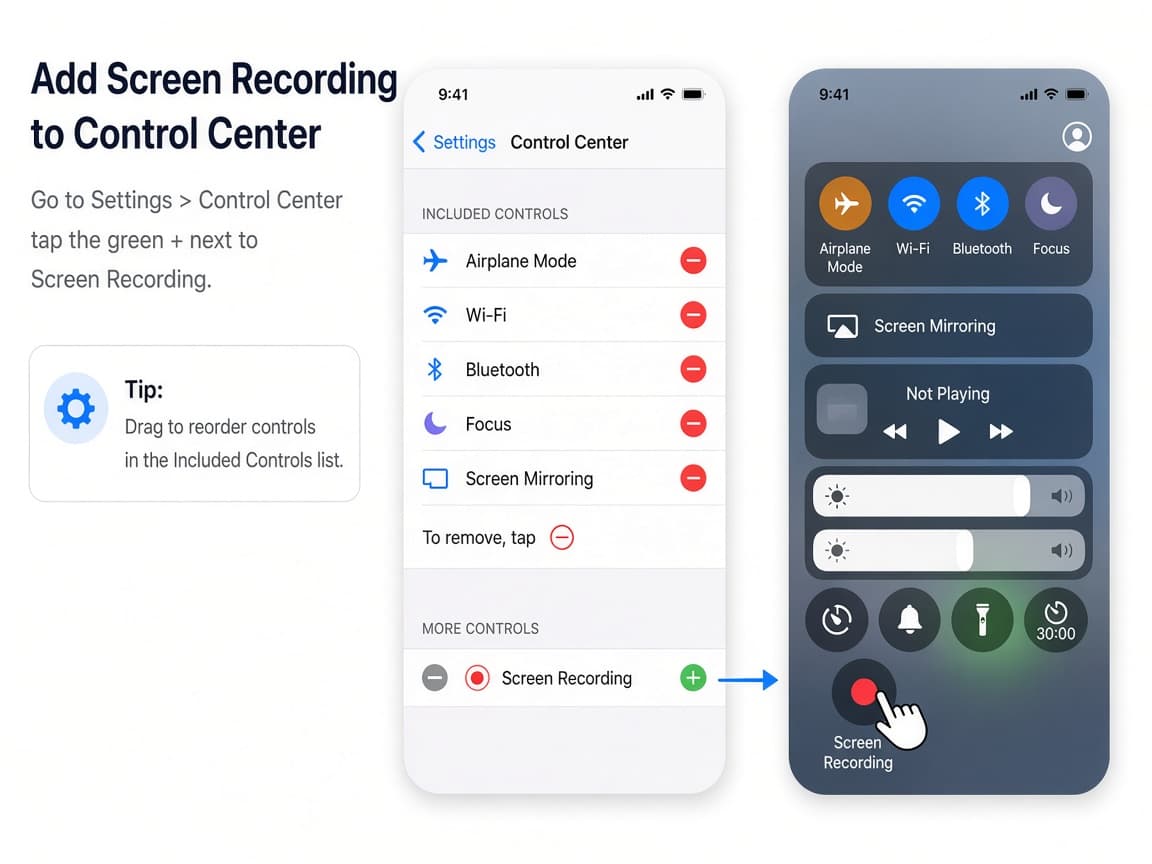
Add Screen Recording once, then it stays in Control Center. Do this step in order
1a
Open Control Center
On Face ID iPhones, swipe down from the top-right corner. On iPhones with a Home button, swipe up from the bottom edge.
1b
Touch and hold the background, then tap Add a Control
On current iOS versions, touch and hold an empty area of Control Center, then tap Add a Control to open the gallery. (Older iOS used Settings > Control Center instead.)
1c
Add Screen Recording, then leave edit mode
Find Screen Recording in the gallery and tap it. Tap outside or Done as your iOS version requires so Control Center returns to normal use.
Step 02
Start a recording without narration
Silent recordings are ideal for bug reports and quick how-tos you will narrate later.
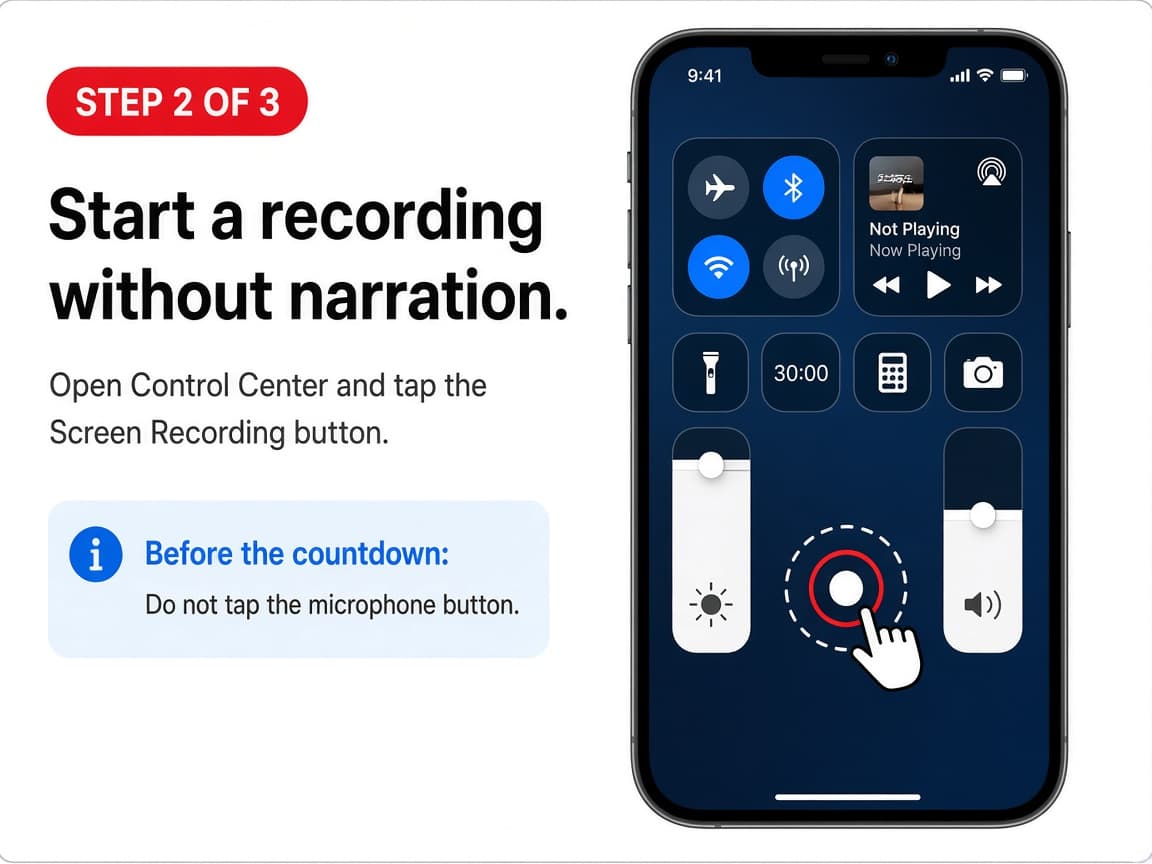
A single tap starts the countdown when the microphone should stay off. Do this step in order
2a
Close private apps and enable Do Not Disturb
Hide mail, chat and banking apps. Turn on Do Not Disturb so banners do not appear mid-clip. Lower brightness if glare will confuse viewers.
2b
Tap Screen Recording and wait for the countdown
Open Control Center and tap the Screen Recording button. Wait through the three-second countdown. Leave Control Center so you can perform the actions you want on camera.
2c
Perform the steps slowly and stop when done
Tap the red status indicator at the top, then tap Stop. Or reopen Control Center and tap the red record control. Avoid long pauses; trim later if needed.
Step 03
Record with microphone narration
Hold the control to reach microphone settings before you start.
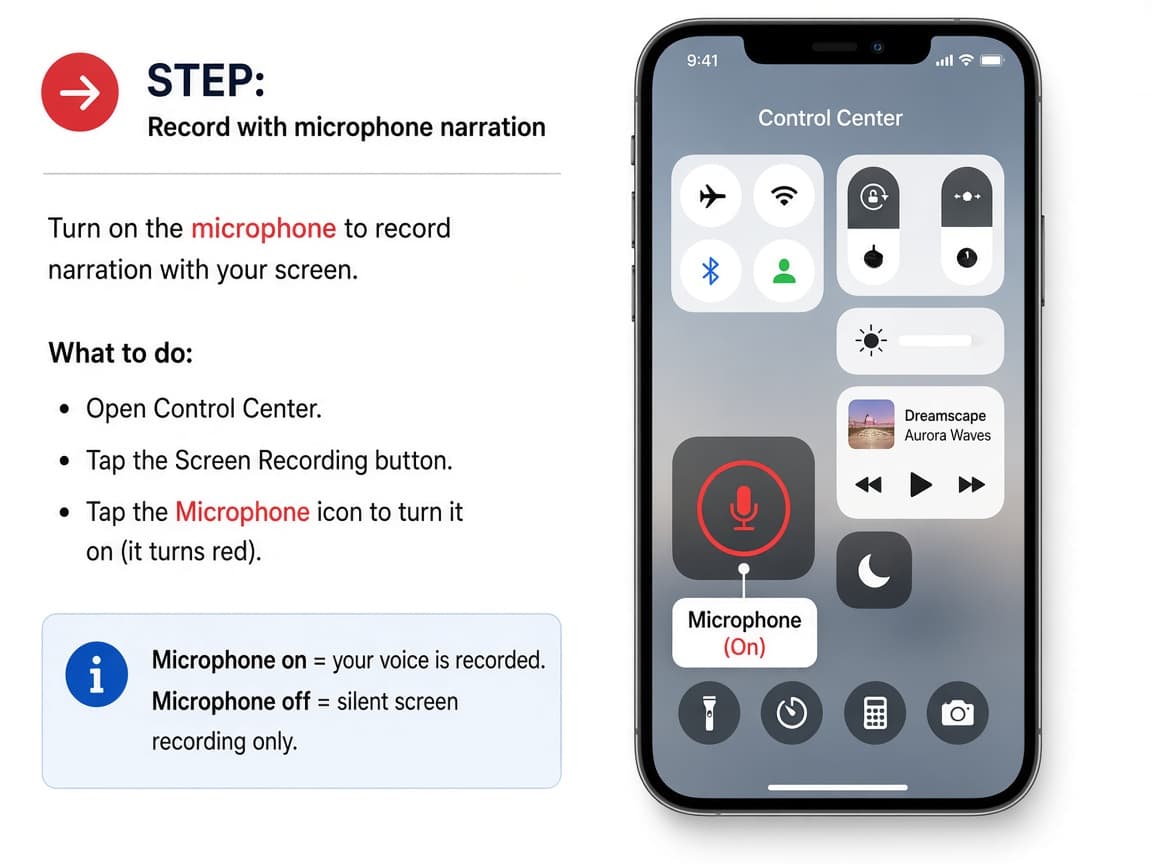
Touch and hold Screen Recording to toggle the microphone. Do this step in order
3a
Touch and hold the Screen Recording button
In Control Center, touch and hold (long-press) the Screen Recording control until the larger panel opens.
3b
Turn Microphone on, then tap Start Recording
Tap Microphone so it shows on. Tap Start Recording and wait for the countdown. Speak clearly after the countdown ends.
3c
Watch room noise and stop cleanly
Pause other media in the room. When finished, stop from the red indicator. Play the clip once with headphones to confirm the voice is audible and not clipped.
Step 04
Find, trim and share from Photos
Every successful recording lands in your photo library.
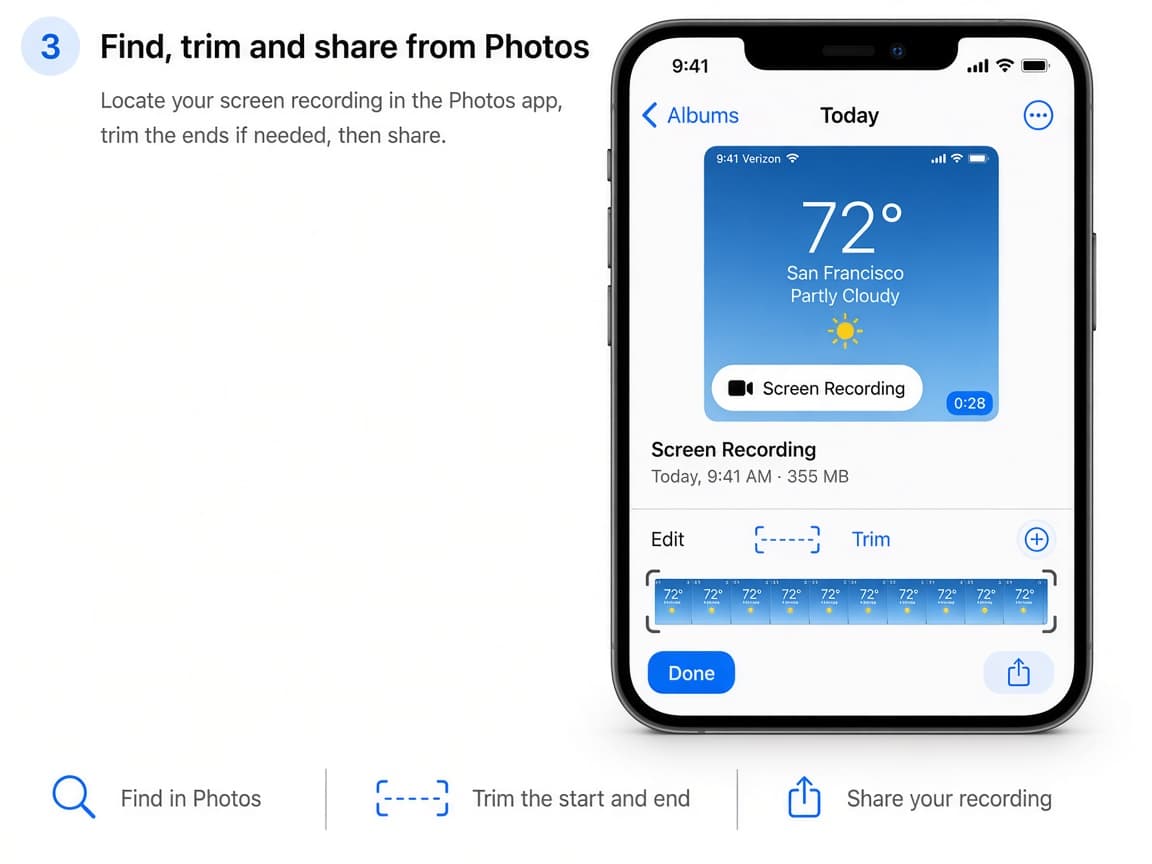
Photos is the default home for iPhone screen recordings. Do this step in order
4a
Open Photos and locate the newest video
Open Photos. Check Recents for the latest video. On recent iOS, you can also open Collections, scroll to Media Types and tap Screen Recordings.
4b
Trim the Control Center open and close
Open the video, tap Edit, drag the trim handles to cut the start and end, then Save Video or Save as New Clip depending on your iOS prompts.
4c
Share only after a privacy skim
Scrub the timeline for notification banners, passwords and message previews. Re-record if something private slipped in. Then share from the Photos share sheet.
4d
If the recording is black or missing audio from an app
Assume the app blocked capture. Capture a shorter flow, use screenshots or describe the step in text. Do not install shady “record any app” tools from random sites.
Done when
- Screen Recording control added to Control Center
- Microphone on or off on purpose
- Countdown completed and actions recorded
- Recording stopped from the red indicator
- Clip found in Photos
Eagle Frame’s takeaway: add Screen Recording to Control Center once, tap to start after the countdown, hold for microphone when you need voice and stop from the red indicator. Check Photos for the file and remember some apps refuse to be recorded.