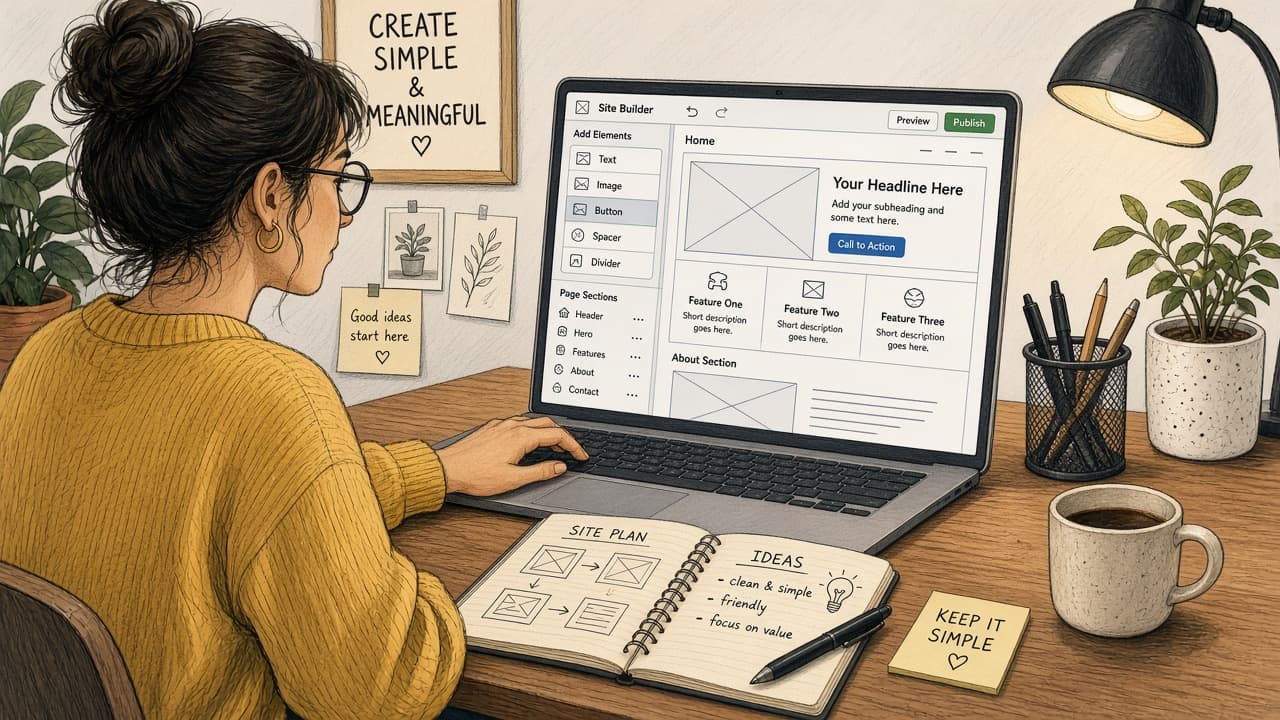
How to make a simple website
Build a simple site with a beginner-friendly builder or a free static host: pick a purpose, create a few pages, publish and add a custom domain only when you are ready.
A simple website is a public home for who you are or what you offer: a landing page, a menu of services, a contact form and maybe a short about section. You do not need to learn professional engineering on day one.
Beginners usually pick a hosted site builder such as Squarespace, Wix or WordPress.com. Those tools include templates, hosting and forms in one subscription. Another path is a free static site on GitHub Pages if you are comfortable editing simple files.
Start with purpose and structure before colors. Write the page titles and the one sentence each page must say. Gather a logo, a clear photo and contact details. Publishing a thin template with placeholder Latin text helps nobody.
A custom domain (yourname.com) is optional on day one. Most builders give you a subdomain so you can share a working link immediately. Buy a domain later from a reputable registrar when the content is ready.
Step-by-step guide
Time: 2 to 4 hours for a first useful draft
What you need
- Computer with a browser
- Site builder account (Squarespace, Wix, WordPress.com) or GitHub account for Pages
- Logo or clear photo of you or your product
- Optional: domain registrar account later
Before you start
- Free tiers often show the builder's branding on a subdomain.
- Do not paste copyrighted images you do not have rights to use.
- Avoid shady 'free website' hosts that bundle toolbars or unclear billing.
- Publishing makes content public. Soften personal addresses if needed.
Step 01
Decide purpose and hosting path
Know what the site must do and pick a tool that matches your comfort level.
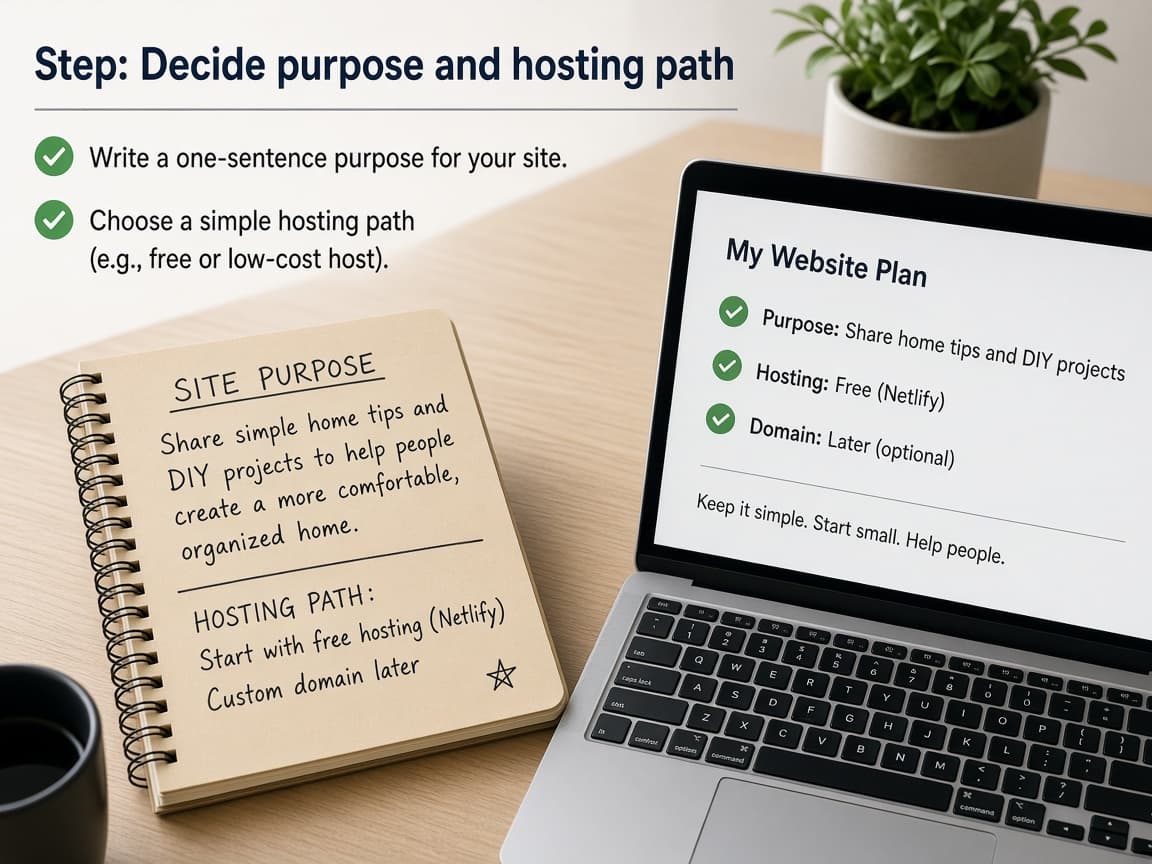
Purpose first keeps templates from deciding your content. Do this step in order
1a
Write one sentence for the site's job
Examples: book haircut appointments, show a portfolio or explain a small business offer. That sentence guides every page.
1b
Choose a site builder for speed
Squarespace, Wix and WordPress.com suit most beginners. Compare current pricing on each official site before you commit.
1c
Or choose GitHub Pages for a free static site
If you want free hosting for simple HTML, GitHub Pages is a solid path. Expect a steeper learning curve than a drag-and-drop builder.
Step 02
Outline pages and gather assets
Plan Home, About and Contact (or your equivalent) and collect text and images before you decorate.
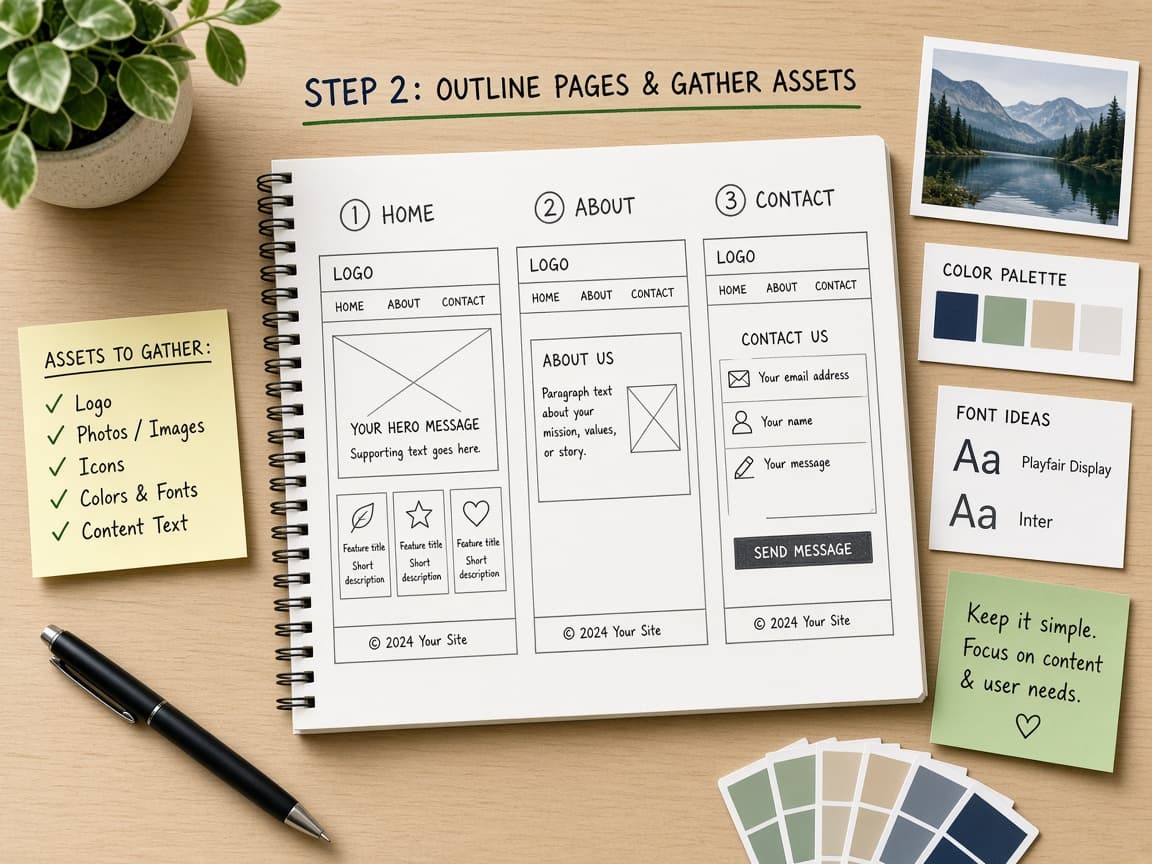
Three clear pages beat ten empty ones. Do this step in order
2a
List the pages you truly need
Most first sites need a home hero, a short about section and a contact method. Add Services or Portfolio only if you have real content.
2b
Draft headlines and contact details
Write the hero headline, a two-sentence about blurb and an email or form destination. Keep phone numbers optional if privacy matters.
2c
Collect images you have rights to use
Use your own photos or properly licensed stock. Crop a clear horizontal image for the hero.
Step 03
Build the first pages in your tool
Start from a simple template, swap in your copy and images and delete sections you do not need.
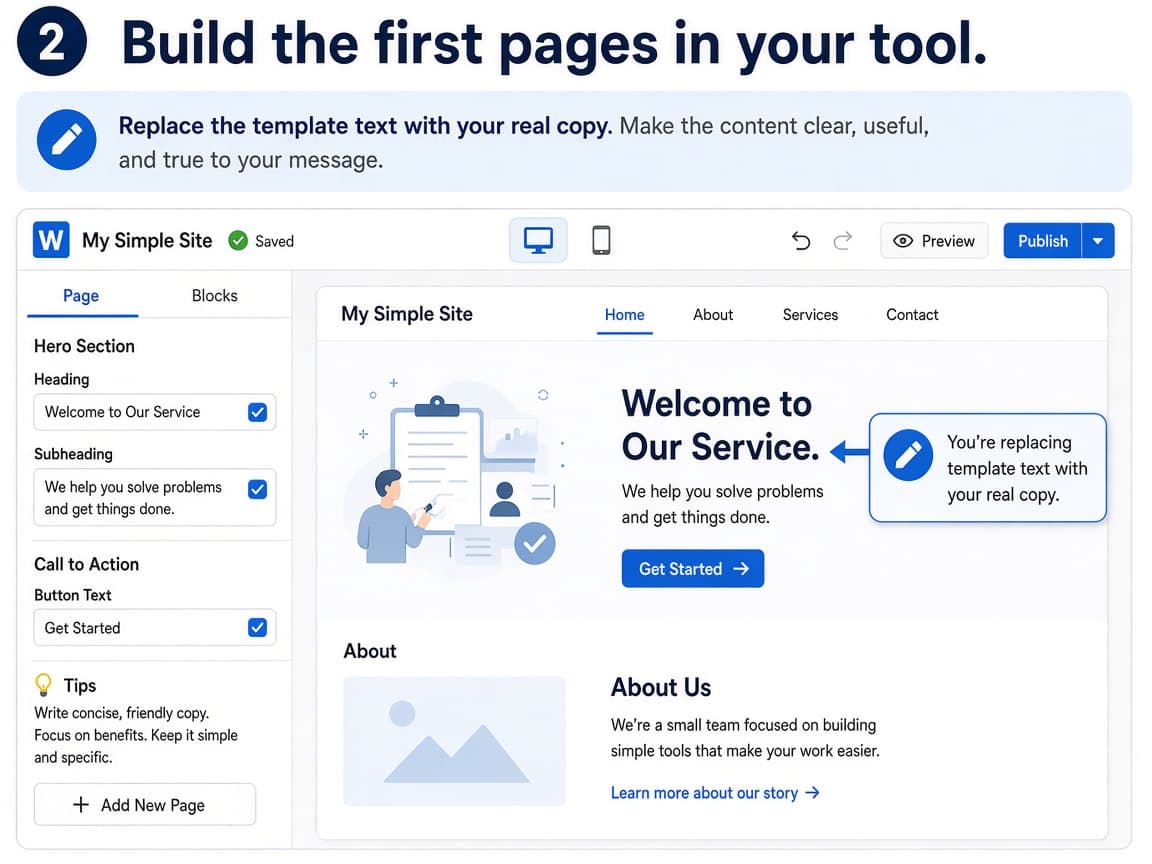
Editing real content matters more than hunting new themes. Do this step in order
3a
Pick a clean template close to your layout
Choose a simple business or portfolio theme. Avoid ultra-animated demos you cannot maintain.
3b
Replace every placeholder
Update headlines, buttons, about text and images. Remove demo testimonials you cannot stand behind.
3c
Add a working contact path
Embed the builder's form or link a mailto button to an inbox you read. Send yourself a test message.
3d
Preview at phone width
Use the editor's mobile preview. Fix overlapping text and giant images before you publish.
Step 04
Publish, share and optionally add a domain
Go live on the builder subdomain first. Connect a custom domain only after the content feels ready.
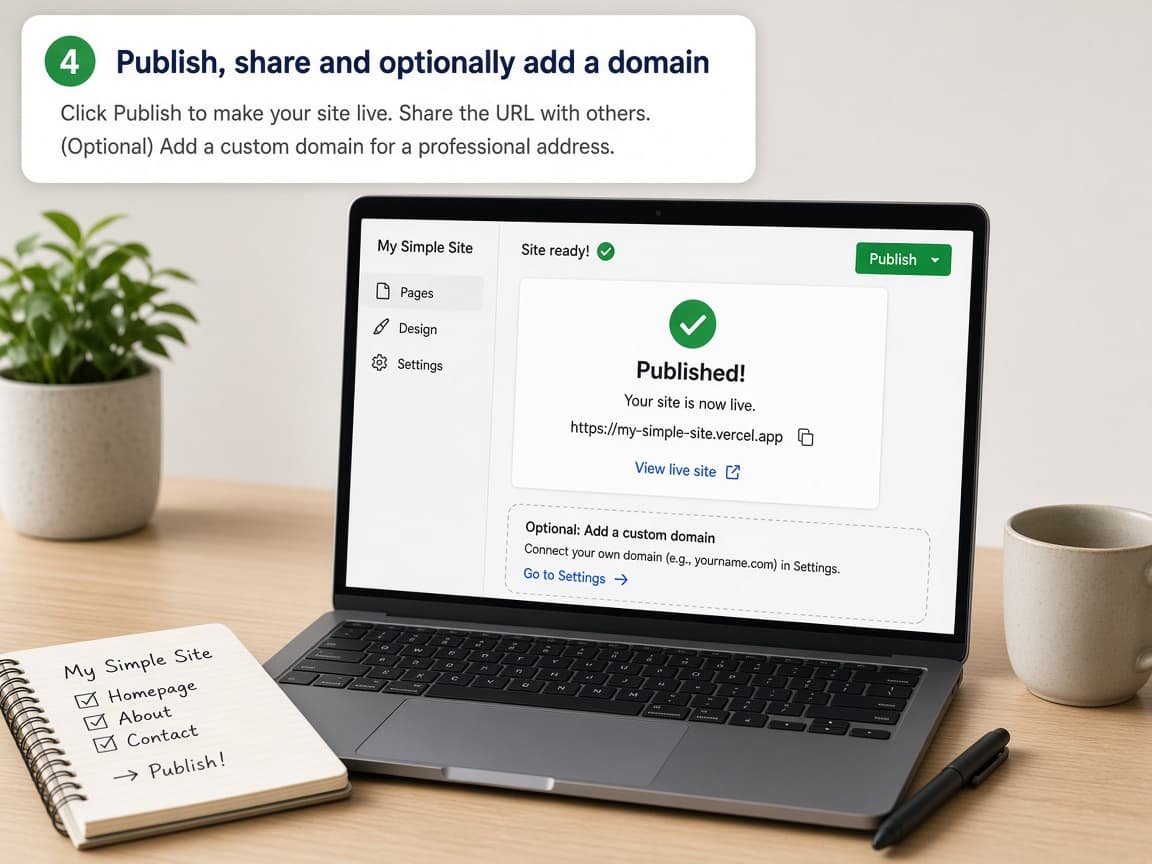
A shareable HTTPS link is the real finish line for version one. Do this step in order
4a
Publish and open the live URL
Click Publish or equivalent, then open the public link in a private window. Click every menu item once.
4b
Share the link with one trusted reviewer
Ask a friend to find your contact method in under 30 seconds. Fix anything confusing.
4c
Add a custom domain later if needed
When you are ready, buy a domain from a known registrar and follow your builder's official domain connection docs. DNS changes can take time to propagate.
Done when
- Write the site purpose in one sentence
- Pick builder or static hosting
- Create Home, About and Contact (or equivalent)
- Replace placeholders with real copy and images
- Preview on phone width
- Publish and test the live link
Eagle Frame's takeaway: choose builder or static hosting, outline Home About and Contact, replace template fluff with real words and one strong image, publish on the free subdomain first and only then connect a custom domain if you need it.