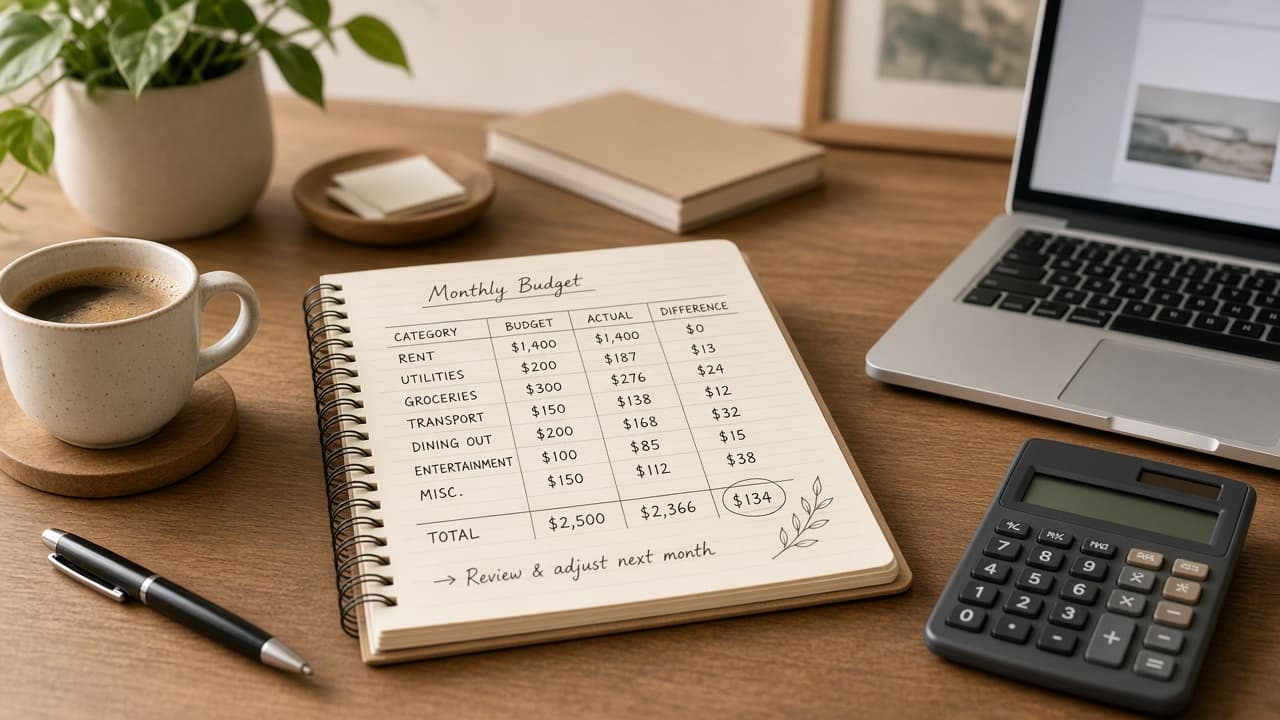
How to create a monthly budget you will actually keep
Start with real take-home pay, give every dollar a job and review once a week. A budget you can keep is a system, not a guilt chart.
Most budgets fail for a simple reason: they start with what you wish you earned or what you think you should spend. A plan you will keep starts with the money that actually hits your accounts after tax, then matches fixed bills, daily spending and savings to that number. If the math does not fit, the categories change. The income does not magically grow to match the wish list.
You do not need fancy software on day one. A spreadsheet, a notes app or a paper ledger works if you open it often. The method below uses your net income first, separates fixed costs from variable ones, starts with a simple 50/30/20 split and then moves to zero-based budgeting so every dollar has a job. Weekly check-ins and payday automation keep the plan from becoming a monthly surprise.
Worked example throughout: take-home pay of $4,000 per month ($2,000 twice a month). Rent $1,400. Utilities and phone $220. Insurance $180. Groceries and household $450. Transport $200. Subscriptions $60. Debt minimums $250. That leaves room for savings and flexible spending once you assign the rest on purpose.
This is personal finance education, not tax or investment advice. Adjust the numbers to your own pay stubs and bills. The goal is a routine you can run for months, not a perfect spreadsheet you abandon after week two.
Step-by-step guide
Time: 90 minutes to set up; 20 minutes each week to review
What you need
- Last 2-3 pay stubs or deposit records
- Bank and card statements for one full month
- Spreadsheet or budgeting app
- List of recurring bills and due dates
- Calculator
Before you start
- Budget only with money that has already cleared or that you can predict with high confidence. Do not spend next month's bonus before it arrives.
- If you share finances, agree on categories and transfer rules before you automate anything.
Step 01
Find your true monthly net income
This step locks the only number the rest of the plan can use: money that actually clears into your account. Get that figure on paper before you name a single category.
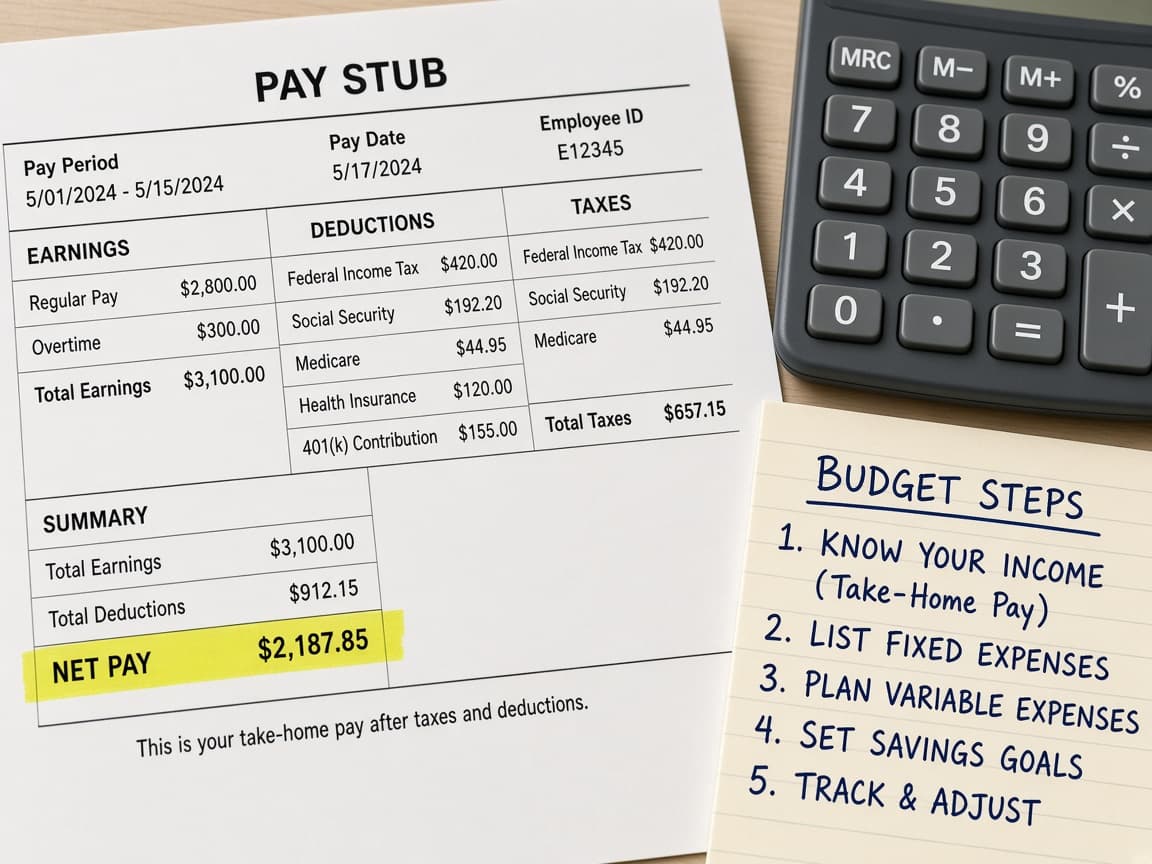
Budget from the deposit that clears, not the gross wage on the stub. Do this step in order
1a
Pull recent pay stubs or deposit records
Open your last two or three pay stubs or the bank deposits that match them. Write down each cleared amount. Ignore the gross wage line for now. If a deposit has not cleared yet, do not count it.
1b
Calculate a monthly net figure
If you are paid biweekly, multiply one normal paycheck by 26 and divide by 12 for a monthly average. Or budget on a two-paycheck month and treat the two extra paychecks in a year as bonuses for debt or savings. Example: two deposits of $2,000 equal $4,000 net.
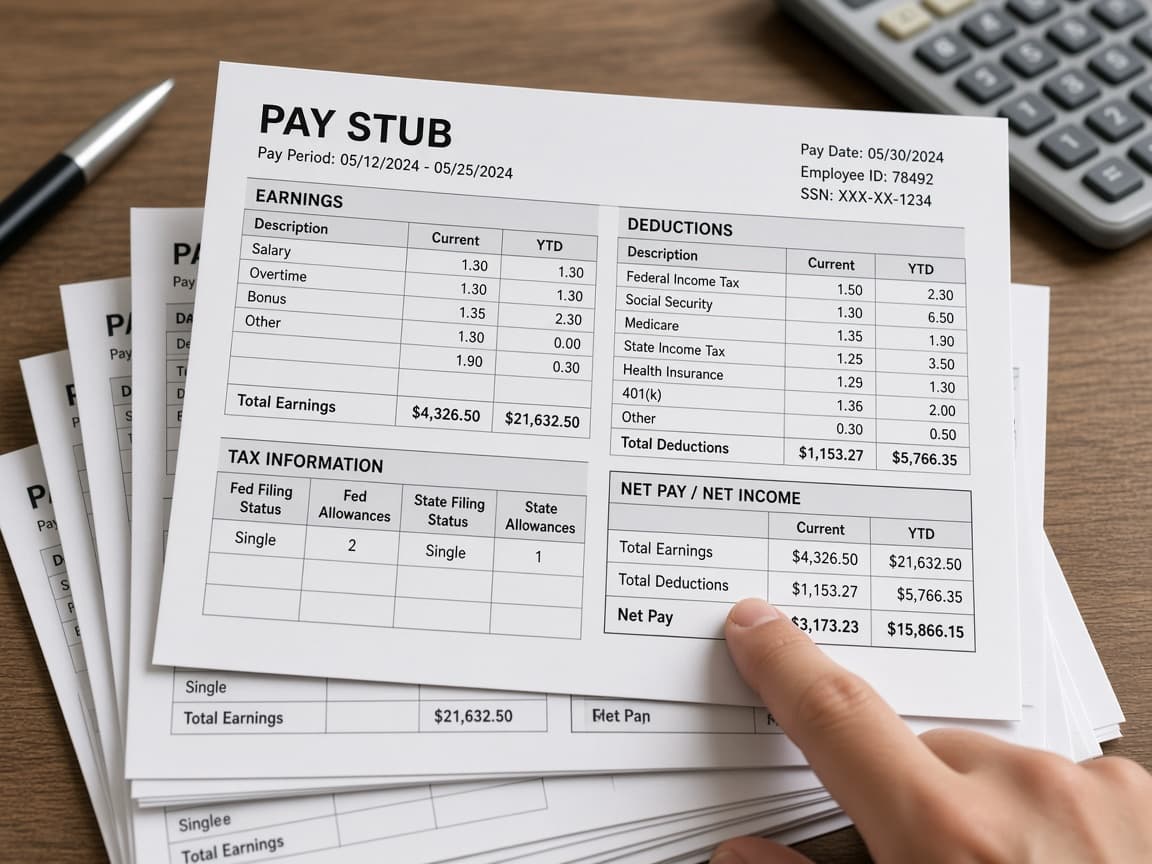
Convert your pay rhythm into one monthly number you can plan against. 1c
Set a cautious baseline if income varies
For tips, overtime or freelance, use the lowest reliable month from the last six or the average of the last three months minus about 10%. Put surplus above that baseline into a buffer category. Do not raise rent or lifestyle lines on a good month alone.
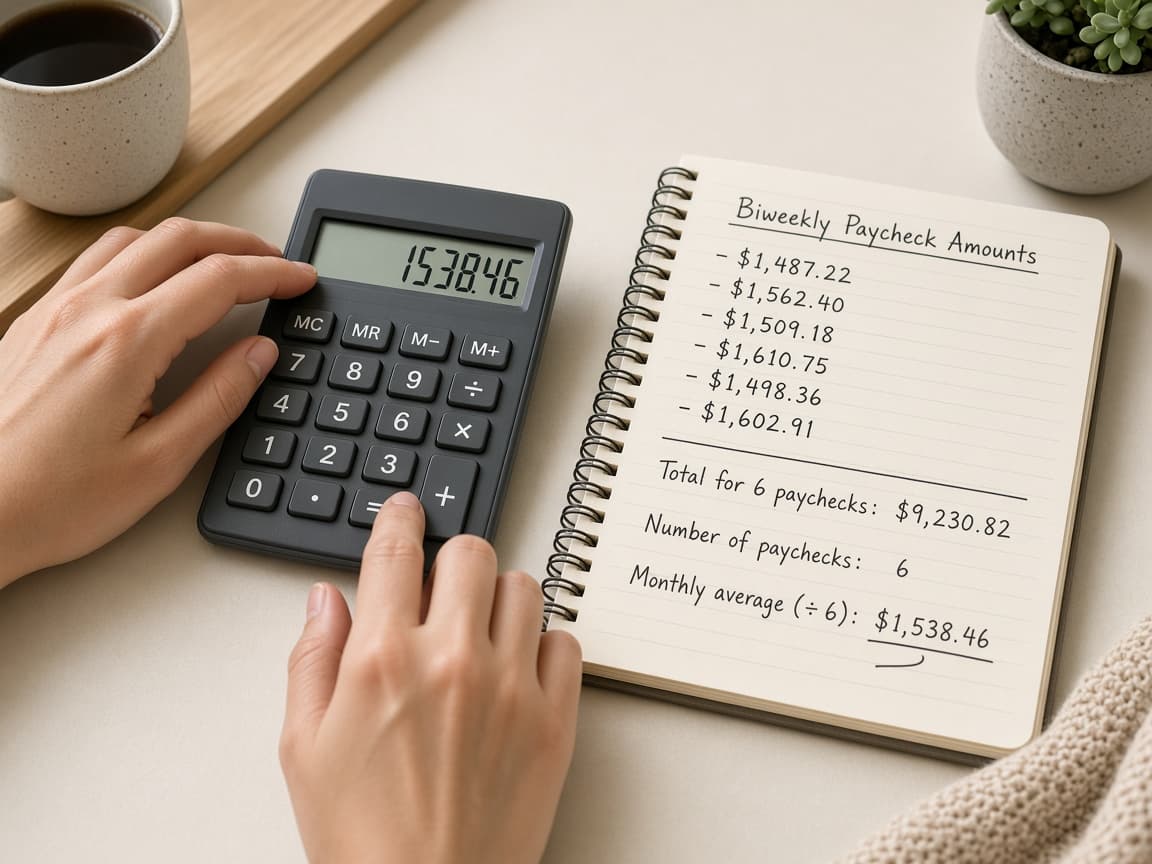
Variable earners plan from a cautious floor, then park surplus in a buffer. 1d
Write the net income at the top of your plan
Put the final monthly net on the first line of your spreadsheet or notebook. Common mistake: counting a one-time bonus as permanent income and locking in a higher fixed cost. Circle the net so every later category has to fit under it.
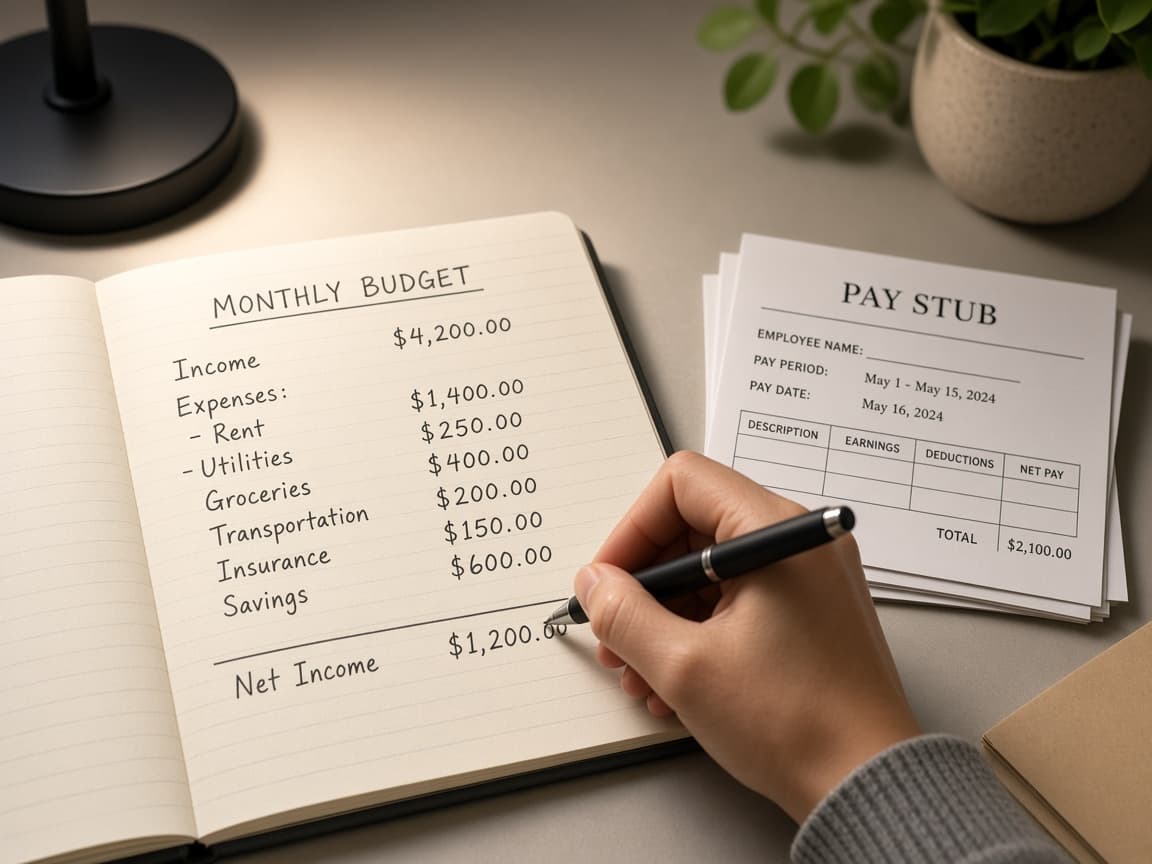
Everything else in the budget must fit under this one number.
Step 02
List fixed costs, then variable spending
Separate bills that barely change from spending that can flex. You need both lists before you assign dollars.
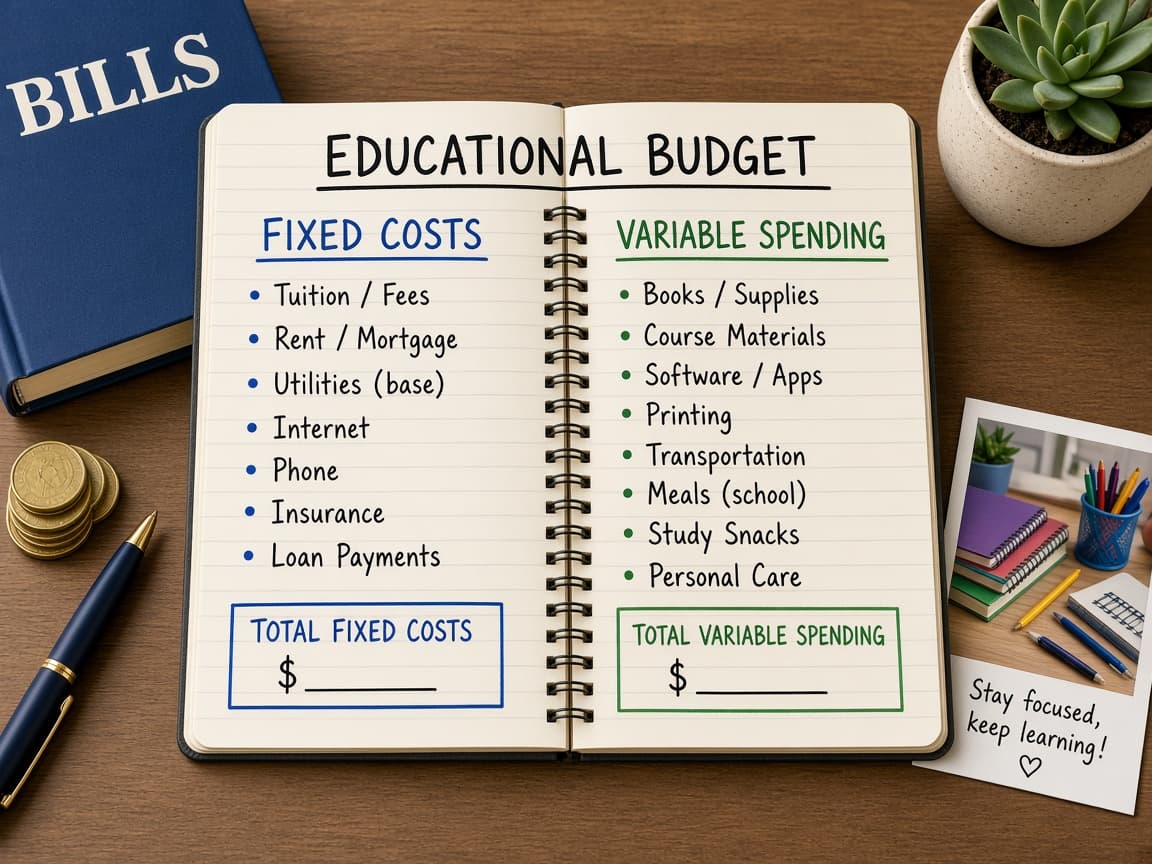
Separate what must be paid from what can shrink when the month gets tight. Do this step in order
2a
List every fixed bill with its due date
Write rent or mortgage, insurance, minimum loan payments, phone, internet, childcare and subscriptions you will keep. Put the due date beside each one. Round utilities up a little if they swing with the seasons.
2b
Sort one month of statements into variable spending
Pull a full month of bank and card lines. Tag groceries, fuel, dining, clothes, gifts and hobbies as variable. Be honest about cash spends you remember. Subtotal the variable bucket.
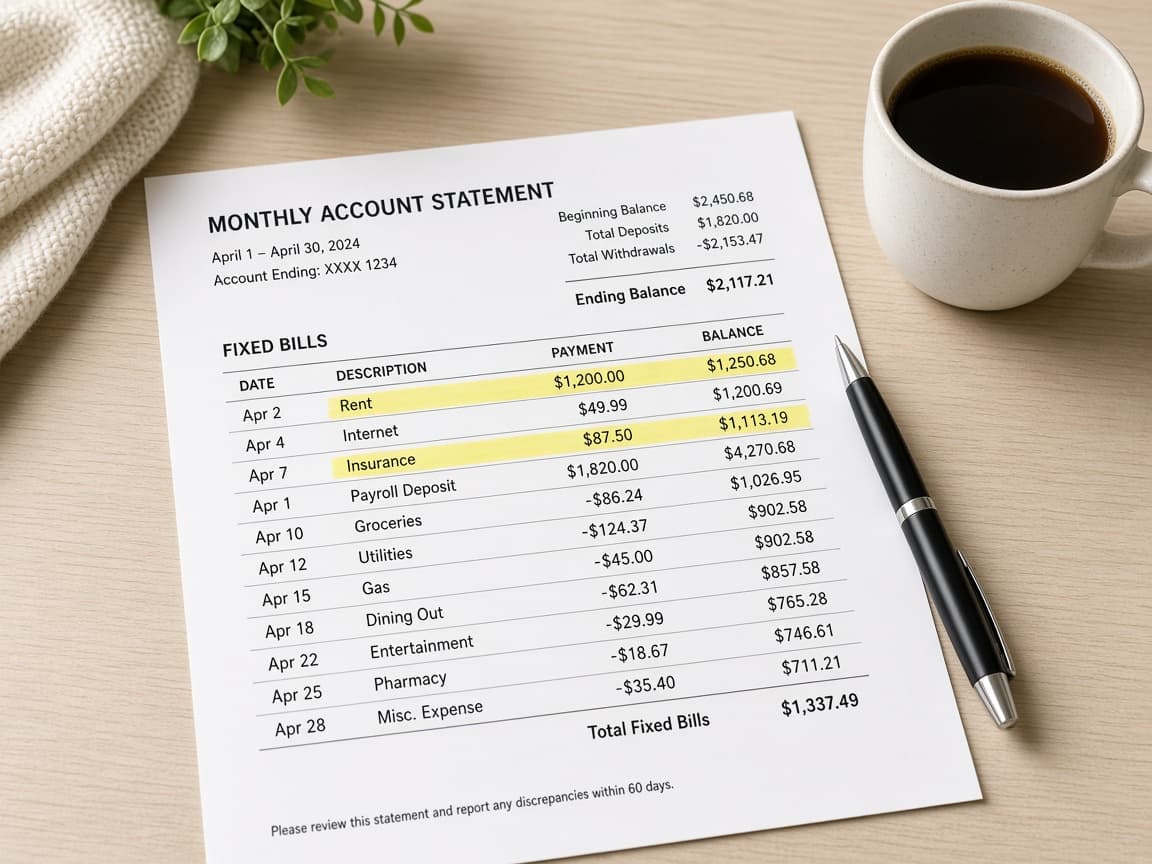
One real month of charges beats a guess about what you "usually" spend. 2c
Add fixed and variable totals under your net
Example on $4,000 net: rent $1,400, utilities and phone $220, insurance $180, subscriptions $60, debt minimums $250 equals $2,110 fixed. That leaves $1,890 for groceries, transport, fun and savings. Common mistake: treating subscriptions as tiny and forgetting annual fees.

Fixed total first. The remainder is all that variable spending and savings may share. 2d
Flag timing gaps between paydays and due dates
If rent is due on the 1st and you are paid on the 15th and 30th, note that you need a holding plan for the first half of the month. Mark any bill that lands before a deposit. That timing note drives later automation.

A budget fails when money is assigned but not available on the due date.
Step 03
Draft with 50/30/20, then switch to zero-based
Use a simple split as a diagnostic, then assign every dollar to a named job until income minus categories equals zero.
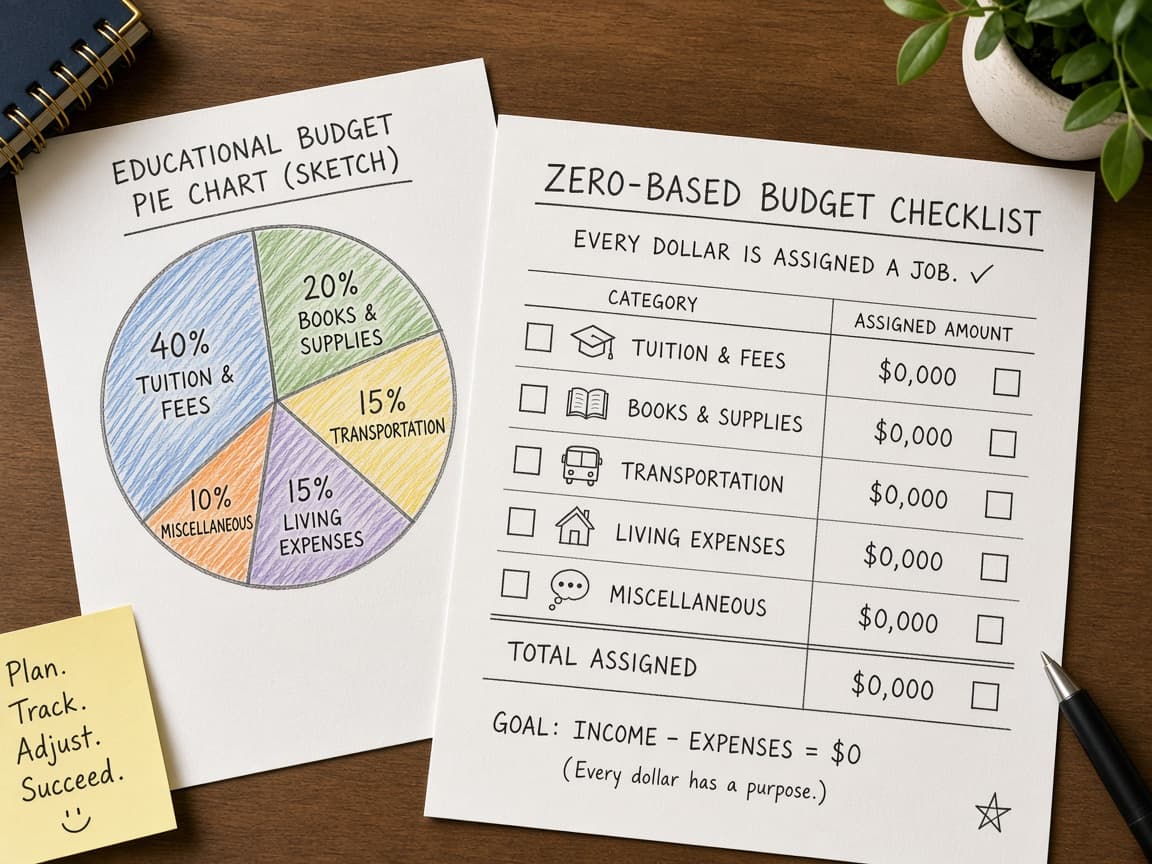
Start with a simple split, then give every dollar a named job until nothing is unassigned. Do this step in order
3a
Map net income with a 50/30/20 sketch
As a starter map, aim for about 50% needs, 30% wants and 20% savings or extra debt payments. On $4,000 that is roughly $2,000 / $1,200 / $800. Compare it to your real fixed list. If needs already eat 60%, treat the template as a warning, not a law.
3b
Name every category you will actually fund
List groceries, transport, dining, personal, sinking funds, emergency savings, extra debt and fun. Pull amounts from your earlier totals. Drop vague buckets like "misc" unless you give them a hard dollar cap.
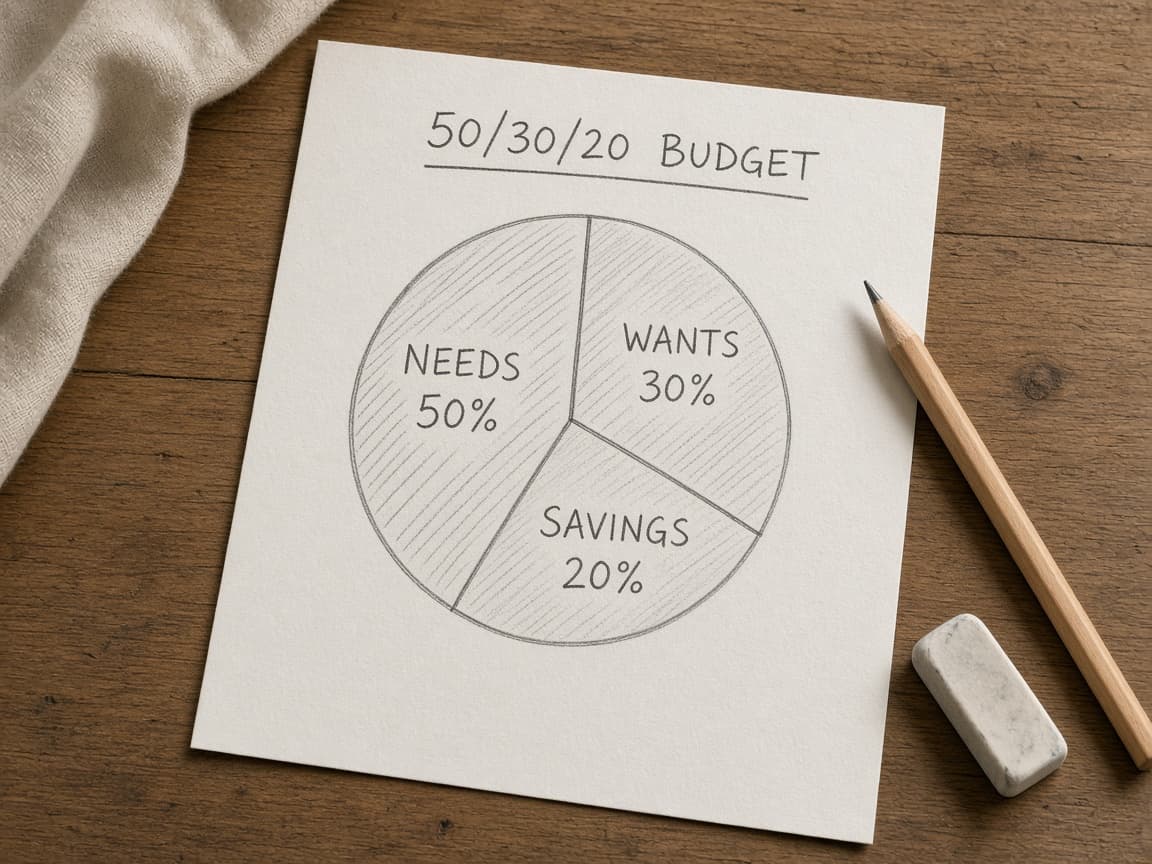
Named categories stop leftover cash from disappearing into impulse buys. 3c
Assign dollars until the plan hits zero
Income minus every category must equal zero. Example: fixed $2,110; groceries $450; transport $200; dining $150; personal $100; sinking funds $200; emergency $400; extra debt $190; fun $200. Total $4,000. Move money between wants until the math closes.
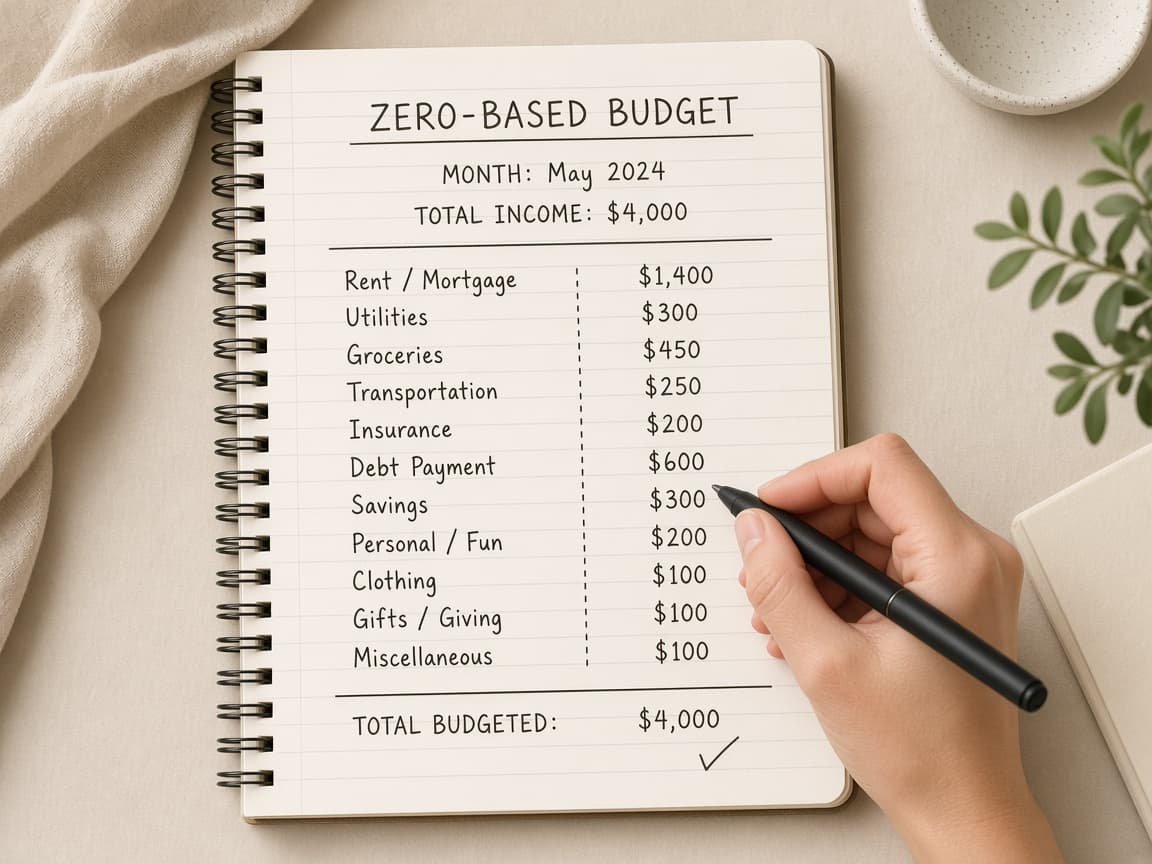
Zero-based means every dollar has a job. No mystery leftover. 3d
Adjust the template to your rent and reality
If rent alone breaks someone else's percentages, change the percentages. Renegotiate a need, cut a want or raise income later. Common mistake: copying a blog split when your housing cost already owns the month.
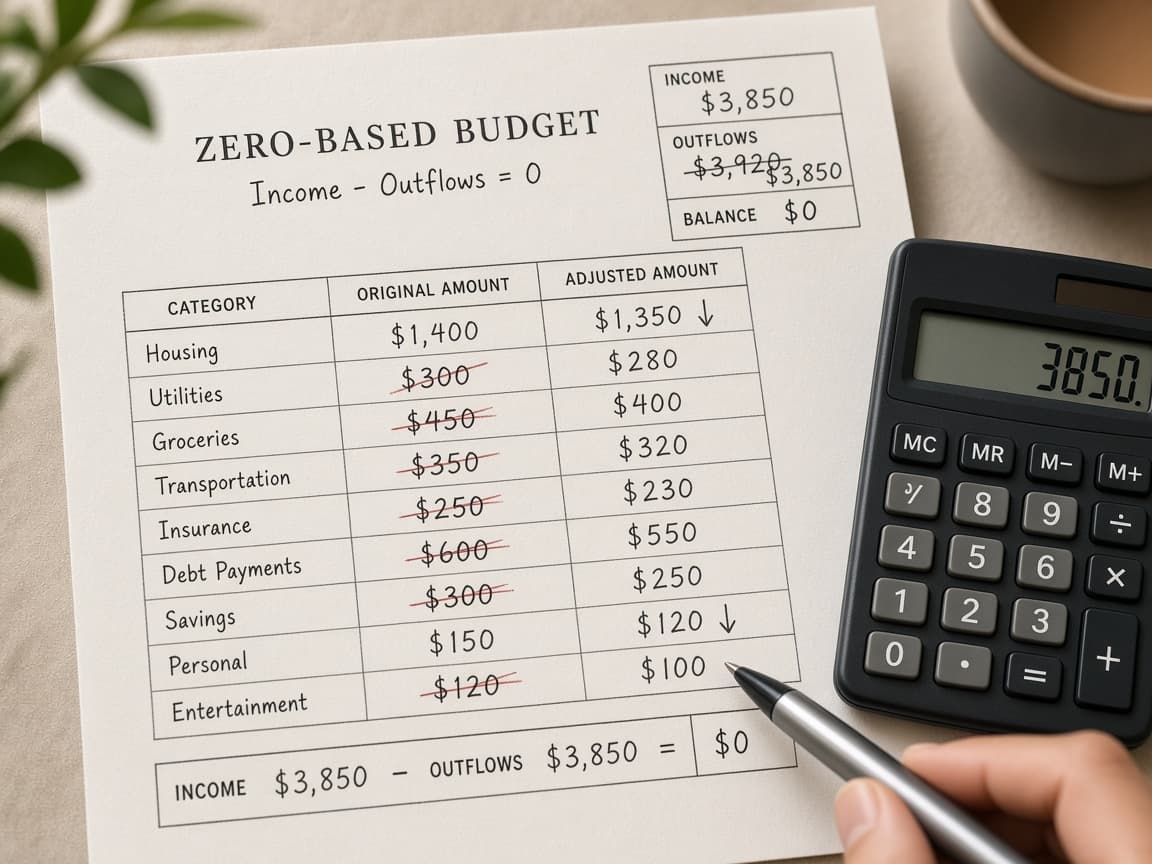
Fit the plan to your bills. Do not invent income to fit a viral chart.
Step 04
Track once a week, not only on the first of the month
A short weekly review catches overspending while you can still fix it. Month-end only reviews turn small slips into surprises.

A short weekly check beats a painful month-end autopsy. Do this step in order
4a
Pick a fixed review day and set a 20-minute block
Sunday evening works for many people. Put a recurring calendar event on that day. Keep the review to about 15 to 20 minutes so it stays doable.
4b
Update balances and ask three questions
Open the tracker and sync or paste transactions. Ask: What is left in groceries and fun? Which bills still need cash before the next payday? Did any category already blow past its line? Write the answers in one short note.

Three questions keep the review focused instead of endless categorizing. 4c
Adjust categories without borrowing from rent or debt minimums
If dining is gone by day 12, cook at home or move money from a lower-priority want. Do not borrow from rent or minimum debt payments. Common mistake: logging every coffee live until you burn out. Batch transactions once or twice a week instead.
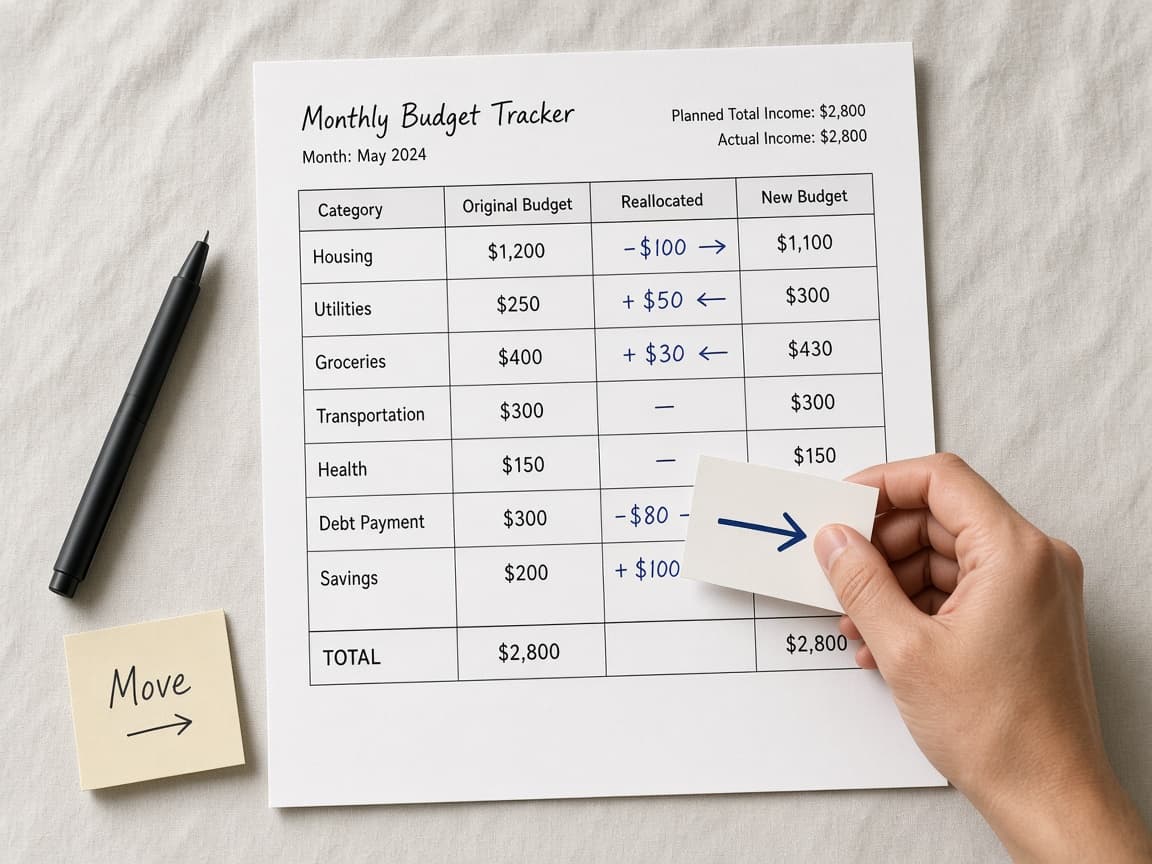
Flex wants first. Protected bills stay protected.
Step 05
Automate payday savings and bill transfers
Move savings and bill money as soon as pay clears so the leftover in checking is what you may freely spend.
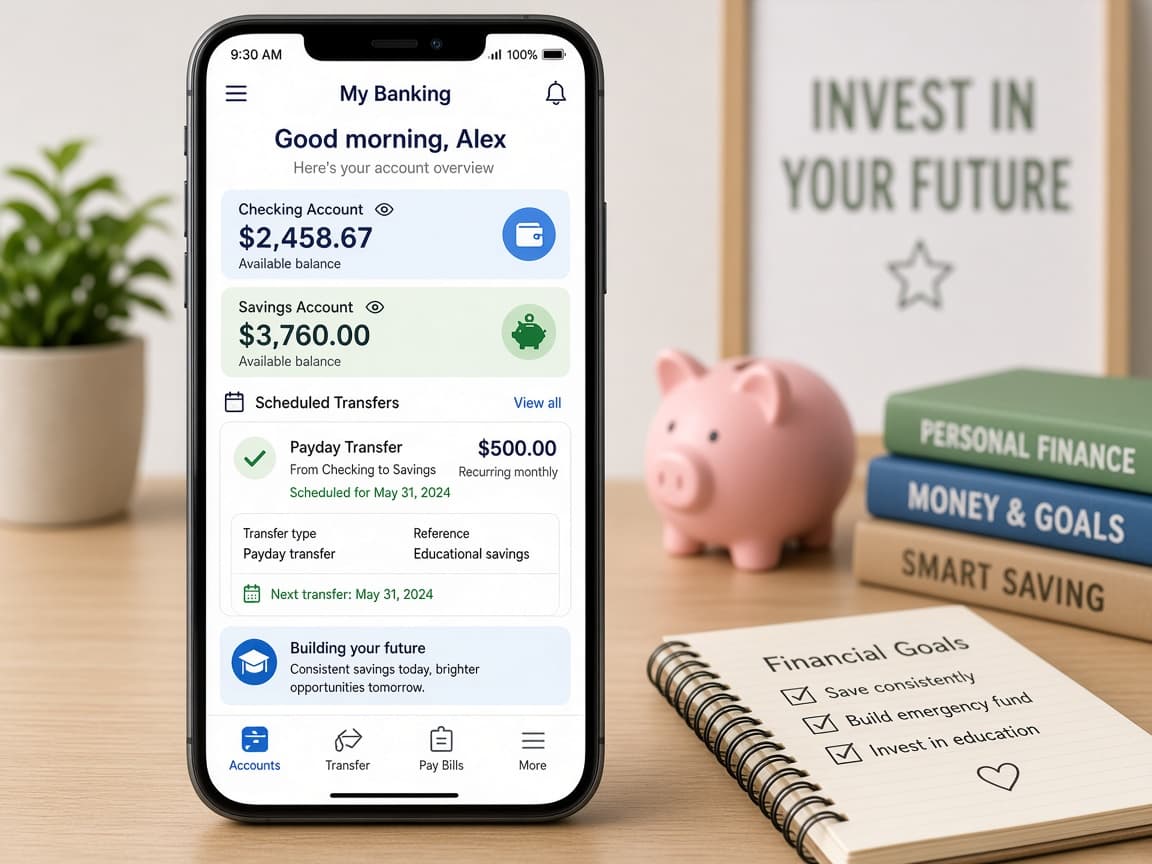
Move savings and bill money as soon as pay clears so the leftover is what you can freely spend. Do this step in order
5a
Choose accounts for bills, spending and savings
Many people succeed with two checking accounts: one for fixed bills and one for daily spending. Keep emergency and sinking funds in savings sub-accounts or separate savings buckets you can see by name.
5b
Schedule transfers on deposit clearance days
Align automations with the day money clears, not the night before. Example on a $2,000 paycheck: $200 emergency, $100 sinking funds, $1,055 bills (half of monthly fixed), $645 left for spending. Mirror the rest on the second paycheck.
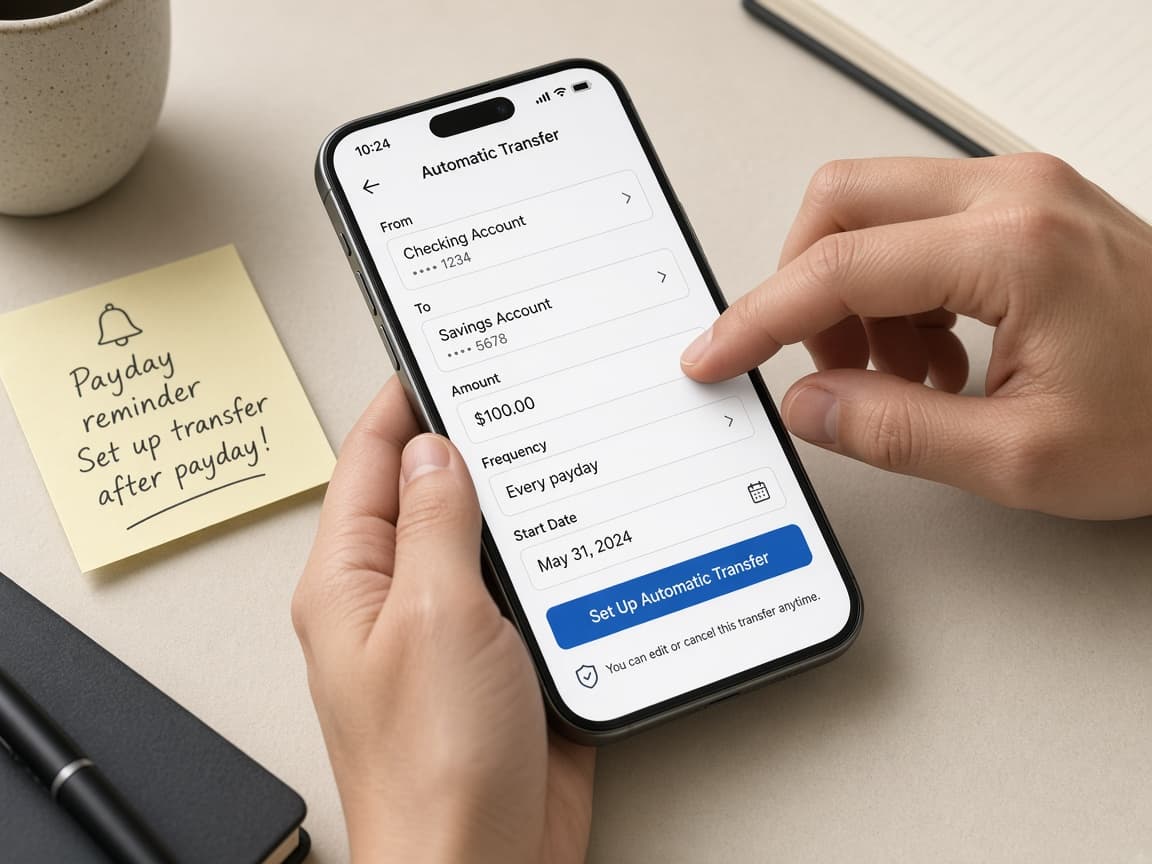
Automate on clearance day so transfers do not bounce. 5c
Cap automations at your lowest reliable paycheck
Never automate more than your smallest normal paycheck can support. Common mistake: setting transfers for a high overtime week, then paying overdraft fees when a shift is short. Test one payday manually before you lock every transfer.
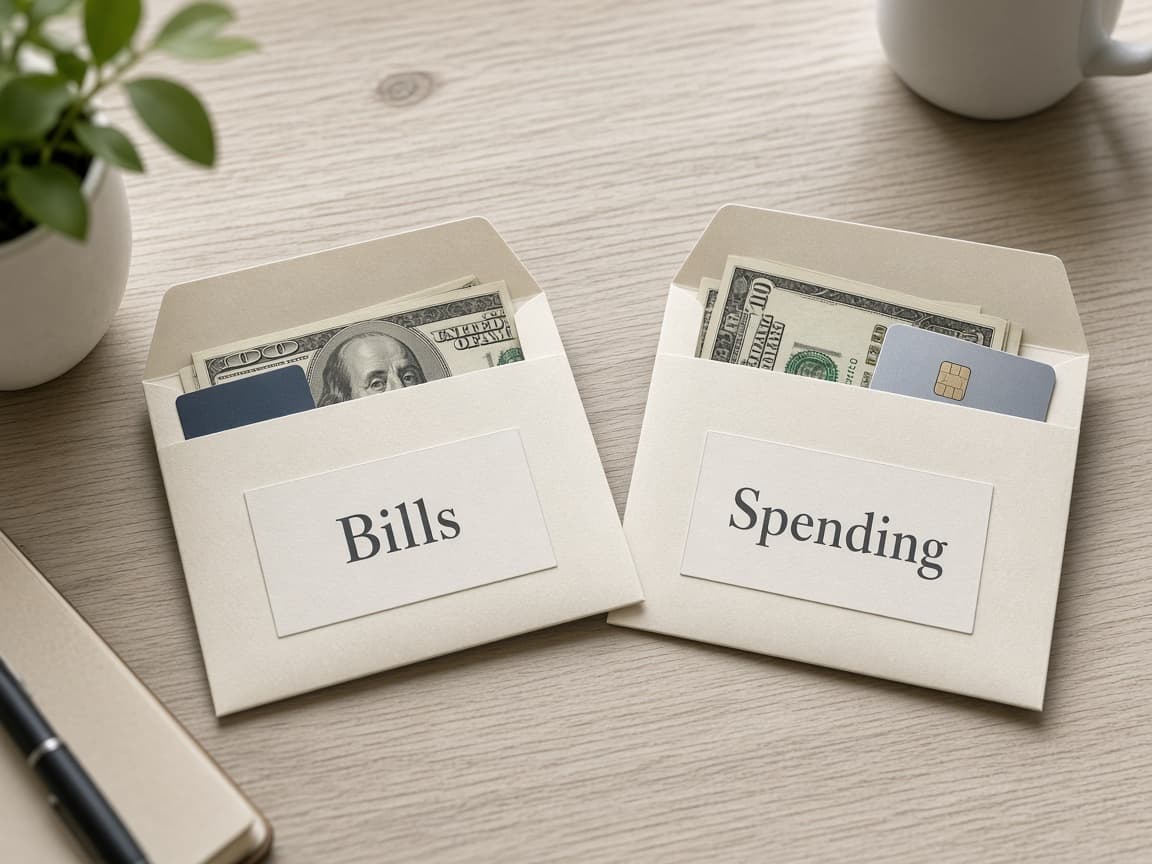
Automations should survive a quiet pay period.
Step 06
Build sinking funds and review the plan monthly
Irregular bills need monthly set-asides and the whole plan needs a monthly reset based on what you actually spent.
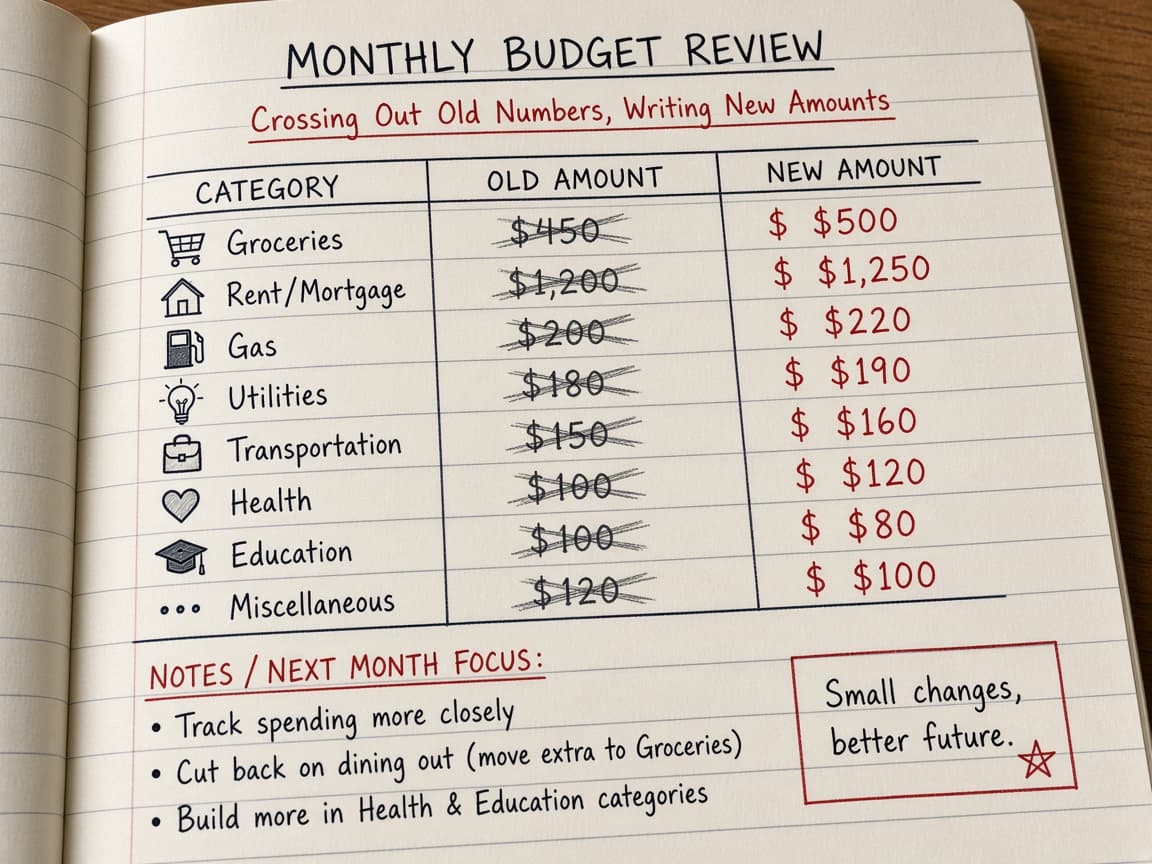
Small monthly set-asides turn irregular bills into boring, planned transfers. Do this step in order
6a
Create sinking funds for known irregular costs
Divide yearly costs by 12. Example: $600 car insurance due in June means $50 each month starting now. Do the same for gifts, registration, school fees and new tires. Name each fund so the money is not "extra."
6b
Reset categories at the monthly review
On the last weekly review of the month, roll unused sinking-fund money forward. Compare plan versus spend. Raise grocery if you underfed yourself. Cut a want you never miss. Update net income if hours or deductions changed.

A monthly reset keeps next month honest instead of copied from hope. 6c
End with one clear decision for next month
Choose keep the plan, tweak one or two lines or tackle a big cost such as a cheaper phone plan. Common mistake: restarting from zero every month and never funding irregular bills you already know are coming.
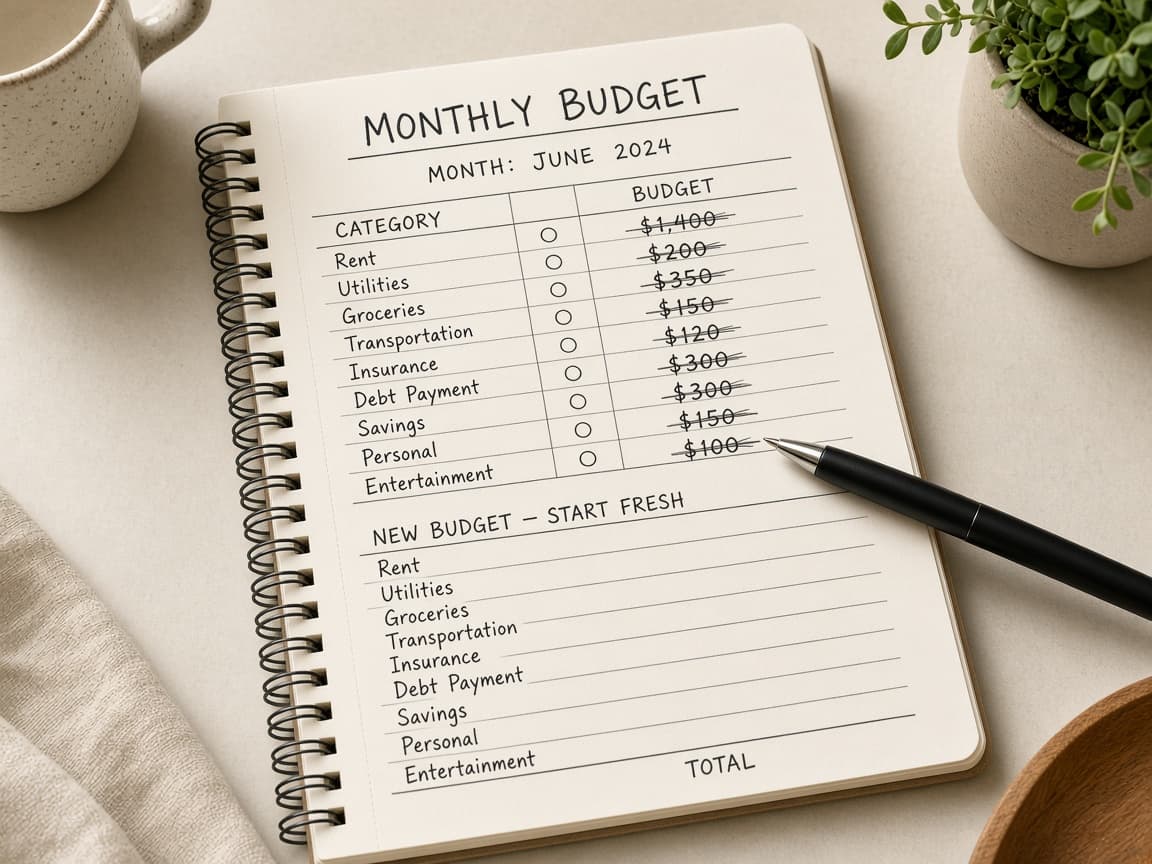
Leave the review with one decision, not a vague promise to try harder.
Done when
- Net income written down for a normal month
- Fixed and variable costs listed
- Every dollar assigned (zero-based)
- Payday savings or bill transfers automated
- Weekly review day on the calendar
Eagle Frame’s takeaway: a budget you keep is built from net income, named categories and weekly contact with the numbers. Automate payday moves, fund irregular bills on purpose and adjust the plan monthly instead of restarting from guilt. Start with this month’s real deposits and give every dollar a job before the next payday arrives.