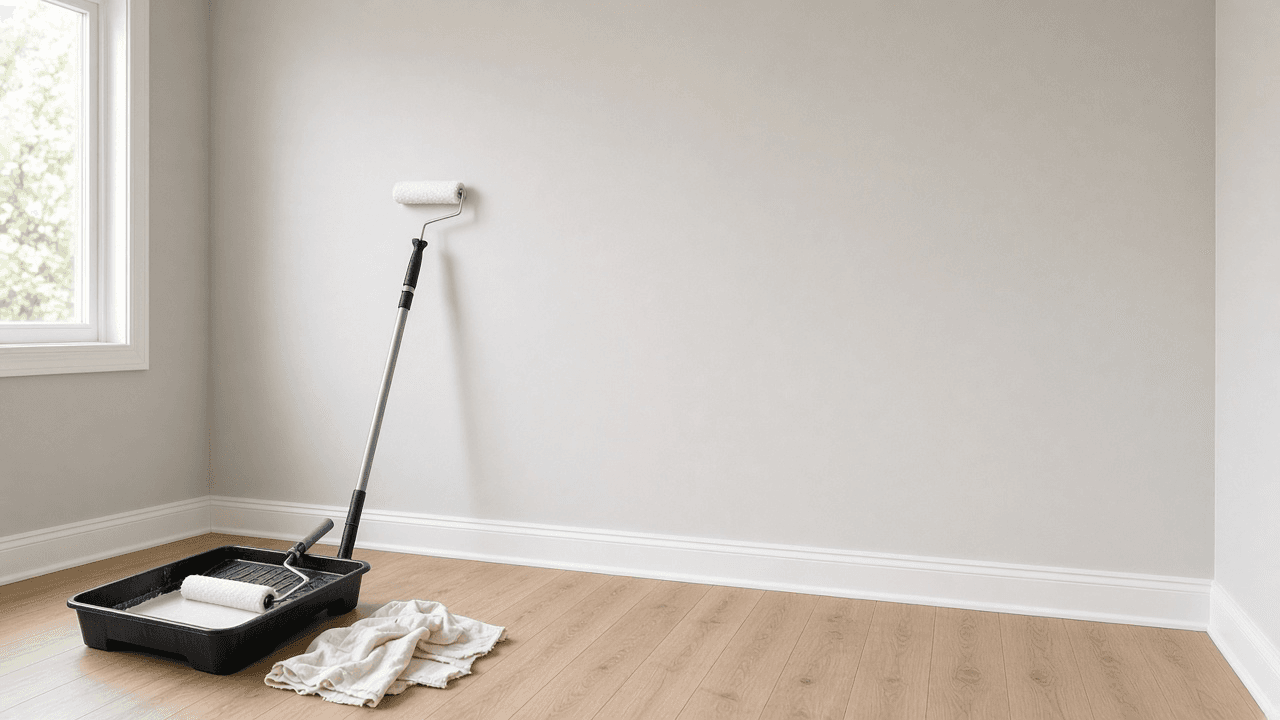
How to paint a room
Paint a room with proper prep, quality primer when needed, cut-in edges first and two thin coats rolled in a W pattern for even coverage.
A durable paint job begins with a clean, solid and dry surface. Move furniture, protect the floor, remove hardware and inspect every wall in side light. Paint will not hide grease, loose coating, dents or ridges. It usually makes them easier to see.
Measure the paintable wall area and check the can's coverage figure before buying. Keep every can from the same color together, then combine them in a larger clean bucket if batch differences are possible. Choose the sheen for the room: flatter finishes hide flaws while satin and similar finishes are easier to wipe.
Repair before decorating. Fill small holes, let the compound dry, sand it flush and remove all dust. Wash dirty or greasy areas with a suitable cleaner, rinse when directed and let the wall dry. Glossy sound paint may need a light scuff according to the new coating's label.
Primer is useful on bare drywall, porous repairs, strong color changes and sealed stains. A water mark must have a fixed and dry source before coating. Use a stain-blocking product made for the contaminant. Follow its ventilation, drying and recoating instructions.
For an even finish, work in manageable sections. Brush a 2- to 3-inch strip around one section's ceiling line, trim and corner, then roll into that edge while it is wet. Load the roller evenly, lay paint in an N or W pattern, spread it and finish with light strokes in one direction.
Let the first coat dry for the full label time before inspecting it in daylight. Apply a second thin coat with the same cut-in and rolling method. Peel tape according to its maker's timing, score any sealed paint edge first and leave spare labeled paint for later touch-ups.
Step-by-step guide
Time: One weekend for a typical bedroom including dry time
What you need
- Interior latex paint (two coats worth plus extra)
- Primer if covering dark color, stains or new drywall
- 2-inch angled brush, roller frame and 3/8-inch nap cover
- Roller tray, painter's tape, drop cloths and plastic sheeting
- Spackle, sandpaper, putty knife and damp rags
- Step ladder and screwdriver to remove outlet covers
Before you start
- Ventilate well. Open windows and use fans when product labels allow.
- Do not paint over peeling paint or active mold without fixing the source first.
- Ladder safety: do not overreach. Move the ladder instead.
- Lead paint may exist in pre-1978 homes. Test or hire a pro before sanding old layers.
Step 01
Clear and protect the room
Space and floor protection decide whether paint lands on walls or everything else.
Do this step in order
1a
Move or cover furniture and floors
Pull furniture to the center and cover with plastic. Lay drop cloths on the floor and tape edges so they do not slide underfoot.
1b
Remove outlet covers and fixtures you can
Turn off power at the breaker if you are unsure. Bag screws with each cover so reassembly is easy.
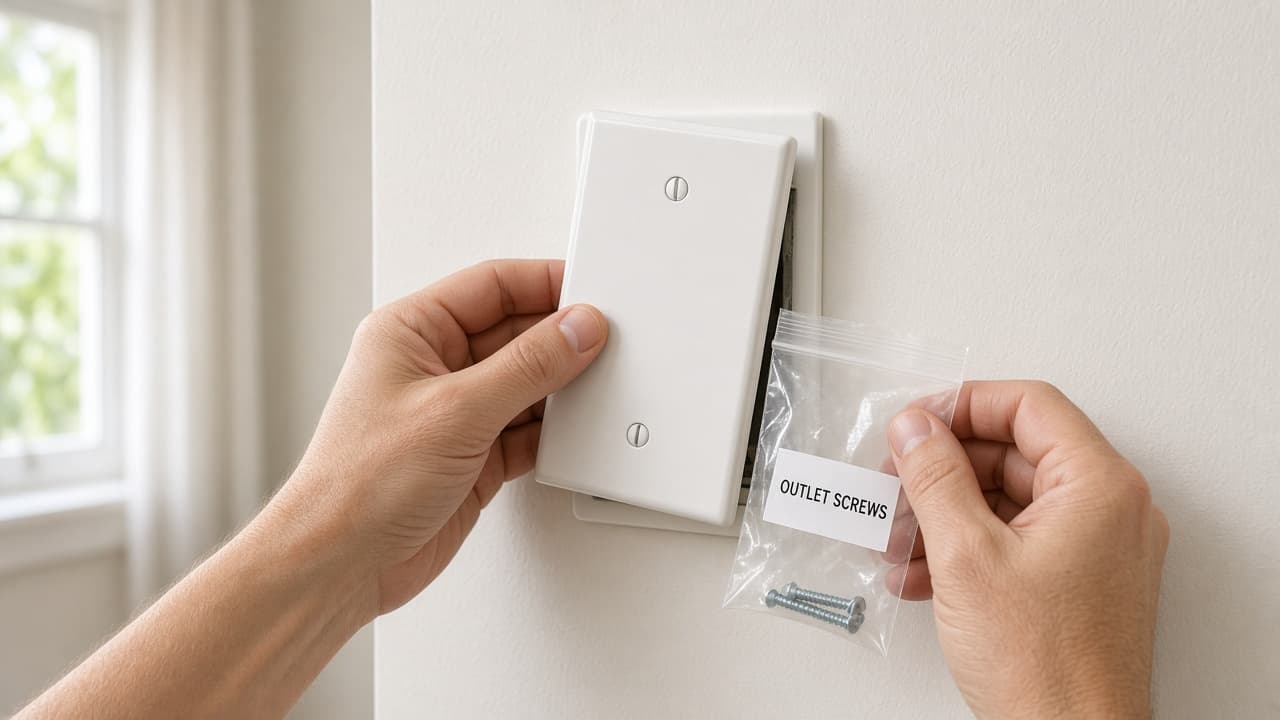
Bag covers and keep fasteners with each plate. 1c
Inspect walls in side light
Shine a light across the surface to find dents, ridges and peeling spots. Mark repairs with pencil so nothing is missed under wet paint.
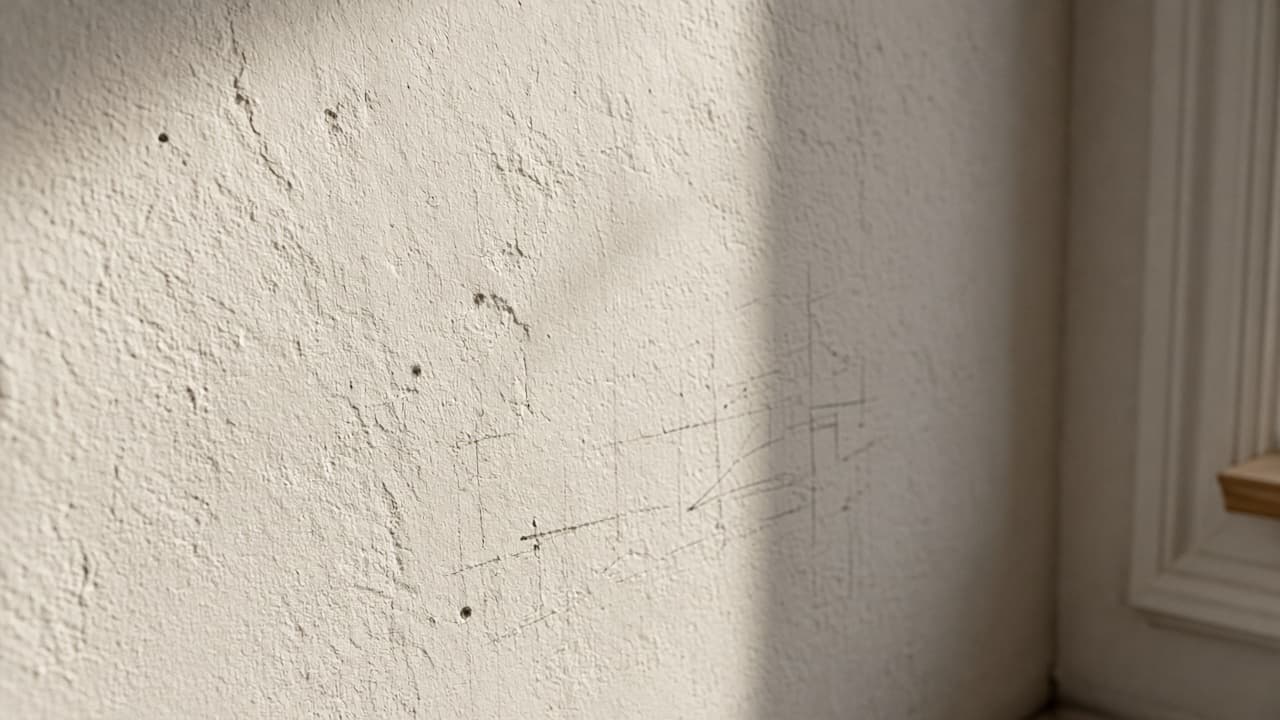
Side light shows flaws that overhead light hides. 1d
Stop for active moisture or suspect lead paint
Common mistake: painting over damp stains or sanding unknown old coatings in a pre-1978 home. Fix leaks first. Test or hire a pro when lead risk is possible.
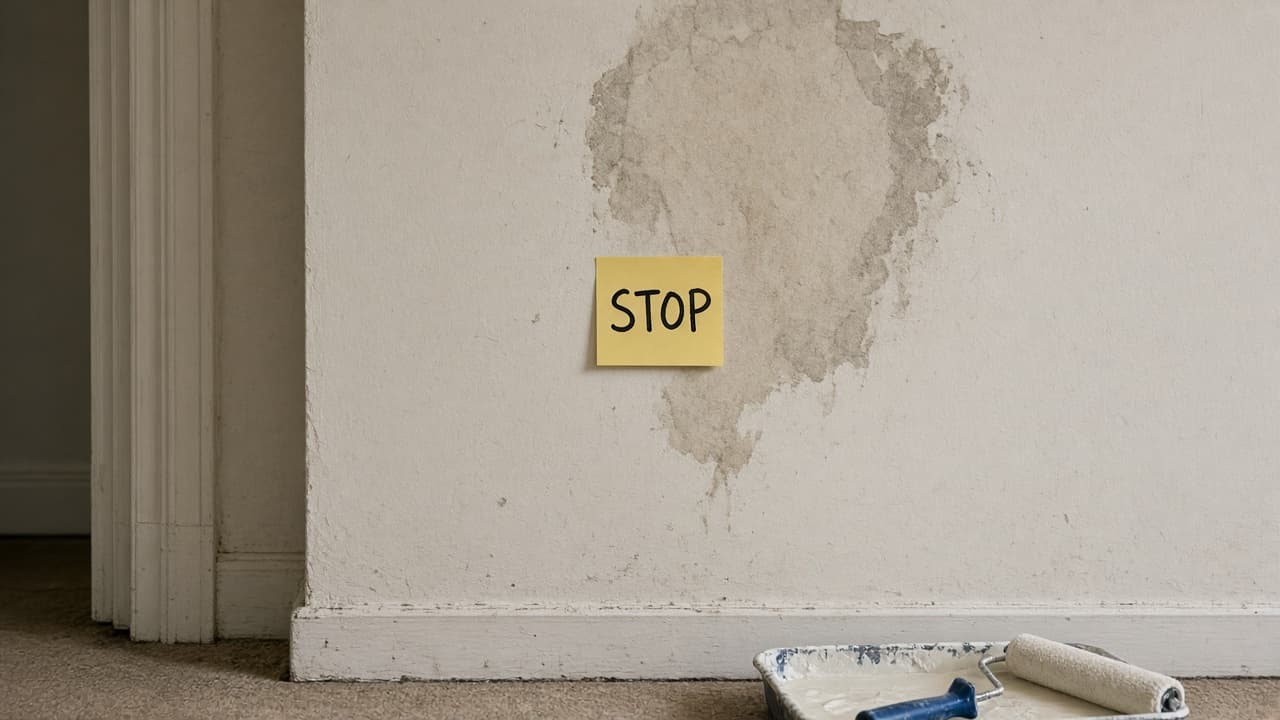
Moisture and lead risk are stop signs, not primer cues.
Step 02
Repair, wash and dry the walls
Paint sticks to clean, sound surfaces. Prep decides whether the color looks smooth.
Do this step in order
2a
Patch holes and sand bumps flush
Fill nail holes and cracks with spackle. When dry, sand flush and wipe dust with a damp cloth or tack cloth.
2b
Wash greasy or dusty walls
Kitchen and kid zones often need a mild detergent wipe. Rinse when the cleaner directs and let the wall dry fully.
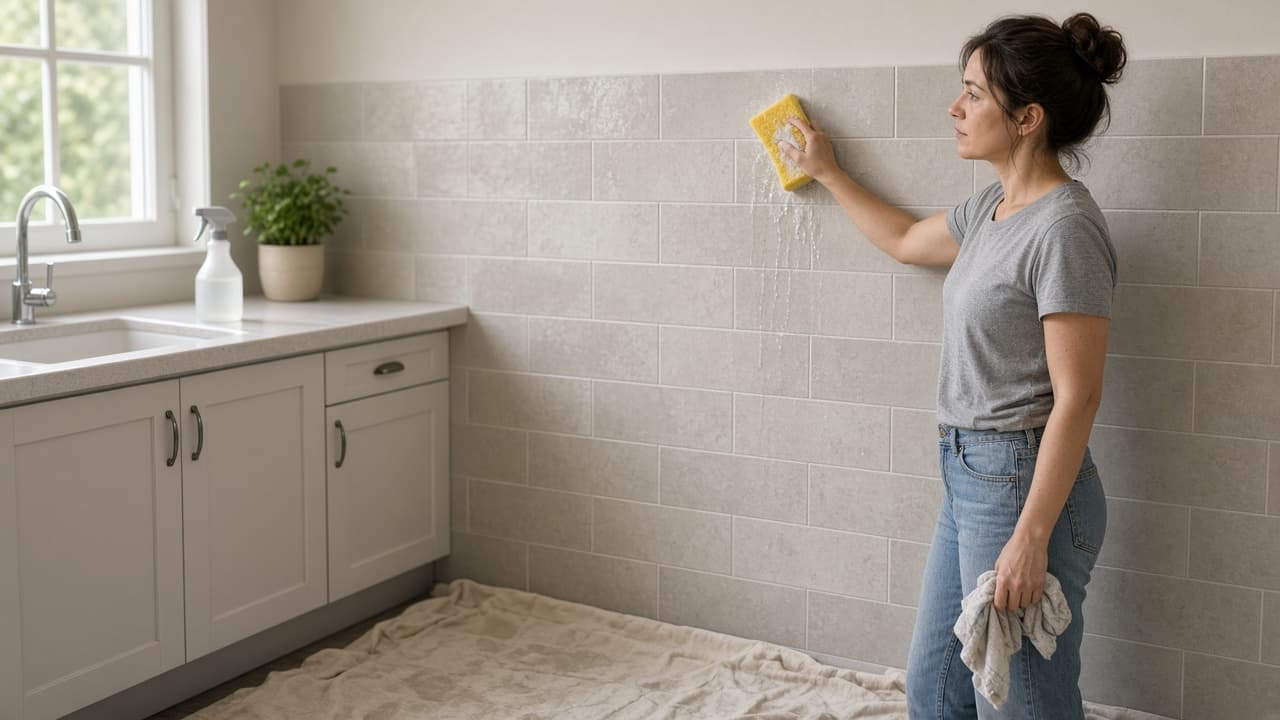
Grease and dust block adhesion even under good paint. 2c
Scuff glossy paint when the label asks
Sound glossy paint may need a light scuff so the new coat grips. Follow the new product label rather than guessing.
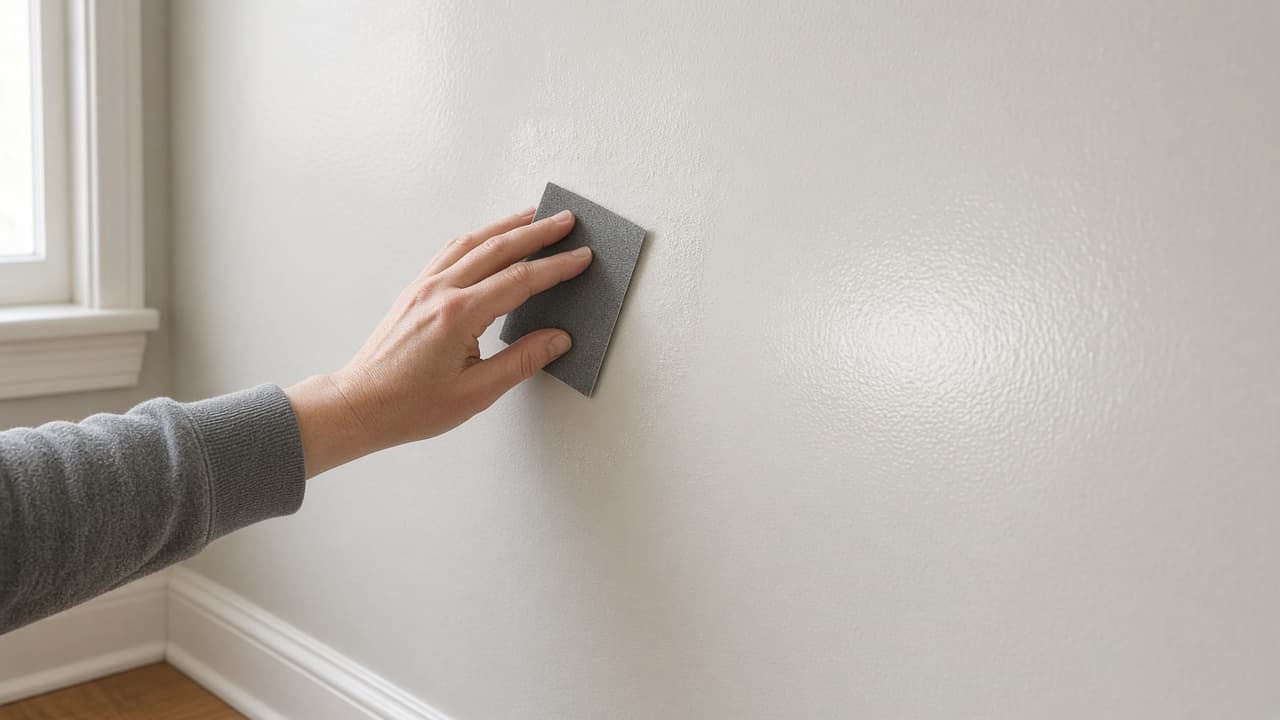
A light scuff helps new paint grip glossy old film. 2d
Do not paint over peeling or chalky film
Common mistake: rolling color over loose or chalky old paint. Scrape or sand to a sound edge, or the new coat will fail with the old one.
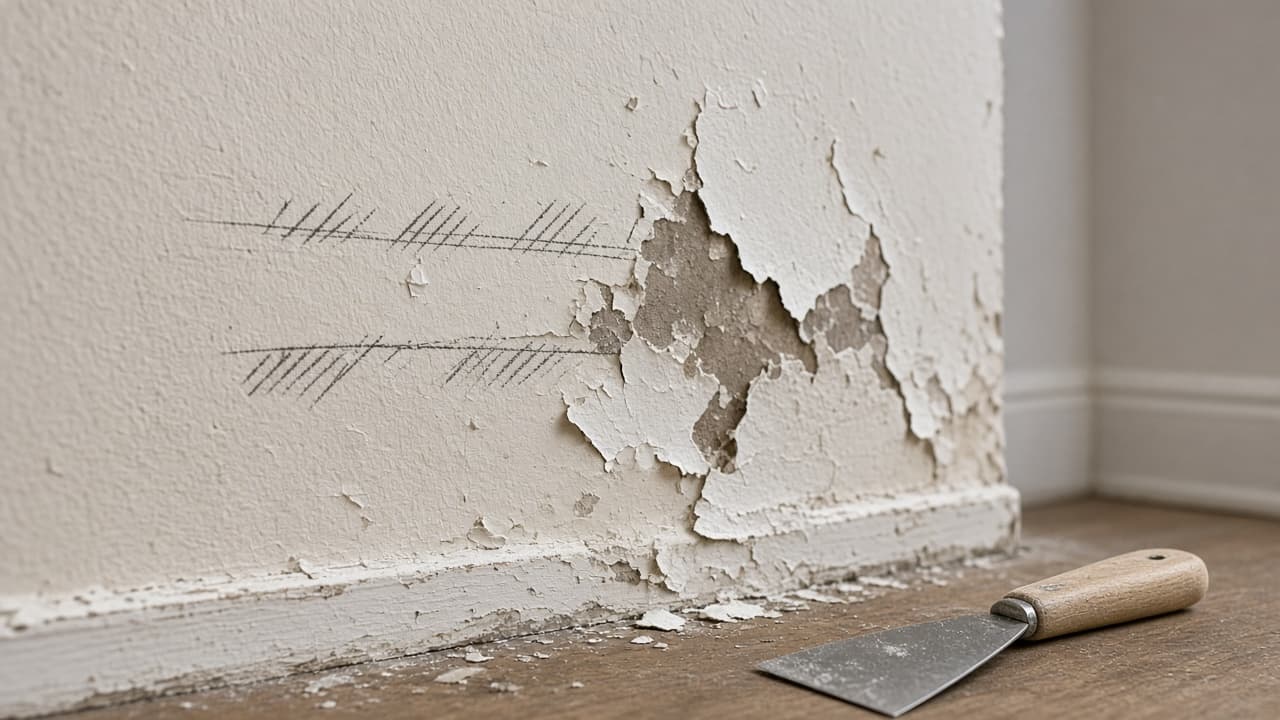
Loose film must come off before color goes on.
Step 03
Tape trim and apply primer where needed
Sharp edges and the right base coat save coats of expensive color.
Do this step in order
3a
Apply painter's tape to trim and ceiling lines
Press tape firmly along baseboards, door frames and ceiling edges. Remove tape that buckles and reapply.
3b
Prime stains, dark colors or large patches
Spot-prime repairs. Roll full primer when jumping from red to pale gray or covering water stains after the leak is fixed.
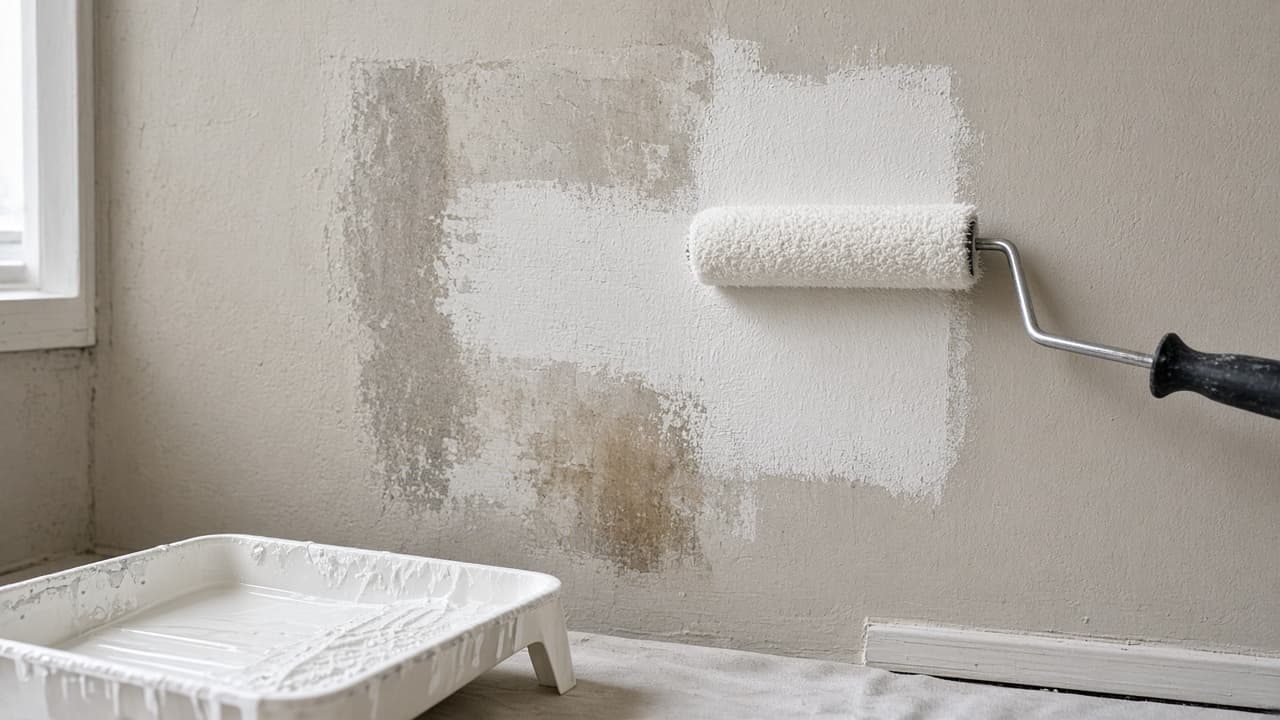
Prime repairs and stain blockers before finish color. 3c
Let primer dry per label
Rushing into color over wet primer causes drag marks and uneven sheen. Use the stated recoat window.
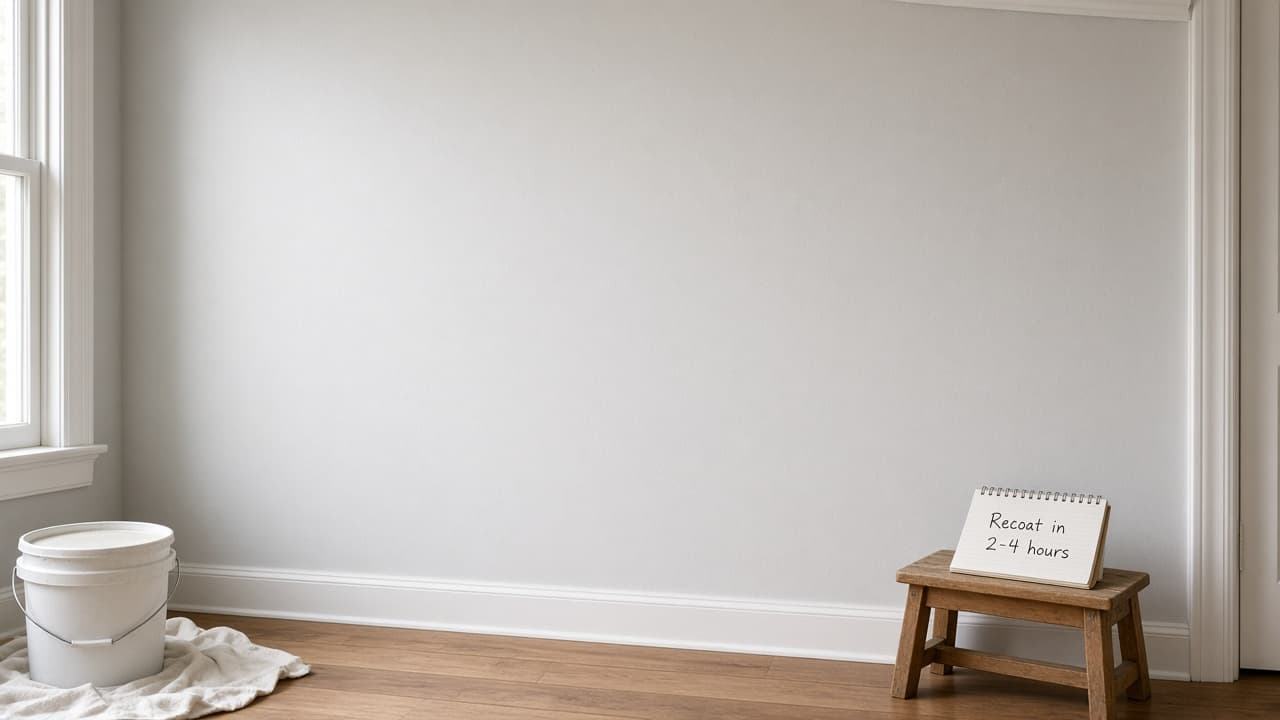
Wait the full primer dry time before finish coats. 3d
Skip full-room primer only when the surface already qualifies
Common mistake: priming everything by habit or skipping primer on bare drywall. Match the product to the surface you actually have.
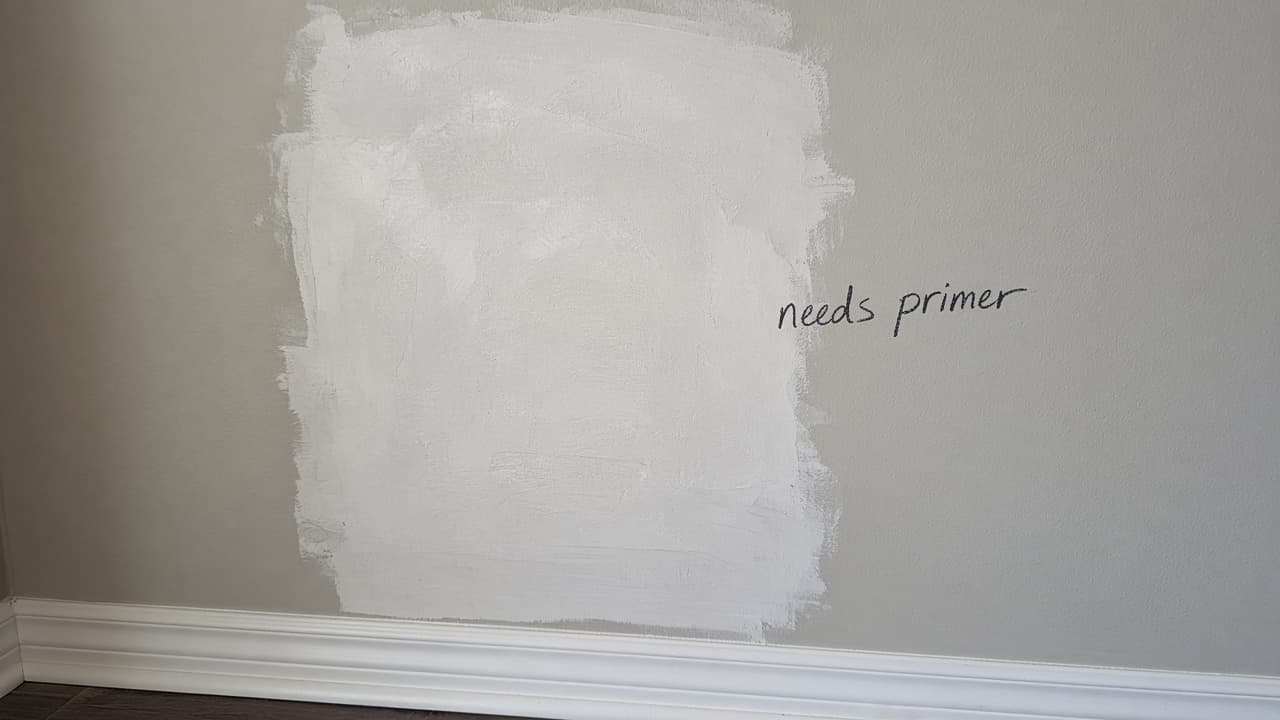
Prime what needs it. Do not guess from habit alone.
Step 04
Cut in edges for the first coat
Brush borders first so the roller does not bump trim.
Do this step in order
4a
Stir paint thoroughly and pour a tray load
Do not shake open cans violently. Stir until color and sheen look uniform, then pour only what you will use soon.
4b
Cut in a two-inch band at corners and trim
Brush ceiling lines, corners and around windows. Feather the edge so the roller blends in while the band is still wet.
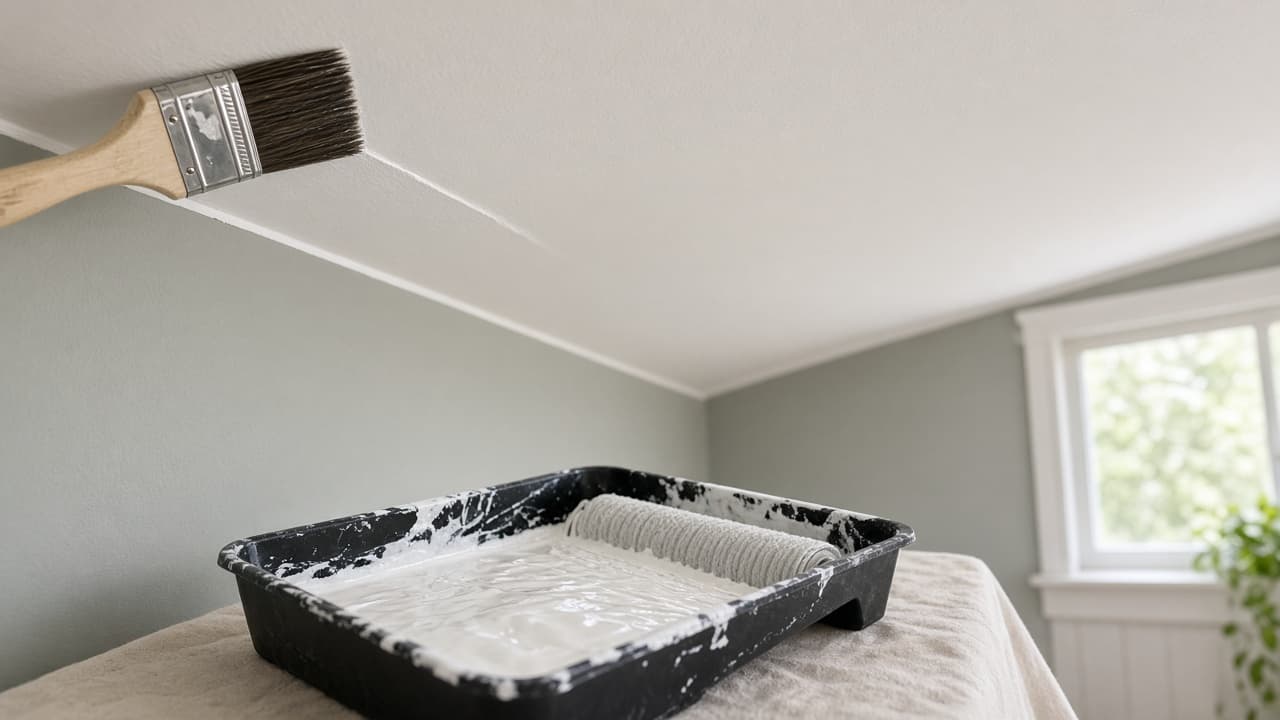
Brush a manageable band you can roll into while wet. 4c
Work one wall section at a time
Finish cut-in on a section you can roll immediately. Leaving brushed edges to dry creates a ridge the roller cannot hide.
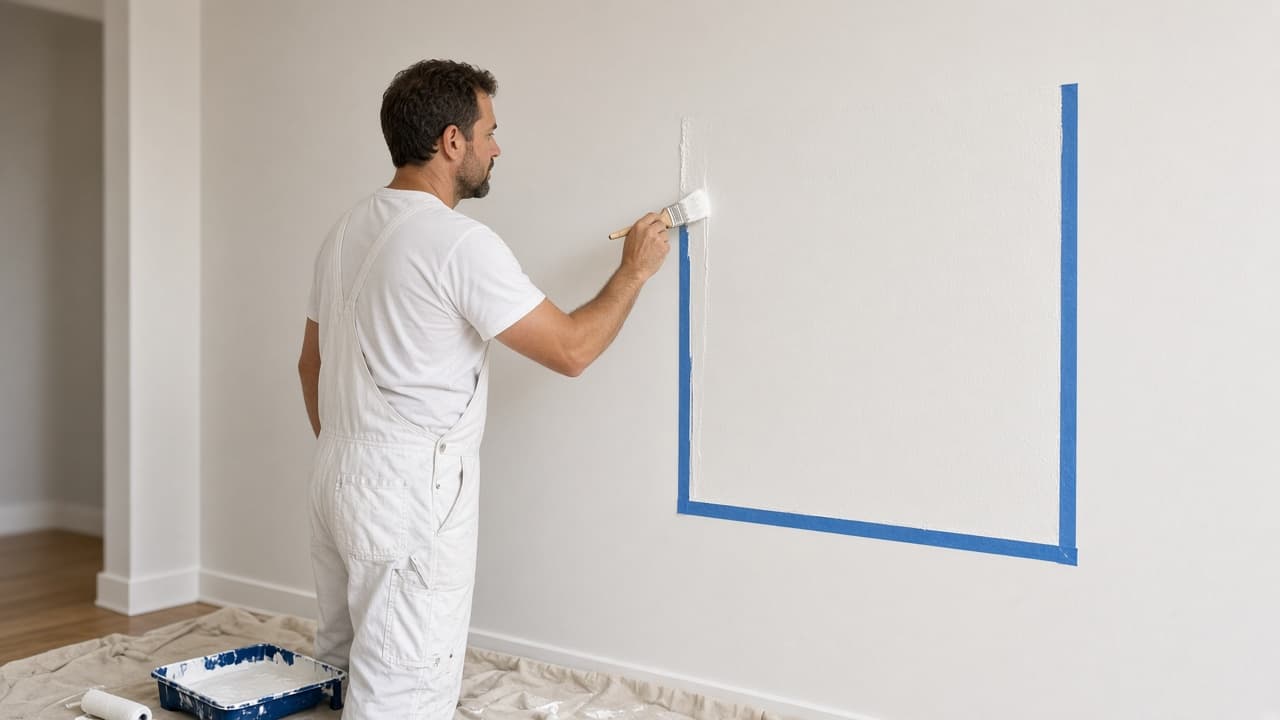
Cut in only as far as you can roll before the edge skins over. 4d
Avoid a thick brushed ridge at the ceiling
Common mistake: loading the brush so heavily that a shiny ridge sits along the ceiling line. Feather lightly so the roller can erase the join.
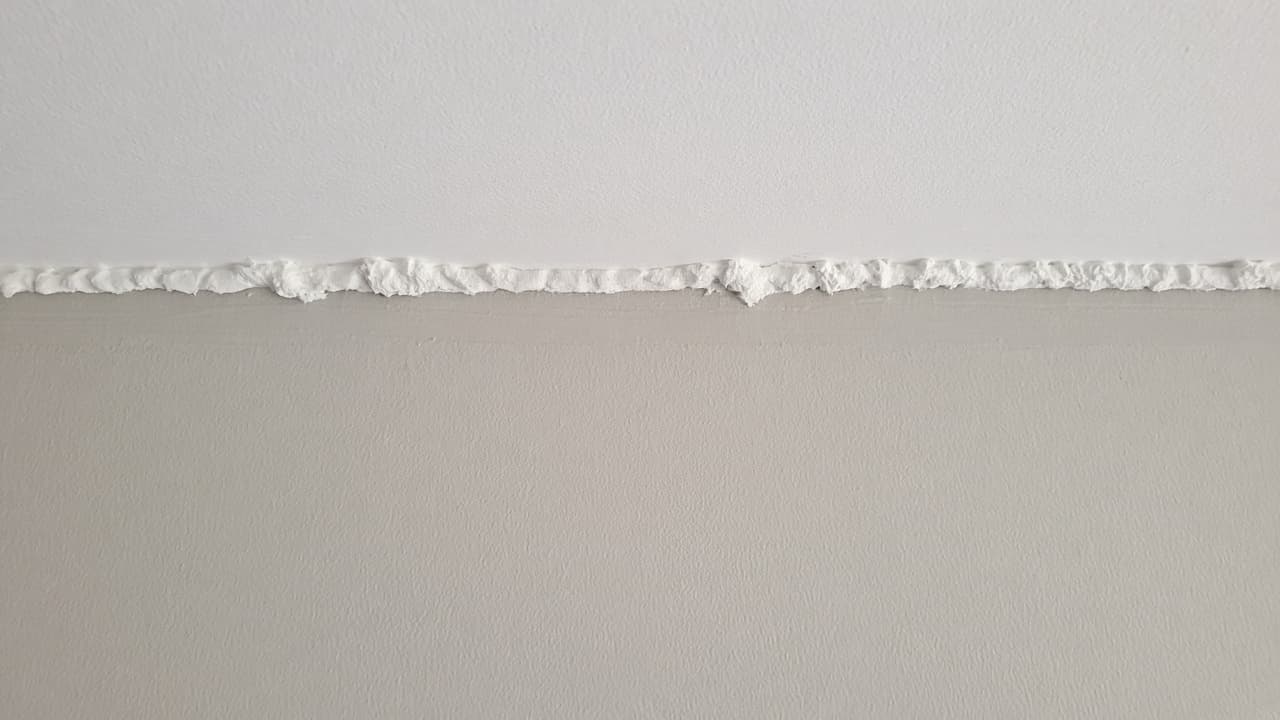
A thick cut-in ridge shows through even after rolling.
Step 05
Roll walls with a wet edge
Even roller work turns cut-in bands into a uniform first coat.
Do this step in order
5a
Load the roller evenly without dripping
Roll through the tray well so the cover is coated but not dripping. Excess paint causes runs at the ceiling and baseboard.
5b
Roll in a W pattern and fill without lifting
Lay a W on the wall, then fill the section with parallel passes while paint is still wet. Finish with light strokes in one direction.
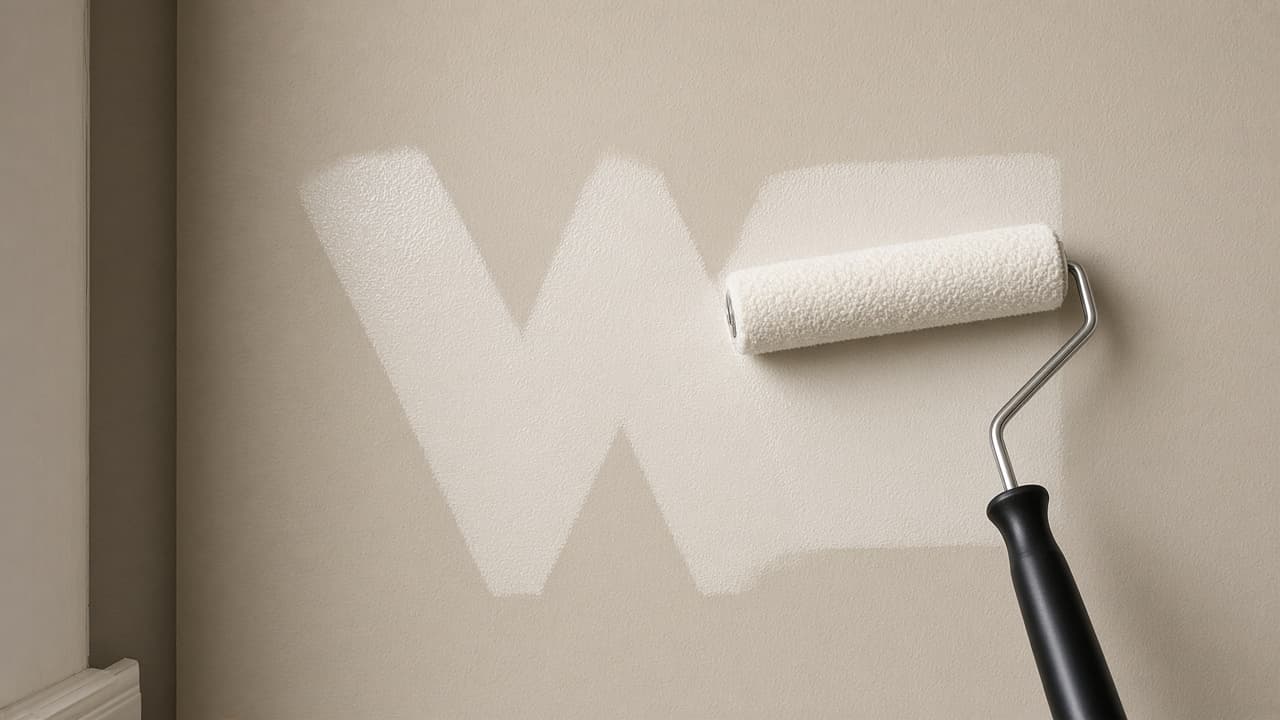
W pattern plus fill passes keep sheen even. 5c
Keep a wet edge between sections
Work one wall at a time. Stopping mid-wall on a hot day can leave lap lines that show after drying.
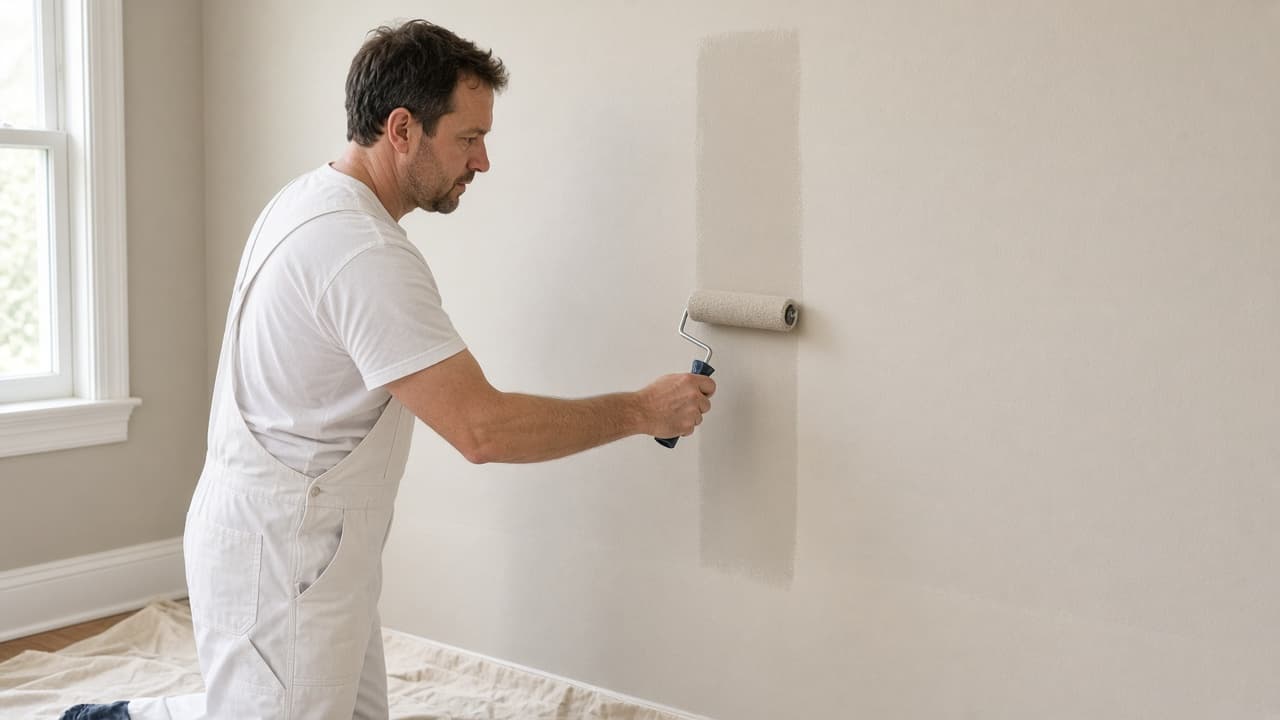
Overlap into wet paint so lap lines do not dry in. 5d
Do not stretch a dry roller to finish faster
Common mistake: rolling farther after the cover goes dry and sticky. Reload sooner. Stretching thin film leaves flashing that a second coat may not fully hide.
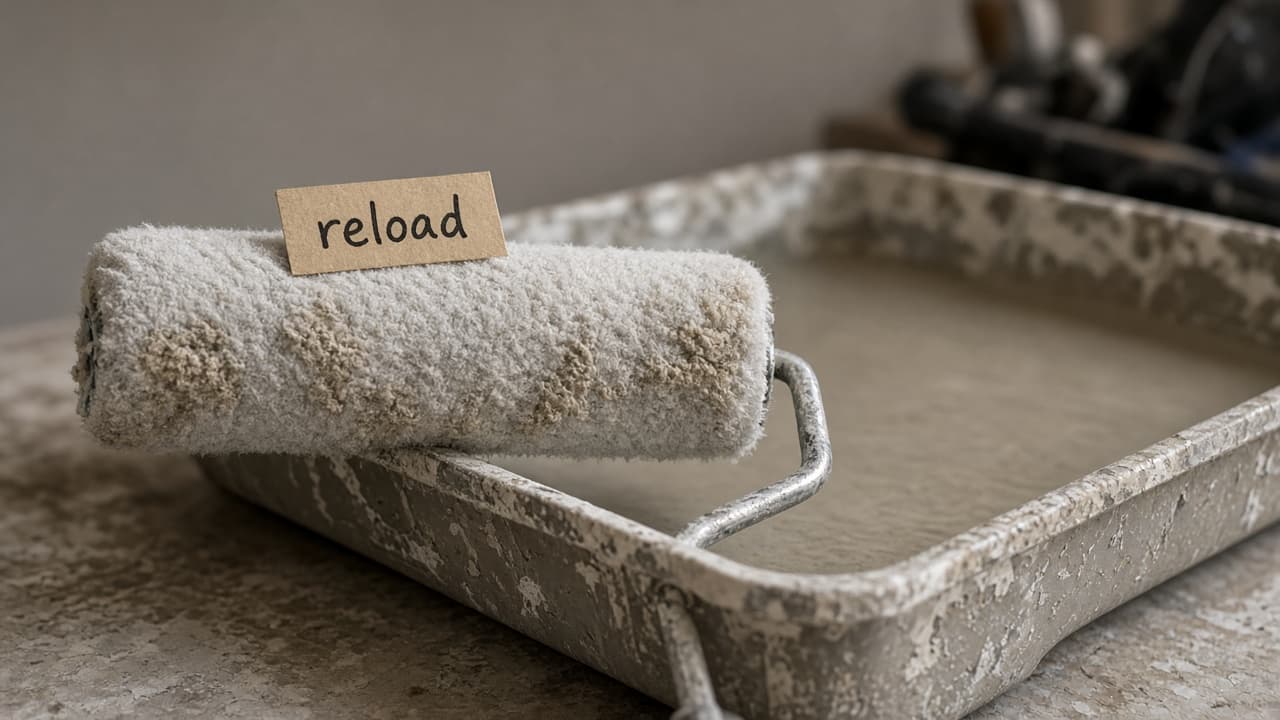
Reload when the cover stops laying a wet film.
Step 06
Apply the second coat
Two thin coats beat one thick coat for even color and durable film.
Do this step in order
6a
Wait for the first coat to dry fully
Follow the can recoat window, often about four hours for many latex products. Touching too soon pulls film and leaves marks.
6b
Cut in again if edges look thin
Brush another light band where coverage is weak, then roll. Bold colors on cheap primer sometimes need this pass.
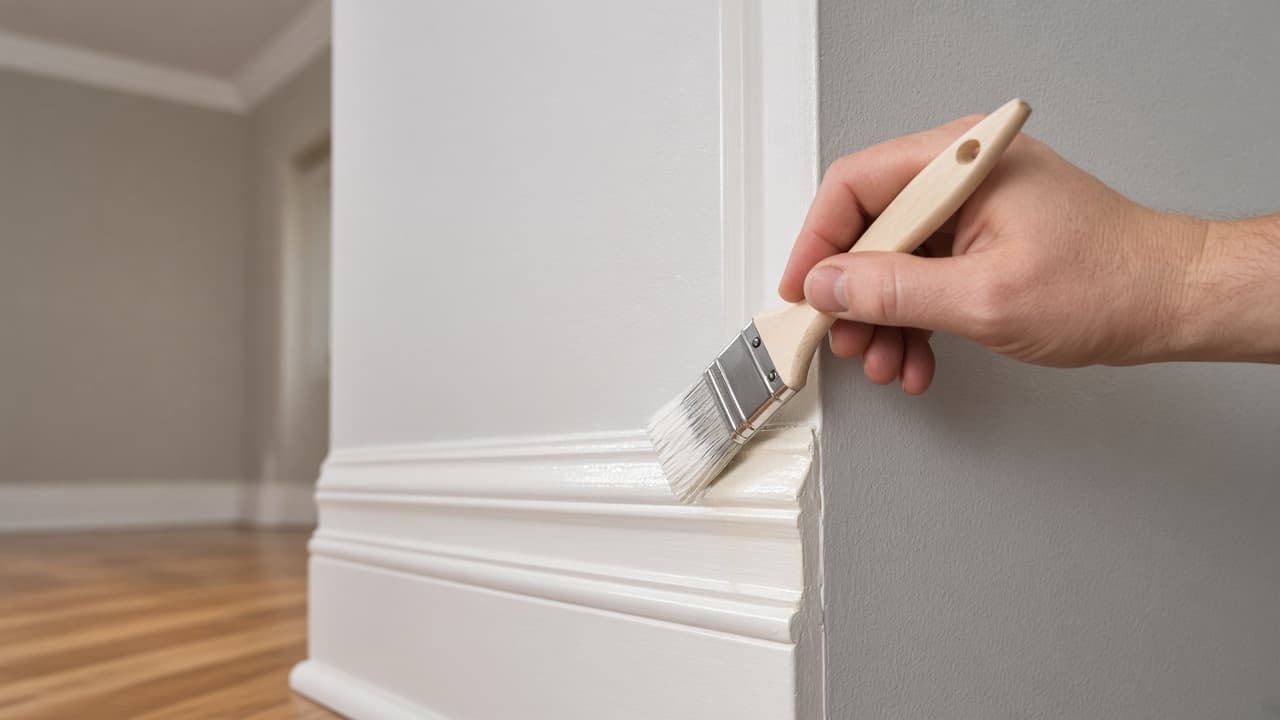
Refresh thin edges before the second roll pass. 6c
Roll the second coat the same way
Use the same W-and-fill method with a wet edge. Keep coats thin. A heavy second coat sags more than it hides.
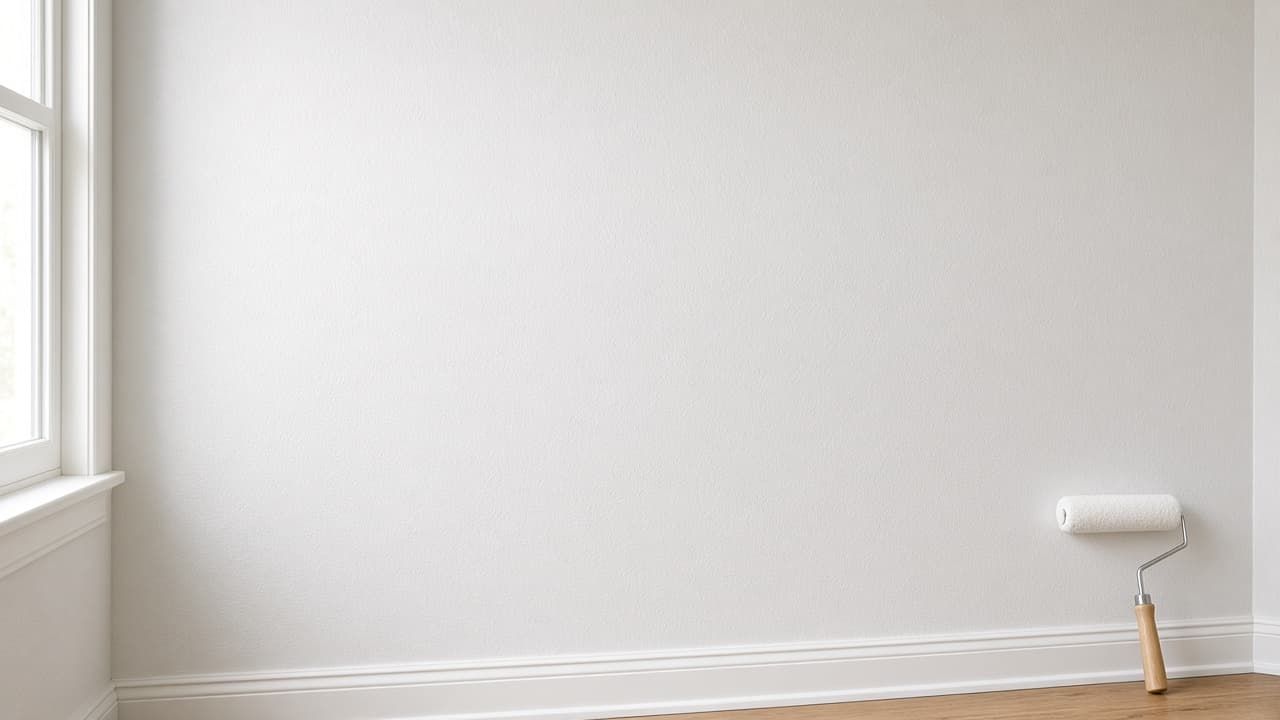
Thin even second coats beat one overloaded pass. 6d
Reject a same-day rush when the film is still soft
Common mistake: recoating because the wall feels dry to a fingertip while the film is still soft underneath. Soft coats telegraph roller marks forever.
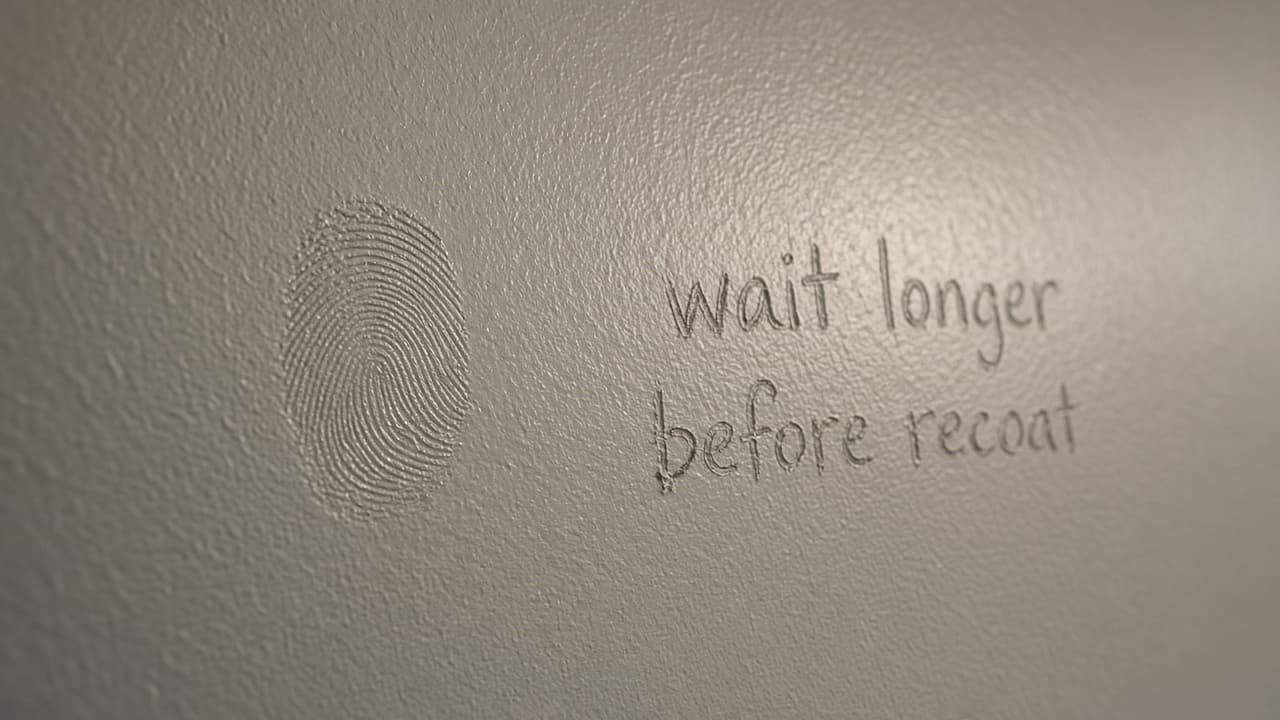
Surface dry is not always ready to recoat.
Step 07
Remove tape, reinstall hardware and clean up
Crisp lines and a clean cure finish the job.
Do this step in order
7a
Remove tape at the right time
Many painters pull tape when the second coat is still slightly tacky to avoid tearing dry film. Score a sealed edge if the tape maker recommends it.
7b
Reinstall covers and ventilate until cured
Replace outlet plates. Keep air moving until odor fades and walls feel hard dry before heavy furniture returns.
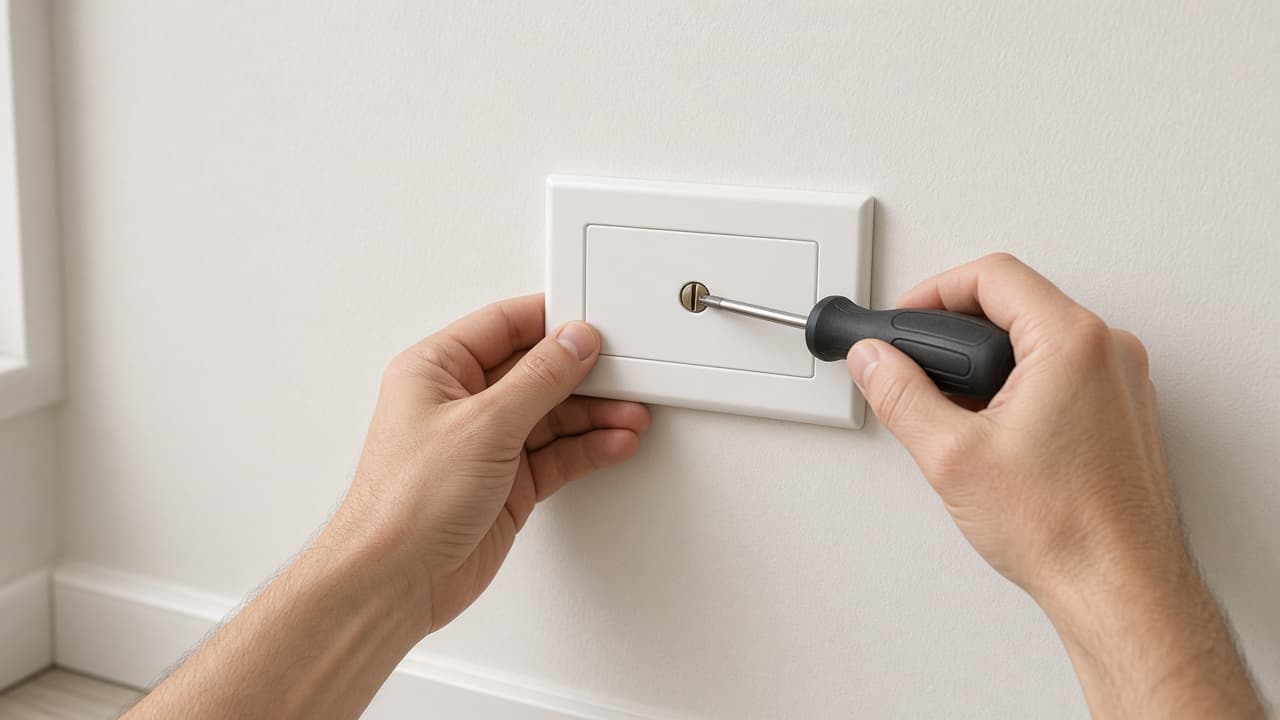
Reinstall hardware after the film is set enough to handle. 7c
Label leftover paint for touch-ups
Write the room name and date on the can. Store it where it will not freeze so future nicks are easy to fix.
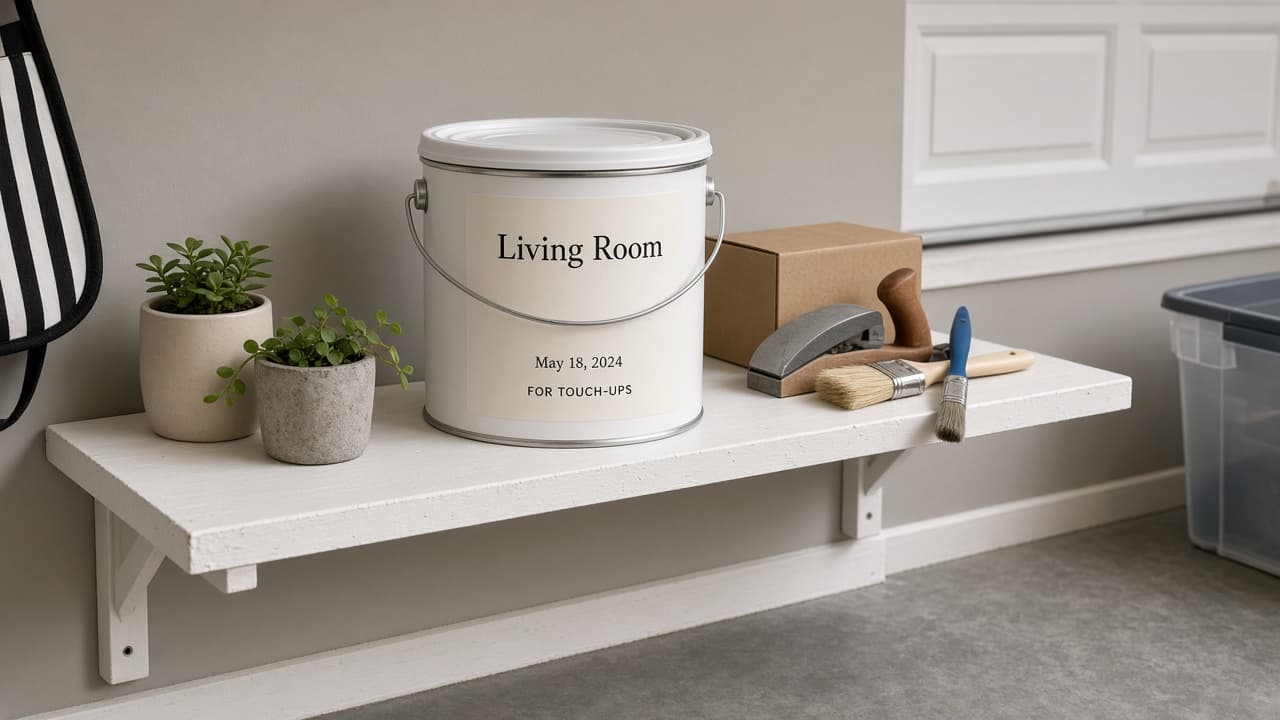
Leftover labeled paint is the cheapest insurance for later chips. 7d
Do not drag furniture back across soft film
Common mistake: pushing sofas and beds in the same evening because the wall looks done. Soft paint scars permanently. Wait for full cure guidance on the label.
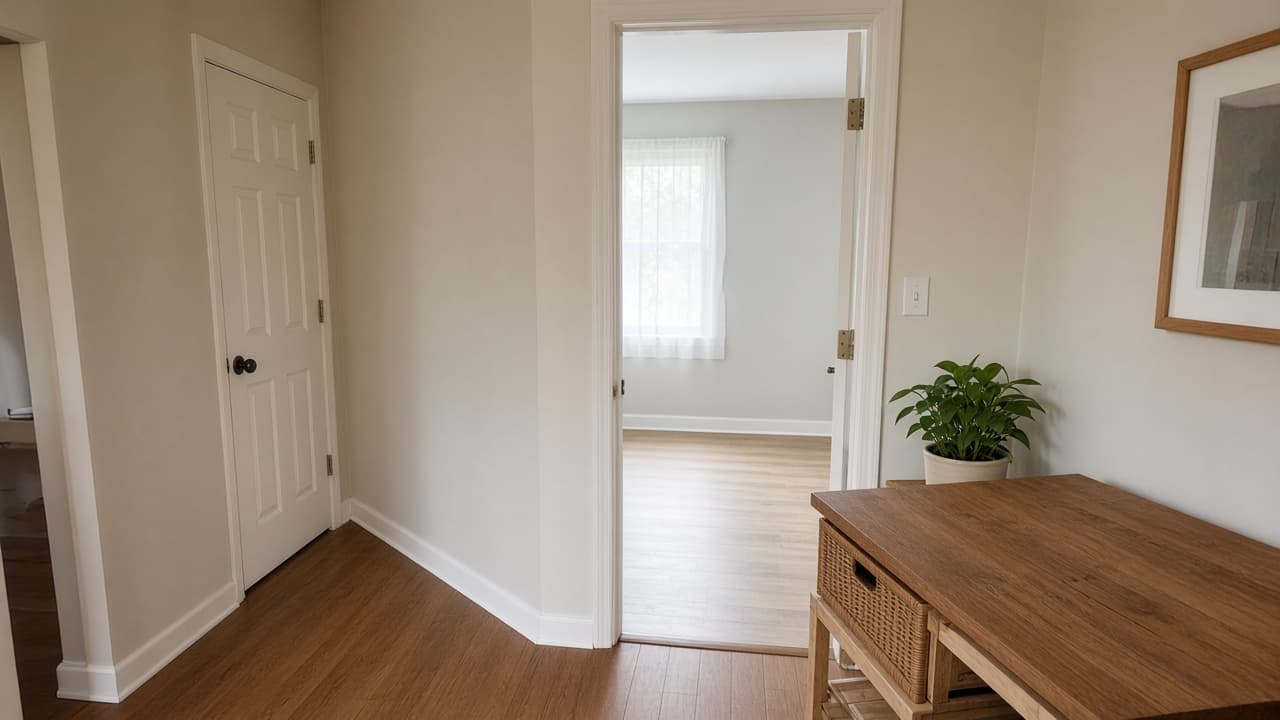
Let the film harden before furniture scrapes the new walls.
Done when
- Furniture moved or centered and covered
- Holes patched and sanded smooth
- Walls washed and dry
- Tape applied to trim and ceiling edge
- Primer applied where needed
- Two finish coats rolled with wet edge kept
- Tape removed and covers reinstalled
Eagle Frame's takeaway: spend more time cleaning, repairing and protecting than you expect. Prime the surfaces that need it, cut in and roll one wet section at a time and allow the stated recoat time. Stop if you find active moisture, mold or suspect lead paint that needs specialist handling.