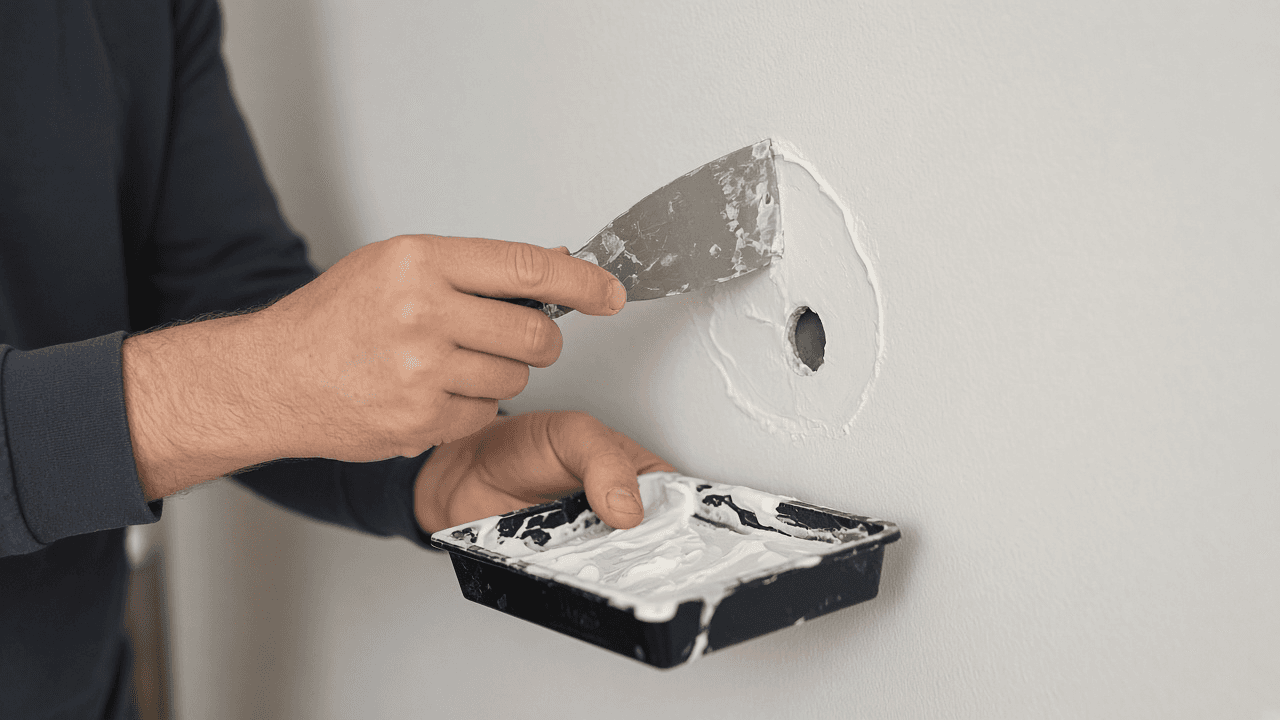
How to patch a hole in drywall
Square the damage, bridge small holes with mesh or backer board, mud in thin layers, sand smooth and prime before paint so the repair disappears on the wall.
Drywall holes range from a nail pop to a doorknob puncture. The fix changes with size, but the idea is the same: give joint compound something to grip, build the surface in thin layers and sand until the wall looks flat under side light.
Tiny nail holes need only spackle and a light sand. A typical 4-inch by 4-inch adhesive patch is intended for a hole about 3 inches or smaller, so the patch overlaps sound wall on every side. Holes approaching 4 inches need a larger patch or a drywall plug. Openings over about 4 inches are more reliable when squared, backed and filled with drywall of the same thickness.
Joint compound shrinks as it dries. One thick blob will crack and leave a bump. Pros feather three thin coats, widening each pass so the edge blends into the painted wall. Let each coat dry fully before sanding or adding the next.
Dust control matters in lived-in rooms. Drop a cloth, vacuum between sanding passes and run a fan toward a window if you can. Prime the repair before paint. Bare compound drinks paint unevenly and the patch will flash under daylight.
Before cutting, identify why the hole exists and what is behind it. A leak must be repaired and the cavity dried before new drywall goes in. Turn off the relevant circuit near outlets, use a stud finder with wire detection and cut shallow passes. Wet, moldy or fire-rated assemblies may need a professional repair.
Texture and sheen determine whether the final patch disappears. Save a paint chip for matching, reproduce orange-peel or knockdown texture on scrap first and use primer over every area of bare compound. Side lighting will reveal ridges that overhead room light hides.
Step-by-step guide
Time: 1 to 3 hours active work; 24 to 48 hours drying between coats
What you need
- Joint compound (premixed or powder)
- Putty knives (4-inch and 6-inch)
- Sandpaper or sanding sponge (120 to 220 grit)
- Mesh patch or drywall scrap for larger holes
- Utility knife, drywall saw and screws for big openings
- Primer and matching wall paint
- Dust sheet and vacuum
Before you start
- Turn off power before cutting near electrical boxes.
- Wear a dust mask while sanding.
- Do not sand lead paint in older homes without proper containment and testing.
- Thick single coats crack. Thin layers are faster overall.
Step 01
Prep the hole and check for hazards
Remove loose paper and crumbly gypsum. A clean square edge helps compound lock in place.
Do this step in order
1a
Clear dust and loose material
Brush or vacuum the opening. Pull any hanging paper tabs with a knife until only solid drywall remains.
1b
Measure the widest hole diameter
Use spackle for nail and screw holes. Use a 4-inch patch only when it overlaps a hole of about 3 inches or less. Plan a backed drywall plug for openings over about 4 inches.
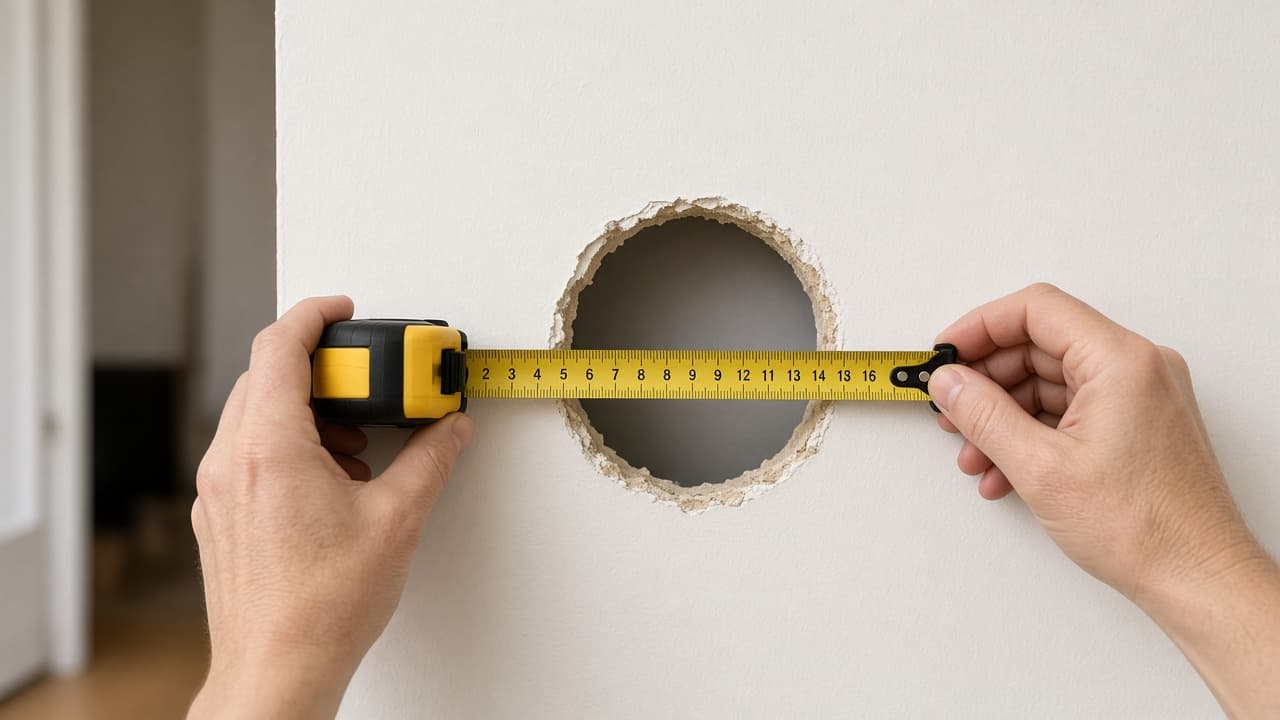
Size the repair method before you open the bucket. 1c
Turn off power and scan for wires
Use a stud finder with wire detection near outlets. Cut shallow passes until you know what is behind the board.
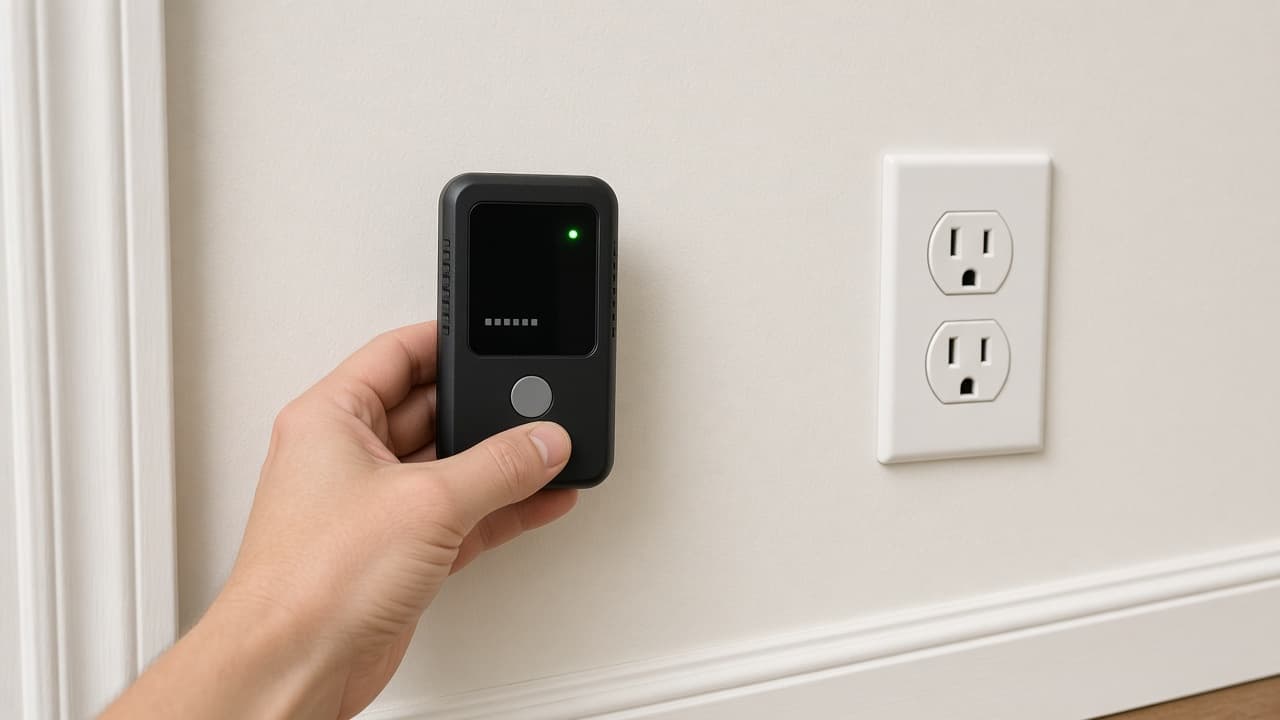
Know what is inside the wall before you cut deeper. 1d
Patch over a wet or moldy cavity
Common mistake: mudding over a leak stain without fixing the source. Dry the cavity and stop the moisture first or the repair will fail again.
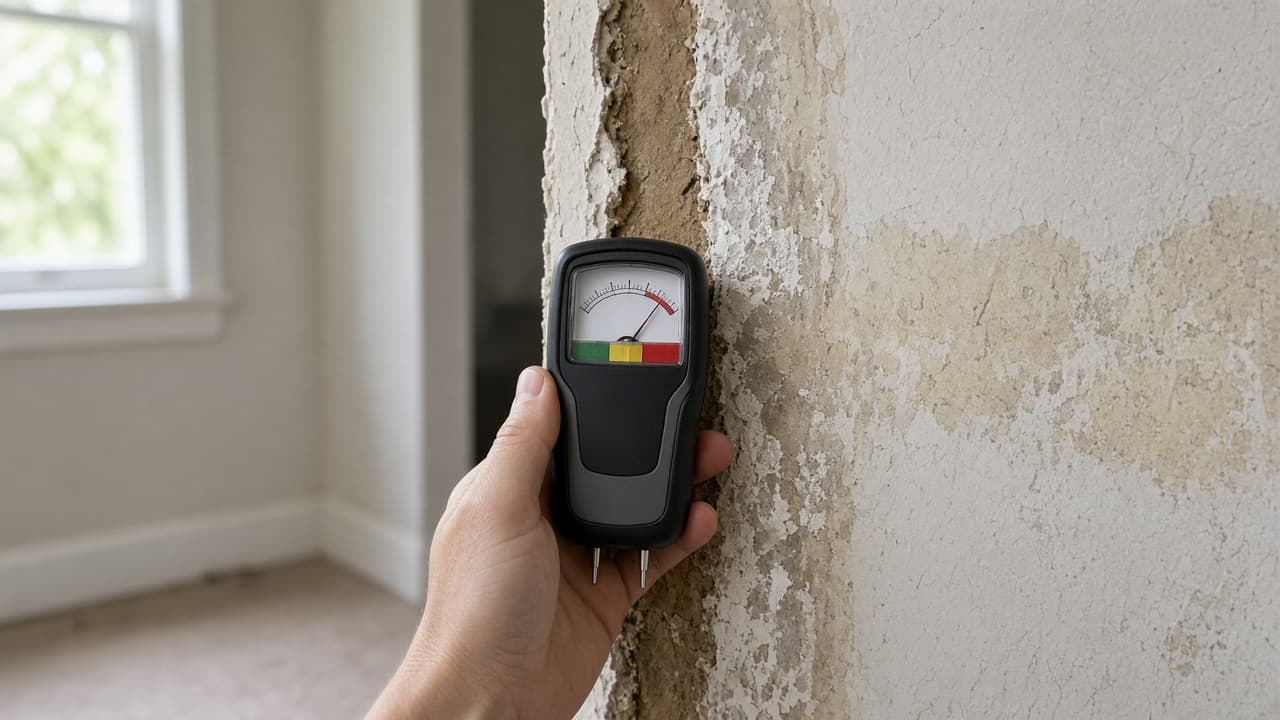
Fix leaks before you fill the hole.
Step 02
Choose the repair method by hole size
Match the patch to the opening. Small holes need spackle. Medium holes need mesh. Large holes need backing.
Do this step in order
2a
Label the hole as nail, mesh or backer size
Nail pops get spackle. Holes to about 3 inches get adhesive mesh. Bigger openings need a backer strip and a drywall plug.
2b
Buy mesh only when overlap is solid on all sides
Center the patch so every edge sticks to sound wall. A patch too small for the hole will peel.
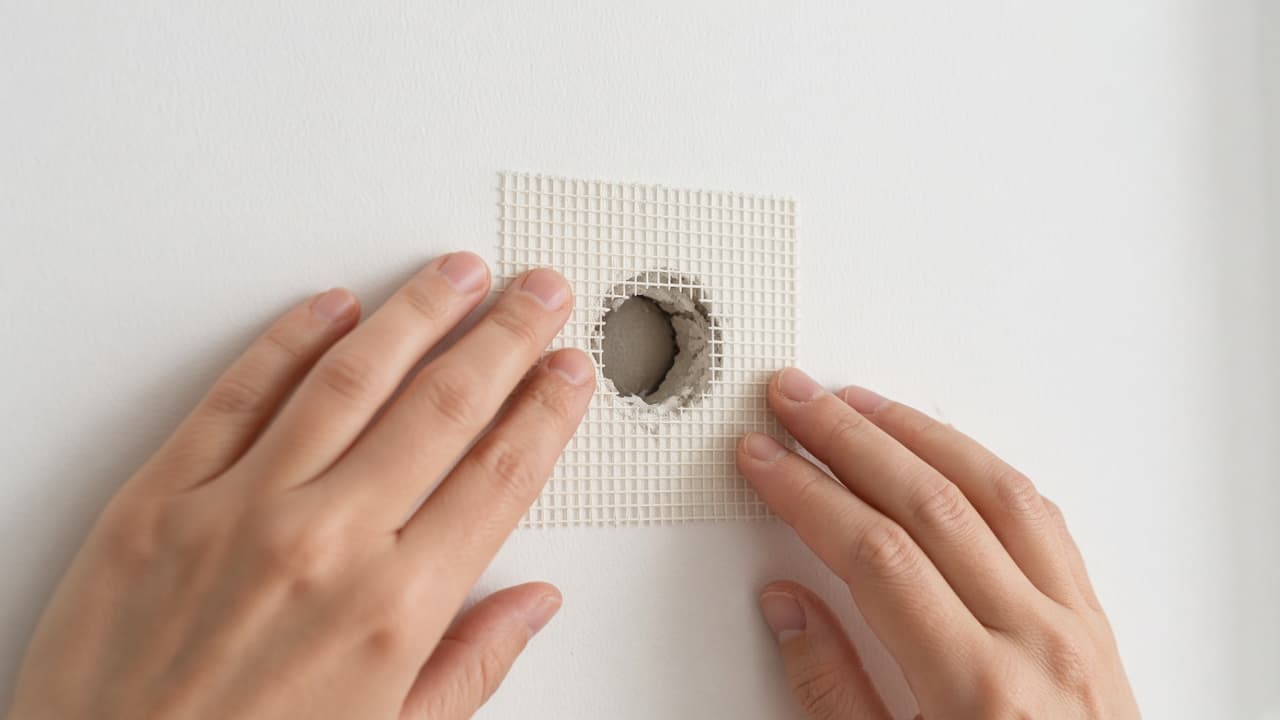
Overlap sound wall on every side. 2c
Plan a backer for doorknob-size holes
Screw a strip inside the wall, then screw a drywall scrap flush with the surface.
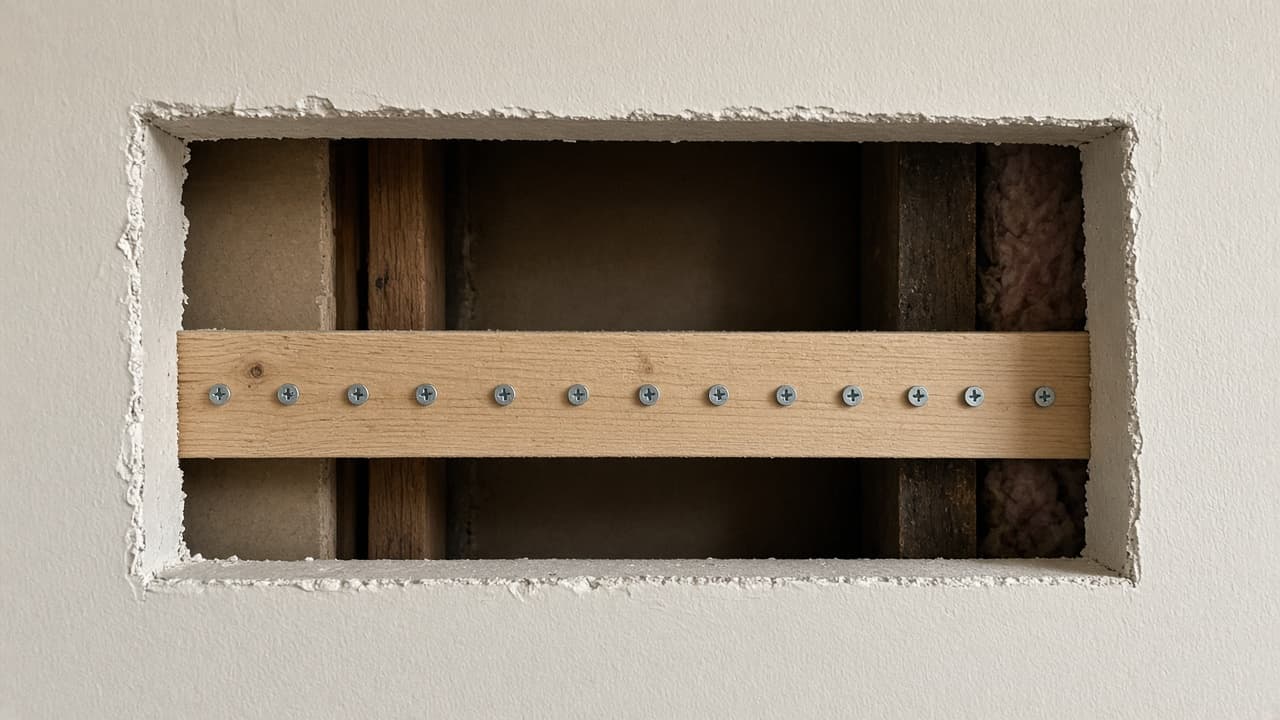
Backers give big holes something to screw to. 2d
Use one giant mesh sheet on a fist-sized hole
Common mistake: stretching a 4-inch patch across a 5-inch opening. The edges lift and the mud shell cracks when the wall moves.
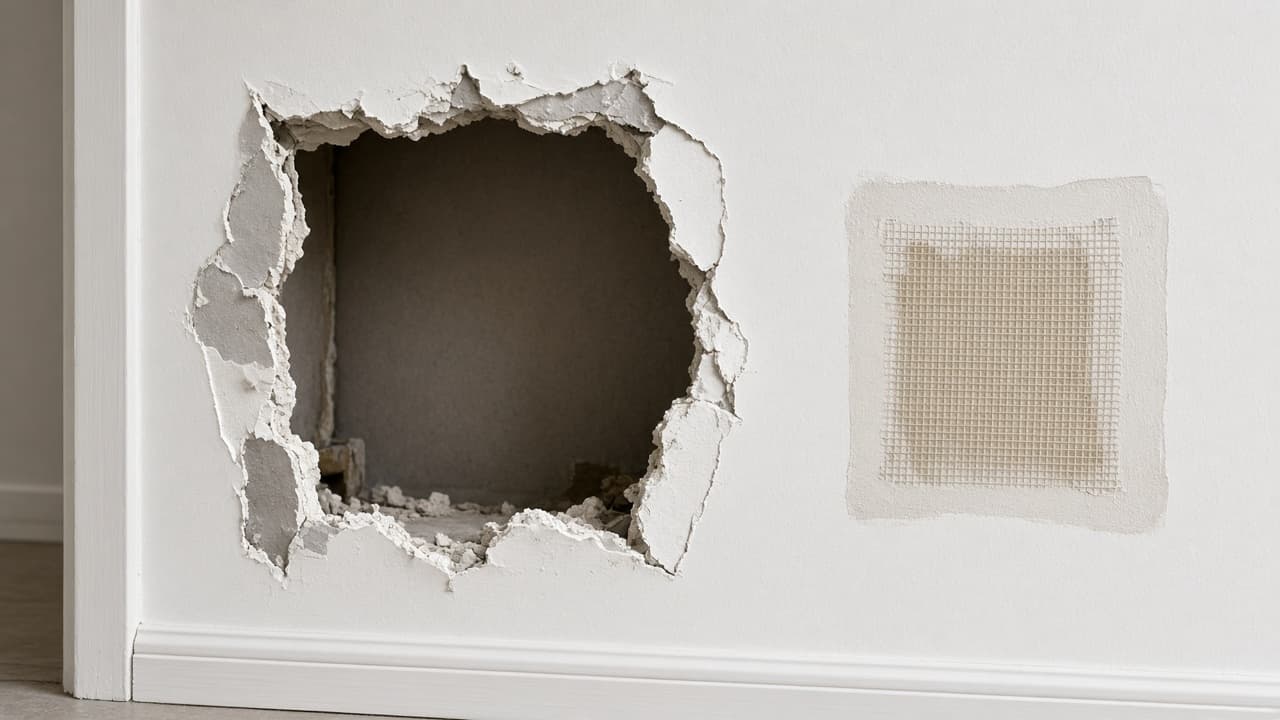
Undersized mesh fails on large holes.
Step 03
Install mesh or a drywall backer
Bridge the gap so compound has support. Press mesh flat or screw backing strips before the first mud coat.
Do this step in order
3a
Press mesh firmly from the center outward
Smooth wrinkles with a putty knife. Compound will not hide a lifted corner.
3b
Countersink backer screws below the wall plane
The plug should sit flush, not proud. Trim ragged edges so the patch fits tight.
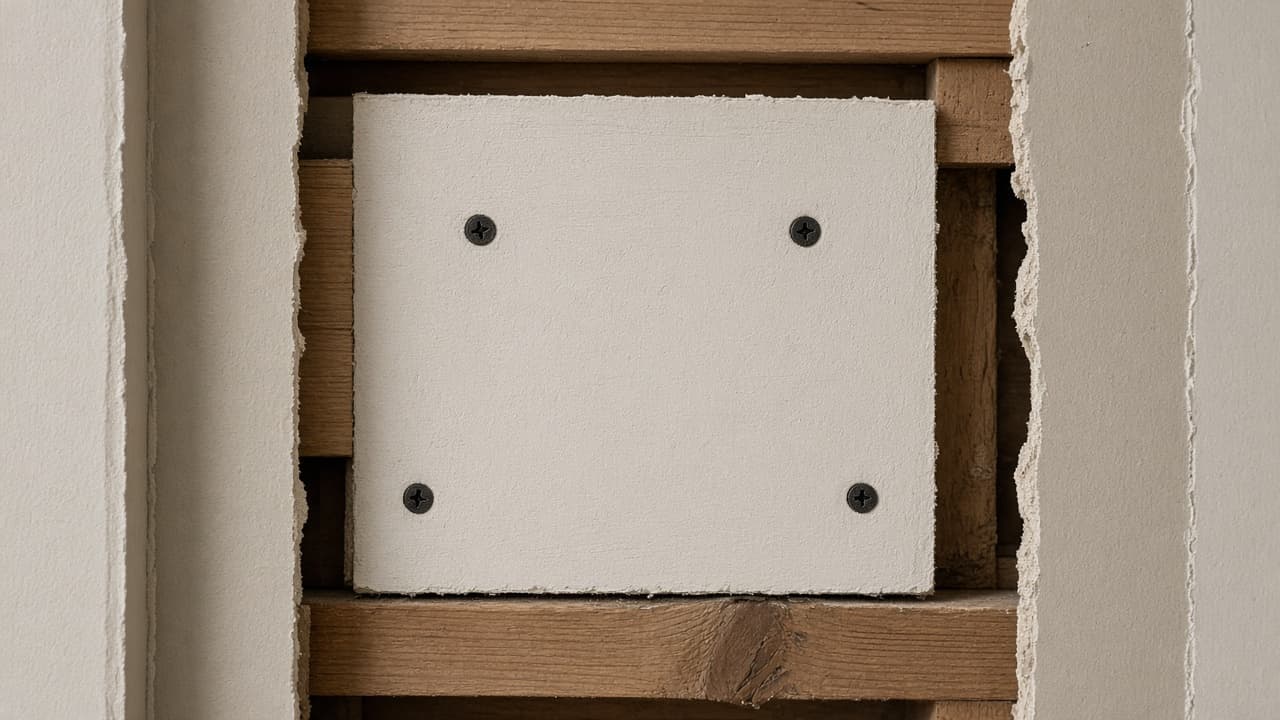
Flush backing prevents a bulge. 3c
Feather the first ring of compound past the mesh
Extend mud an inch beyond the patch on the first pass. Thin pressure fills the weave without a mound.
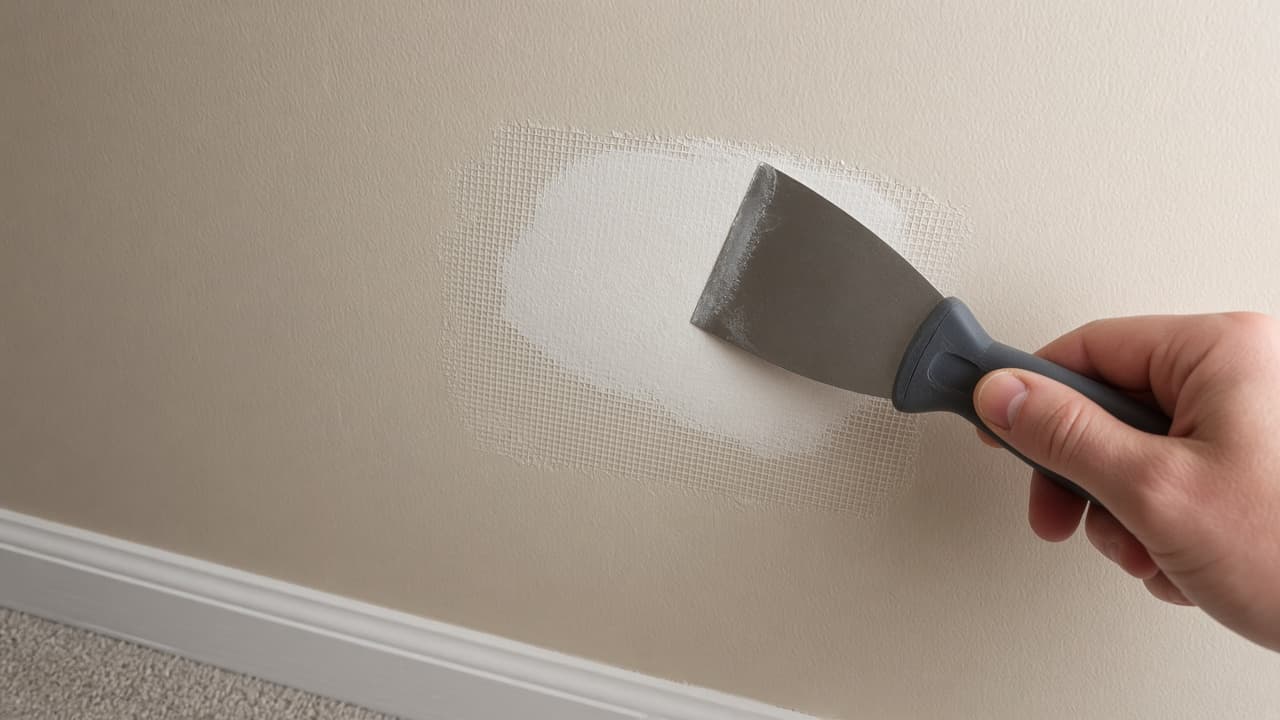
Thin first coats lock the mesh in place. 3d
Skip the backer on a large hole
Common mistake: filling a wide opening with mud alone. Without backing, the fill cracks and falls into the cavity.
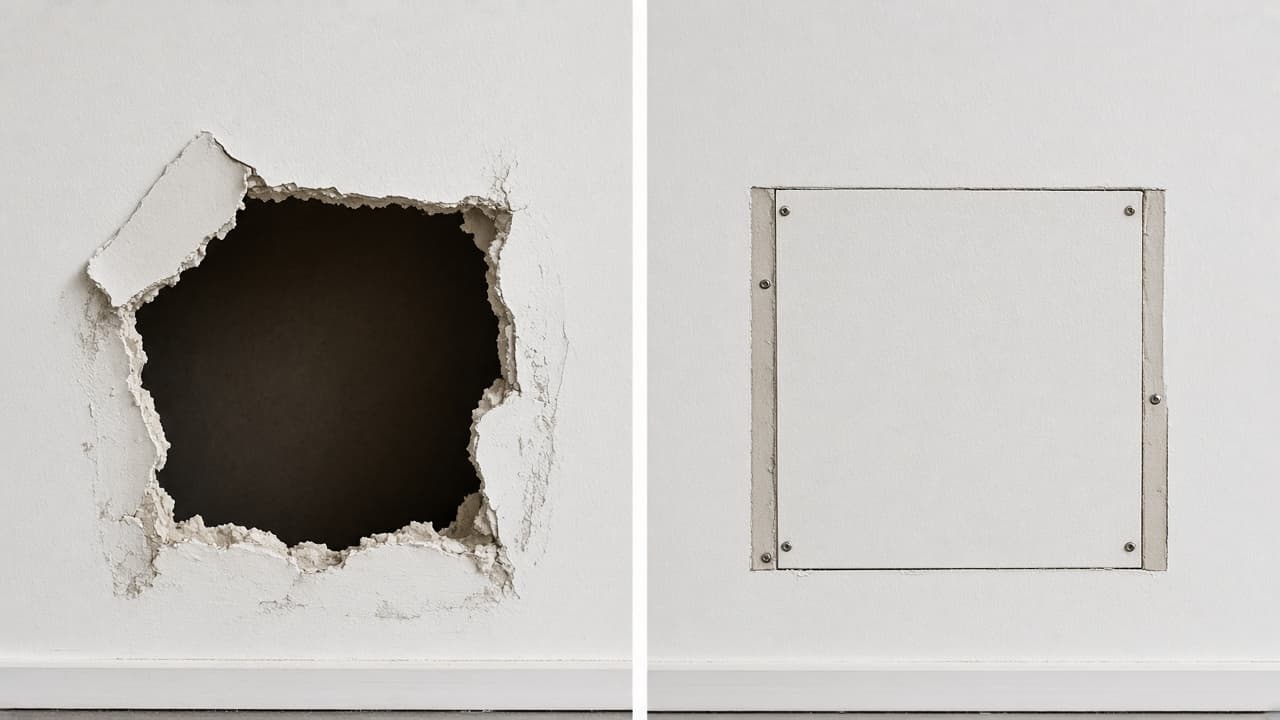
Big holes need mechanical support.
Step 04
Apply the first thin mud coat
Force compound through mesh and scrape almost clean. The first coat anchors the repair.
Do this step in order
4a
Mix or stir compound until creamy
Stir premixed mud and add water sparingly to powder mix. Lumps telegraph through paint.
4b
Press the first coat into the mesh
Use a 4-inch knife. Force compound through the mesh, then scrape almost clean so the coat stays thin.
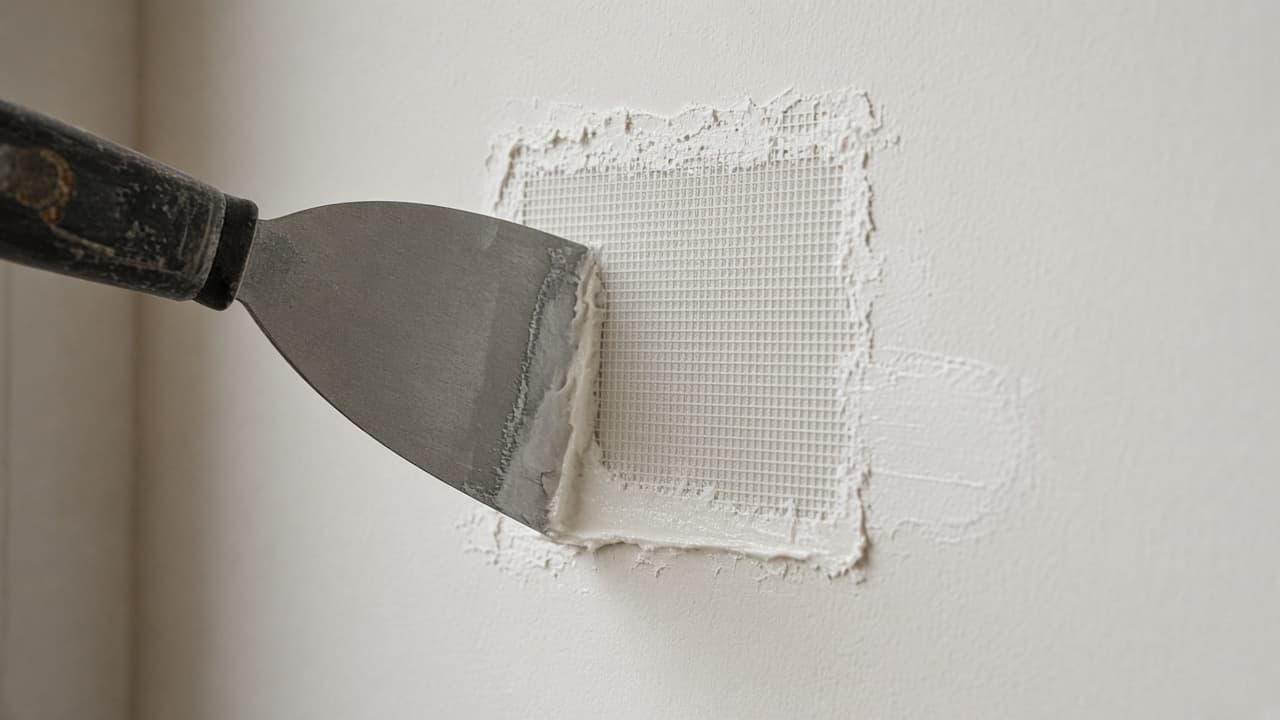
Thin pressure beats a piled-on first pass. 4c
Let the coat dry fully before touching it
Rushing leaves soft mud that gouges when you sand. Drying often takes several hours.
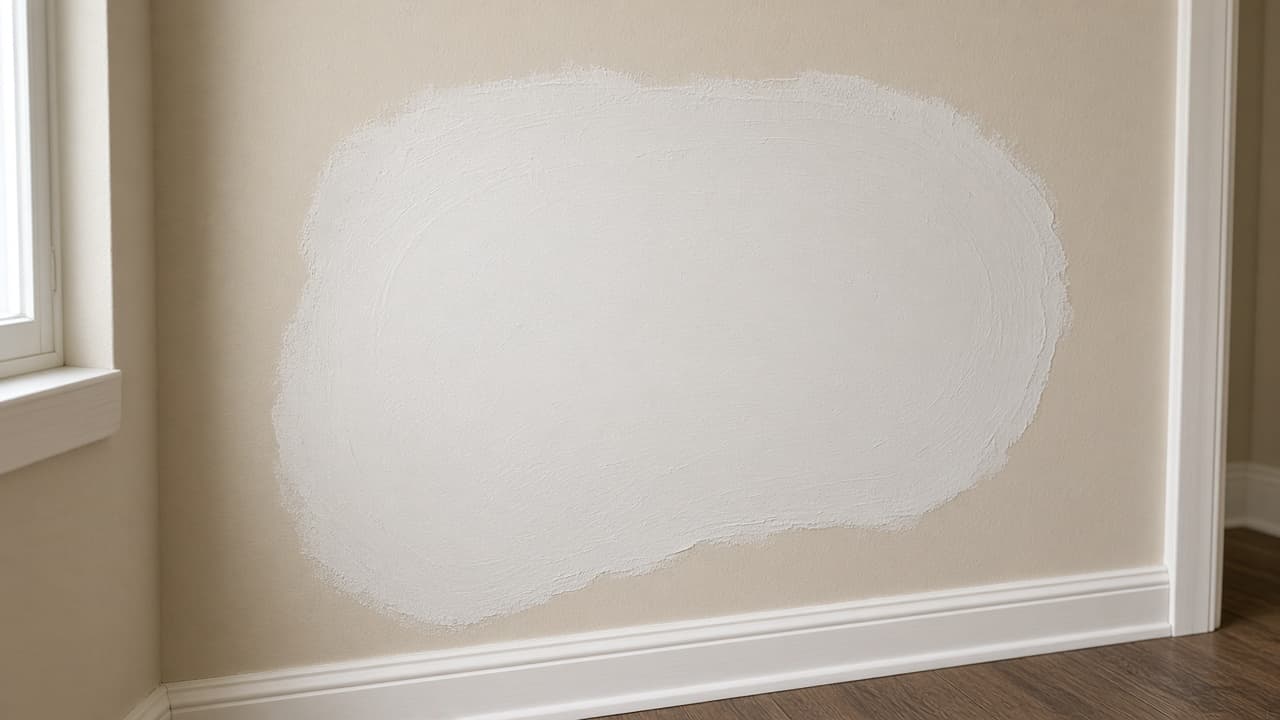
Full drying between coats prevents soft mud and ridges. 4d
Load one thick blob to save time
Common mistake: a single heavy coat that shrinks and cracks overnight. Two thin passes dry flatter and faster overall.
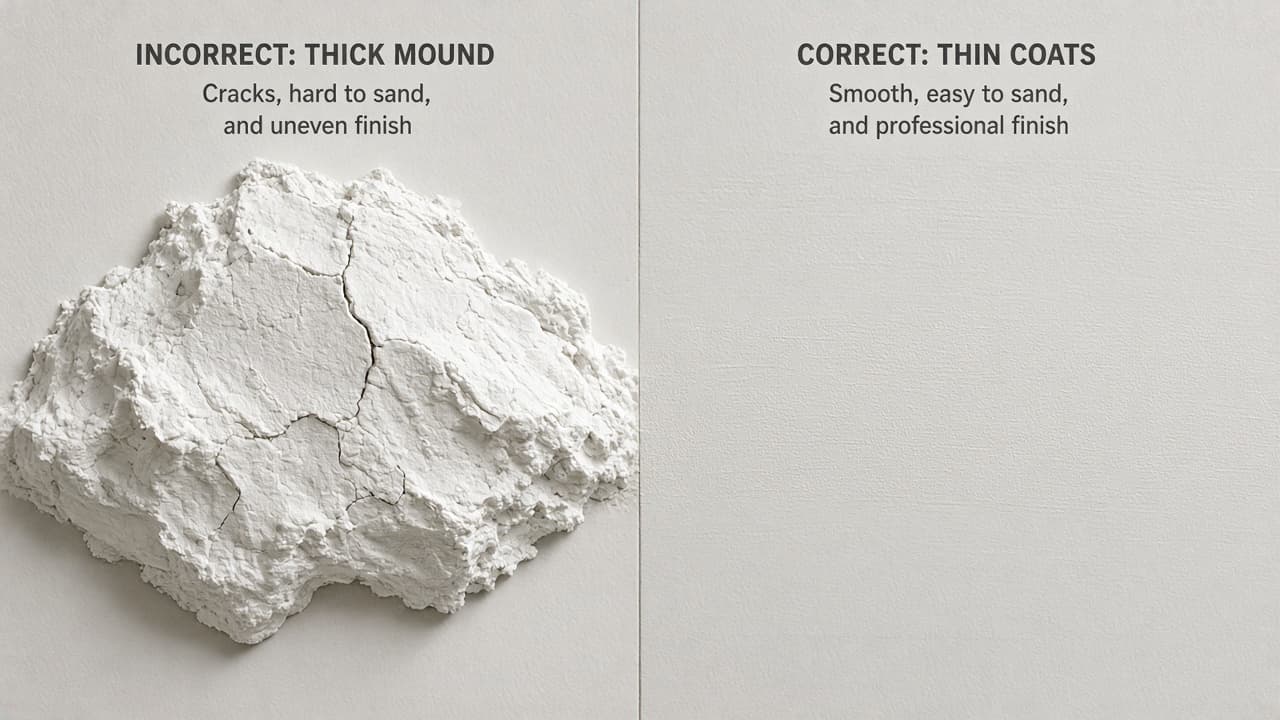
Thick first coats crack as they shrink.
Step 05
Add wider feathered coats
Each pass should extend beyond the last. Feather edges so no ridge catches your hand.
Do this step in order
5a
Sand high spots lightly between coats
Knock down ridges with fine grit before adding width. You are leveling, not polishing yet.
5b
Switch to a 6-inch knife for coat two
Extend each coat an inch beyond the last. Thin layers prevent cracks.
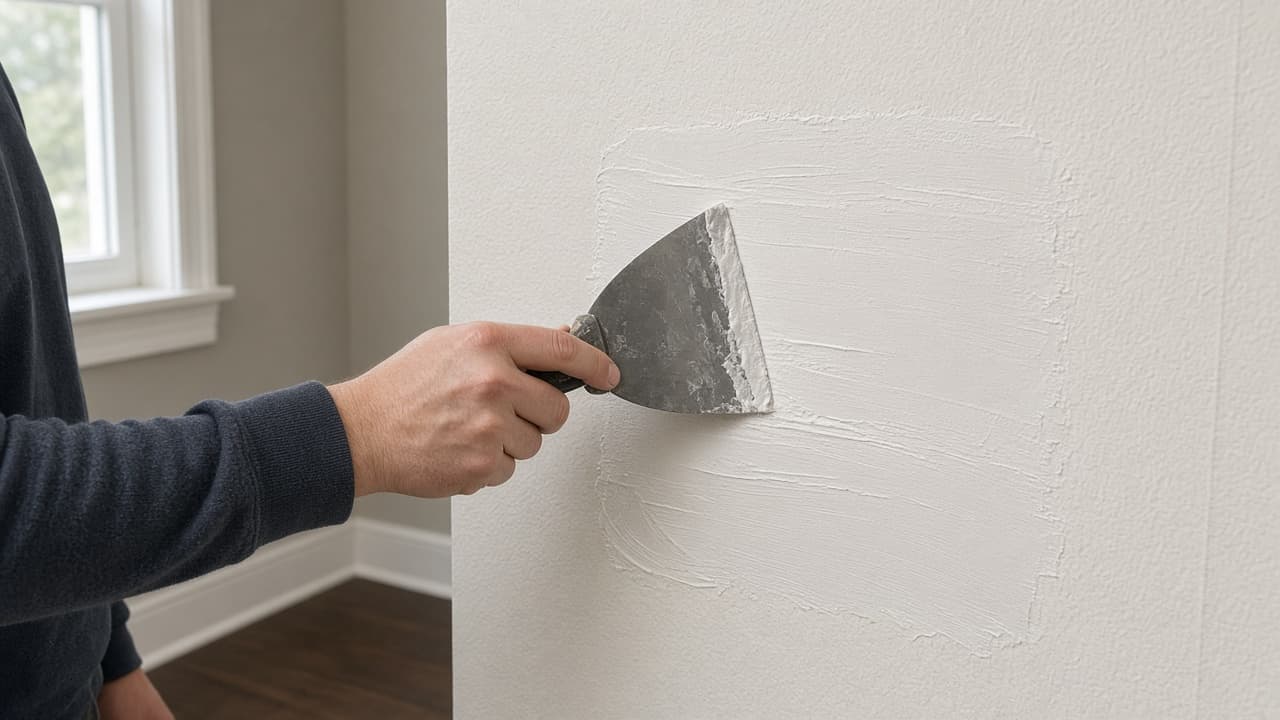
Switch to a 6-inch knife for coat two 5c
Scrape knife lines before the mud sets
Run a clean blade over ridges while the coat is still soft. Less sanding means less dust.
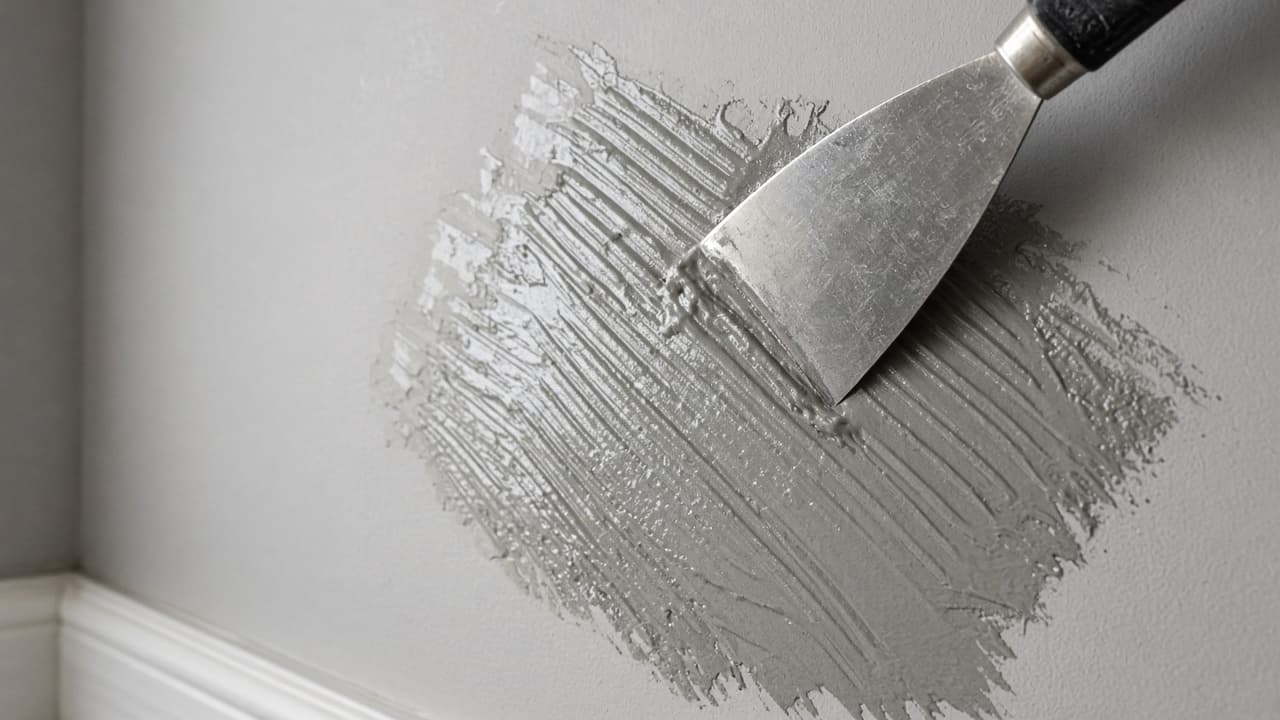
Scrape knife lines before the mud sets 5d
Stop at two coats when the wall is uneven
Common mistake: quitting before the repair is wider than the patch. Flashing shows when the bump is still visible under side light.
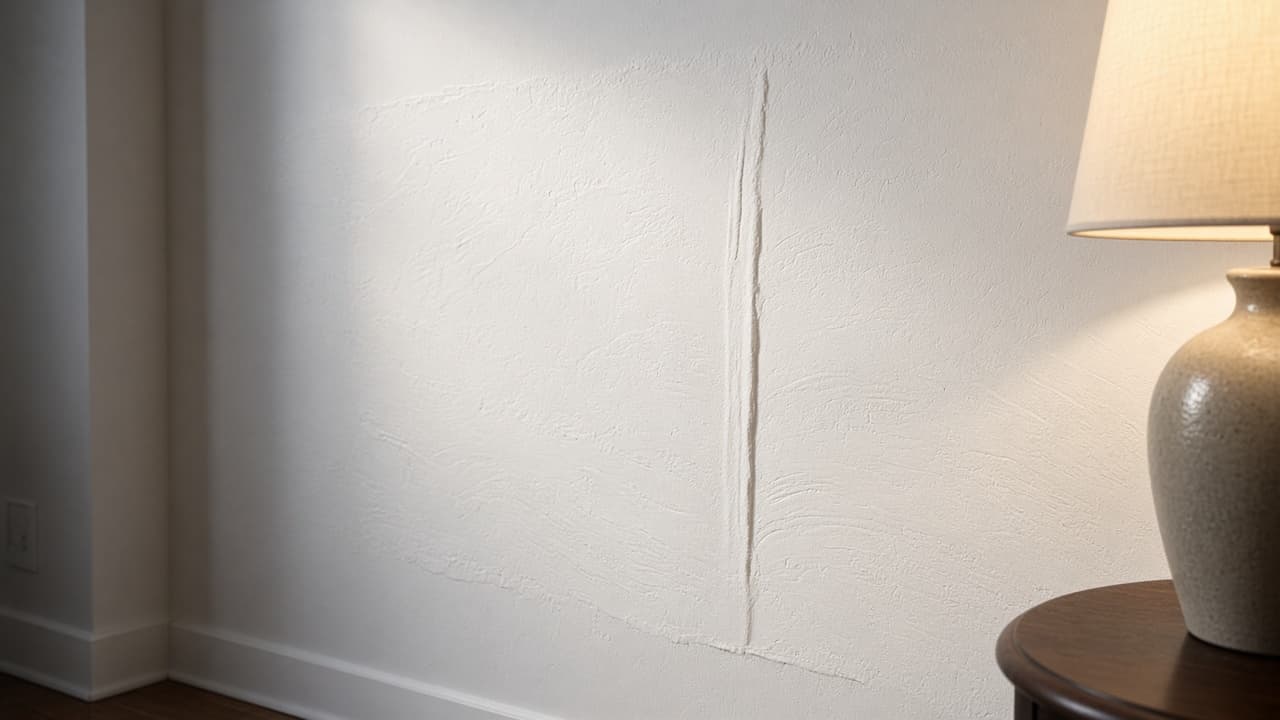
Feather wide enough to hide the bump.
Step 06
Sand smooth and inspect with side light
The wall should look flat when you rake a lamp across it. Spot-fill pinholes before primer.
Do this step in order
6a
Fine-sand with 150 to 220 grit
Use a sanding sponge for control. Stop when the repair feels level with the surrounding wall.
6b
Vacuum dust and wipe with a damp rag
Dust left on the wall causes bumps in primer and paint.
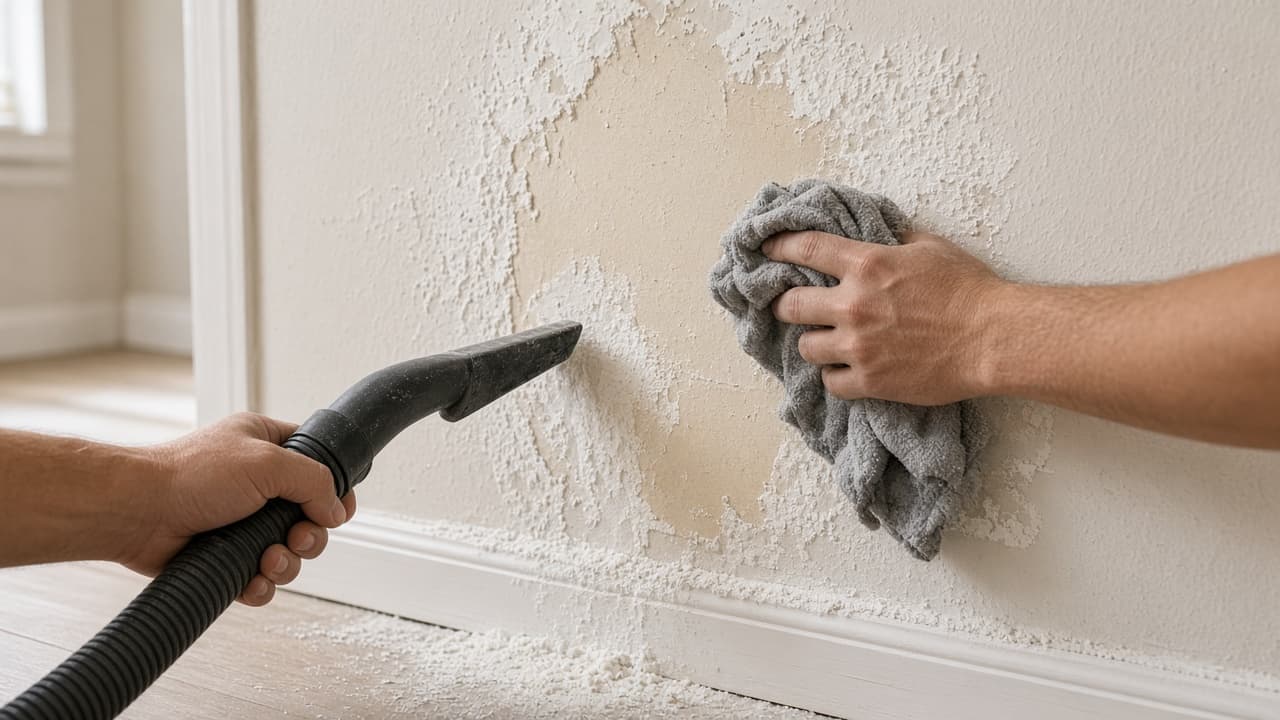
Vacuum dust and wipe with a damp rag 6c
Rake a lamp across the repair
Shine light parallel to the wall. Fill pinholes or ridges before you prime.
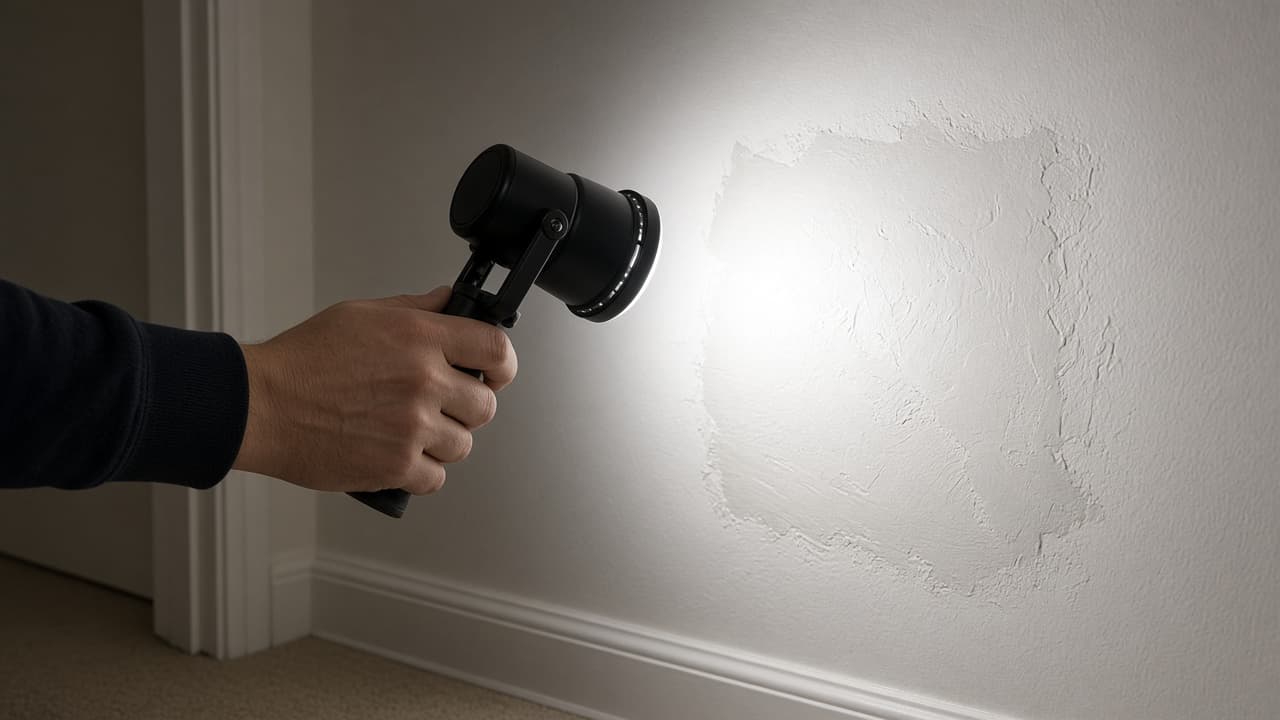
Rake a lamp across the repair 6d
Prime before checking flatness
Common mistake: rolling paint over ridges because room light looked fine. Side light after sanding saves a flashing patch.
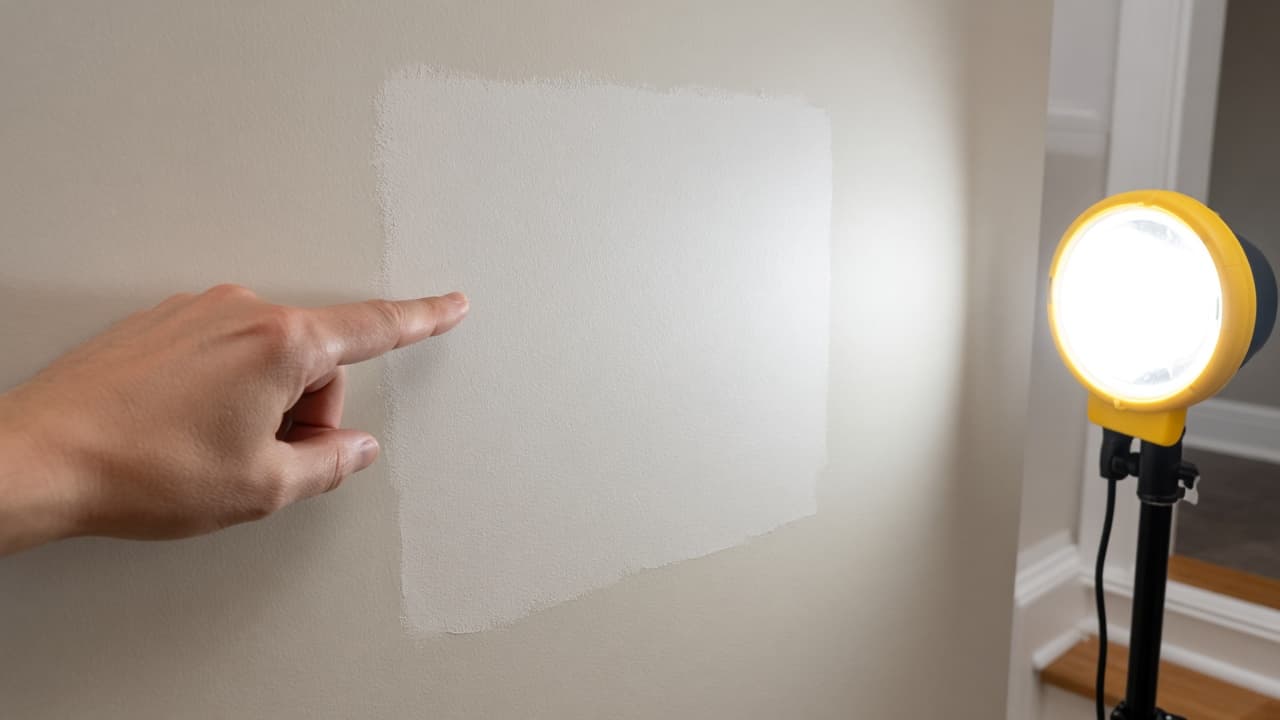
Feel and rake light before primer.
Step 07
Prime, match texture and paint
Bare compound drinks paint unevenly. Match texture and sheen on scrap before the final wall coat.
Do this step in order
7a
Brush or roll primer over bare compound
Extend primer slightly onto painted wall. Sealer stops flashing.
7b
Practice texture on scrap cardboard
Match orange-peel or knockdown on a sample before touching the wall.
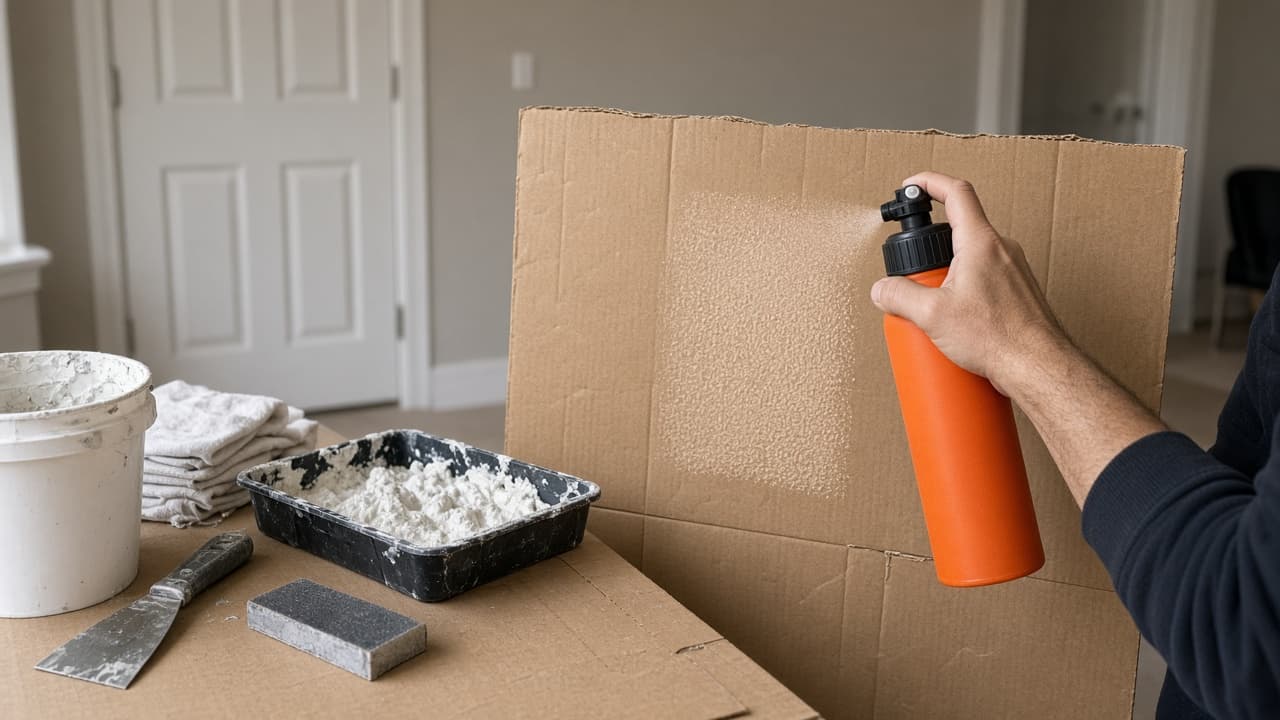
Test texture on scrap before touching the wall. 7c
Paint two thin coats with the same sheen
Feather paint a few inches past the primed zone. Let the first coat dry before you judge coverage.
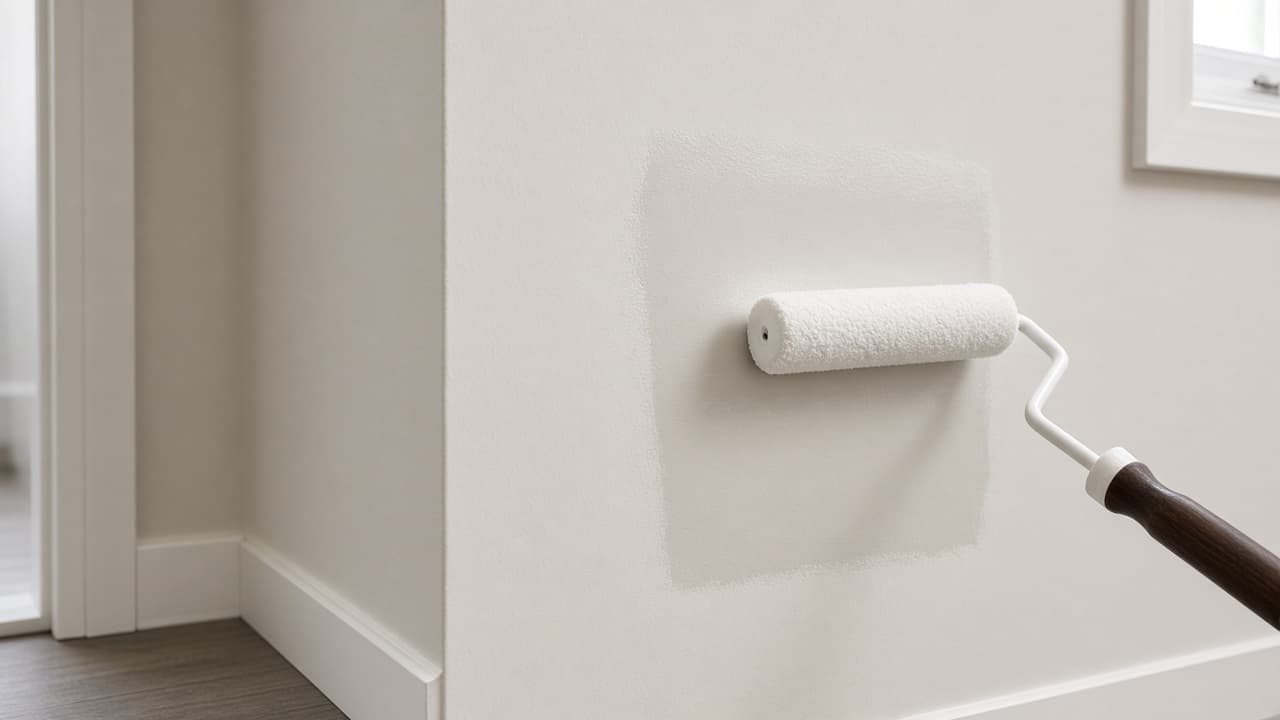
Two thin coats with matching sheen hide the patch. 7d
Skip primer on a small spackle spot
Common mistake: painting directly over bare mud. The repair dries dull and shows in daylight even when the color matches.
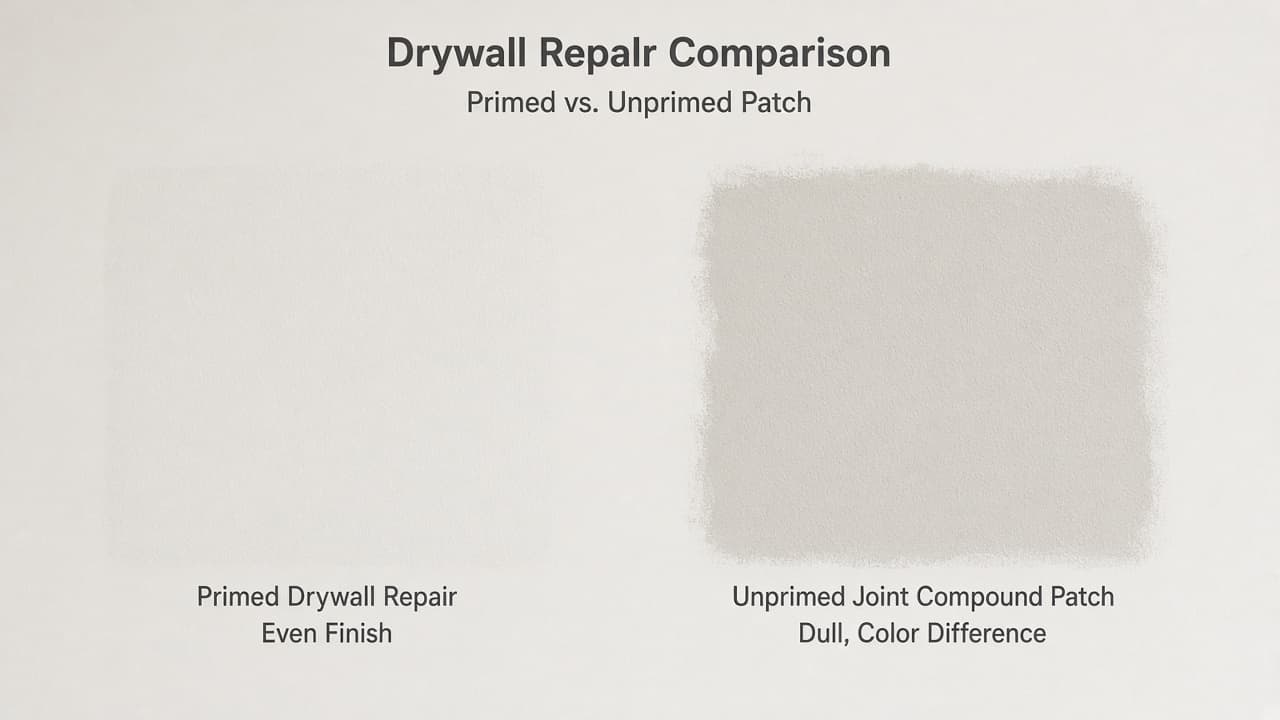
Primer is not optional on bare compound.
Done when
- Measure the hole and choose patch type
- Clean loose debris and square the edges
- Apply mesh or backer for medium holes
- Mud, dry, sand, repeat two or three times
- Inspect under side light before priming
- Prime then paint to match the wall
- Match texture and sheen on scrap first
Eagle Frame's takeaway: match the method to hole size, work in thin mud layers, sand with a light rake across the repair and prime before your final paint coat. Patience between coats beats one heavy fill that cracks overnight.