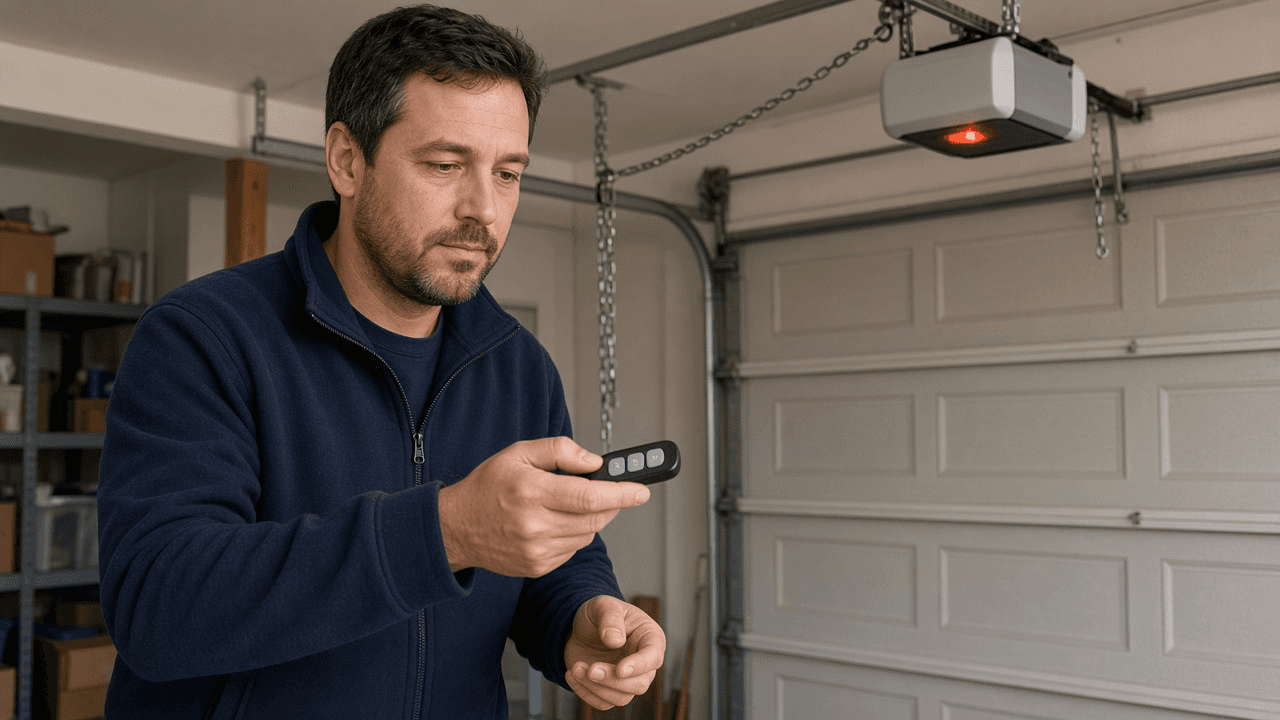
How to program a garage door opener
Program a garage door remote or car HomeLink by locating the learn button on the motor, clearing old codes if needed and pairing within the time window. Check your brand manual for exact steps.
Programming teaches a garage door opener to accept a compatible remote, wireless keypad or vehicle transmitter. Most recent units use a Learn button and a short pairing window. Older openers may use matching dip switches, while some wall-mounted LiftMaster models place the programming control on a myQ wall panel.
Start with the exact brand, opener model and remote model. Similar-looking remotes can use different radio systems. A universal remote still needs to list your opener as compatible. Download the manual from the manufacturer's site and follow it whenever its sequence differs from this general guide.
Clear the full door path and keep children, pets and vehicles away. Set a stepladder on a dry, level surface, face the ladder while climbing and avoid leaning sideways. Bring the remote with you so you do not rush through the pairing window or climb repeatedly.
For many Chamberlain and LiftMaster units, press and immediately release Learn. The indicator stays on for about 30 seconds. During that window, press and hold the chosen remote button until the opener light flashes or two clicks sound. Do not hold Learn unless the manual specifically tells you to erase stored devices.
Erase all codes after a lost remote or a move only after reading the model's instructions. A full erase disconnects every remote, keypad and sometimes connected accessory, so each approved device must be paired again. Record which devices you restore and remove batteries from remotes you discard.
Programming is not complete until the safety systems pass. Block the photo-eye beam and confirm the door will not close from the remote. Then follow the manufacturer's monthly reversal test, commonly using a 2x4 laid flat under the center of the door. If the door closes through a blocked beam or fails to reverse on contact, stop using it and call a trained door systems technician.
Step-by-step guide
Time: 10 to 30 minutes depending on car HomeLink or remote type
What you need
- Garage door remote or vehicle with HomeLink buttons
- Stepladder if the motor unit is out of reach
- Flashlight for reading labels on the motor
- Opener manual or model number from the motor sticker
- Scrap board for the auto-reverse contact test
Before you start
- Keep the door in sight while testing. Stand clear of the moving door.
- Erasing codes removes every paired remote until you reprogram them.
- If the door lacks photo-eye sensors or auto-reverse, schedule professional service.
- Do not bypass safety features to force a close.
Step 01
Find the motor model and learn button
The learn button lives on the motor unit, not on the wall panel in most installs.
Do this step in order
1a
Read the model number on the motor
Note brand and model from the sticker. Search the brand site for a PDF manual if you do not have a paper copy.
1b
Locate the learn or program button
Common colors are yellow, purple, red or green. It may sit under the light lens cover.
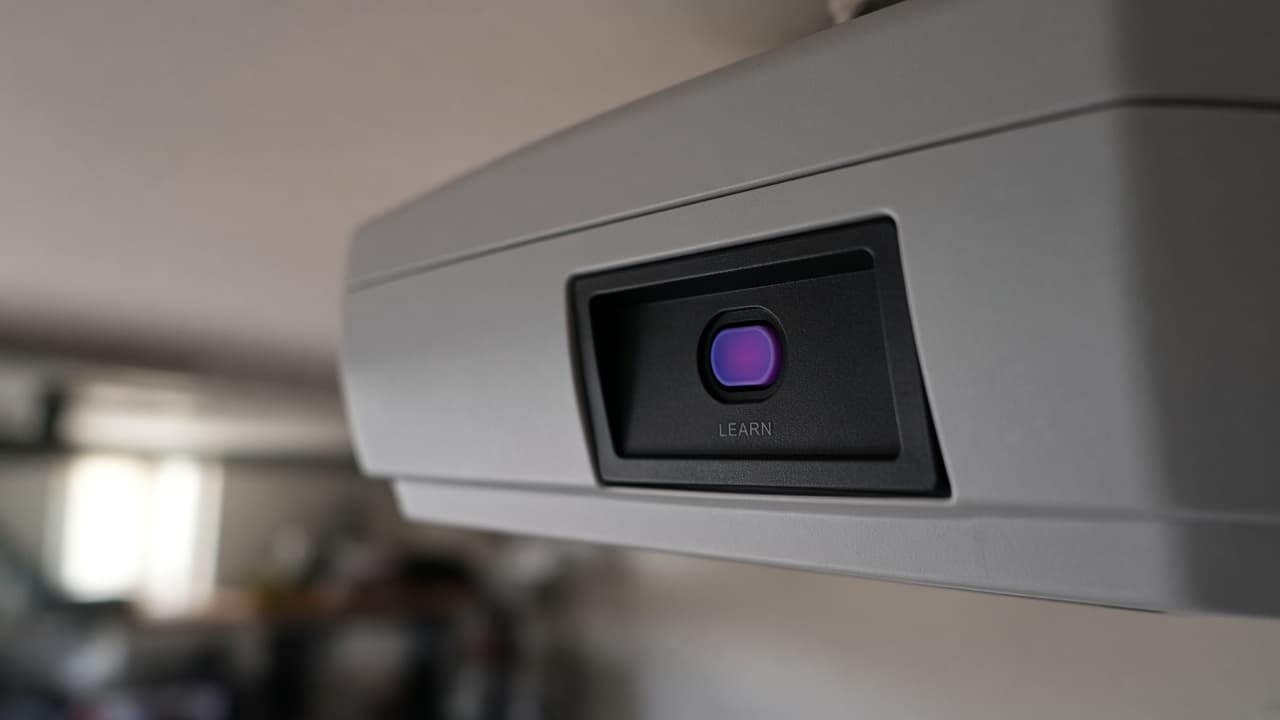
Find Learn before you start any pairing countdown. 1c
Identify the indicator light
The LED beside the learn button tells you when the unit is in programming mode. Blink patterns vary by brand.
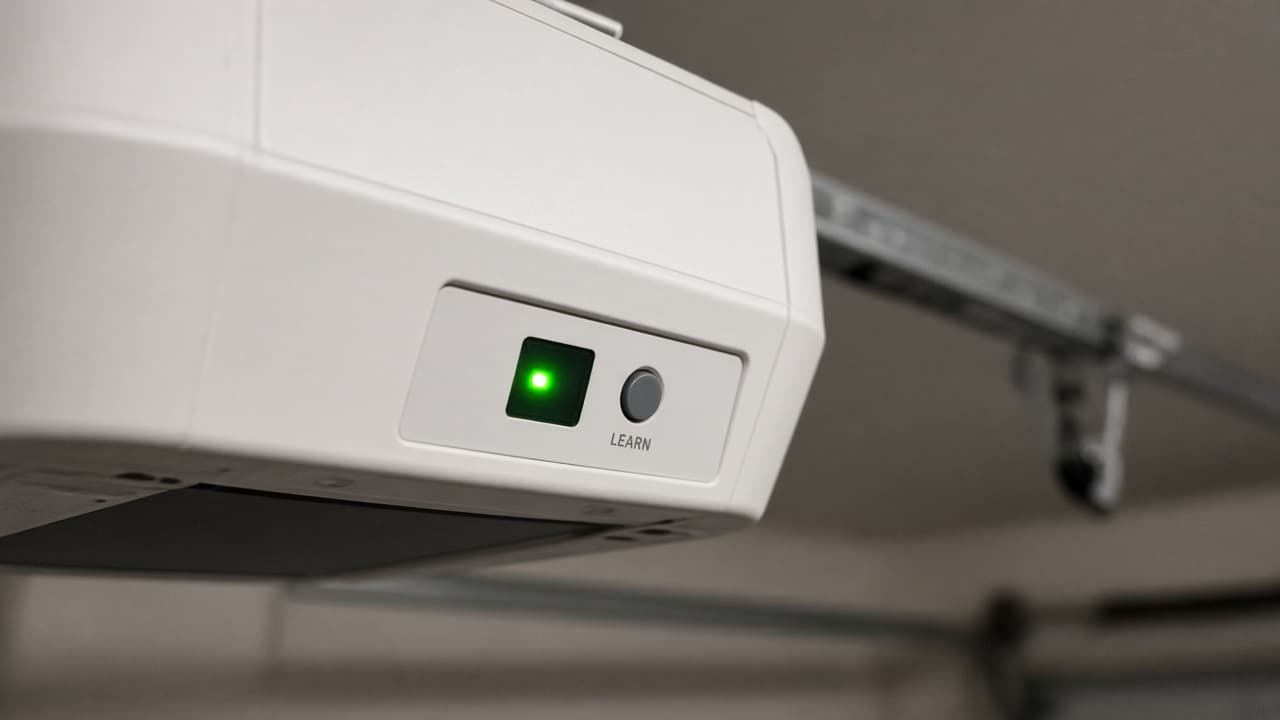
Watch the LED so you know when the pairing window is open. 1d
Confirm the remote is compatible first
Common mistake: buying a lookalike remote that uses a different radio protocol. Match the remote model or compatibility chart to the opener before you climb the ladder.
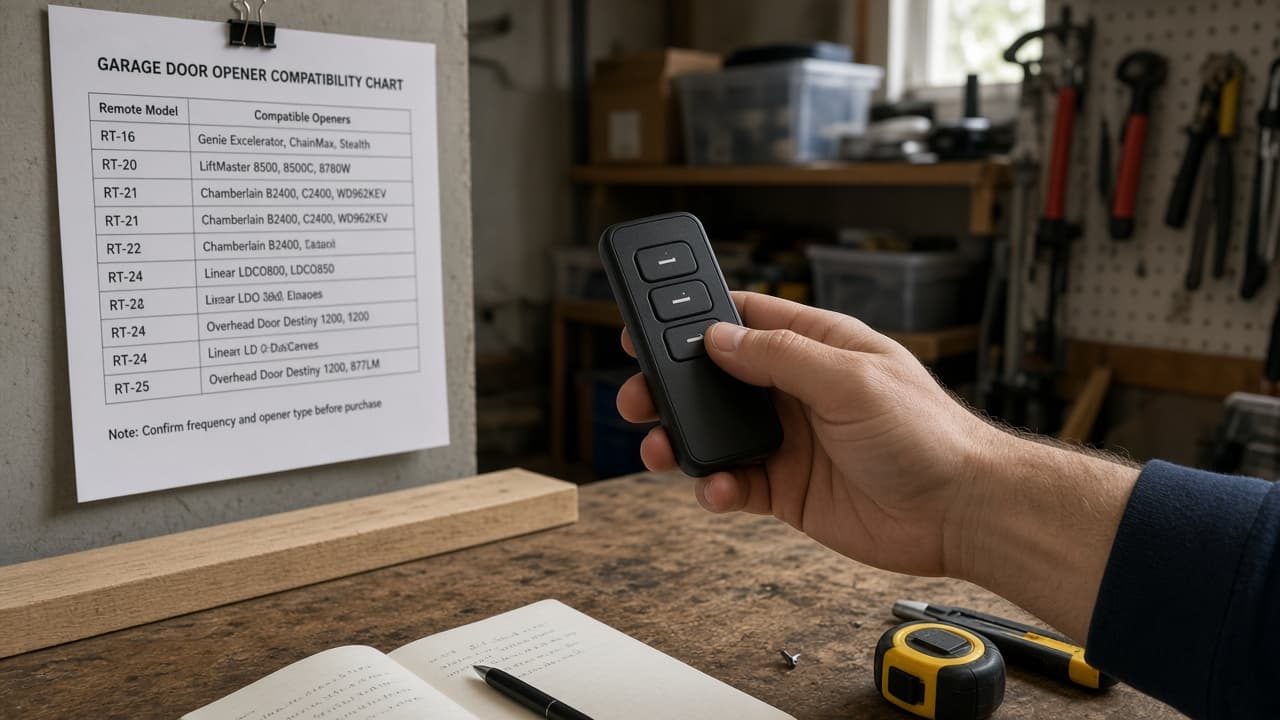
Compatibility beats fresh batteries when pairing fails.
Step 02
Prep a safe work area and ladder
Clear space under the door and set a stable ladder before any Learn press.
Do this step in order
2a
Clear people, pets and vehicles from the door path
Programming often includes a test open or close. Nobody should stand under the door or in the track line.
2b
Set the stepladder on dry, level ground
Face the ladder while climbing. Avoid leaning sideways to reach the motor. Bring the remote up with you.
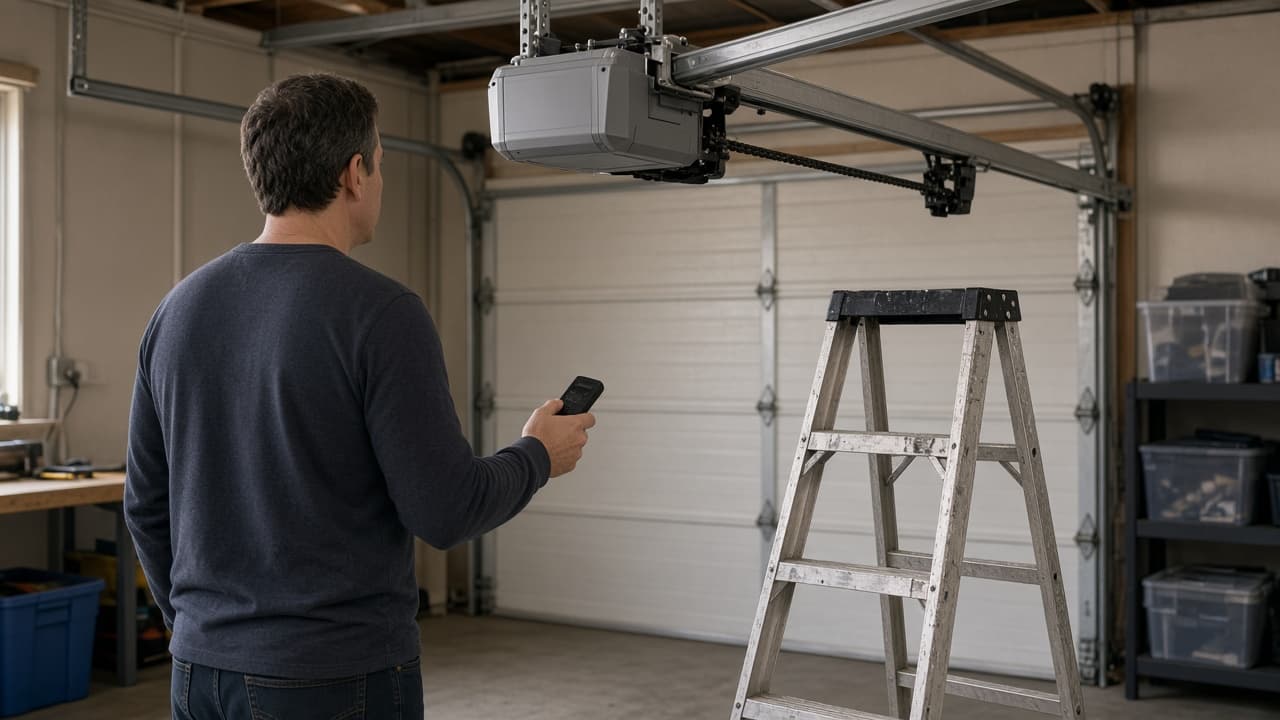
Climb facing the ladder and carry the remote on the first trip. 2c
Unlock or open the light lens if Learn is hidden
Some units hide the button behind a light cover. Open it carefully so you are not fumbling during the short pairing window.
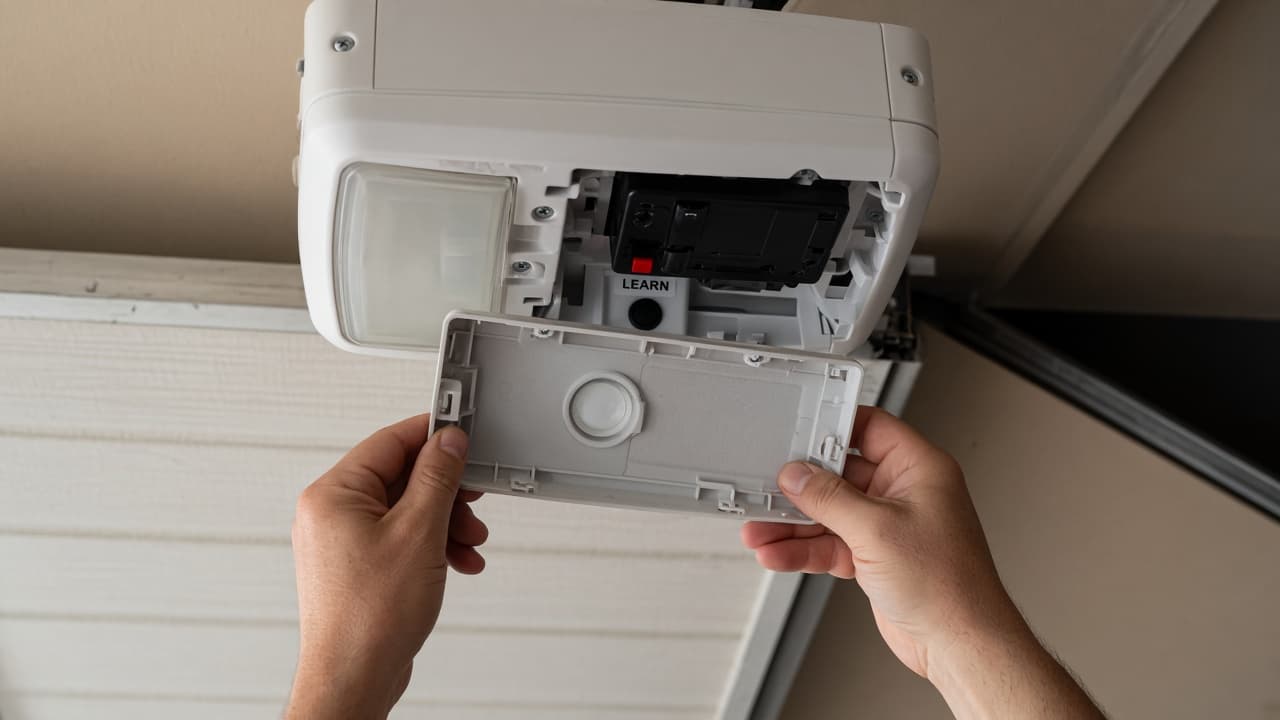
Expose Learn before the countdown starts. 2d
Do not stand under a moving door to program
Common mistake: watching from directly under the door while someone else presses buttons. Stay to the side with a clear exit.
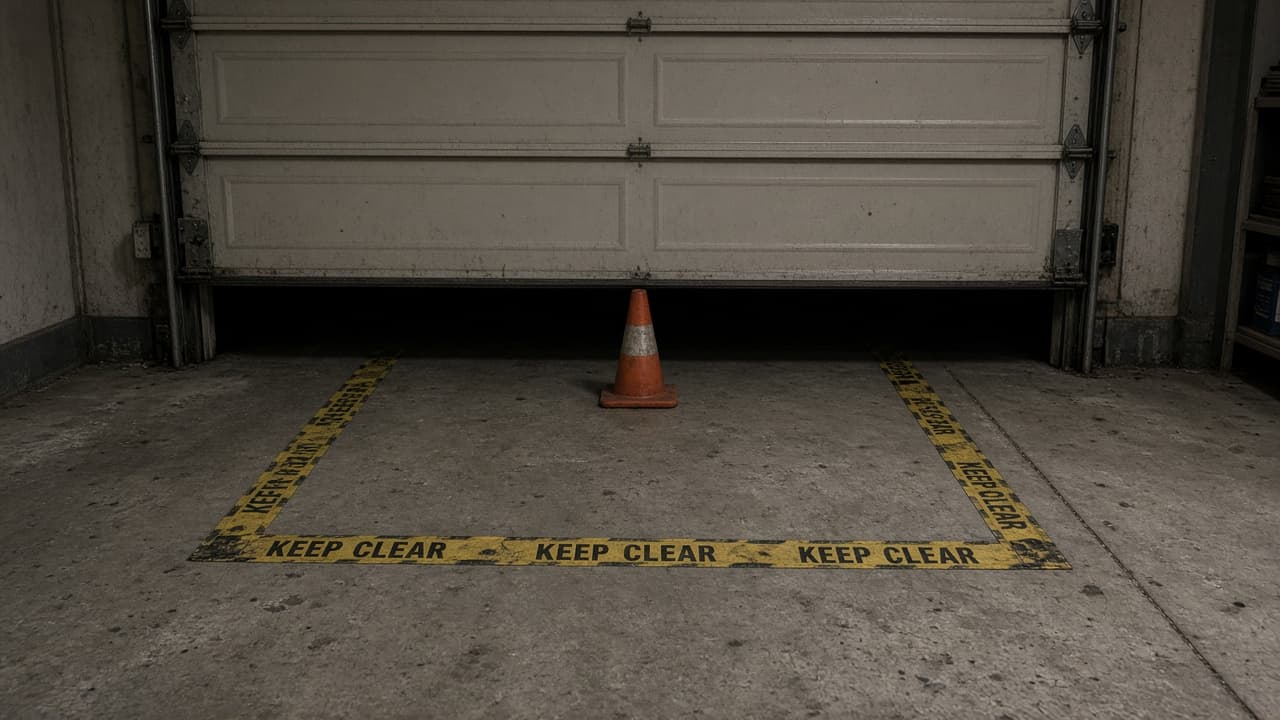
Test from the side, never from under the door.
Step 03
Erase old remotes only when you need a clean slate
Clearing codes is smart after a move or when a remote is lost. It is optional for a simple new remote add.
Do this step in order
3a
Confirm you still have a working wall button
After a full erase, every remote stops working until reprogrammed. Make sure you can still operate the door from the wired button.
3b
Press and hold Learn per the manual
Many units erase when you hold the learn button until the light goes out or blinks rapidly. Genie, LiftMaster and others use different counts.
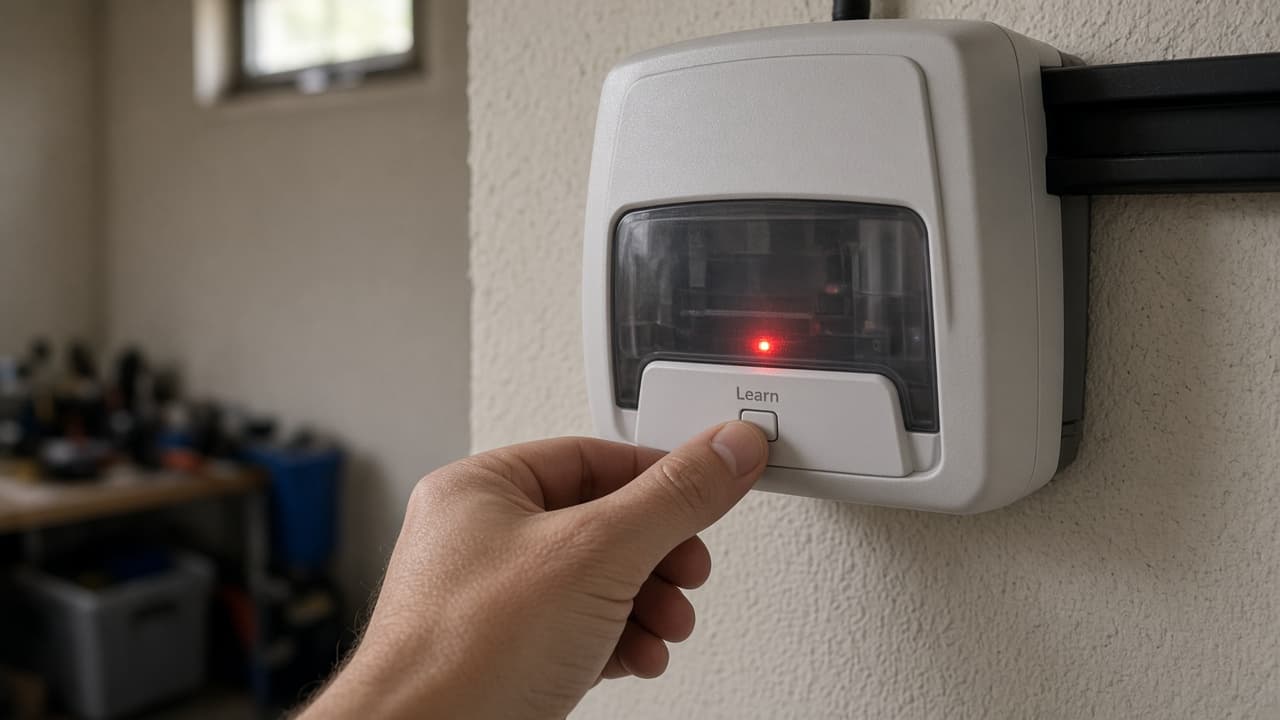
Hold for the erase time your manual states, not a guess. 3c
Wait for the indicator to confirm erase
Do not release early. Note whether the light flashes once or stays off before you pair new devices.
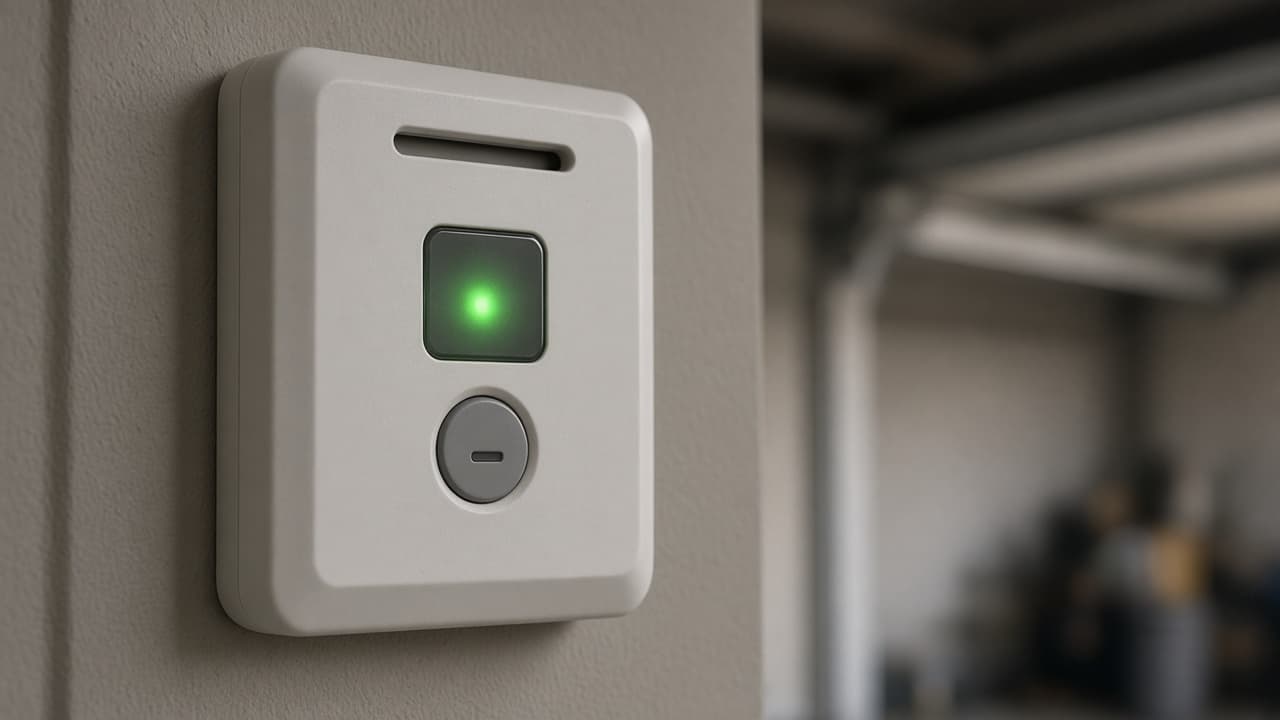
Wait for the erase signal before pairing anything new. 3d
Do not erase when you only meant to add one remote
Common mistake: holding Learn long enough to wipe every device when you only needed a short press for programming mode. Read the difference in the manual first.
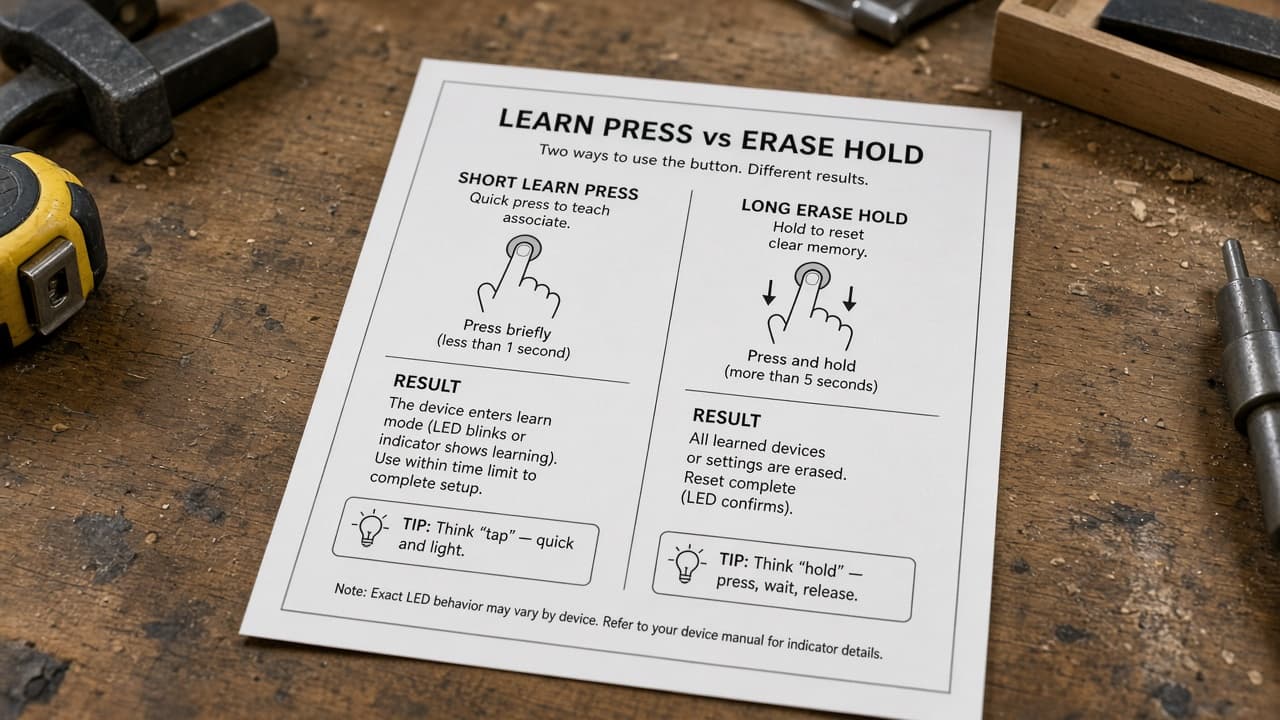
A long hold can wipe every remote you still need.
Step 04
Pair a handheld remote
The standard flow is learn button first, then remote button within about 30 seconds.
Do this step in order
4a
Press Learn once to enter programming mode
A single press usually starts a short window. The indicator blinks or turns steady per your manual.
4b
Press and hold the remote button
Hold until the motor clicks and the door moves or the light flashes to confirm. Some remotes need two presses.
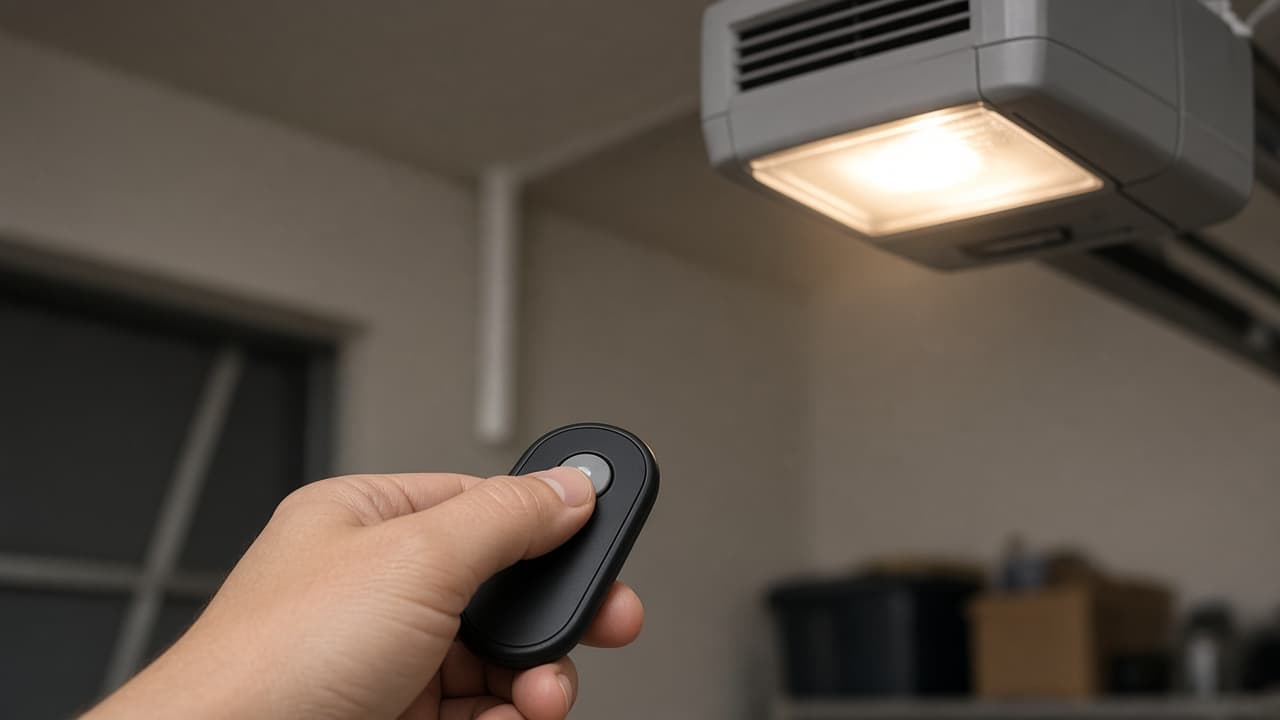
Hold until the opener gives a clear pair signal. 4c
Test from inside the garage first
Stand clear of the door path. Confirm open and close. Then test from outside at a safe distance.
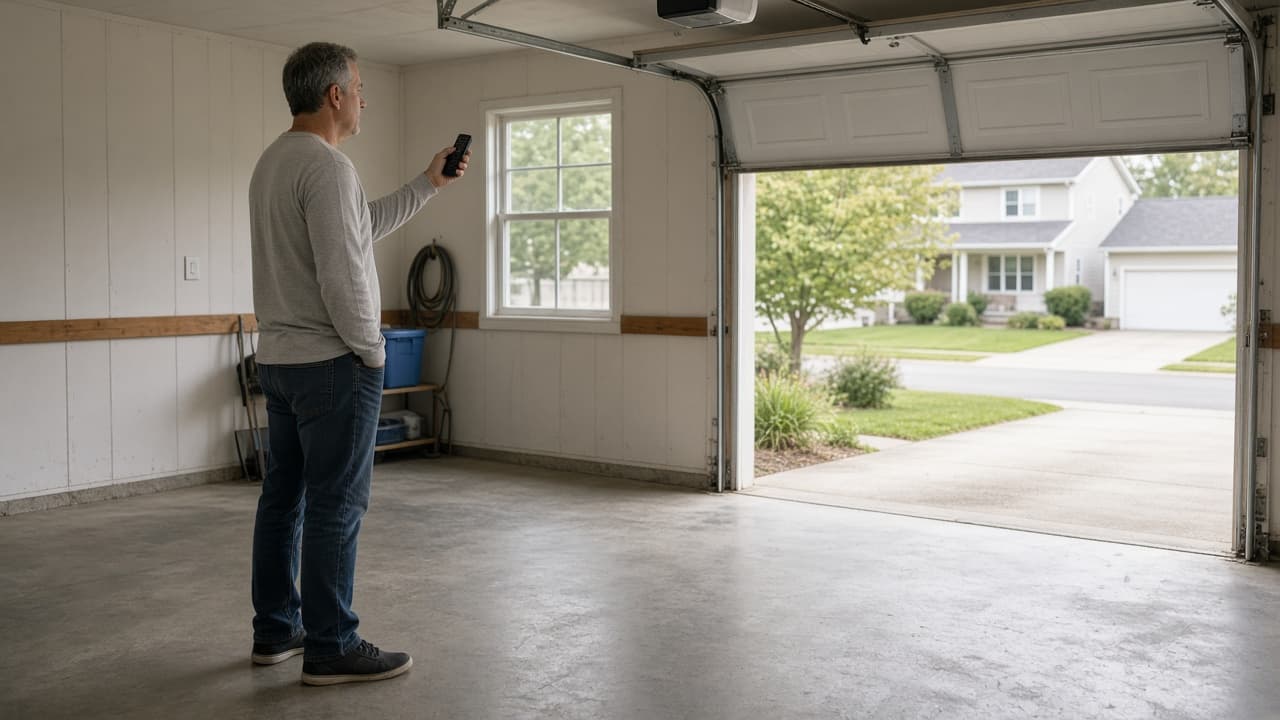
Prove open and close before you rely on the remote outside. 4d
Retry with fresh batteries before blaming the opener
Common mistake: declaring the motor broken after one weak remote attempt. Replace batteries and retry within a fresh Learn window.
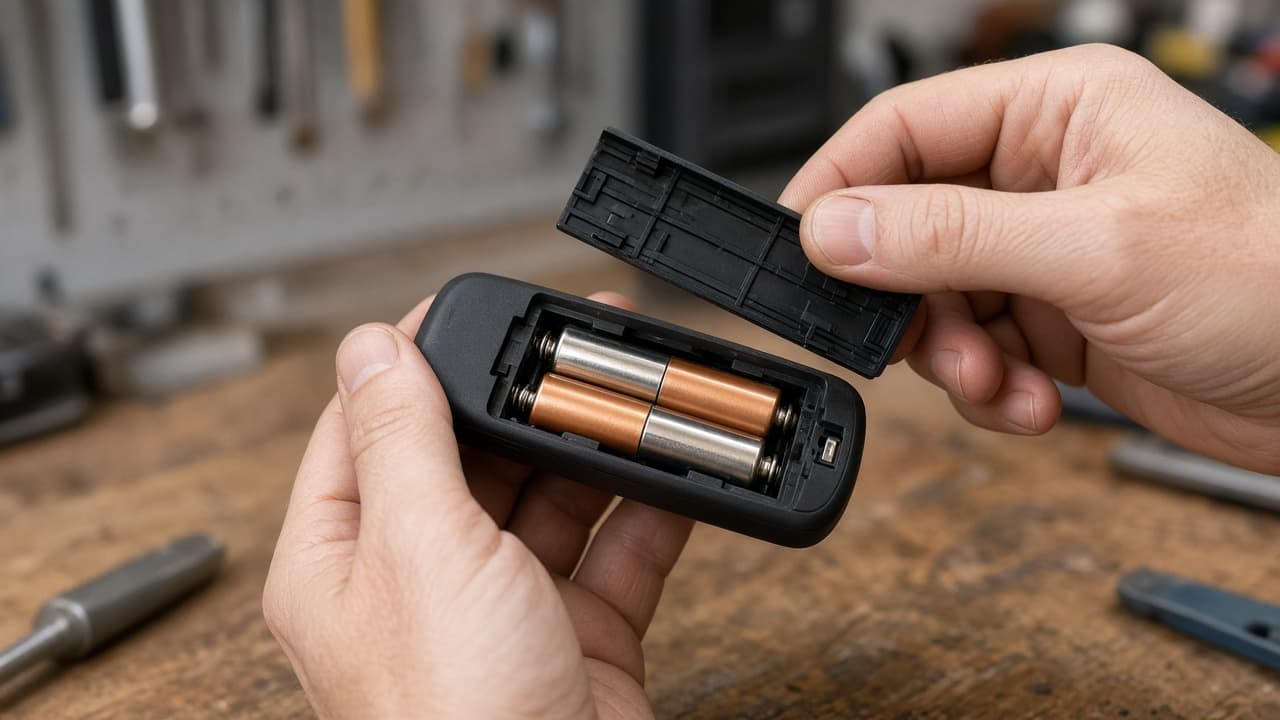
Weak batteries look like pairing failure.
Step 05
Pair additional remotes and keypads
Most units store several devices. Pair one at a time so failures are easy to spot.
Do this step in order
5a
Repeat Learn for each extra handheld remote
Enter programming mode again for every additional remote. Pair one at a time so you know which device failed if a step misses.
5b
Program a wireless keypad if needed
Keypads usually enter a learn mode from the motor, then accept a PIN on the pad. Set a code you will remember but strangers cannot guess.
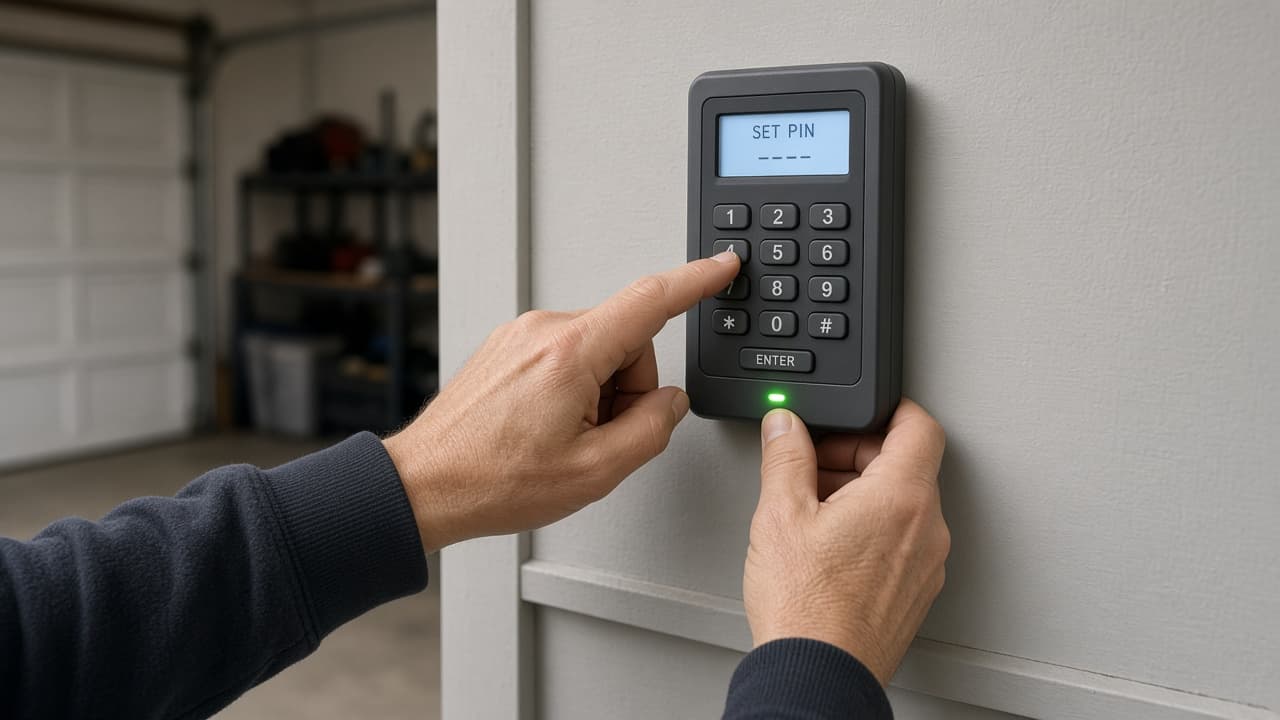
Choose a PIN that is memorable without being obvious. 5c
Label remotes after they pass a test
Mark house, spare and neighbor remotes so you know what still works after future erases.
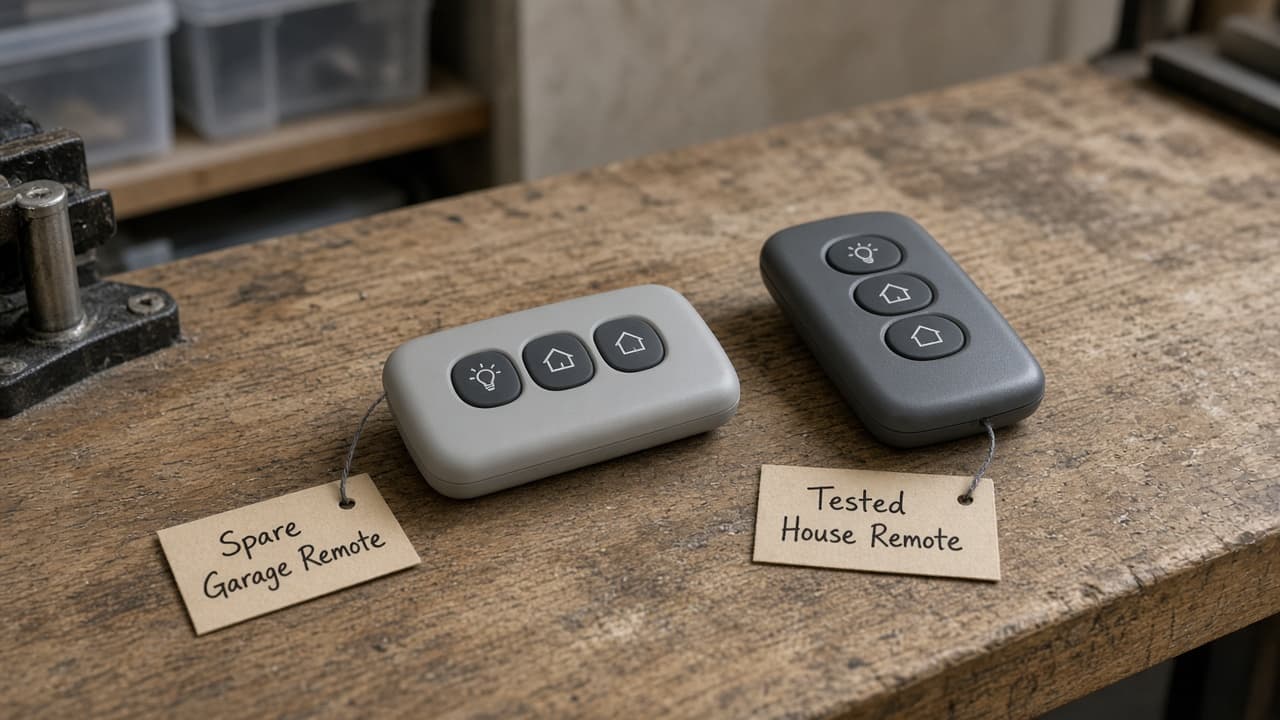
Labels save confusion after the next erase cycle. 5d
Do not share a keypad code you posted online
Common mistake: using a birthday PIN or leaving the factory default. Change defaults and treat the code like a house key.
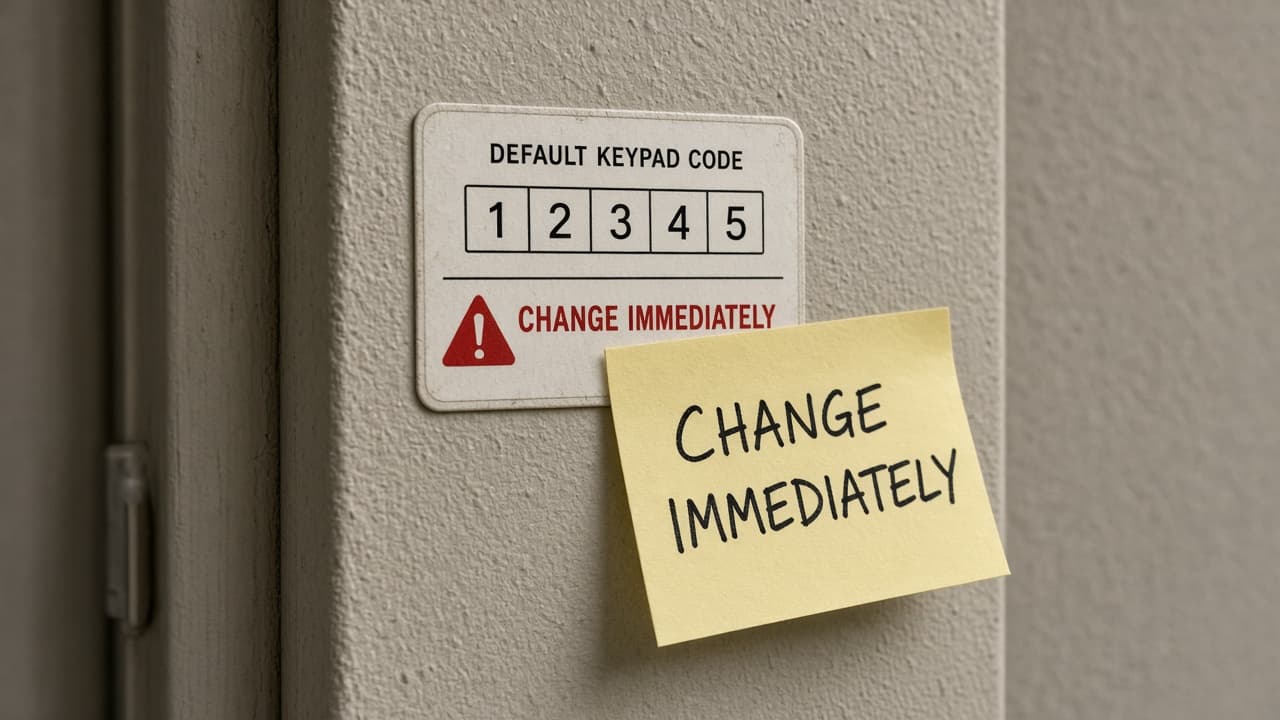
Defaults and obvious PINs are not security.
Step 06
Program car HomeLink if needed
Built-in car buttons follow brand-specific sequences that often need both the car and opener manuals.
Do this step in order
6a
Read the car HomeLink and opener manuals together
Many cars require holding the car button while pressing a working remote near the mirror, then pressing Learn on the motor. Timing varies.
6b
Clear the car button if an old house code remains
If the mirror button still tries to open a previous garage, clear that HomeLink slot first per the car manual.
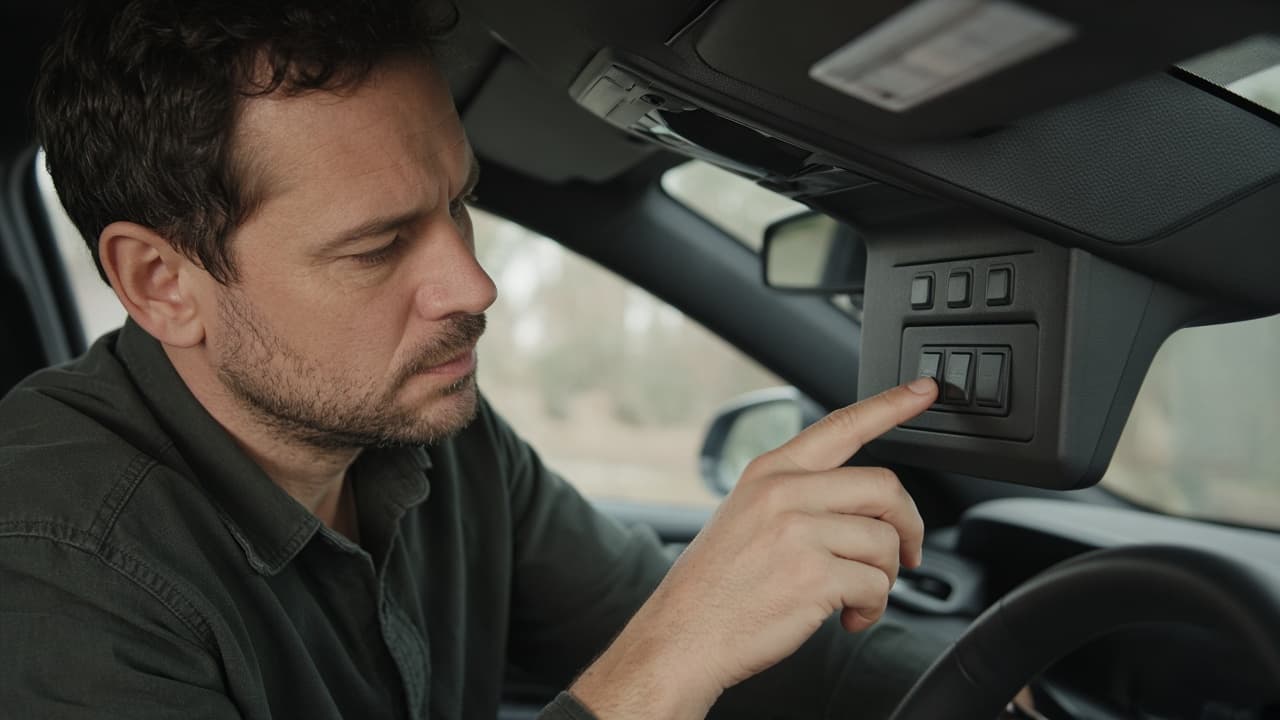
Clear old house codes before teaching a new opener. 6c
Complete the motor Learn step within the car window
Have a helper at the motor if you cannot reach it quickly from the driver seat. Missed timing is the usual failure point.
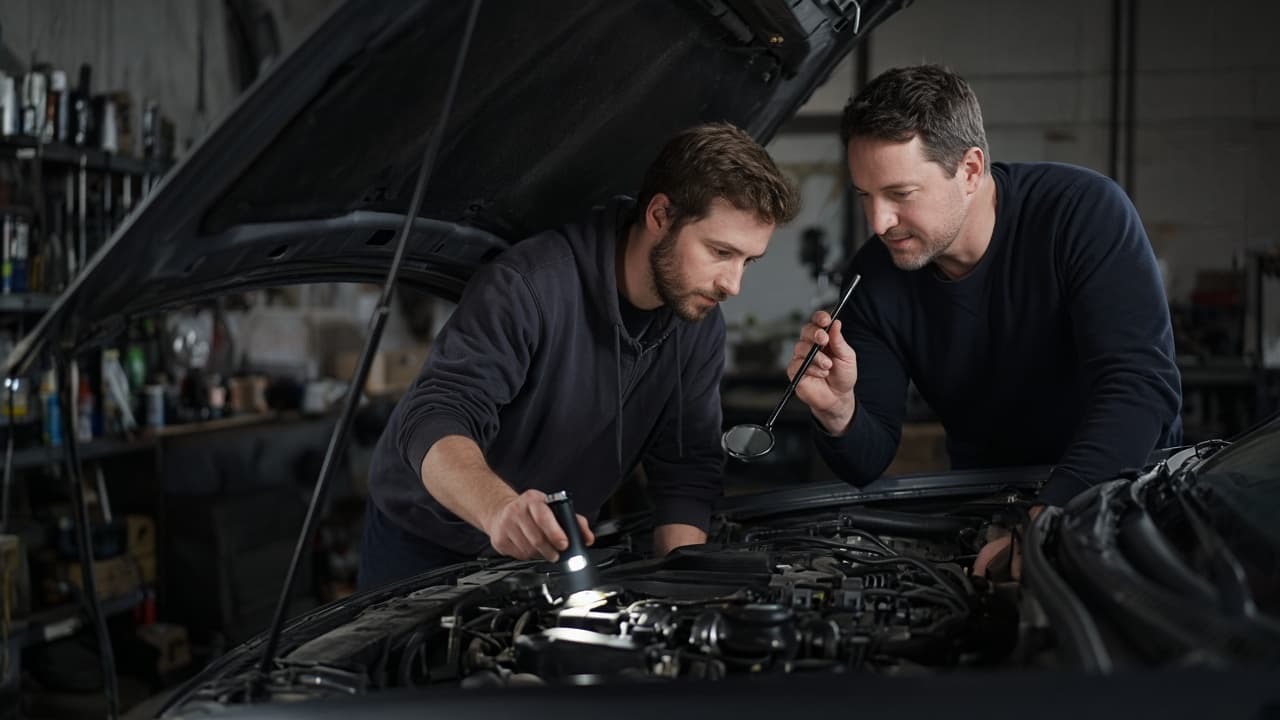
Coordinate Learn timing between car and motor. 6d
Abort if the door moves without a clear line of sight
Common mistake: finishing car programming from the driveway while kids or pets are near the door. Keep the door in sight for every test cycle.
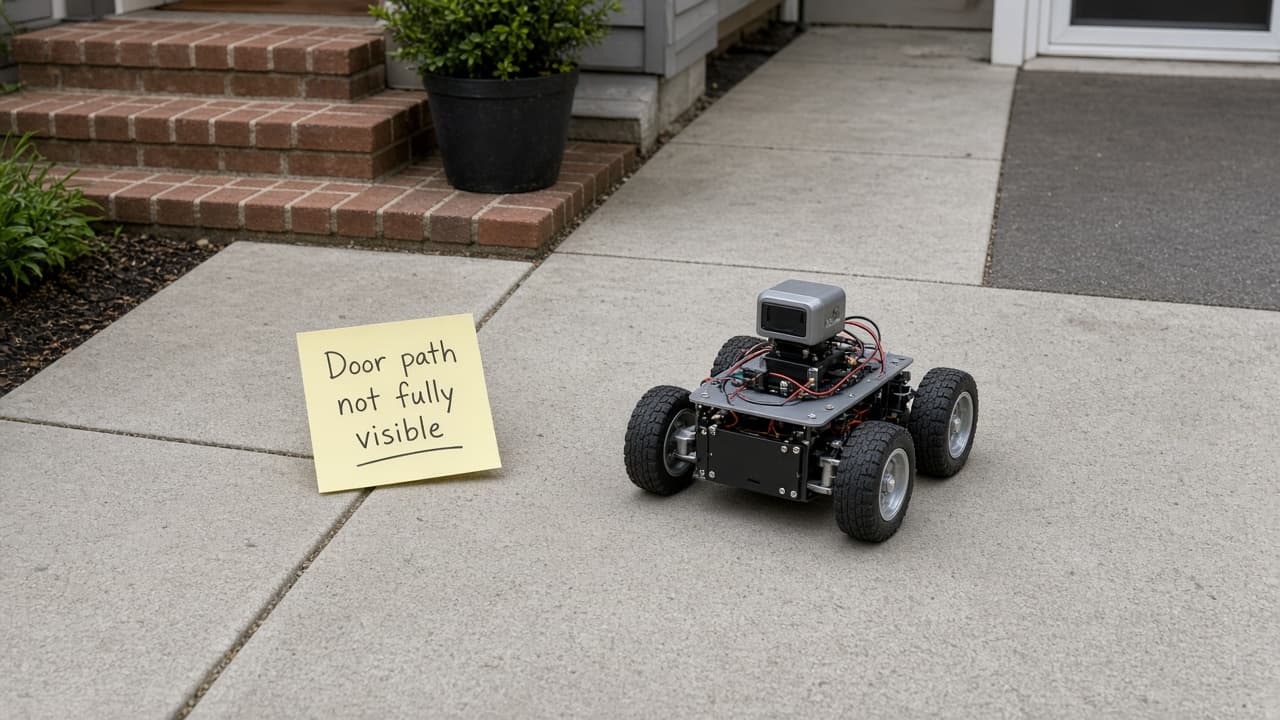
No pairing test without a clear view of the door.
Step 07
Verify open, close and safety reversal
Pairing is unfinished until photo-eyes and auto-reverse pass.
Do this step in order
7a
Run a full open and close from each new control
Test every remote, keypad and HomeLink button you paired. Stand clear and watch the full travel.
7b
Block the photo-eye beam and confirm it will not close
Interrupt the sensor beam while closing from the remote. The door should refuse to close or reverse. Failed sensors need service, not a workaround.
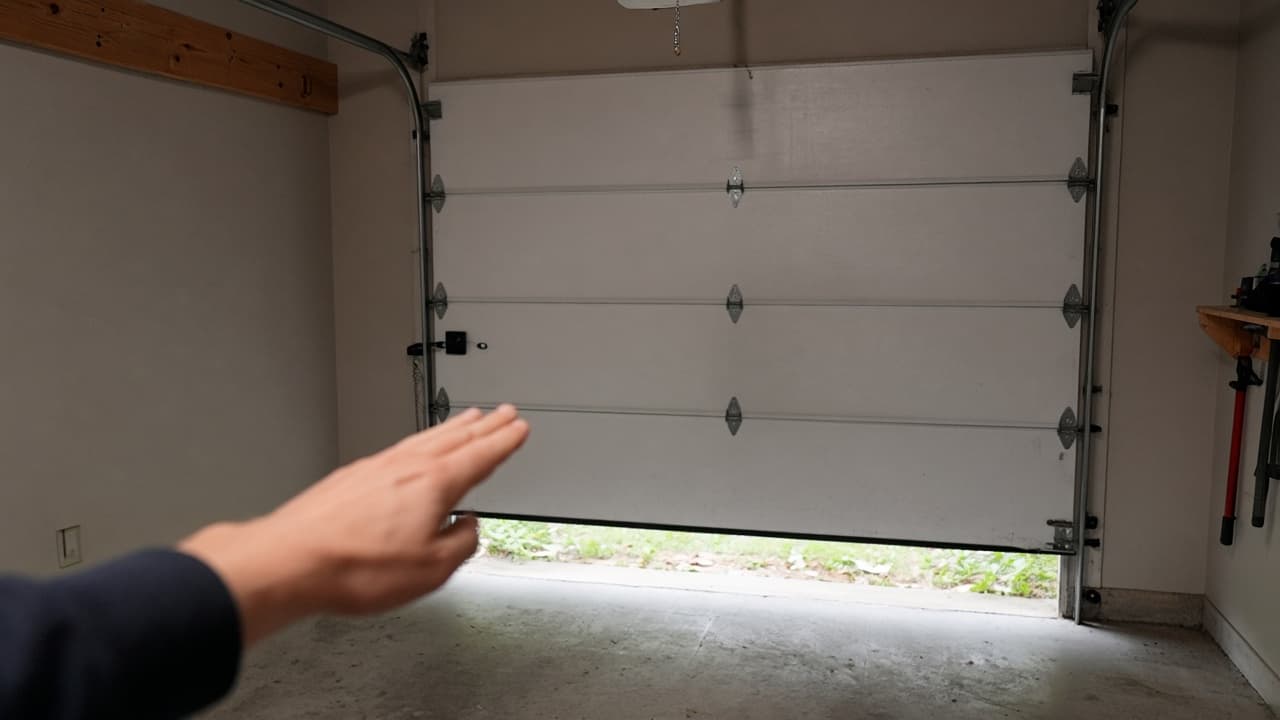
A blocked beam must stop a close command. 7c
Run the auto-reverse contact test
Place a scrap board flat on the floor in the door path. The closing door should reverse on contact. If it does not, call a qualified technician.
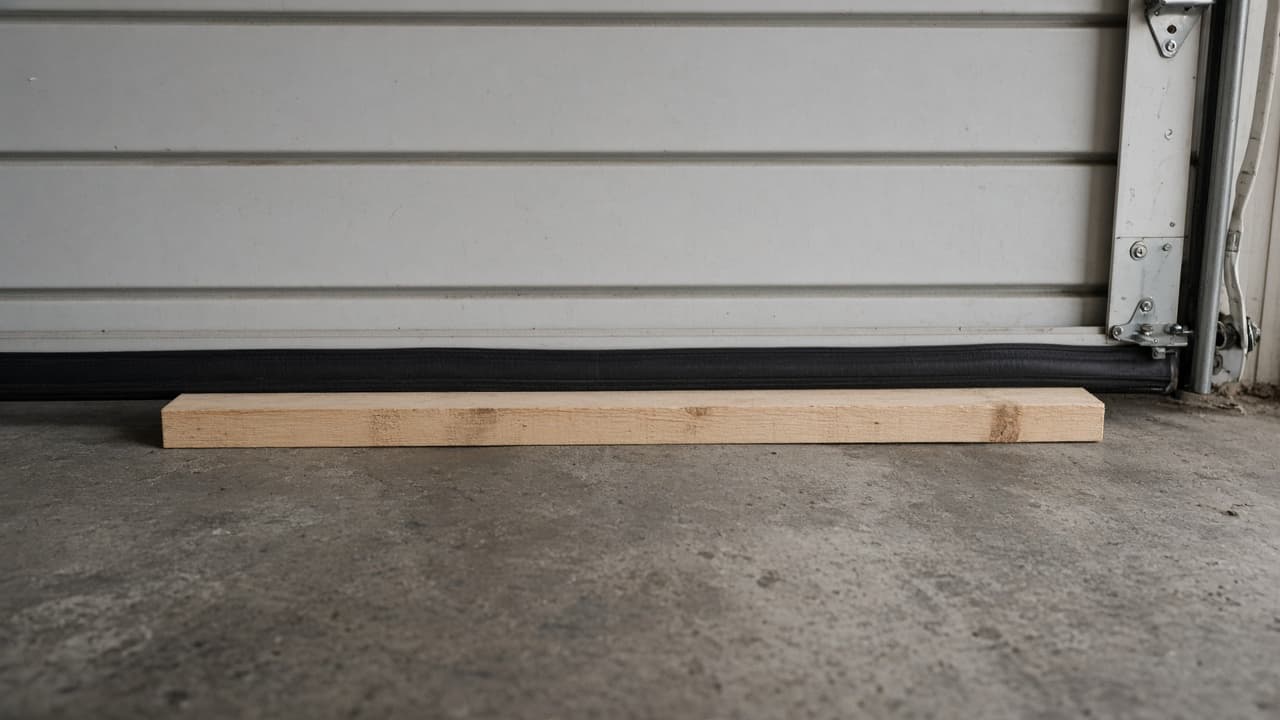
Contact reversal protects people and objects in the path. 7d
Never bypass sensors to force a close
Common mistake: tying sensors back or forcing close after pairing because alignment drifted. Misaligned eyes are a service call, not a zip-tie fix.
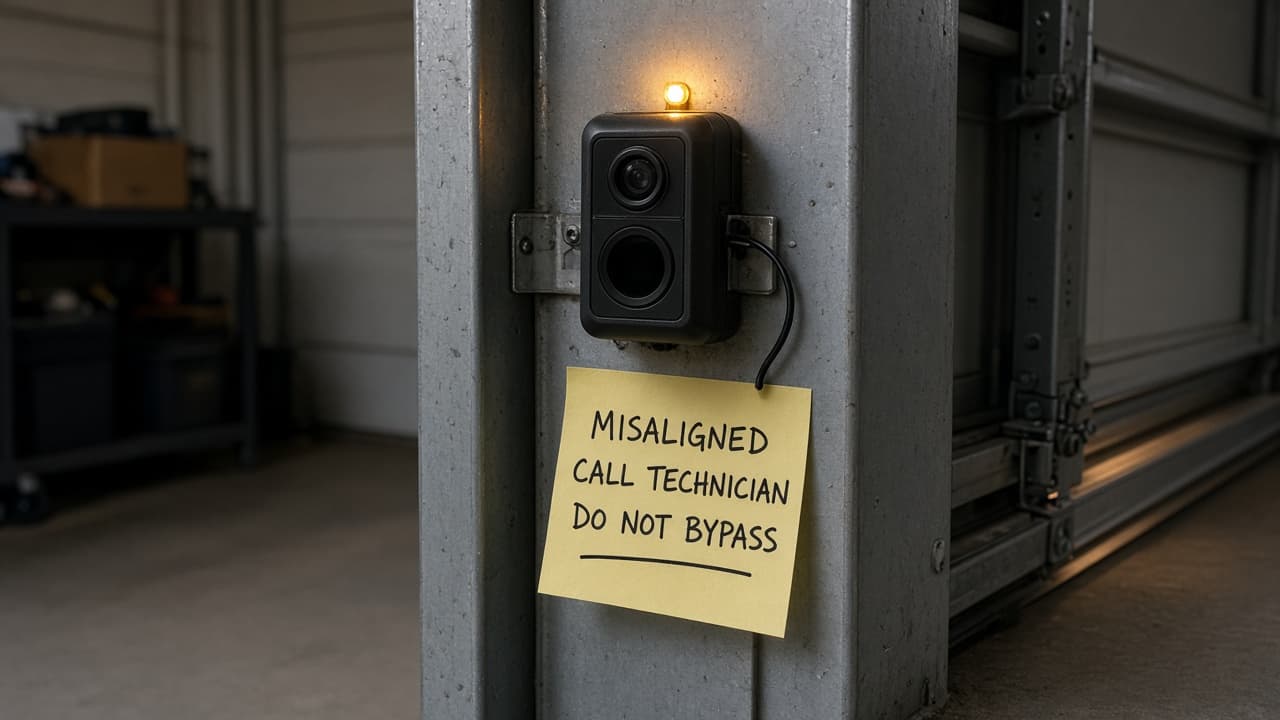
Bypassing safety sensors is never the finishing step.
Done when
- Model number and manual located
- Area below door cleared
- Old codes erased if moving into a new home
- Learn button pressed and remote paired
- Door open-close test passed
- Photo-eye obstruction test passed
- Auto-reverse test passed with a board on the floor
Eagle Frame's takeaway: identify the model, confirm remote compatibility, use the manual's Learn-button sequence and test every paired control with the door in sight. Erase codes only when needed. Pairing cannot fix damaged springs, poor travel adjustment or failed safety sensors. Those faults need qualified service.