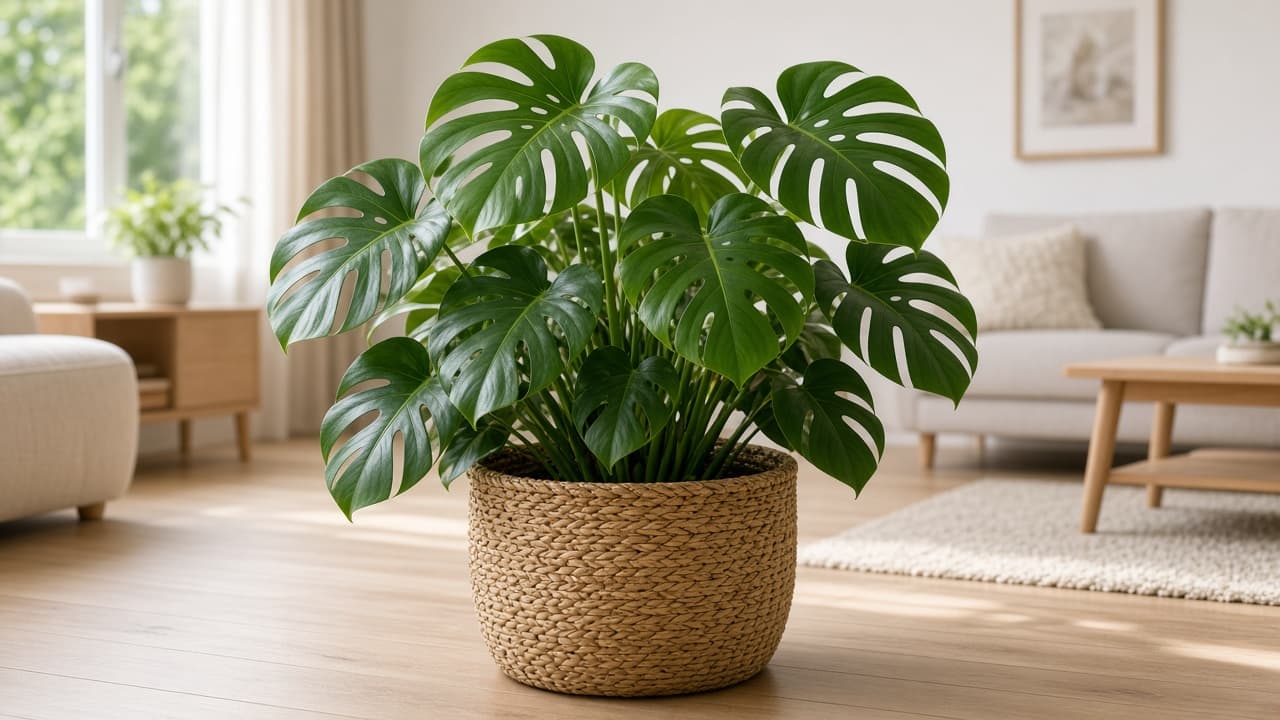
How to propagate a monstera plant
Take a stem cutting with a node and aerial root, root it in water or moss until roots are a few inches long, then pot in airy soil and keep humidity high while new growth hardens off.
Monstera deliciosa and many of its cousins propagate from stem cuttings, not single leaves alone. The critical piece is a node: the joint where a leaf and axillary bud meet the main stem. A leaf with only its petiole may stay green and can sometimes make roots, but without a node and bud it cannot produce a new vine.
Choose a healthy vine with at least one node and preferably an aerial root starting nearby. Sterile scissors or pruners reduce infection risk. Cut below the node, leaving an inch of stem beneath it so the node can sit in water or moss without rotting.
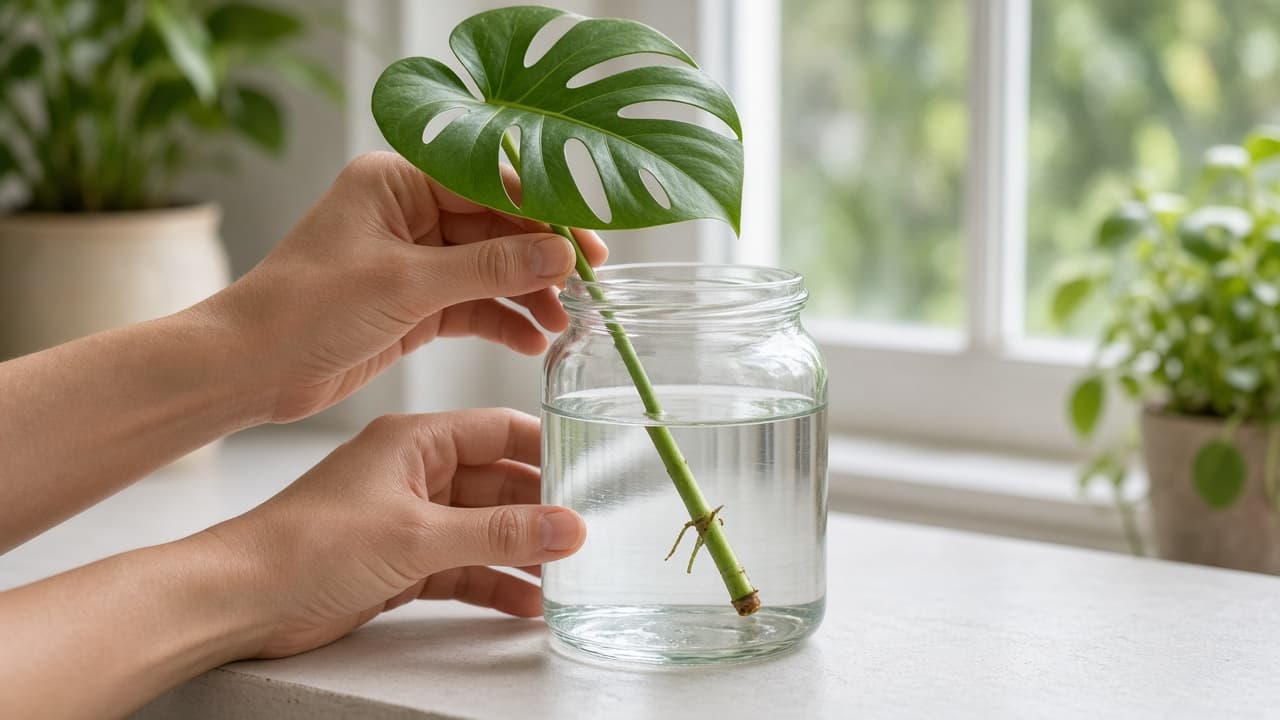
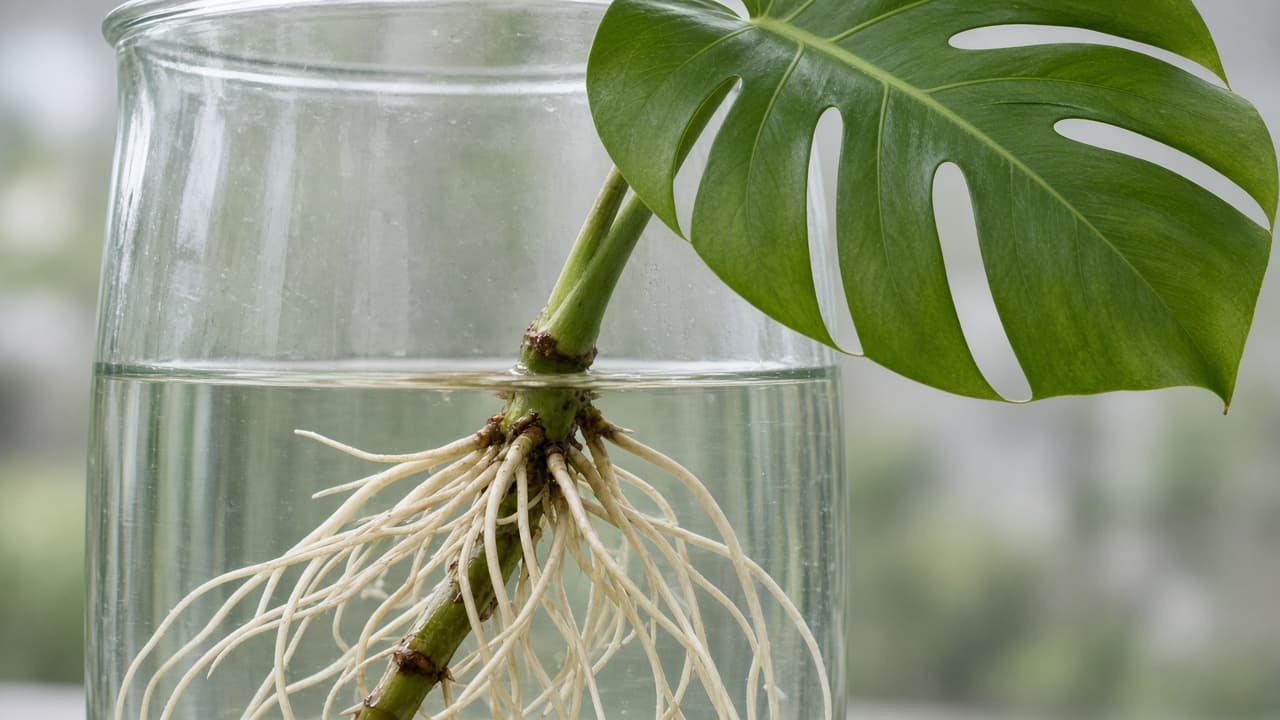
Water propagation is the most visible method. Place the node in a clear jar with the leaf above the rim. Change water weekly and keep bright indirect light. When roots reach two to three inches, move to potting mix. Moss and perlite bags work too if you prefer higher humidity.
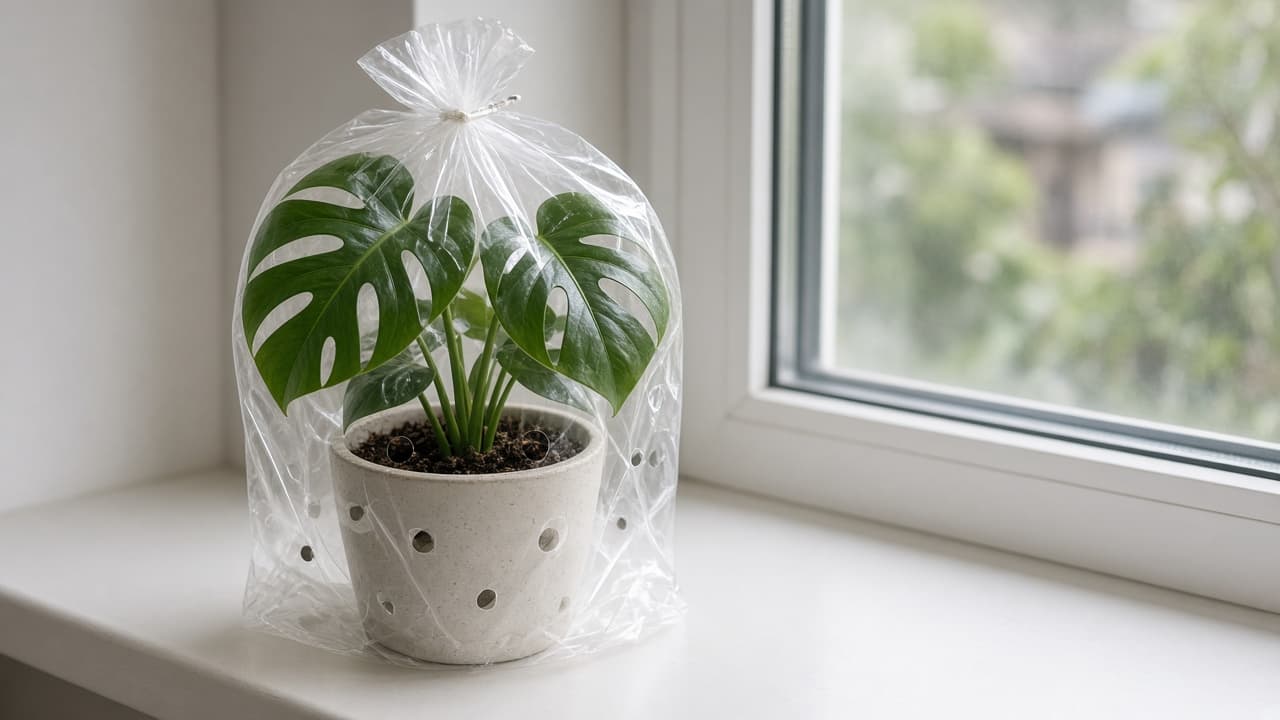
After potting, keep soil lightly moist and humidity high for a few weeks. A clear bag over the pot or a pebble tray helps. New growth means the cutting has established. Avoid direct sun on tender roots.
Direct-to-soil propagation avoids the transition from water roots to potting mix. Put the node into a small pot of moist, airy medium, keep it warm in bright indirect light and maintain even moisture without waterlogging. University of Minnesota Extension advises keeping the medium continually moist for the first one to two weeks, then letting the surface begin to dry between waterings.
Root growth and leaf growth run on different clocks. Water roots may appear within weeks, while a new leaf can take two to three months. A firm green node is worth waiting for. A black, soft or foul-smelling node is rotting and should be cut back to clean tissue with sanitized pruners.
Step-by-step guide
Time: 20 minutes to cut; 4 to 8 weeks rooting; potting 15 minutes
What you need
- Sharp clean pruners or scissors
- Clear jar or vase for water propagation
- Optional: sphagnum moss and a small zip bag
- Small pot with drainage and airy potting mix
- Optional: rooting hormone powder
- Clear humidity bag or cloche for potting
Before you start
- Toxic if chewed by pets or children. Wash hands after handling sap.
- Leaf-only cuttings without a node cannot produce a new vine, even if they stay green or form roots.
- Rotting nodes mean water was too deep or stale. Trim mush and retry.
- Cold drafts below about 65°F (18°C) slow rooting.
Step 01
Find a node and sanitize your tools
Follow the vine to a segment with a bump and optional aerial root. That bump is where roots will form.
Do this step in order
1a
Pick a vine with at least one healthy leaf
Avoid yellow or pest-damaged tissue. Aerial roots are a bonus but not required if the node is sound.
1b
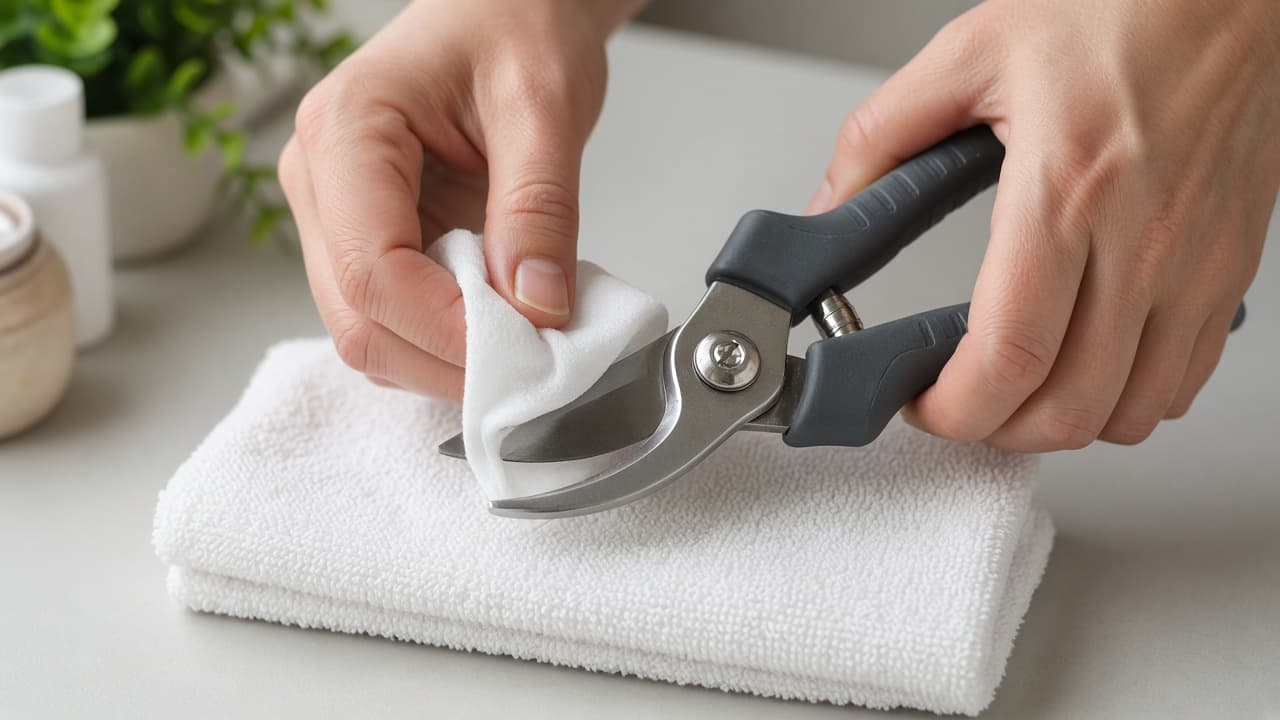
Sanitize your blade with alcohol
Wipe the blades with 70% isopropyl alcohol and let them dry. A clean, sharp cut causes less damage than a ragged tear.
Clean blades cut cleaner and lower infection risk. 1c
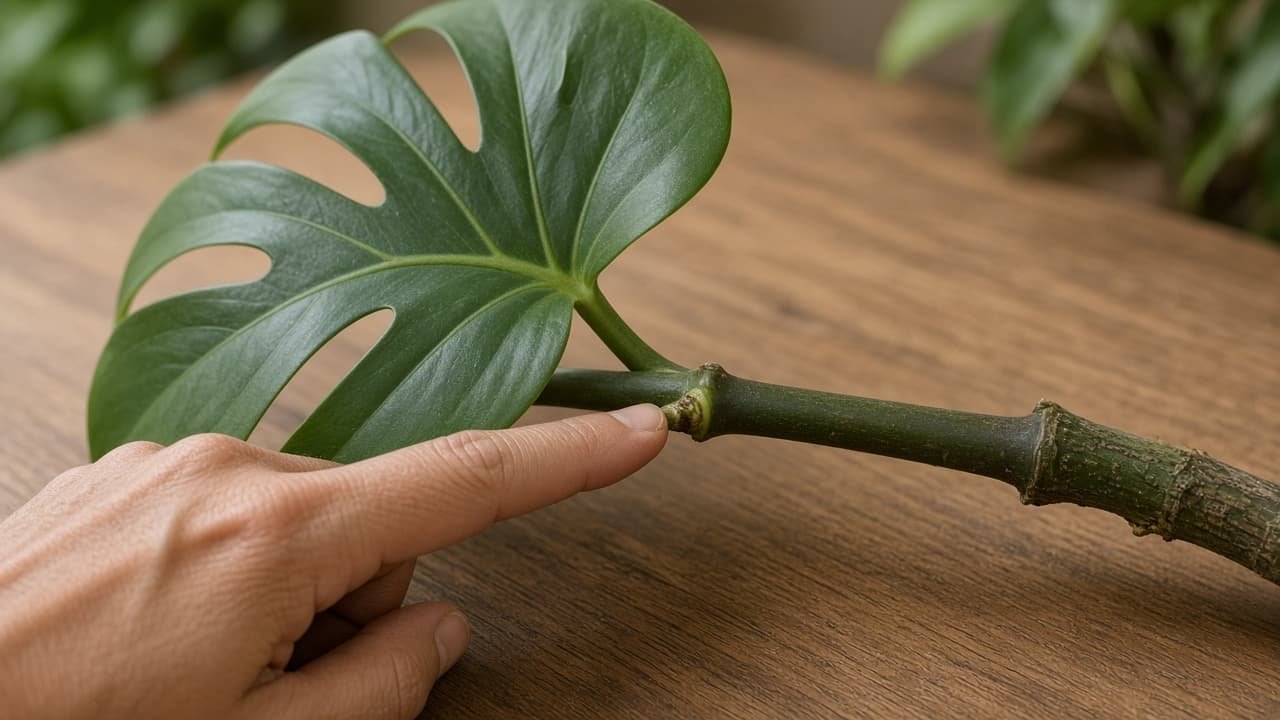
Point to the node before you cut
The node is the swollen ring on the stem, not the leaf petiole alone. Roots and new shoots emerge from that tissue.
Find a firm node on a healthy vine before you cut. 1d
Take a leaf without a node
Common mistake: rooting a pretty leaf that has no node. It may stay green in water but cannot grow a new vine.
No node means no new plant.
Step 02
Cut half an inch below the node
Include the node on the cutting you plan to root. Leave a short stem stub so the node can sit in water without drowning.
Do this step in order
2a
Cut on a slight angle below the node
Leave about half an inch of stem under the node. A clean angle exposes more surface without crushing tissue.
2b
Include an aerial root if one is present
Aerial roots often speed water rooting. They are not required when the node is healthy.
Aerial roots are a helpful bonus on the cutting. 2c
Let the cut air-dry for a few minutes
Set the cutting on a clean surface while you prepare the jar. Sap should stop dripping before it goes in water.
A short rest reduces cloudy water on day one. 2d
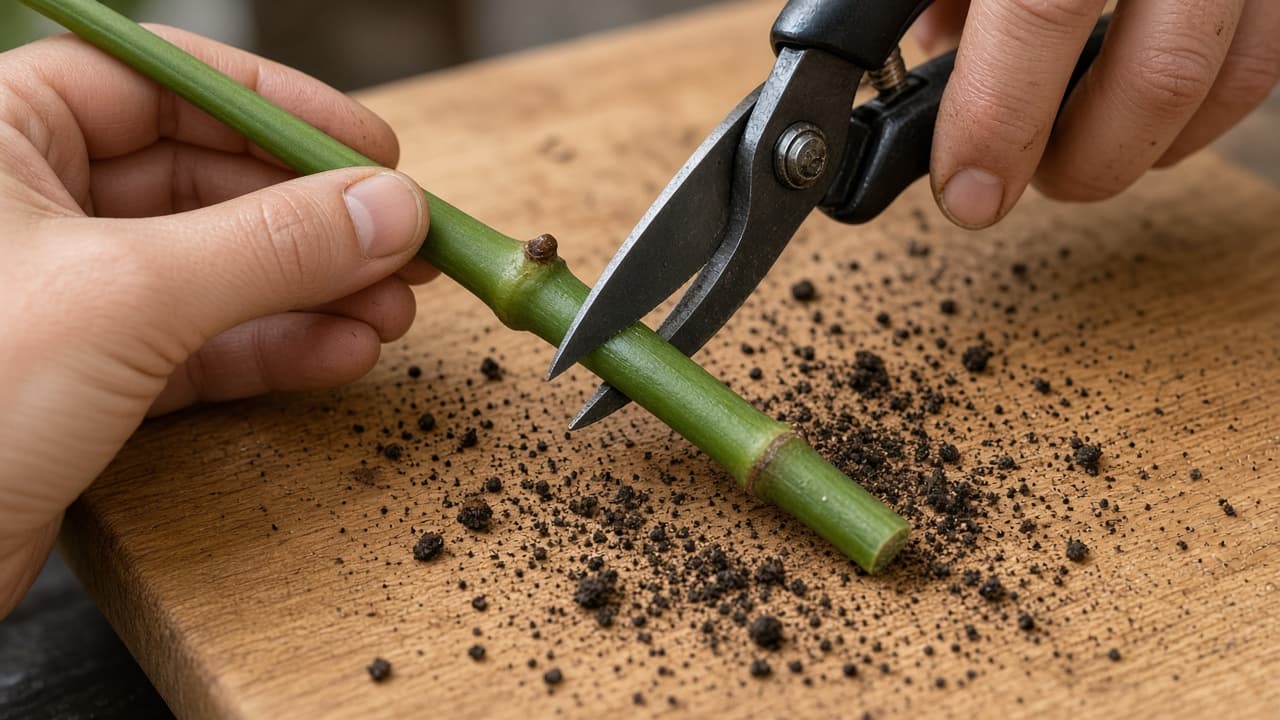
Cut through the middle of the node
Common mistake: slicing the node itself. Damaged node tissue rots fast in water or soil.
Cut through the middle of the node
Step 03
Set up the water jar correctly
Keep the node wet and the leaf dry. Bright indirect light speeds rooting without scorching.
Do this step in order
3a
Use a clear jar of room-temperature water
Rest the leaf on the rim so it stays out of the water. Optional rooting hormone on the cut end can help.
3b
Position the node an inch below the surface
Do not submerge the leaf stem. Only the node and any aerial root should contact water.
Keep the node wet and the leaf above the waterline. 3c
Set the jar in bright indirect light
Avoid direct sun on the jar. Warm stable temperatures speed root formation.
Bright indirect light speeds rooting without leaf scorch. 3d
Submerge the entire leaf stem
Common mistake: drowning the petiole and leaf base. Wet leaves rot and foul the water quickly.
Leaves stay dry; nodes stay wet.
Step 04
Refresh water weekly and wait for roots
Cloudy water means change it sooner. Roots two to three inches long are ready for soil.
Do this step in order
4a
Change water every seven days
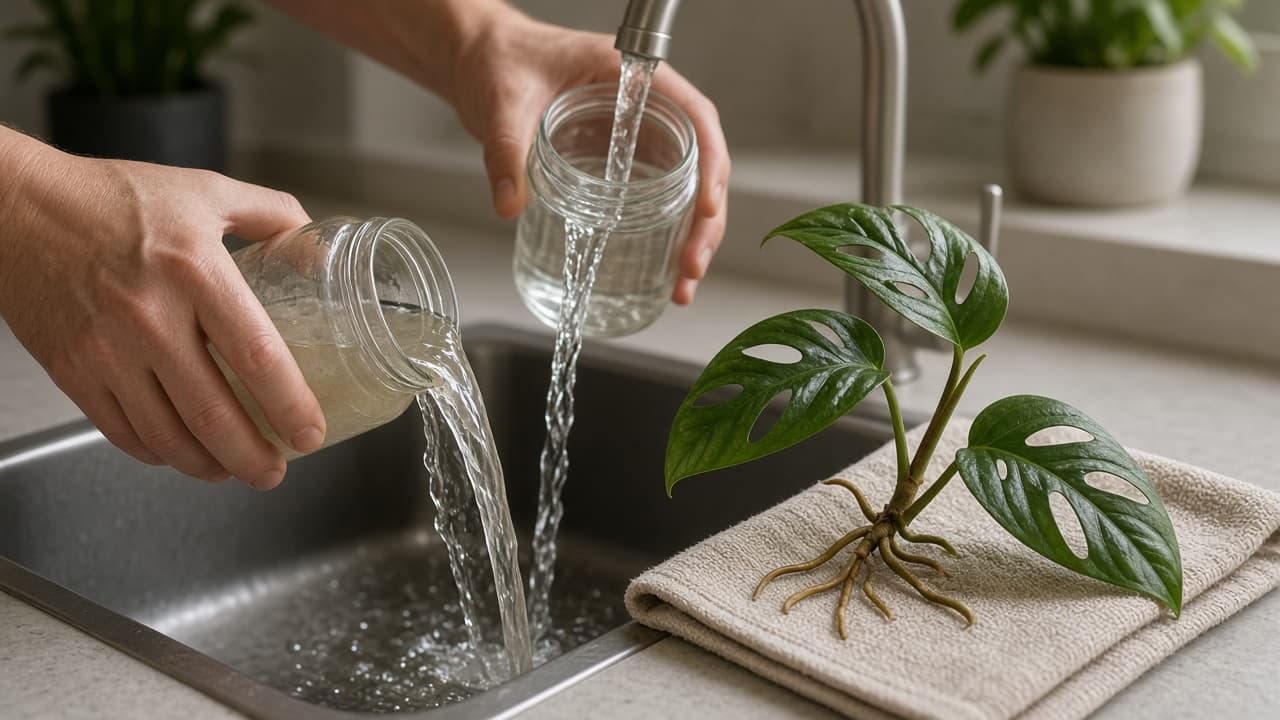
Pour out old water, rinse the jar and refill. Slime or odor means change it immediately.
4b
Watch for white root tips at the node
Healthy roots start as small bumps, then lengthen over several weeks.
Root tips at the node mean the cutting is working. 4c
Wait until roots are two to three inches long
Short fuzzy roots may not survive the move to soil. Patience here prevents transplant shock.
Change cloudy water weekly so the node stays healthy. 4d
Pot as soon as you see any root bump
Common mistake: moving to soil with only a few millimeters of root. Wait until strands are sturdy enough to handle.
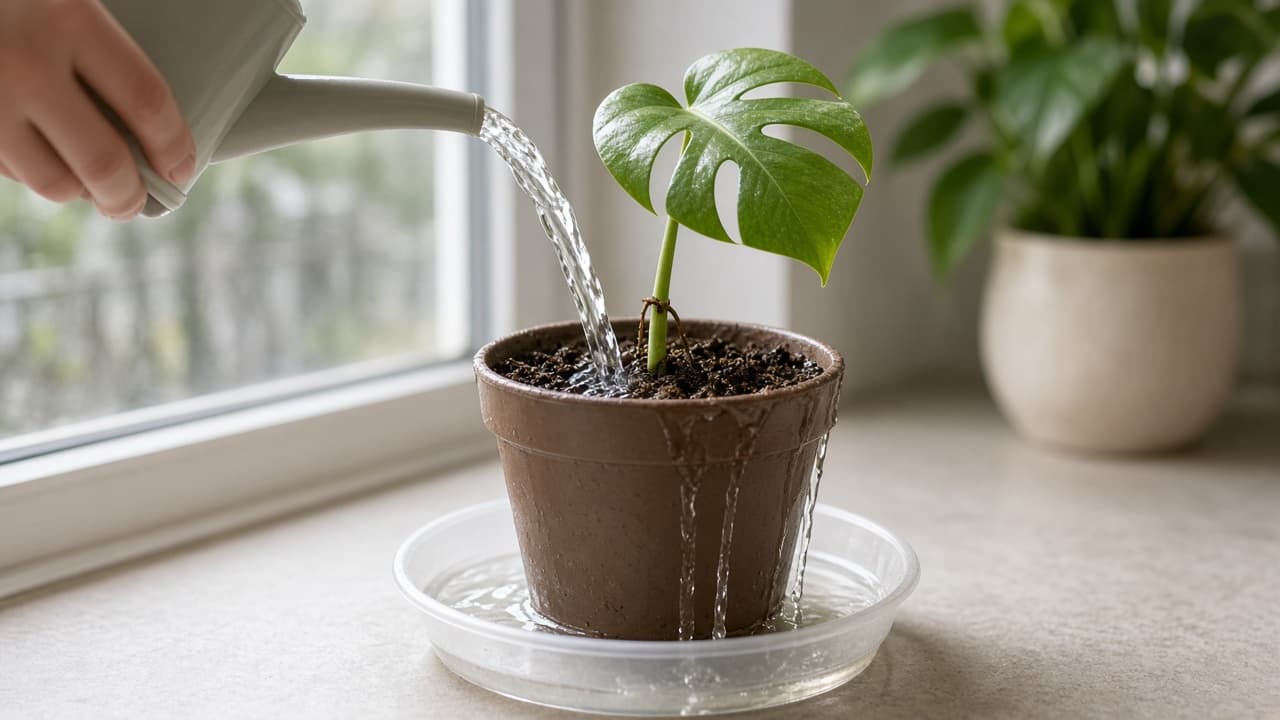
Pot as soon as you see any root bump
Step 05
Pot in airy mix with a humidity tent
Move to soil when roots are sturdy. High humidity bridges the gap between water and pot life.
Do this step in order
5a
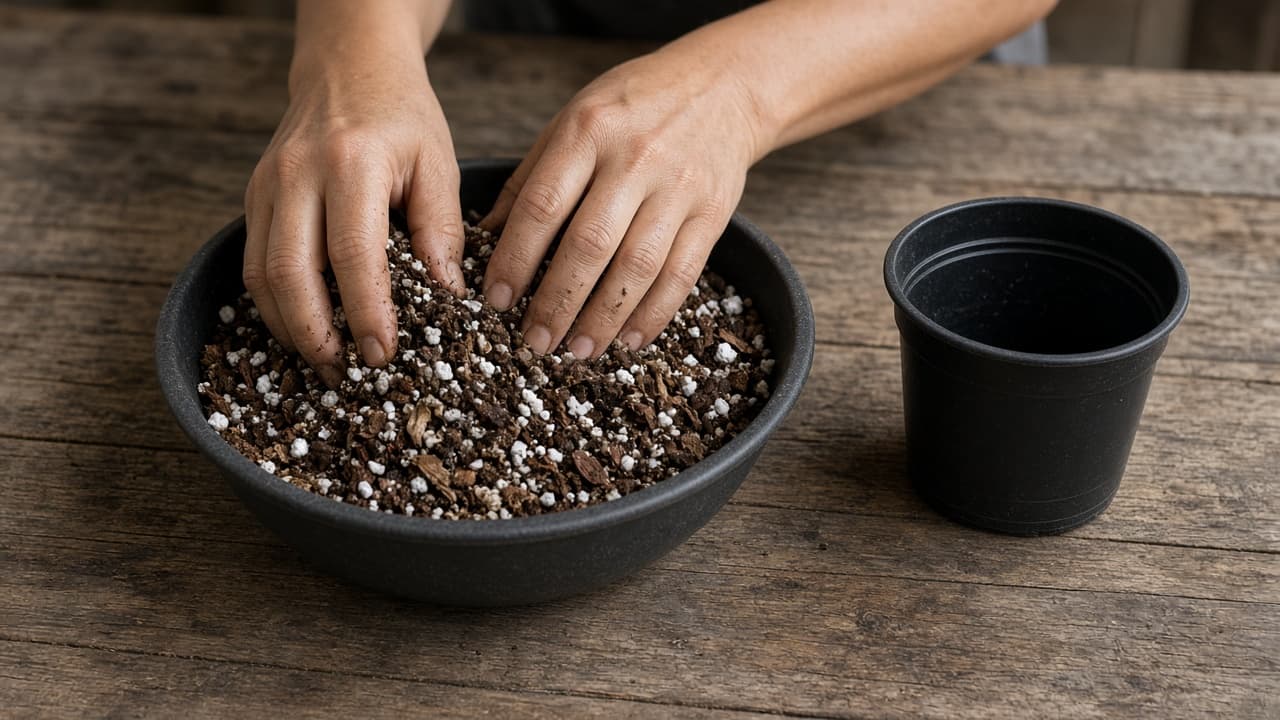
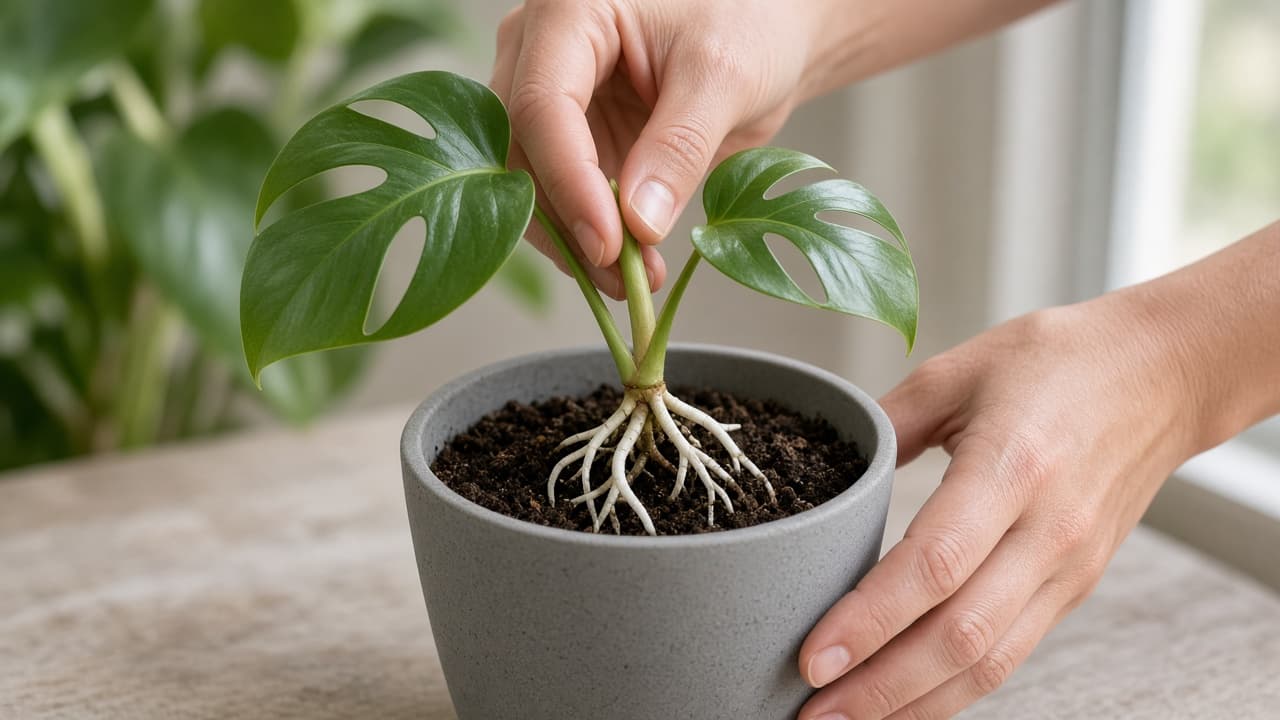
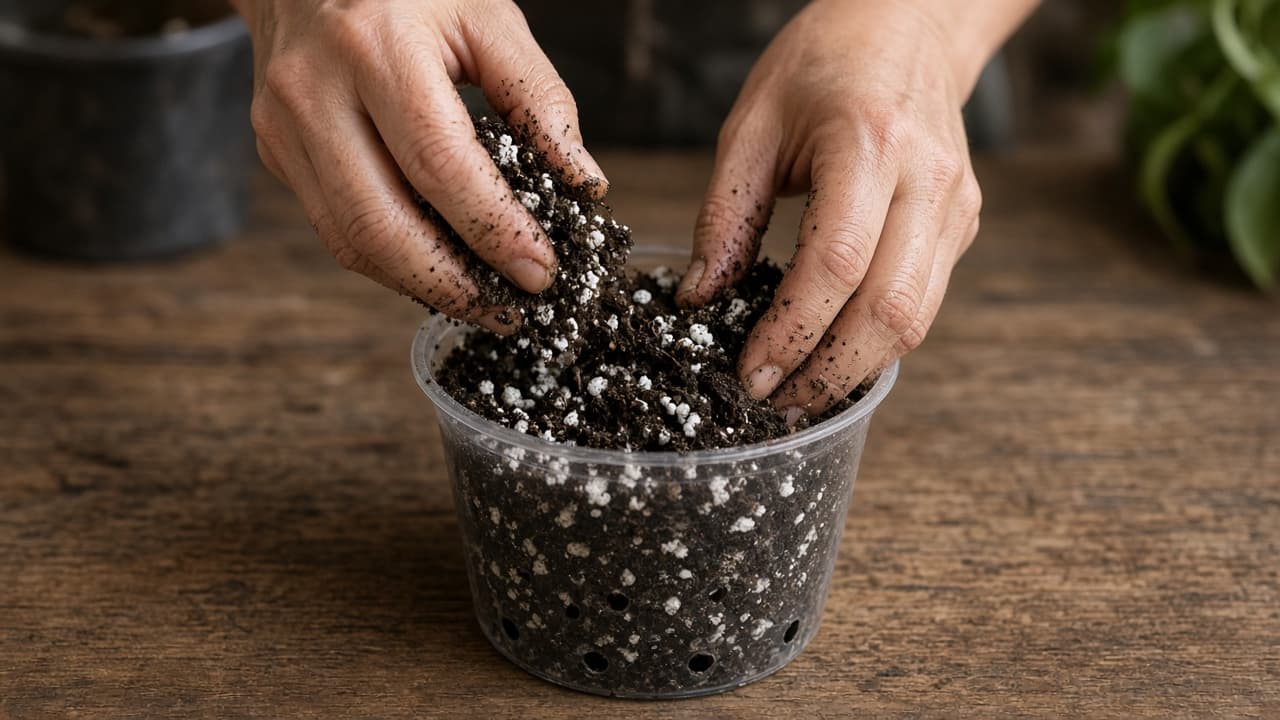
Fill a small pot with chunky aroid mix
Blend potting soil with perlite and orchid bark for drainage. Monstera hates soggy new roots.
5b
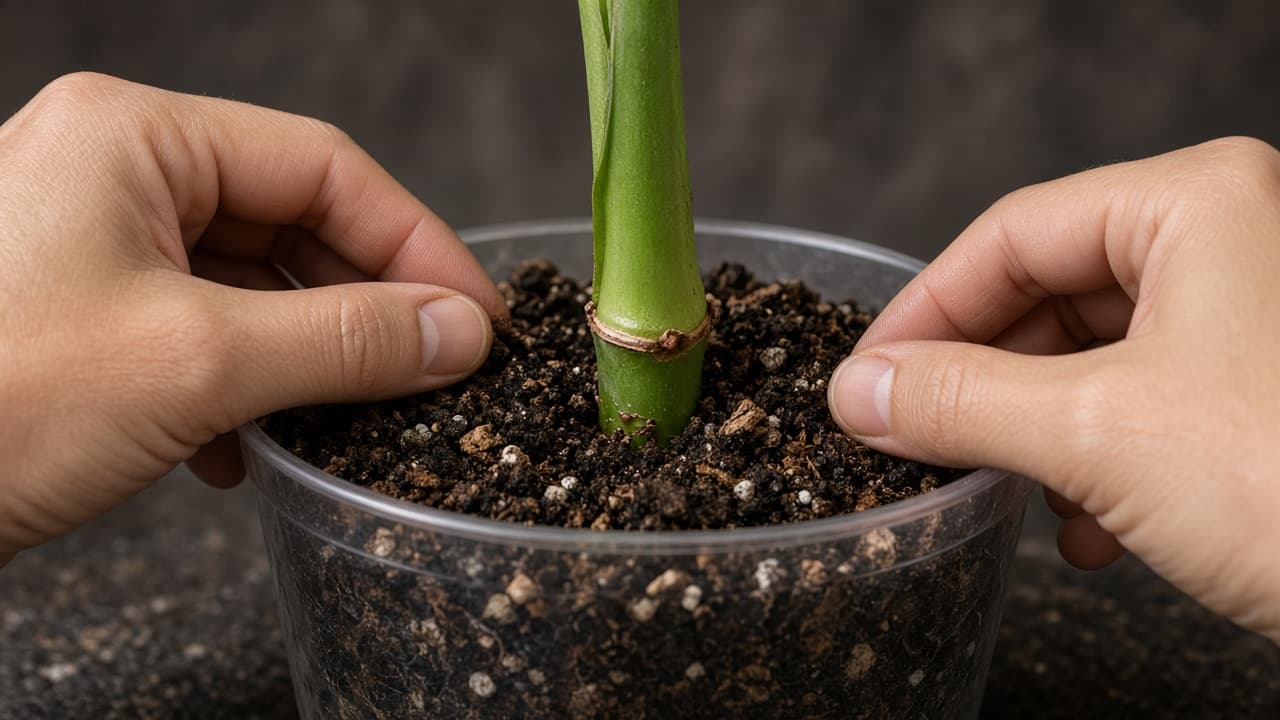
Plant with the node at soil level
Bury roots, keep the stem upright and water lightly to settle mix. Do not pack soil hard.
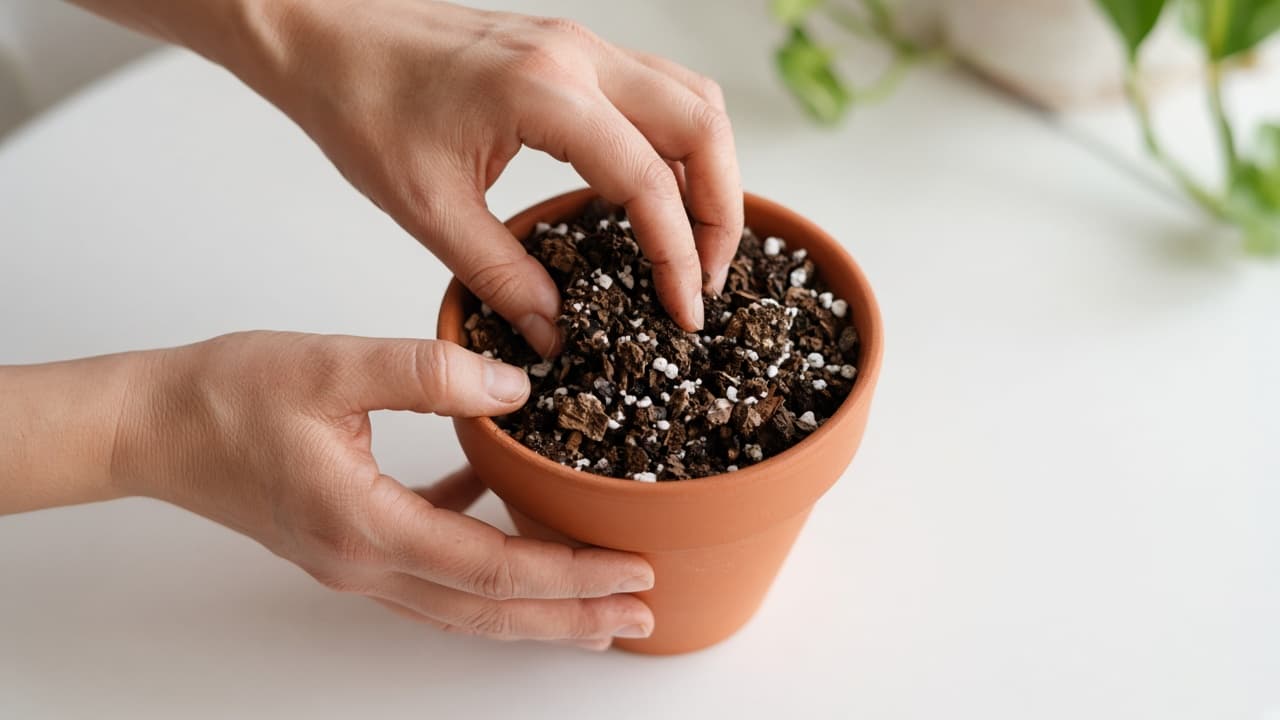
Bury the roots gently and keep the stem upright. 5c
Cover with a vented humidity bag
A clear bag with air holes or a cloche reduces wilting for two to three weeks.
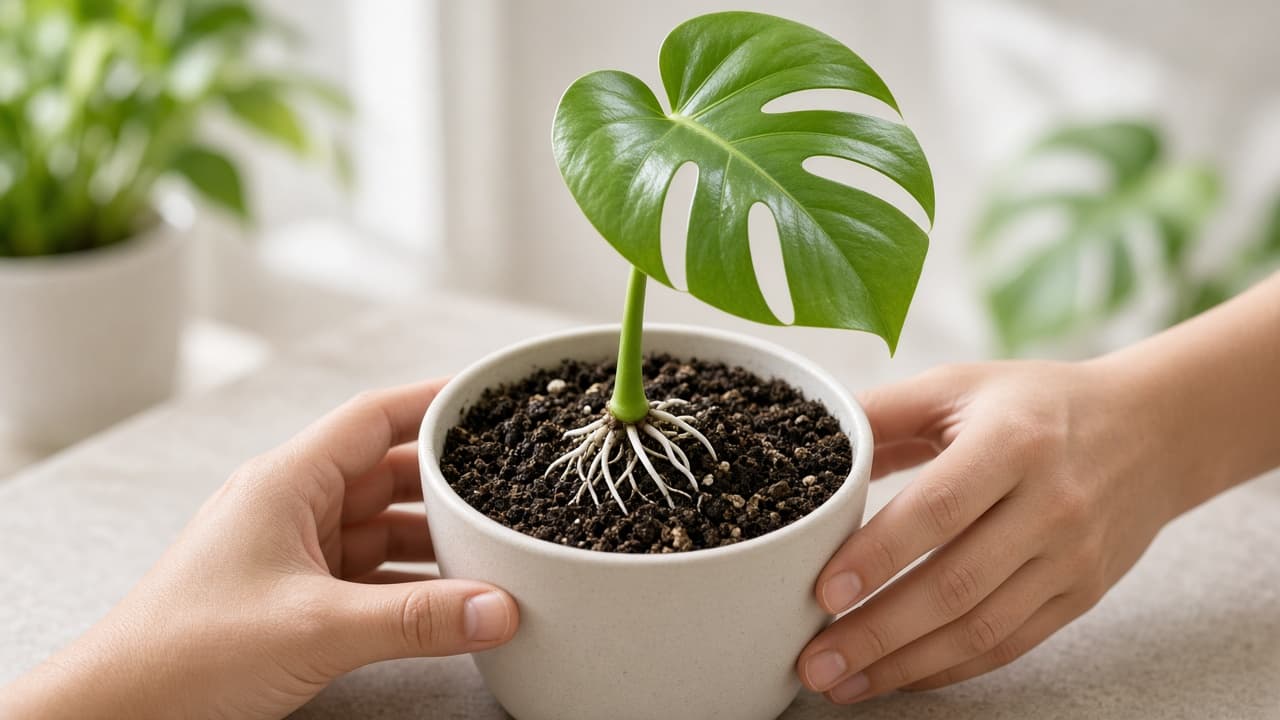
A vented bag helps the plant adjust after water rooting. 5d
Pack soil tight around fragile roots
Common mistake: pressing mix hard and breaking new water roots. Loose backfill and a light settle-in water are enough.
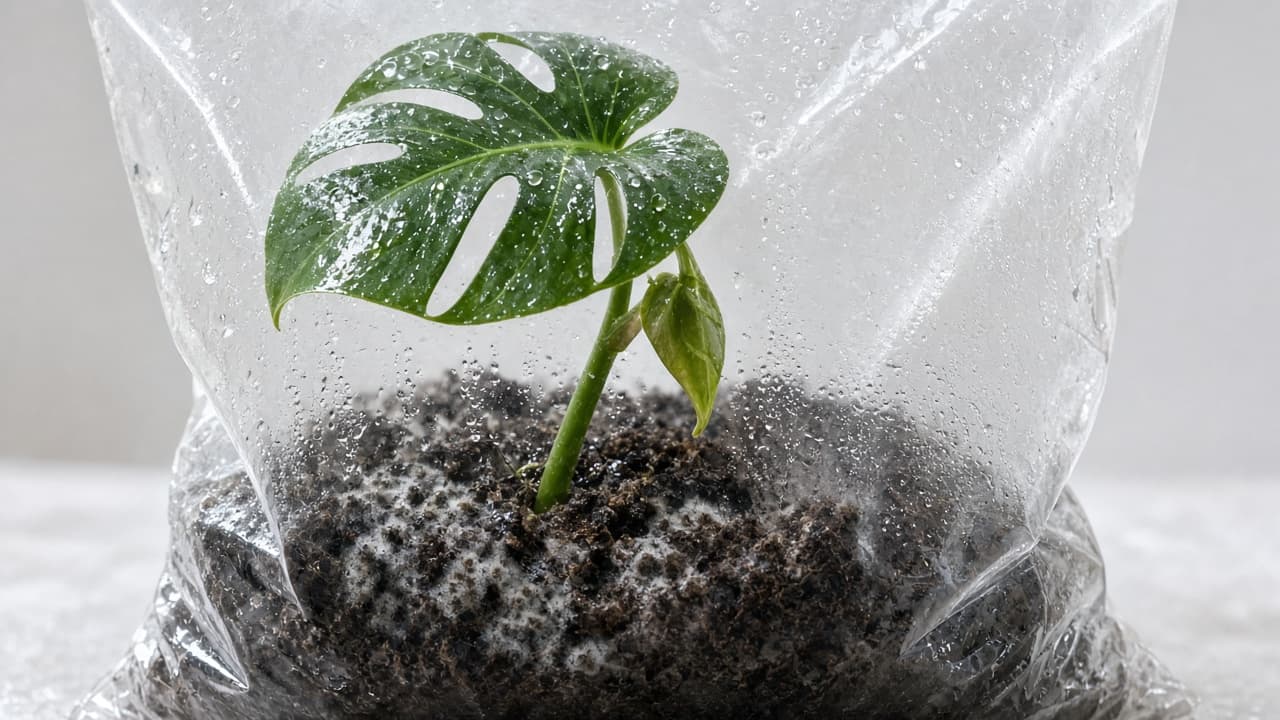
Common mistake: packing soil hard around new roots.
Step 06
Harden off the humidity tent gradually
Remove cover slowly so leaves adjust. Mold on the bag means open it sooner.
Do this step in order
6a
Open the bag an hour longer each day
Start with a few vent holes, then peel the bag back more each morning.
6b
Keep the bag from touching leaves
Contact points trap moisture and can cause spots. Use stakes or chopsticks to tent the plastic.
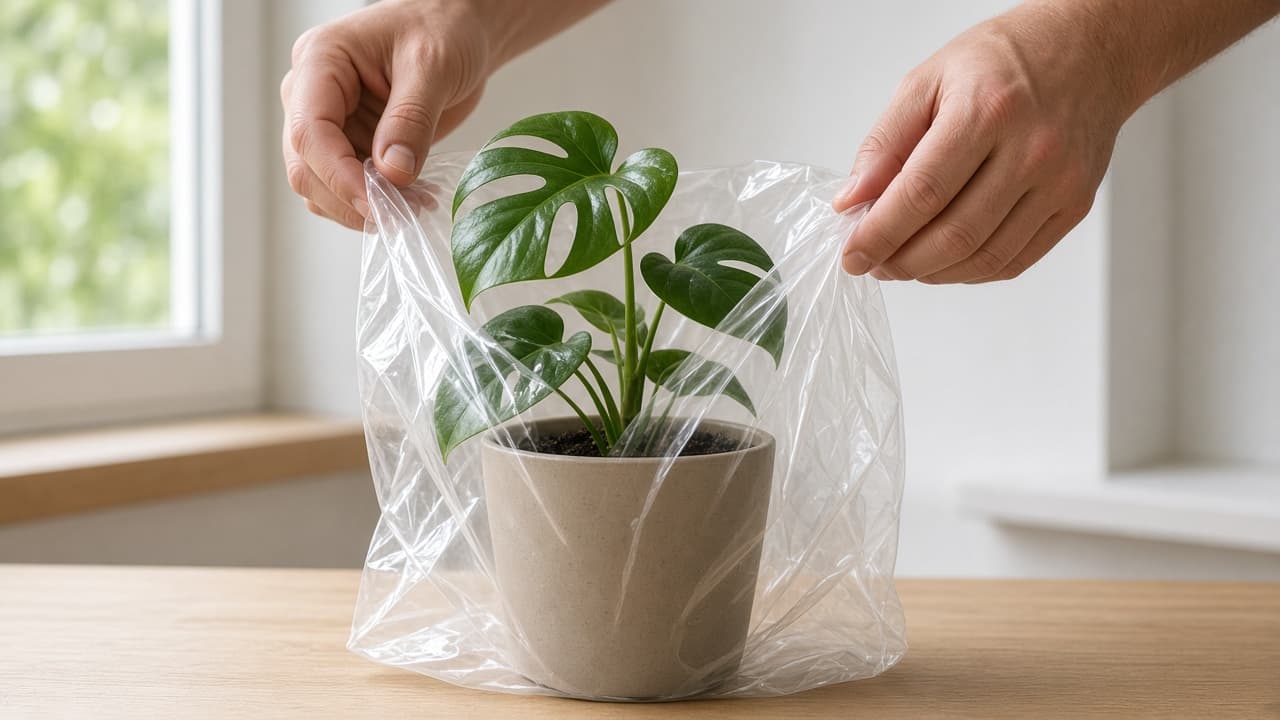
Keep the cover off the leaf surface to limit rot. 6c
Watch for new leaf unfurling
Fresh growth means roots are taking hold. Resume normal monstera care slowly.
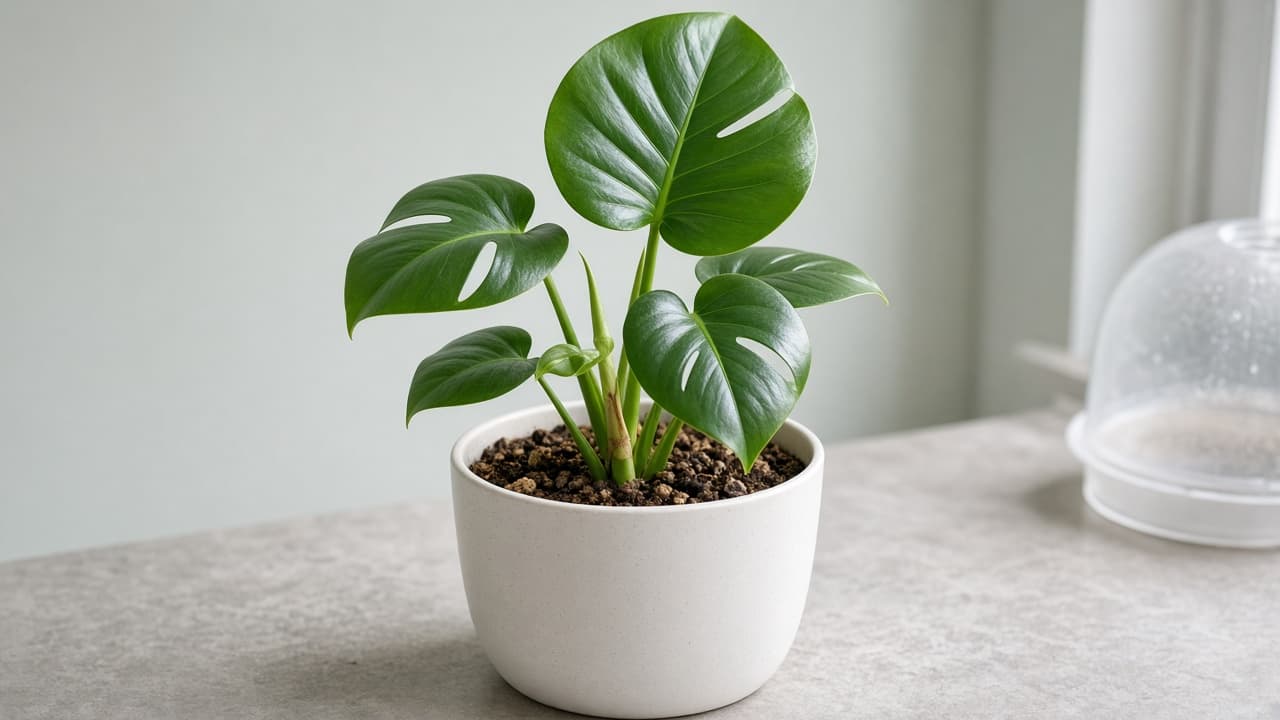
New growth shows the plant is settling in. 6d
Rip the bag off the first sunny day
Common mistake: removing all humidity at once on a dry afternoon. Gradual hardening prevents wilt.
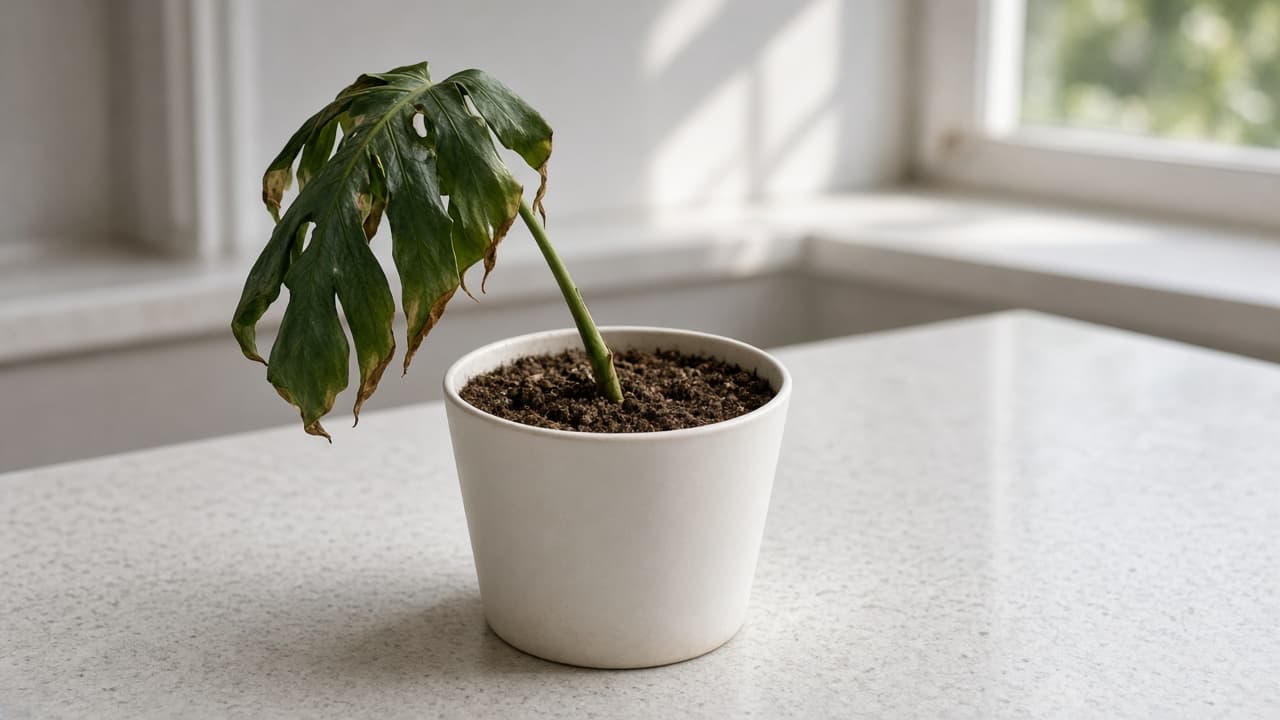
Rip the bag off the first sunny day
Step 07
Try soil rooting and troubleshoot rot
Soil propagation skips the water transition. Trim black tissue early and restart clean.
Do this step in order
7a
Plant a node directly in moist airy mix
Use a small clear pot if you want to watch roots form. Keep the medium moist, not saturated, for the first two weeks.
7b
Check for firm green node tissue weekly
Soft black nodes should be trimmed back to clean white or green tissue with sanitized blades.
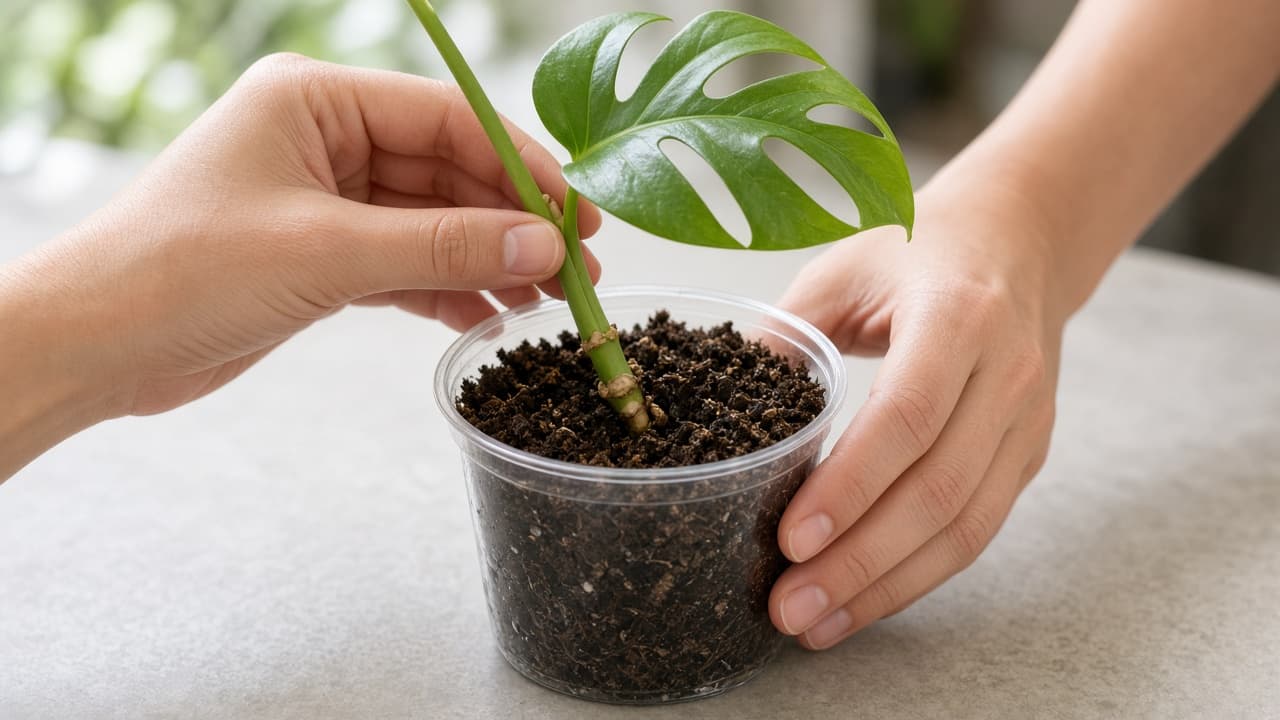
A firm green node is worth waiting for. 7c
Wait for resistance or new growth before unpotting
A gentle tug after several weeks may show anchoring. A new leaf can take two to three months.
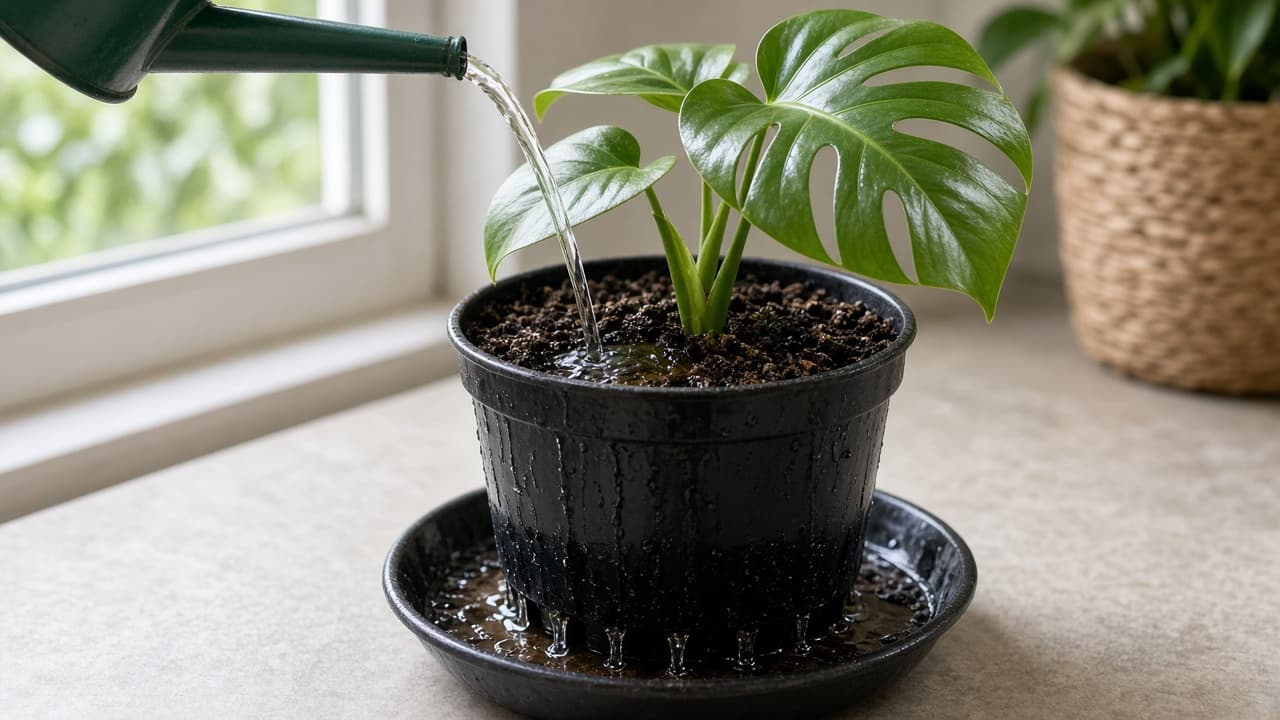
Wait for anchoring roots before unpotting to peek. 7d
Ignore foul-smelling water or soil
Common mistake: waiting while the node turns mush. Cut back to healthy tissue, sanitize the jar and restart.
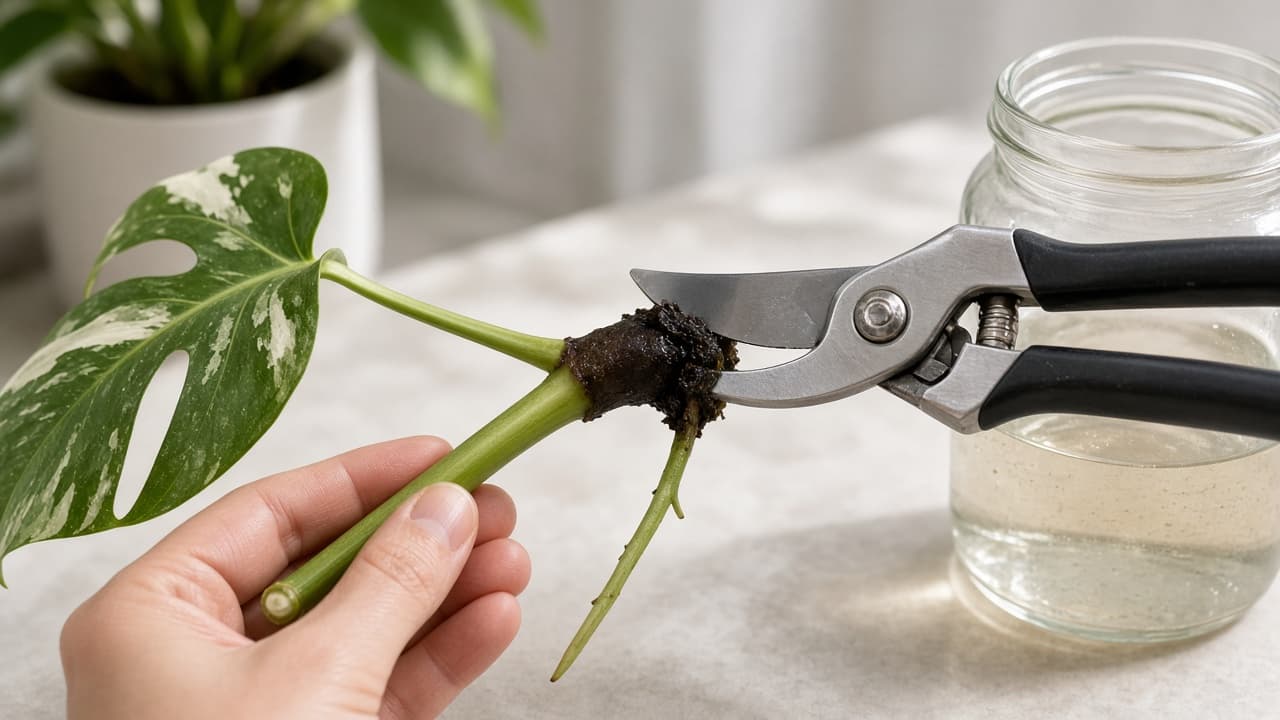
Ignore foul-smelling water or soil
Done when
- Identify a node on a healthy stem
- Sanitize blades before cutting
- Submerge only the node in water or moss
- Wait for two to three inch roots
- Pot and maintain humidity until new growth
- Harden off humidity tent gradually
- Trim rot early and restart in clean water
Eagle Frame's takeaway: cut below a node with a clean blade, root in water until strands are a few inches long, pot in airy mix and baby the humidity until a new leaf unfurls. Skip leaf-only cuttings; they look pretty in water but rarely become plants.