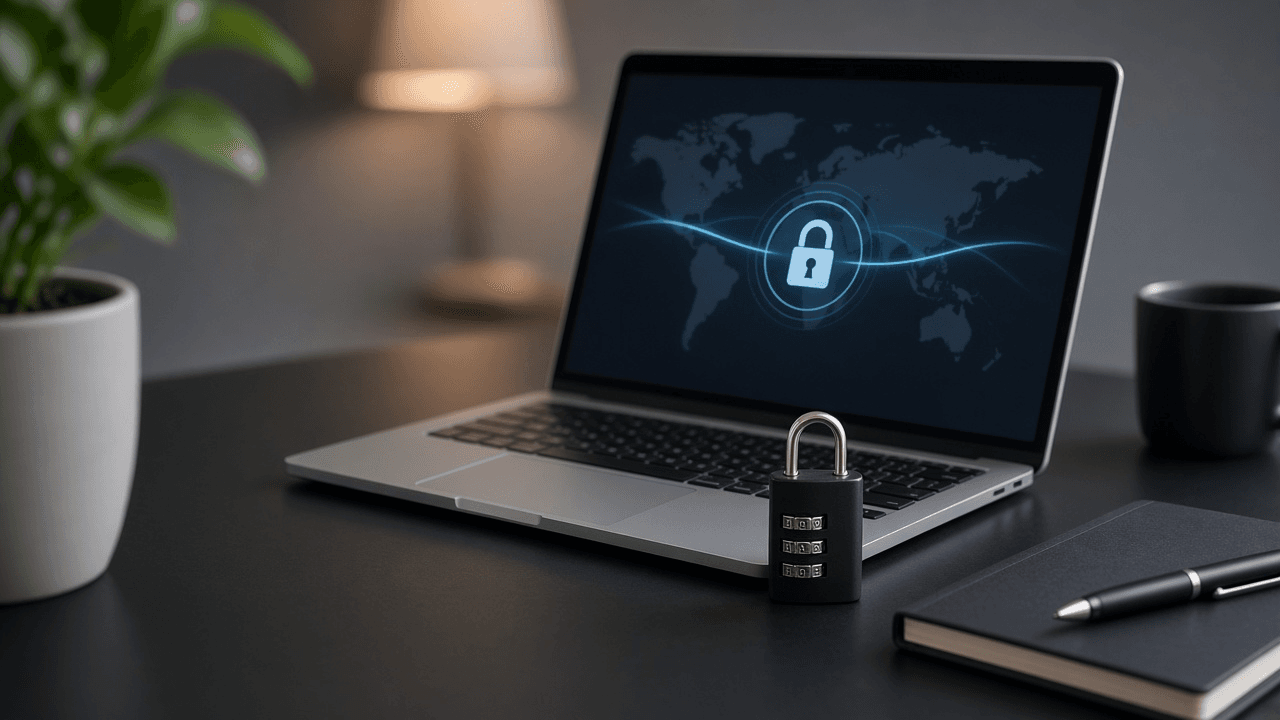
How to set up a VPN
Pick a reputable paid VPN, create an account on the official site, install the app on phone and laptop from the store or vendor download page and connect before public Wi-Fi.
A virtual private network (VPN) encrypts traffic between your device and a VPN server. On public Wi-Fi that makes snooping harder. It also changes the IP address sites see, which can help with privacy from local networks. It does not make you invisible online or replace antivirus and strong passwords.
Free VPNs often fund themselves with ads, data sales or weak security. For regular use, a paid service with a clear privacy policy, independent audits and open-source clients is the safer default. Well-known examples include Mullvad, Proton VPN and Mozilla VPN. Compare price, device limits and whether you need streaming support.
Setup follows the same pattern everywhere: sign up on the official website, download the app from Apple App Store, Google Play or the vendor's signed desktop installer, log in and tap Connect. Avoid random download links in ads or forum posts.
On phones, allow the VPN configuration prompt the first time you connect. On laptops, install updates from inside the app. Use the nearest server for speed unless you need a specific country. Turn on auto-connect on untrusted networks if the app offers it.
A VPN changes whom you trust. Your internet provider sees less of the connection, but the VPN operator may be able to observe metadata or traffic that is not protected end to end. The Federal Trade Commission recommends reading the privacy policy, checking requested permissions and looking for independent reporting about encryption plus third-party data sharing.
After installation, enable the kill switch and test it. This feature blocks ordinary internet traffic when the encrypted tunnel drops, which prevents a quiet return to the local network. Also enable automatic connection on untrusted Wi-Fi, keep the app updated and check the public IP address before and after connecting. HTTPS, multifactor authentication and phishing awareness still matter.
Step-by-step guide
Time: 15 to 30 minutes for account, install and first connection
What you need
- Paid VPN subscription from a reputable provider
- iPhone, Android phone, Windows or Mac computer
- App Store, Google Play or official vendor installer
- Email for account verification
- Credit card or privacy-friendly payment if offered
- Trusted IP-check website for connection tests
Before you start
- Do not install VPN apps from unknown APK sites or pop-up ads.
- A VPN does not legalize piracy or hide serious crimes from law enforcement with a warrant.
- Banking apps sometimes block VPN IPs. Disconnect briefly if login fails.
- Free unlimited VPNs may log or sell traffic. Read the privacy policy.
Step 01
Choose a reputable paid VPN
Look for transparent ownership, a no-logs policy backed by audits and apps in major stores. Price and device count matter for families.
Do this step in order
1a
Shortlist two or three known providers
Examples include Mullvad, Proton VPN and Mozilla VPN. Read recent independent reviews and the privacy policy.
1b
Check device limits and payment options
Some plans allow five to ten devices. Privacy-friendly payment may matter to you.
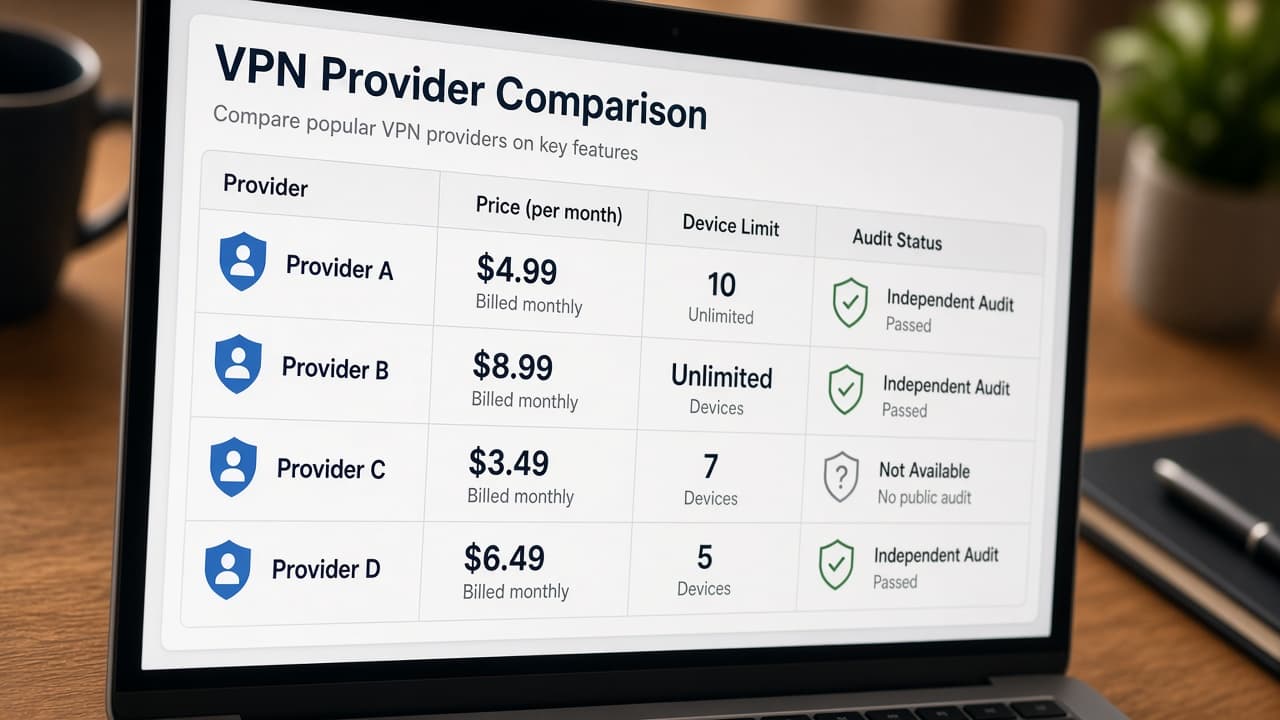
Match device count and payment options to your household. 1c
Read the renewal and refund terms
Confirm the regular price after any introductory period and how to cancel.
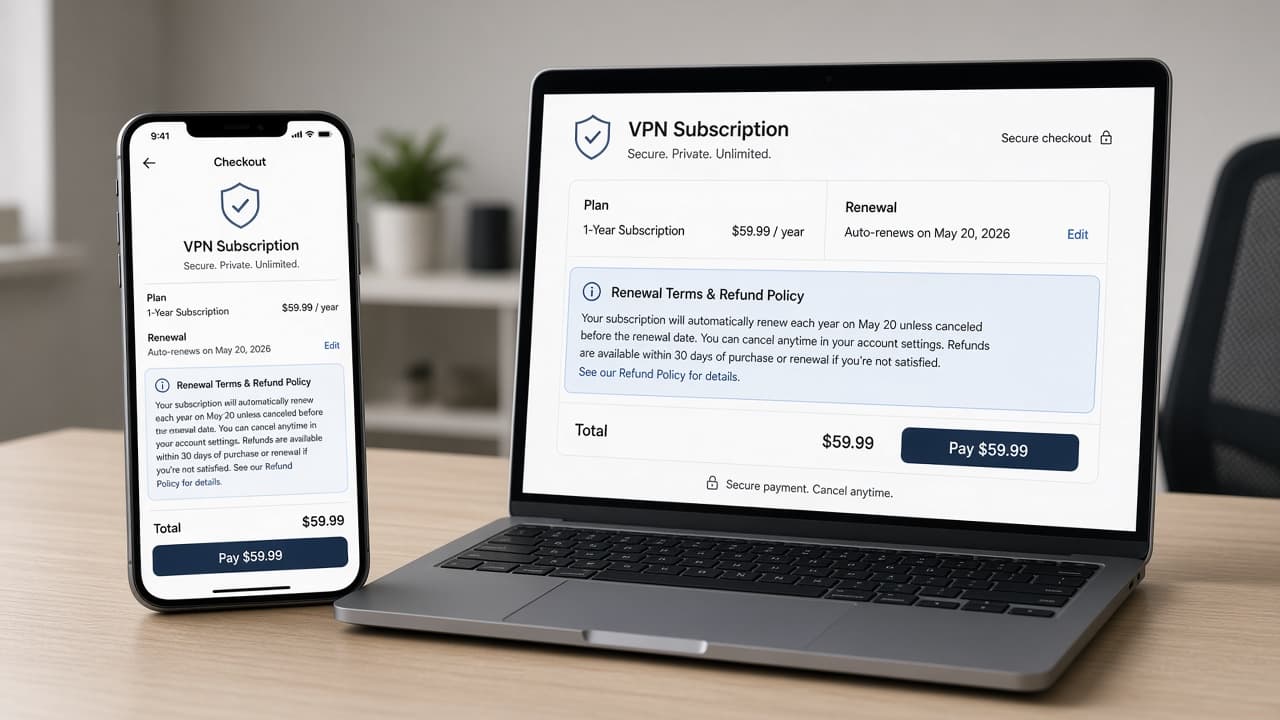
Read renewal and refund terms before you pay. 1d
Install the first free unlimited VPN ad
Common mistake: grabbing a no-name free app with no audit trail. If the product is free, ask how the company makes money.
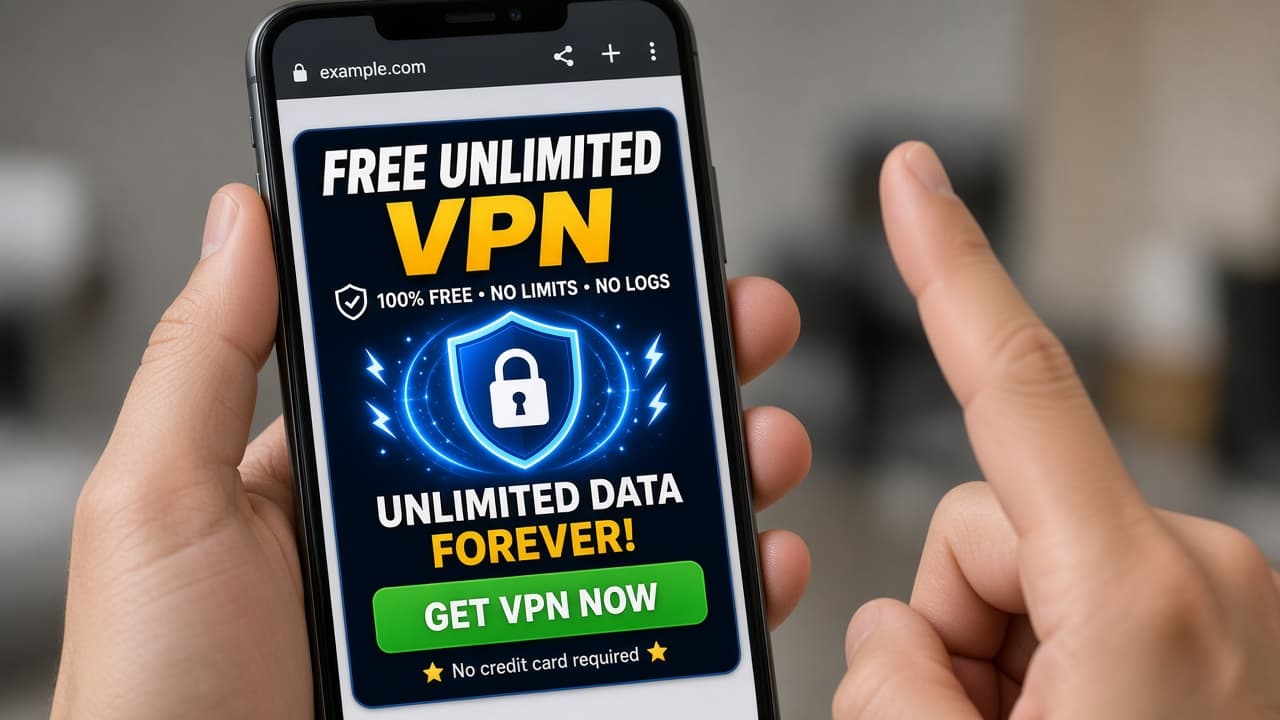
Common mistake: installing from a free unlimited VPN ad.
Step 02
Create an account on the official site
Type the URL yourself or use a bookmark. Phishing clones mimic checkout pages.
Do this step in order
2a
Open the site by typing the domain
Avoid sponsored search ads until you know the real URL. Save a bookmark after you confirm it.
2b
Use a strong unique password and enable MFA
Your VPN account guards network access. Turn on two-factor authentication if offered.
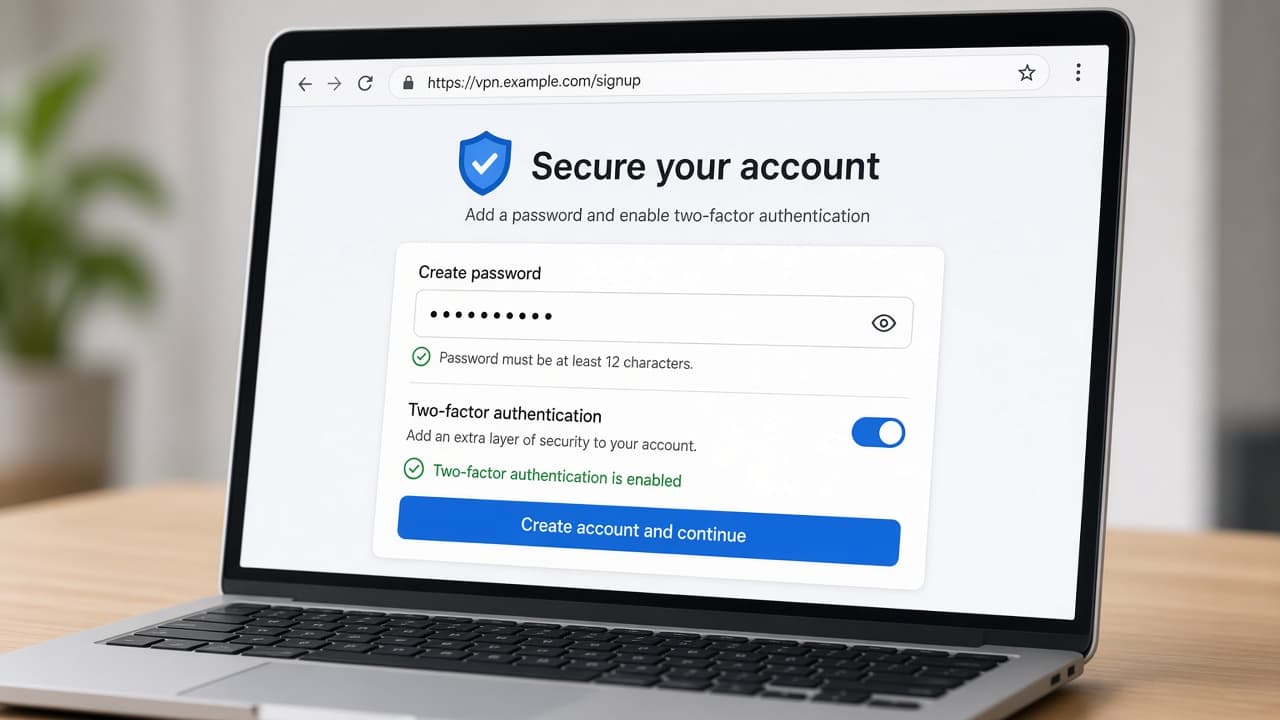
Use a unique password and turn on MFA. 2c
Save your account recovery codes
Store backup codes in a password manager, not a screenshot folder.
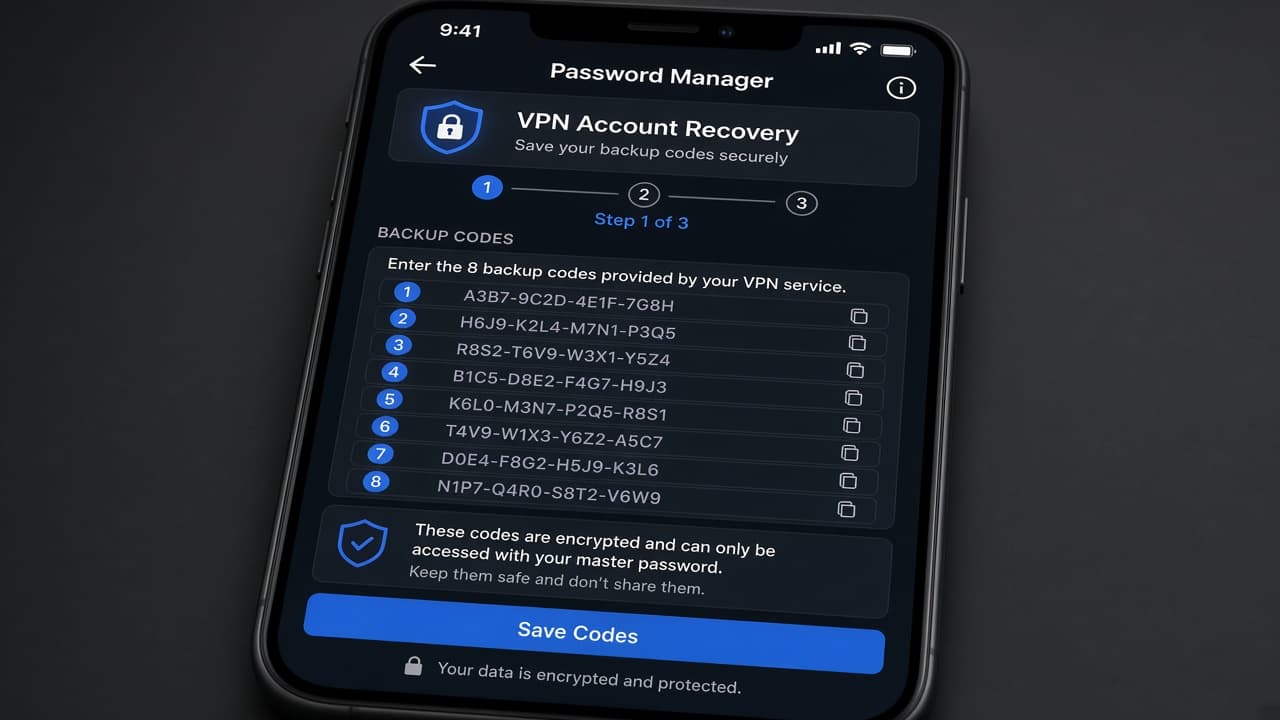
Save your account recovery codes 2d
Pay through a look-alike checkout page
Common mistake: following an email link to a cloned signup form. Always start from a bookmark you verified.
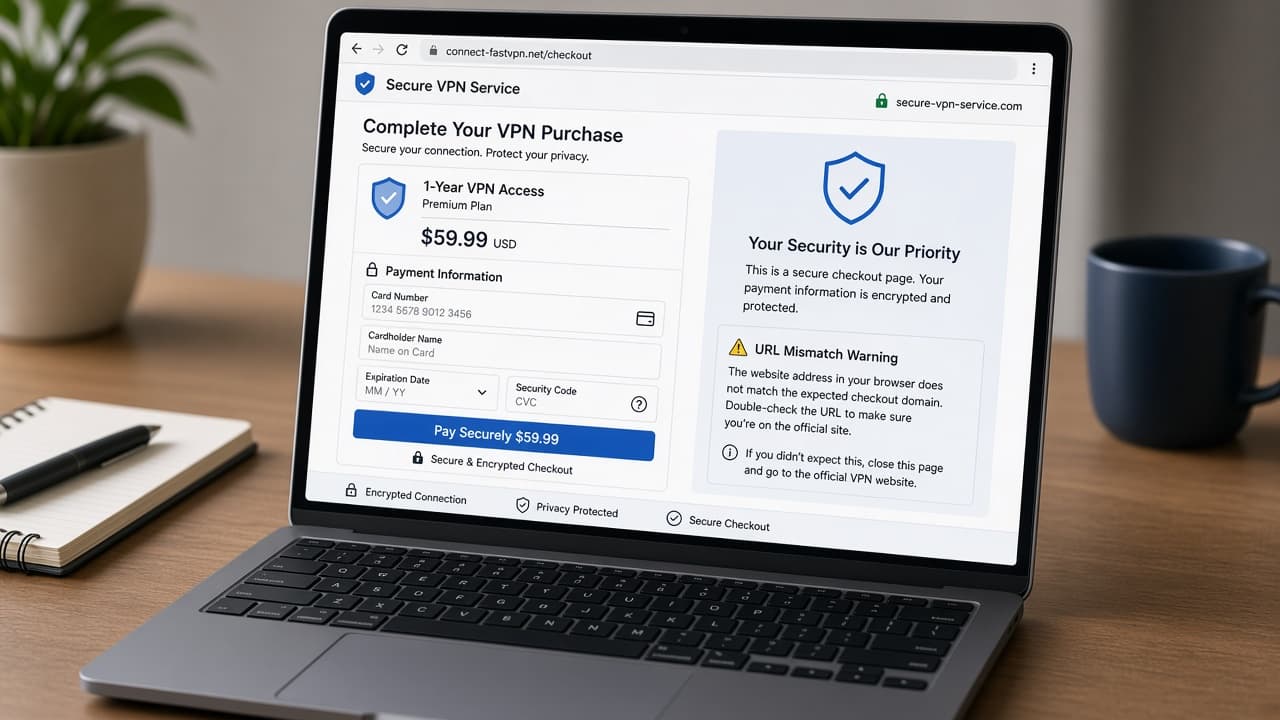
Pay through a look-alike checkout page
Step 03
Install the mobile app from the official store
Mobile install is the fastest win for coffee-shop Wi-Fi. Verify the developer name before you tap install.
Do this step in order
3a
Search the exact provider name in the store
Avoid copycat icons with few reviews or vague developer names.
3b
Install and open the official app
Log in with the account you created. Import any setup code if the site gave you one.
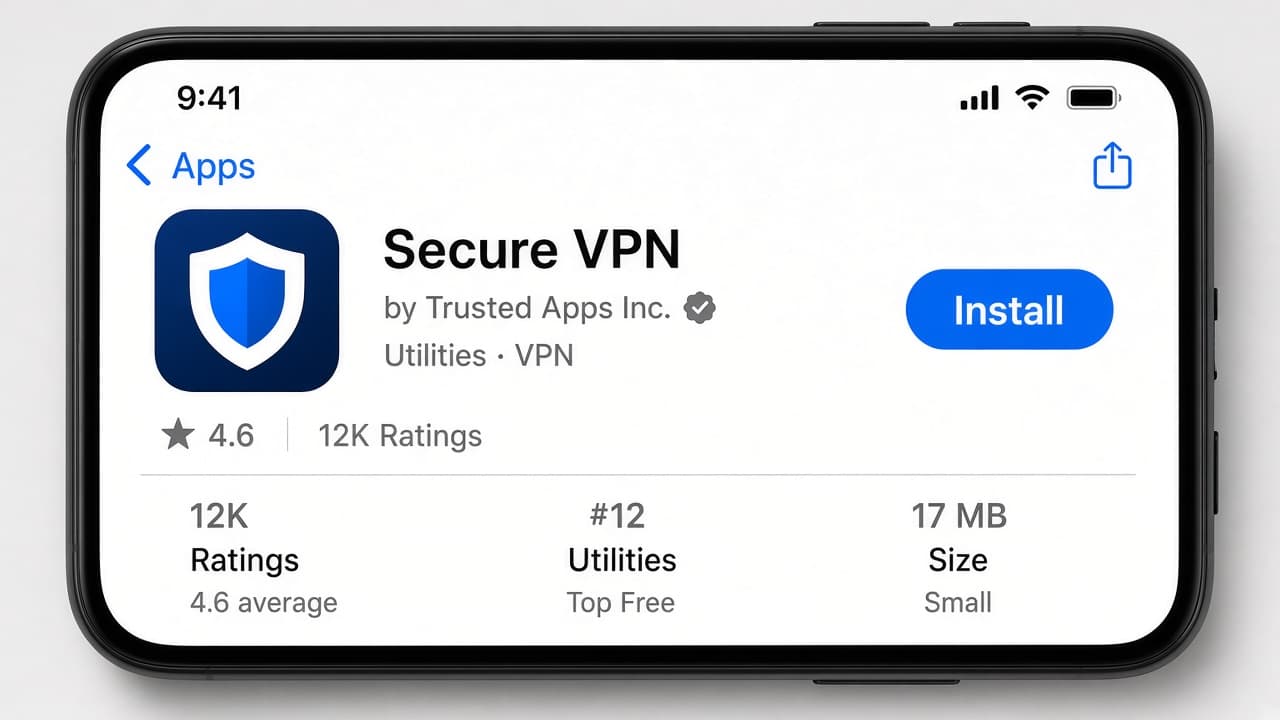
Install only the official store listing for your provider. 3c
Decline unrelated permission requests
A VPN needs a network profile. Question access to contacts, SMS or precise location.
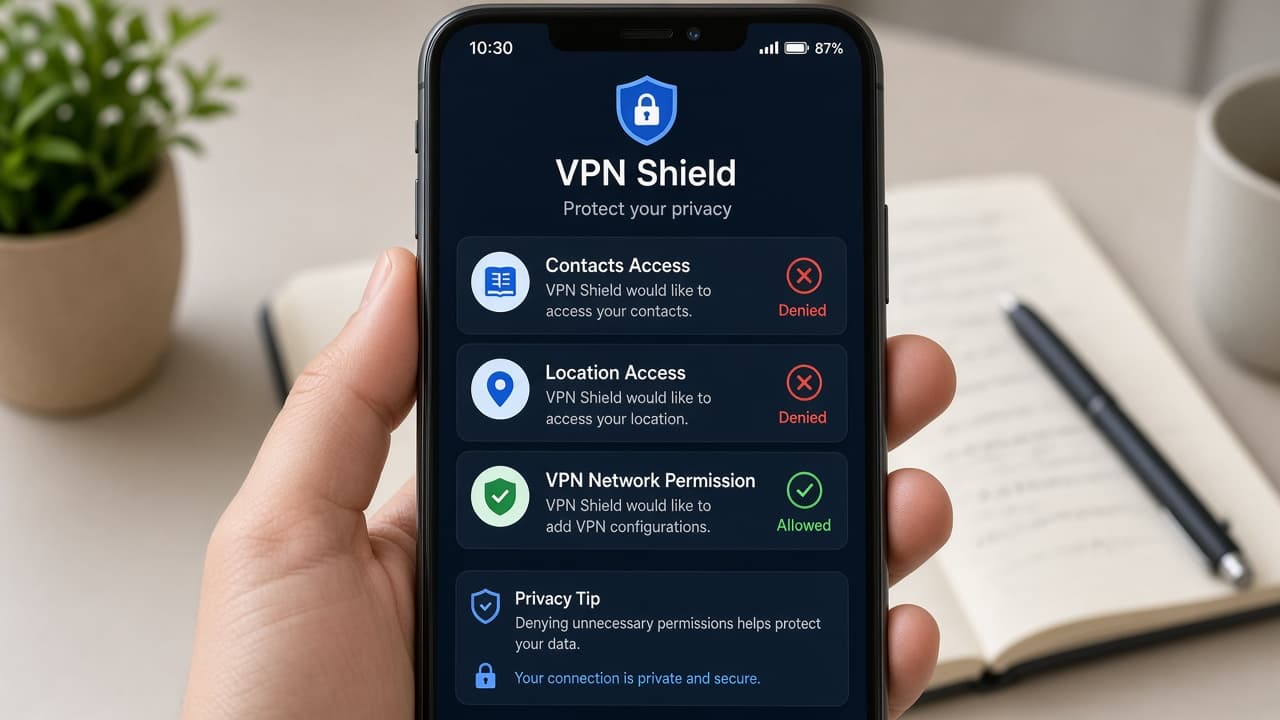
Decline unrelated permission requests 3d
Download an APK from a forum thread
Common mistake: sideloading a modified client that can intercept traffic. Use the official store listing.
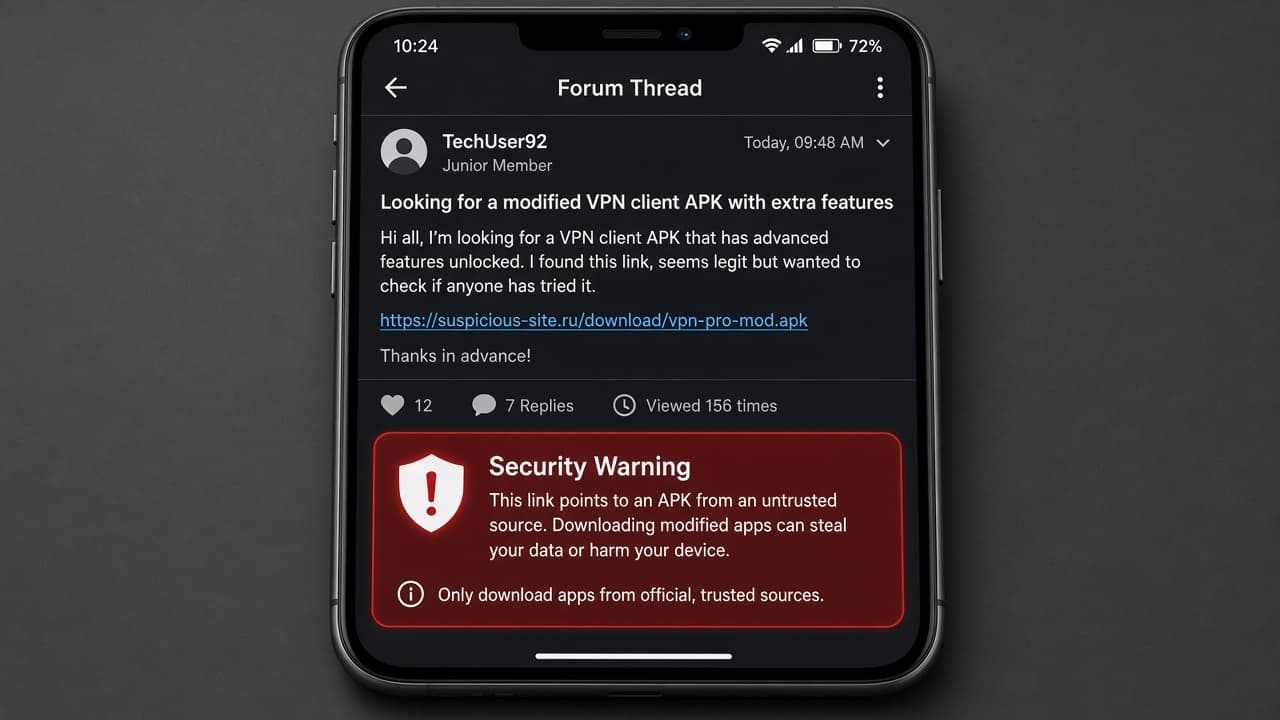
Common mistake: sideloading a VPN APK from a forum.
Step 04
Allow VPN configuration and connect
iOS and Android show a system prompt the first time. Approve it, pick a nearby server and confirm the status icon shows connected.
Do this step in order
4a
Tap Allow on the VPN configuration prompt
The OS needs permission to create a secure tunnel. This is expected on first connect.
4b
Choose a nearby server for speed
Closest city is the default for everyday browsing. Pick another region only when you need it.
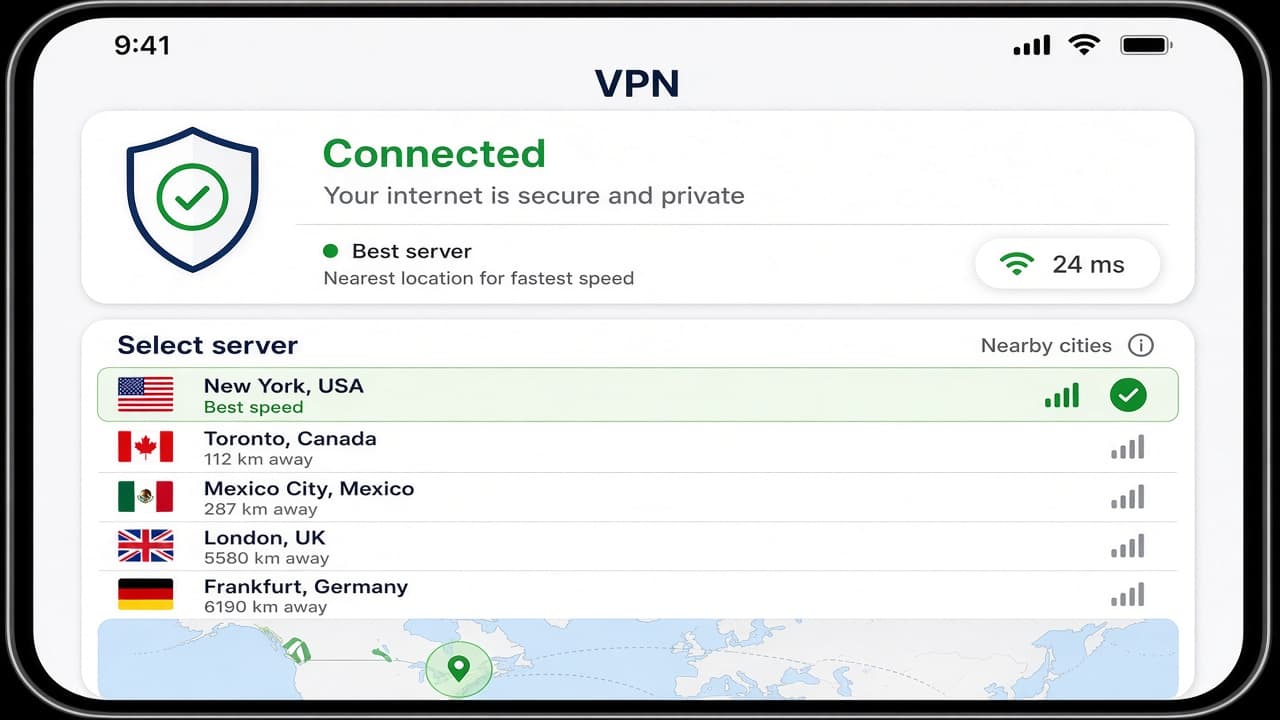
A nearby server usually gives better speed. 4c
Confirm the status icon shows connected
Look for the VPN badge in the status bar or the in-app connected state.
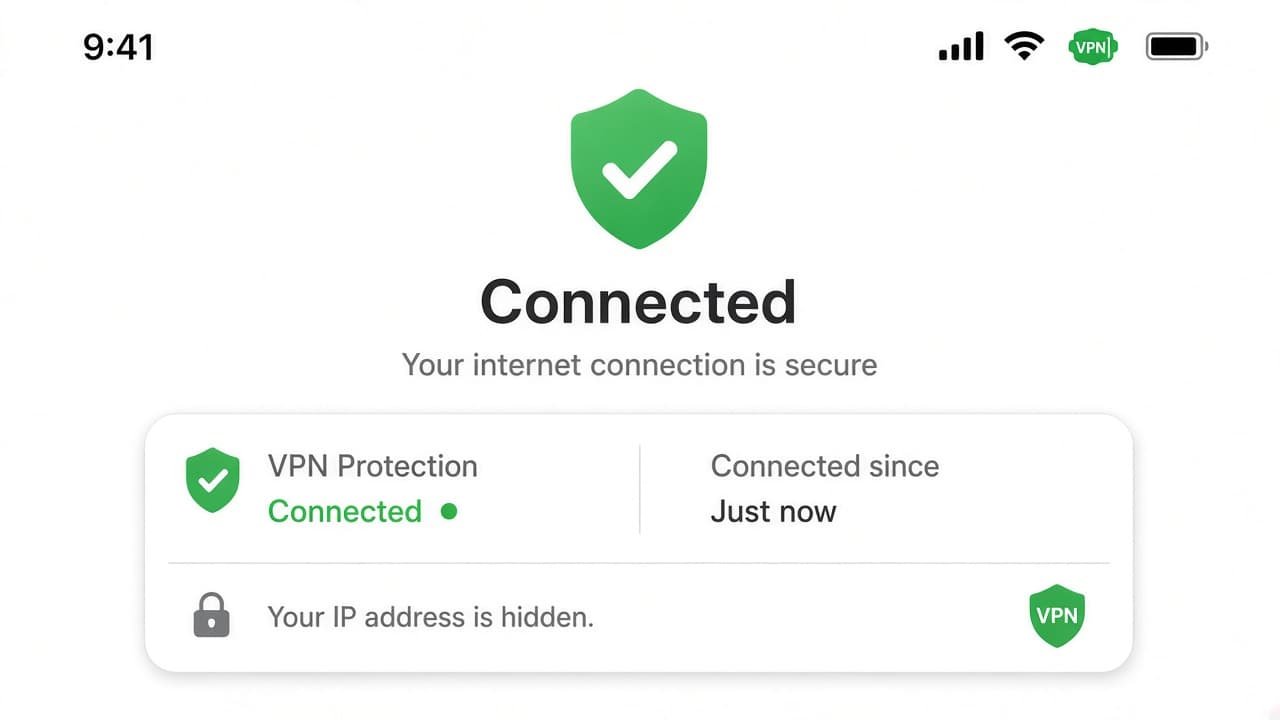
Confirm the status icon shows connected before browsing. 4d
Deny the VPN profile and wonder why it fails
Common mistake: blocking the OS permission and blaming the provider. Reopen settings and approve the profile.
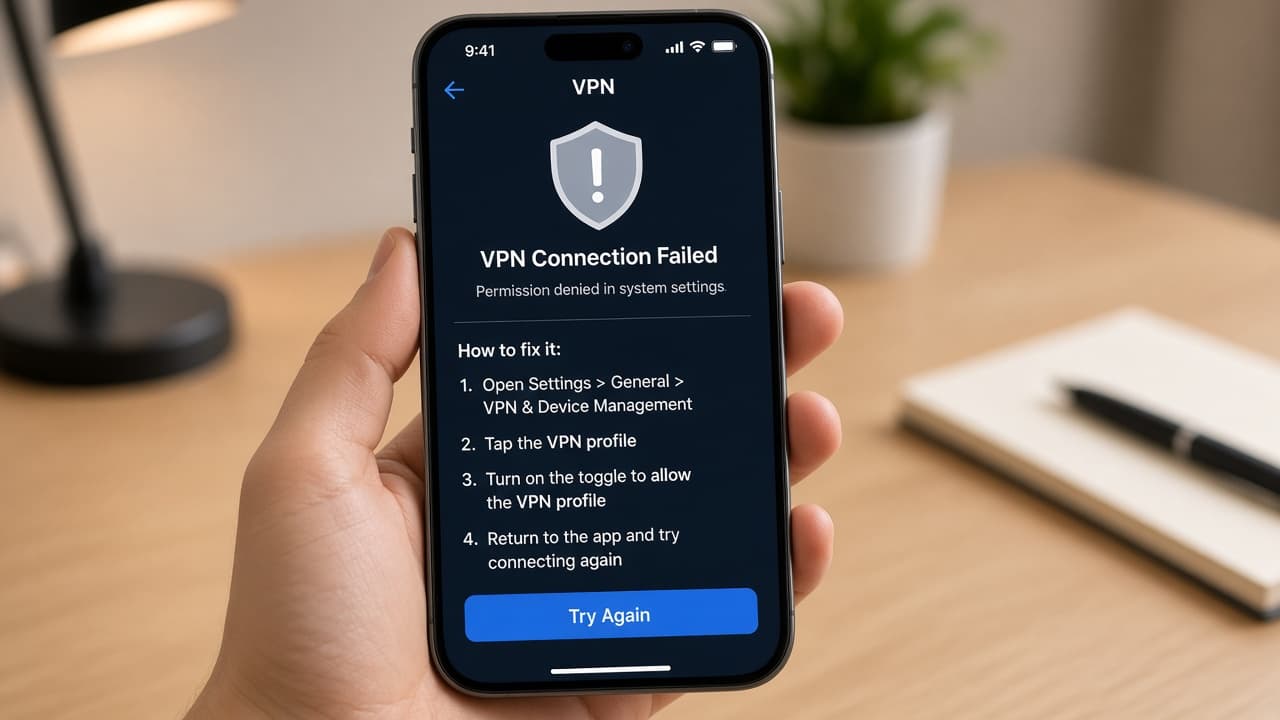
Deny the VPN profile and wonder why it fails
Step 05
Install the desktop client from the vendor
Use the signed installer linked from your account dashboard. Avoid third-party download mirrors.
Do this step in order
5a
Download Mac or Windows app from your dashboard
On Mac, drag to Applications. On Windows, run the signed installer from the vendor.
5b
Sign in and connect to the same account
Device limits apply across phone and laptop. Remove old devices if you hit the cap.
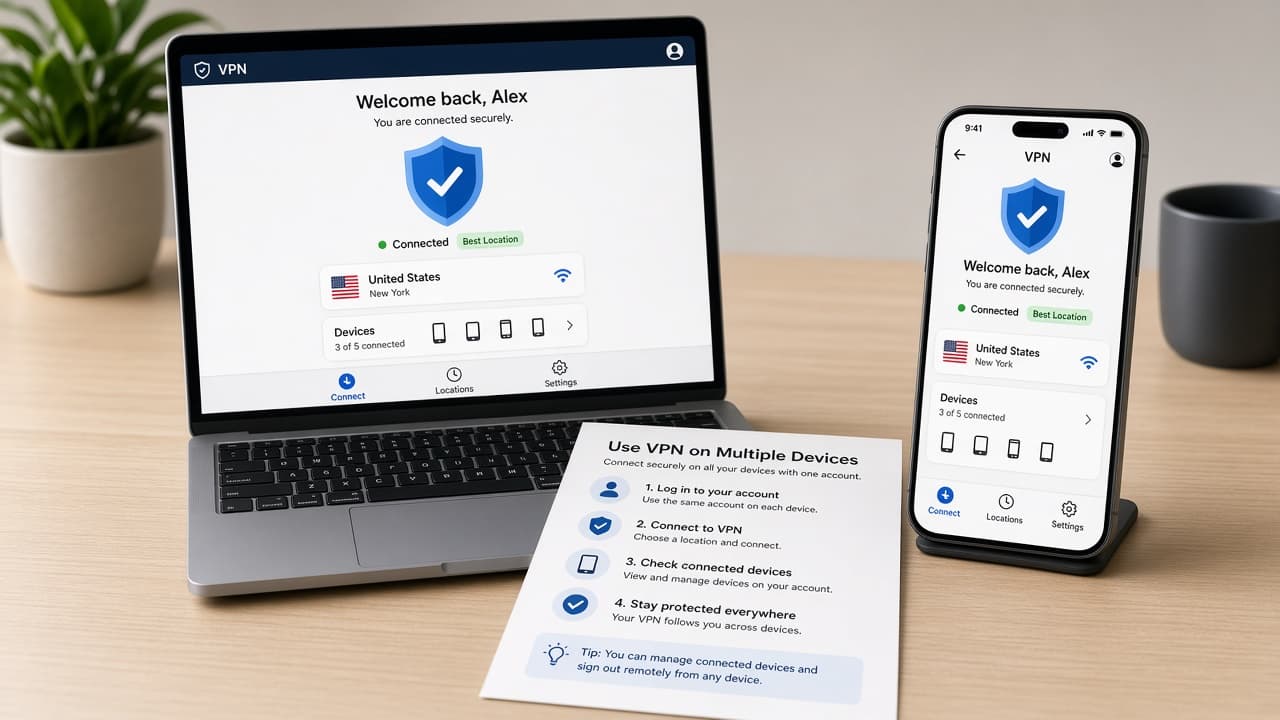
Use one account across phone and laptop. 5c
Run a quick speed test on a nearby server
If video buffers, try another nearby city before disabling the VPN.
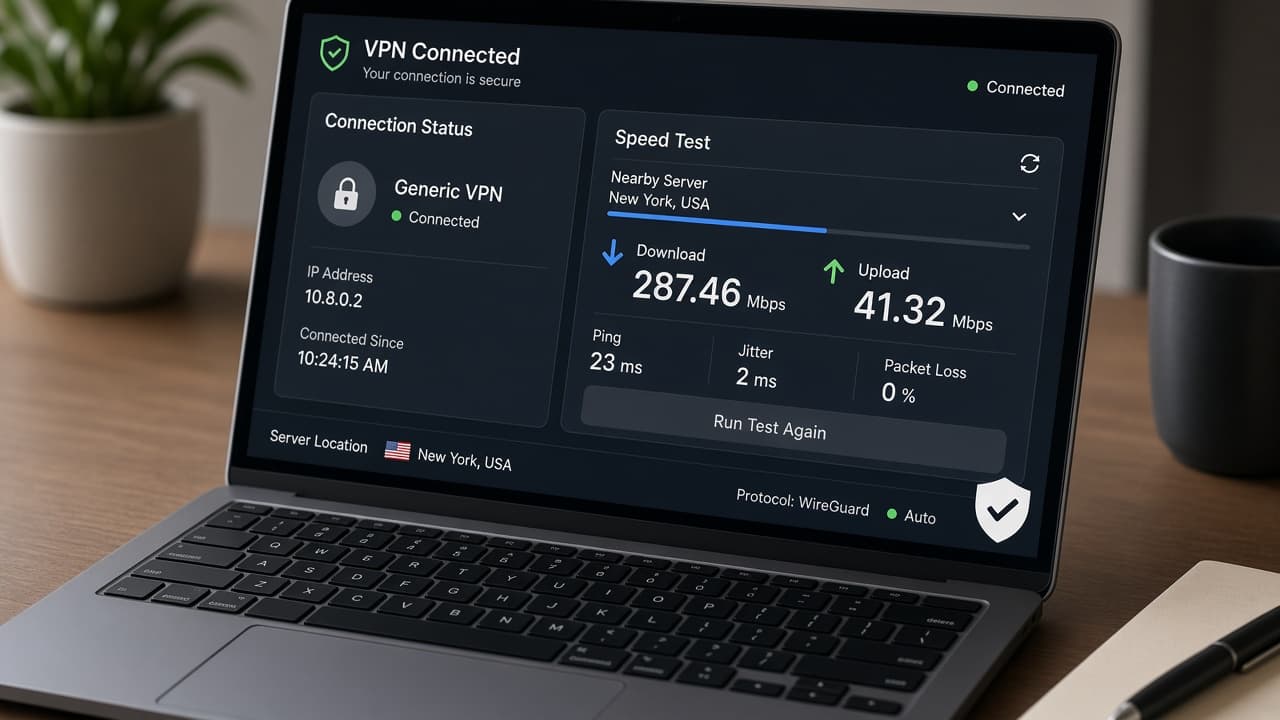
Run a quick speed test on a nearby server 5d
Install from an unofficial bundle site
Common mistake: grabbing a repackaged installer with adware. Use only the vendor download page.
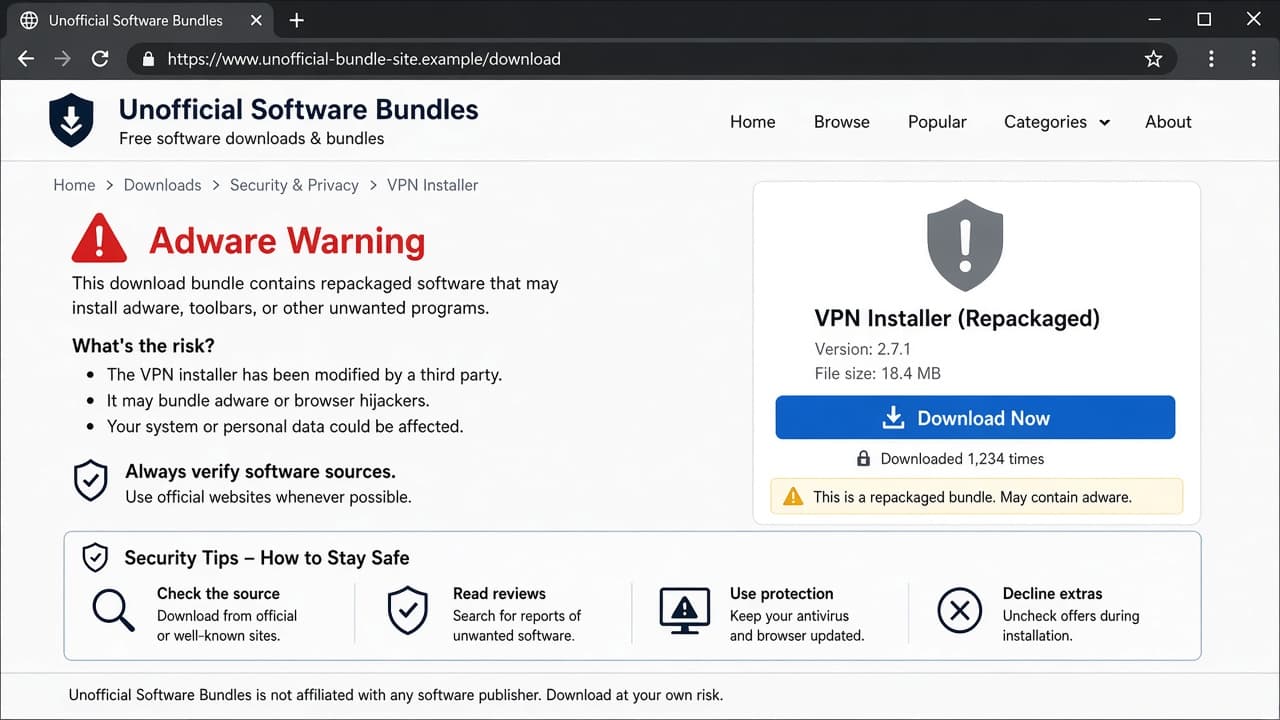
Common mistake: installing from an unofficial bundle site.
Step 06
Enable kill switch and auto-connect
Kill switch blocks traffic if the tunnel drops. Auto-connect on public Wi-Fi reduces forgetful moments.
Do this step in order
6a
Turn on kill switch in app settings
Traffic should stop if the VPN disconnects unexpectedly. Test once on a safe network.
6b
Enable auto-connect on untrusted Wi-Fi
Airport, hotel and cafe networks can trigger the VPN automatically.
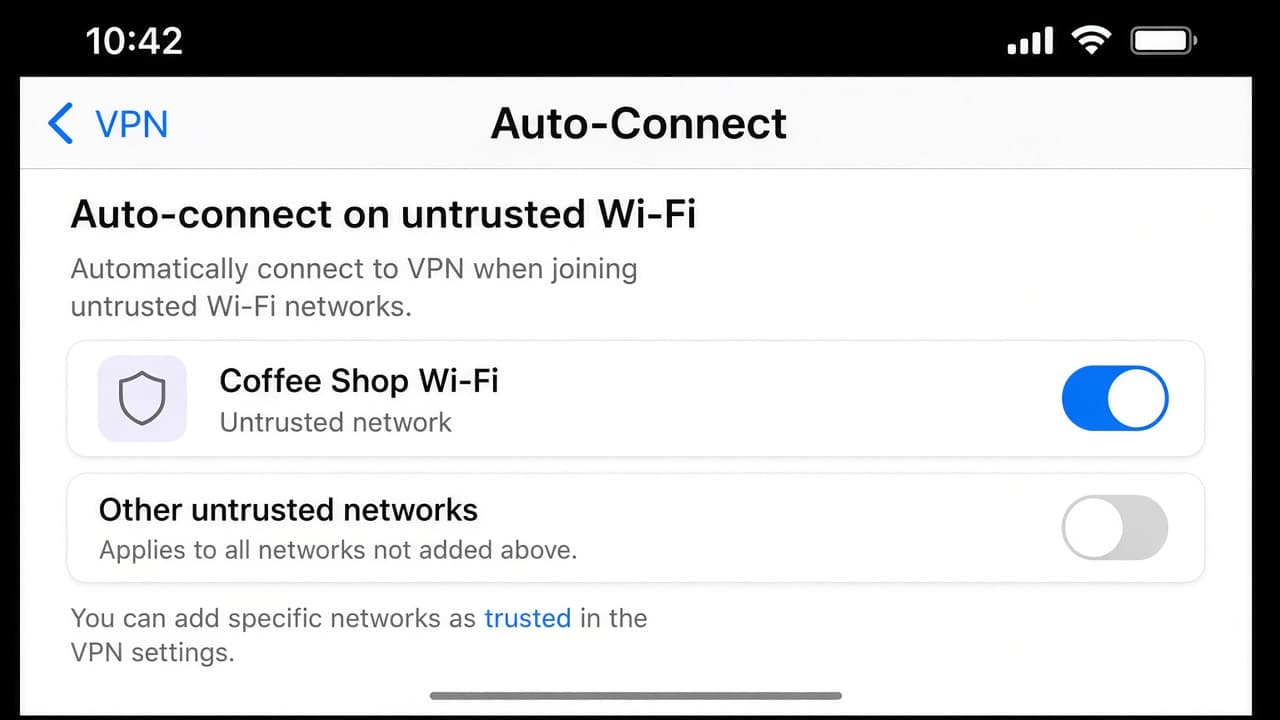
Auto-connect reduces forgetful moments on public Wi-Fi. 6c
Keep automatic updates enabled
Security patches ship through the app store or in-app updater.
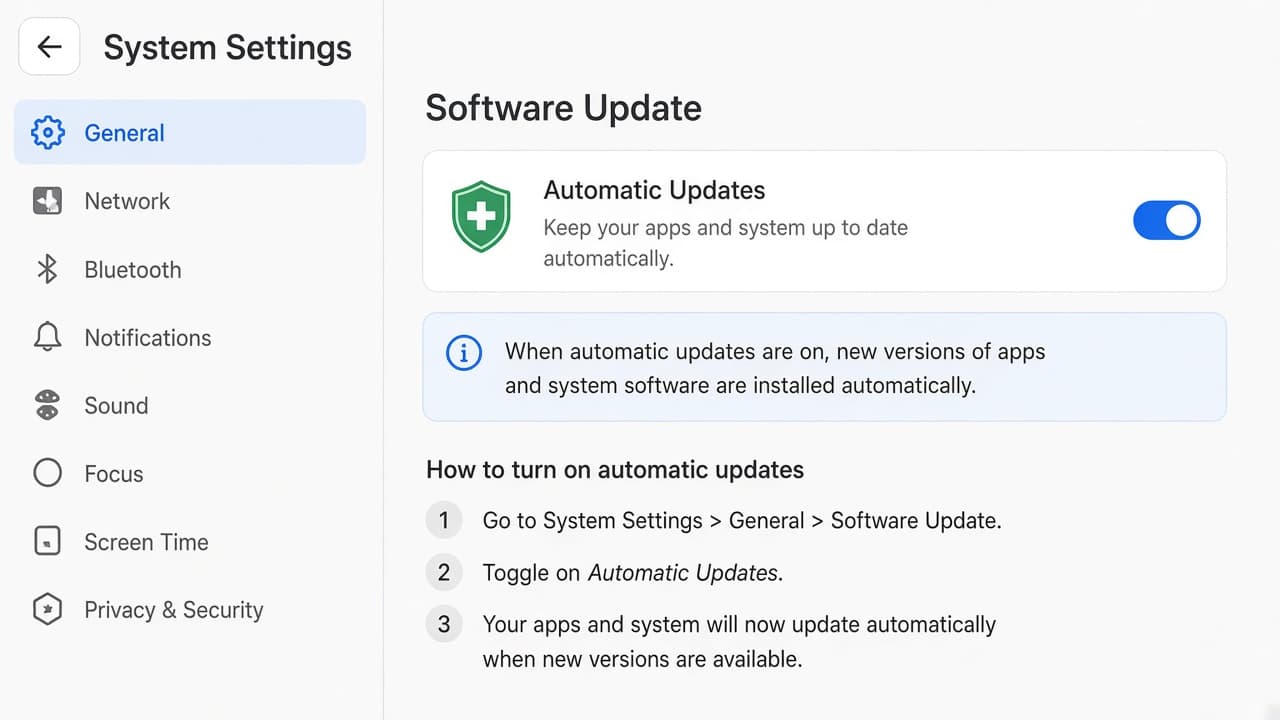
Keep updates on so security fixes install. 6d
Disable kill switch for convenience
Common mistake: browsing on hotel Wi-Fi after a silent VPN drop. Kill switch prevents that leak.
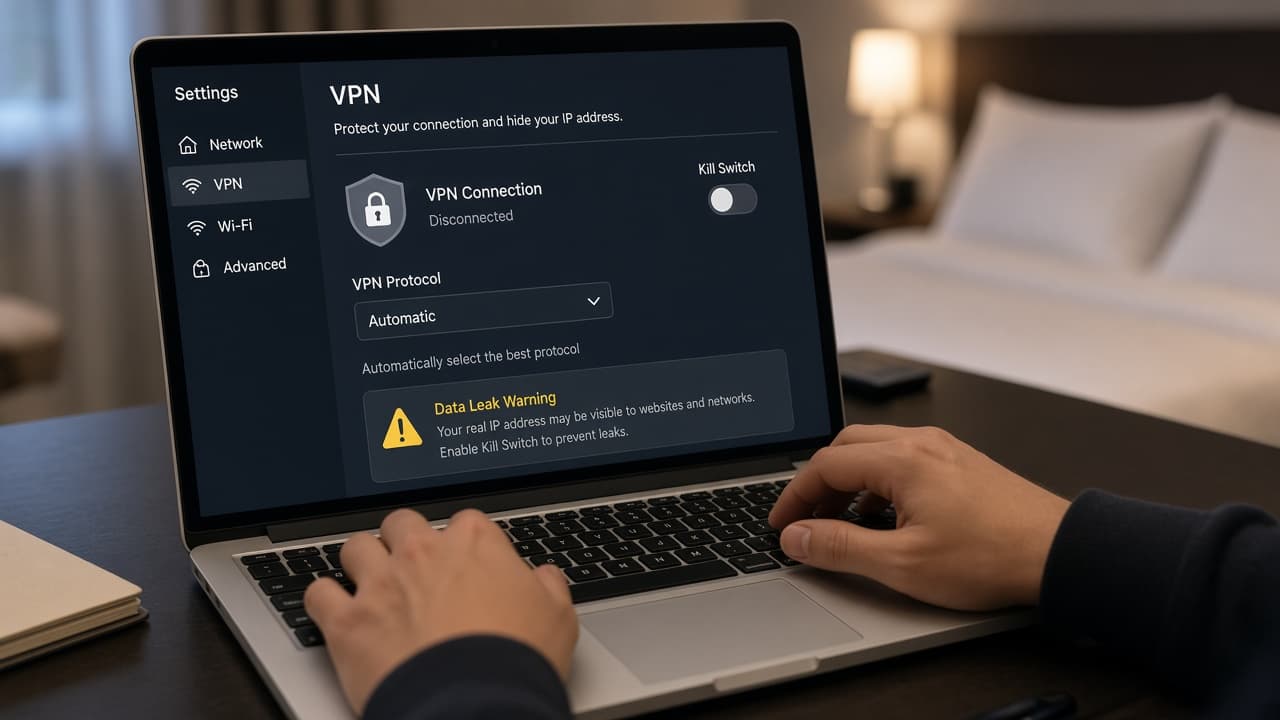
Disable kill switch for convenience
Step 07
Test your IP and use the VPN responsibly
Confirm the address changed. HTTPS, passwords and legal habits still matter.
Do this step in order
7a
Record your public IP before connecting
Visit a reputable IP-check page and note the address. Do not post the result publicly.
7b
Connect and verify the address changed
The visible location should reflect the VPN server, not your home ISP.
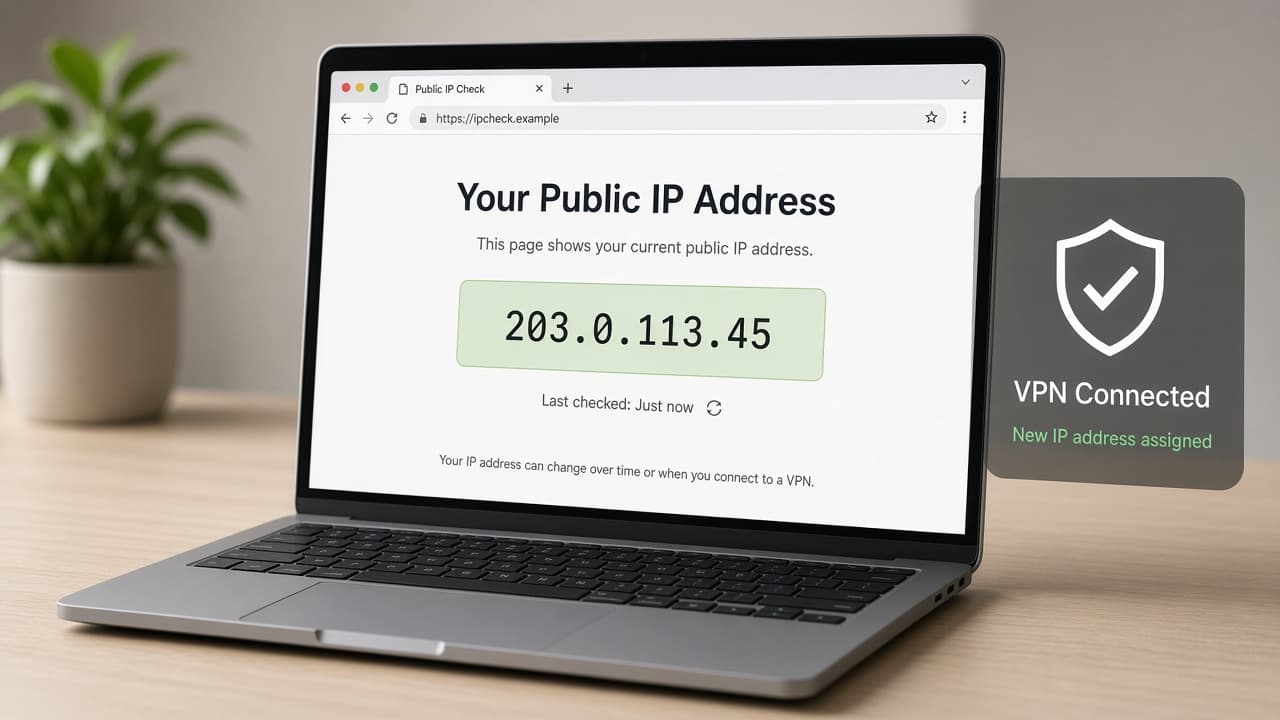
Verify the visible address changed after you connect. 7c
Test kill switch behavior safely
Disconnect the VPN while kill switch is on and confirm ordinary browsing stops. Reconnect before work.
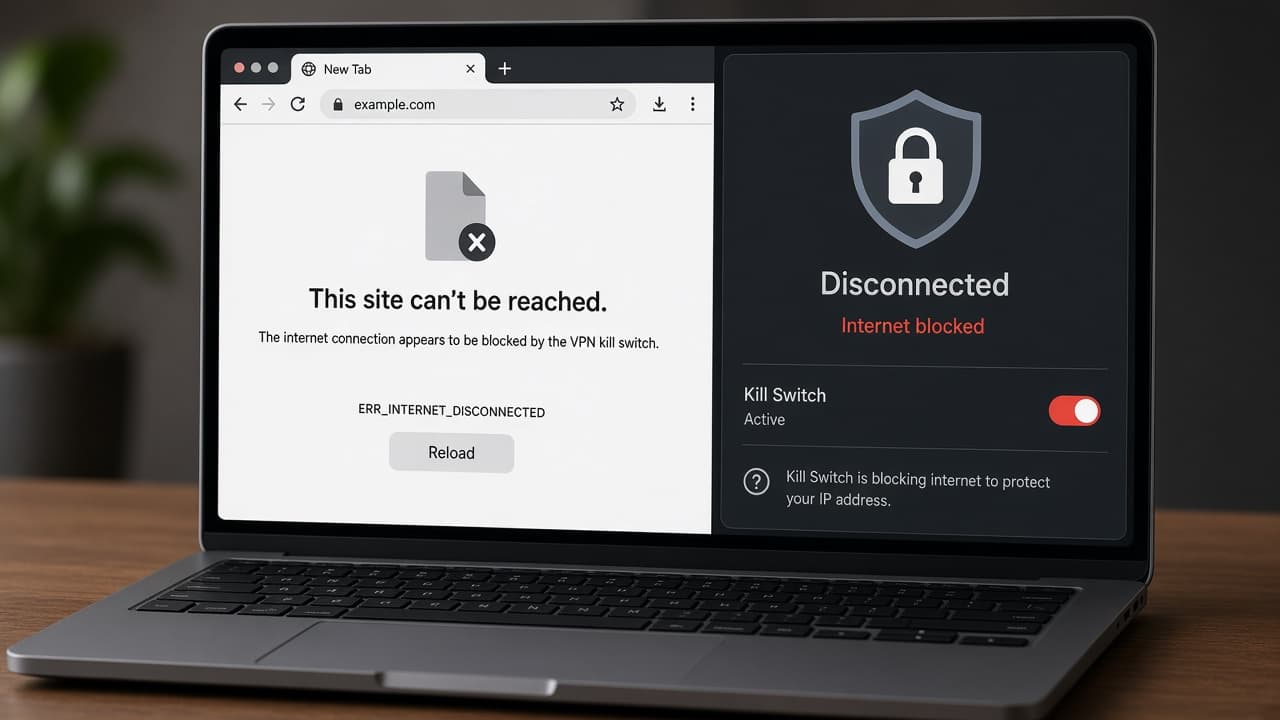
Test the kill switch before you rely on it. 7d
Assume a VPN replaces all security
Common mistake: clicking phishing links because the tunnel feels safe. Use HTTPS, unique passwords and MFA anyway.
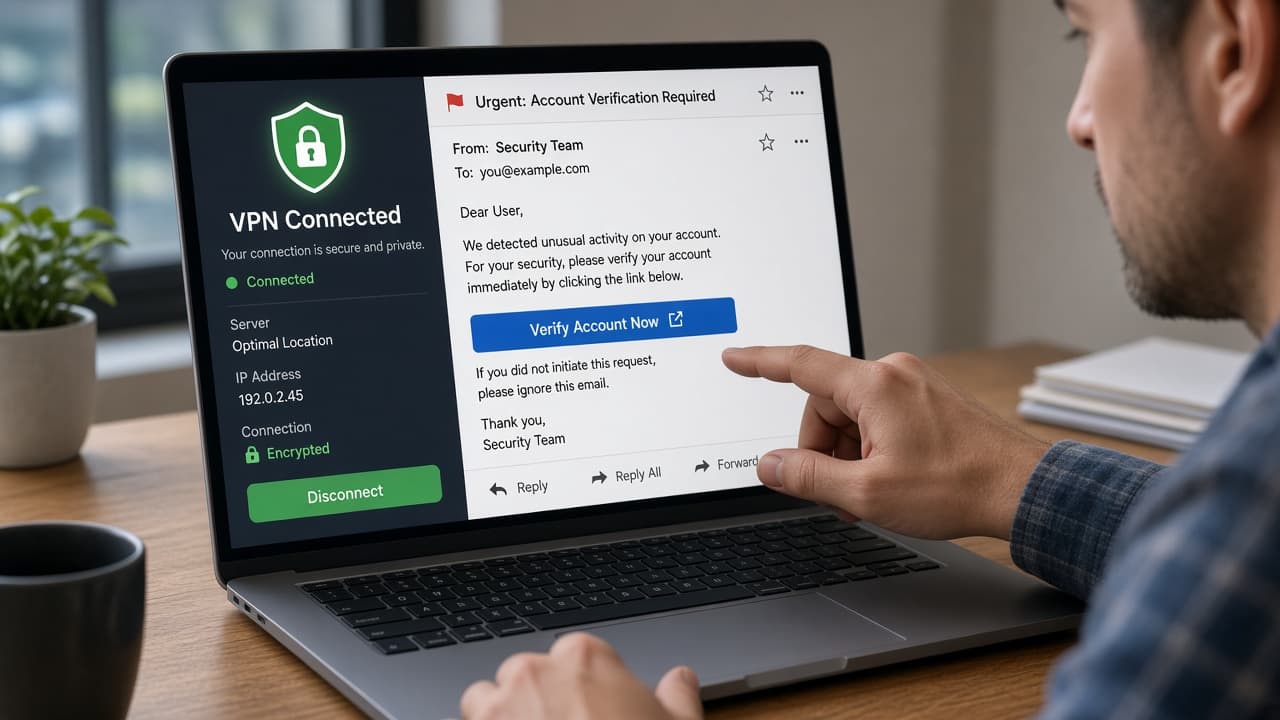
Assume a VPN replaces all security
Done when
- Compare paid providers and pick one with audits or clear policies
- Create an account on the official website
- Install mobile and desktop apps from official sources
- Log in and connect to a nearby server
- Enable kill switch and auto-connect on public Wi-Fi
- Test public IP before and after connecting
- Keep the app updated and review permissions yearly
Eagle Frame's takeaway: choose a paid reputable provider, install only from official stores or the vendor site, connect before sensitive browsing on public Wi-Fi and keep the app updated. A VPN is one layer of security, not a license to ignore phishing or illegal downloads.