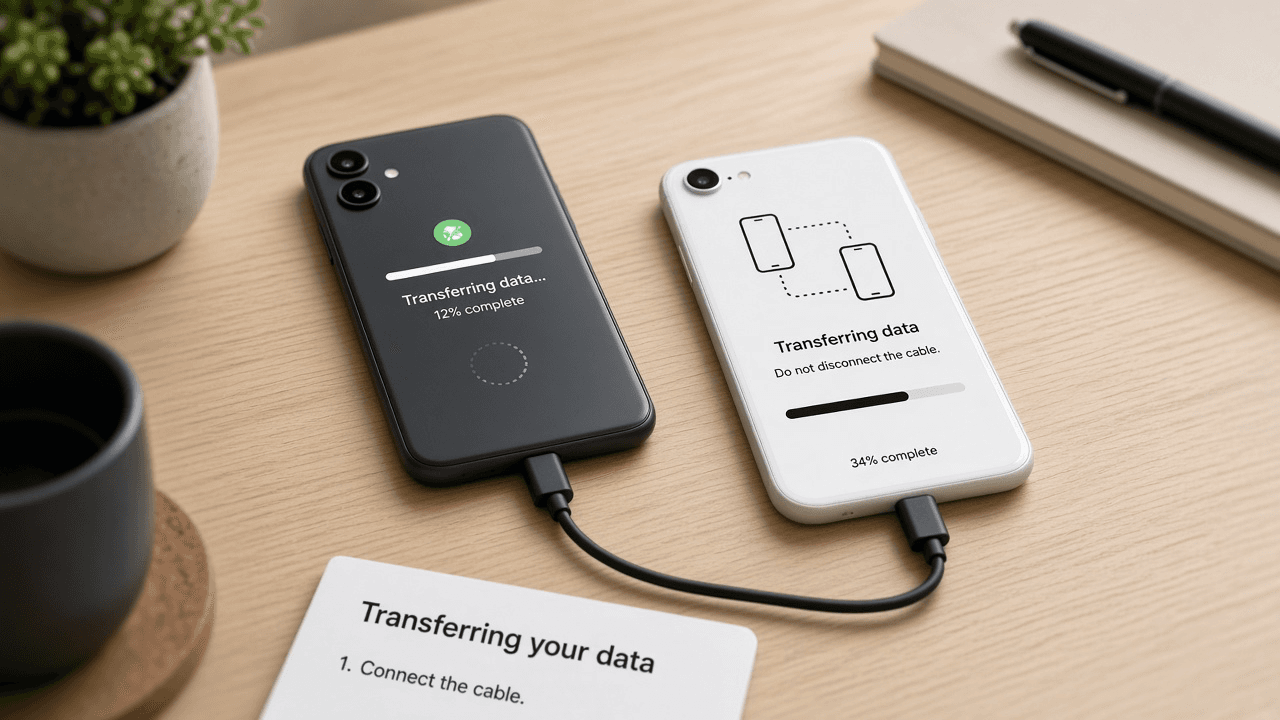
How to transfer data from Android to iPhone
Move contacts, photos and messages from Android to iPhone with Apple's Move to iOS app during setup, then finish mail, apps and two-factor accounts manually on Wi-Fi.
Switching from Android to iPhone is smoothest when you transfer during the iPhone's first-time setup. Apple provides the free Move to iOS app on the Google Play Store. It copies contacts, message history, photos, videos, mail accounts and some other data over a private Wi-Fi link while both phones are nearby.
Move to iOS works best on a factory-new iPhone or one that was just erased. If you already finished setup, you can still move photos through Google Photos or a computer, but message and contact migration is harder without resetting the iPhone. Charge both phones and connect them to reliable Wi-Fi before you start.
Some data never moves automatically. WhatsApp has its own transfer path when supported. Banking apps, authenticator codes, paid Android-only apps and home-screen layouts need manual setup. Export two-factor backup codes from your old phone before you wipe it.
After transfer, open the App Store and install iOS versions of your key apps. Sign into Google or Microsoft mail if you still use those inboxes. Check that photos look complete in the Photos app and that group chats arrived as expected. Apple says both phones should stay plugged into power with Wi-Fi enabled, and the selected content must fit on the iPhone, including files stored on a microSD card.
Move to iOS can transfer contacts, calendars, call history, messages, camera media, files, mail accounts, WhatsApp content and some matched free apps. Music, books and PDFs may still require a manual move. Your carrier may also need to transfer the SIM or eSIM separately. Keep the Android phone for several days until authenticator codes and banking logins are confirmed on iOS.
Step-by-step guide
Time: 45 to 90 minutes depending on photo library size
What you need
- Android phone with Move to iOS installed
- New or erased iPhone on setup screens
- Stable Wi-Fi for both devices
- Chargers and both phones plugged in or well charged
- List of apps and accounts you rely on daily
- Optional USB-C cable if both phones support cable transfer
- Password manager with two-factor backup codes
Before you start
- Move to iOS during setup is the cleanest path for messages and contacts.
- Save two-factor backup codes before you lose access on the old phone.
- Large photo libraries can take a long time; keep both phones awake and near each other.
- Paid Android apps do not transfer; you must buy or subscribe again on iOS when no cross-platform license exists.
Step 01
Prepare accounts, storage and power
Reduce surprises by charging, updating and listing what must survive the switch.
Do this step in order
1a
Inventory apps and critical accounts
Write down banking, work email, authenticator apps, transit cards and any Android-only tools you rely on daily. Note which services have iOS versions and which need a web login instead. This list drives what you verify after the transfer finishes.
1b
Export two-factor and password records
Check every authenticator, password manager, banking app and work login that depends on the old phone. Use each service's transfer or export process and save backup codes somewhere encrypted. Do not assume an authenticator database will be copied with ordinary app data.
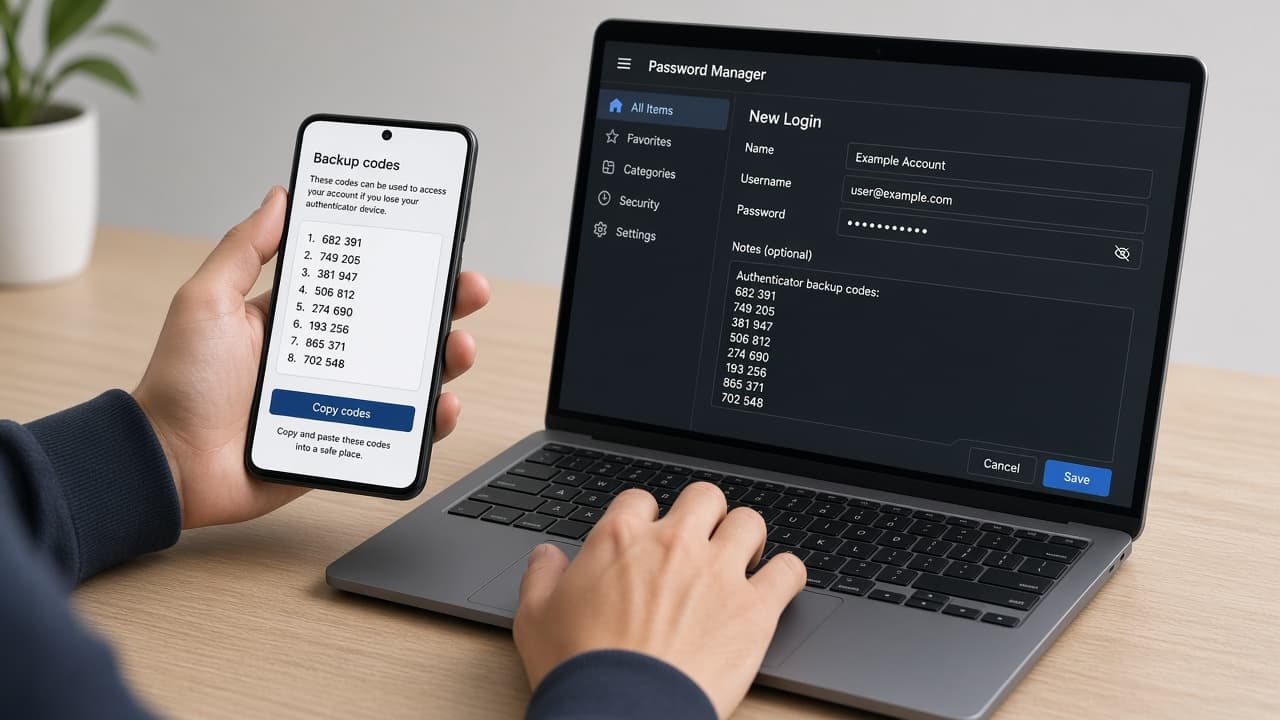
Save 2FA backup codes before the old phone is wiped. 1c
Compare used storage with iPhone free space
Compare the Android phone's used storage with free capacity on the iPhone, including microSD content you plan to select. Delete obvious duplicates or move huge video archives to a computer first if space is tight. Leave a margin so the transfer does not fail near the end.
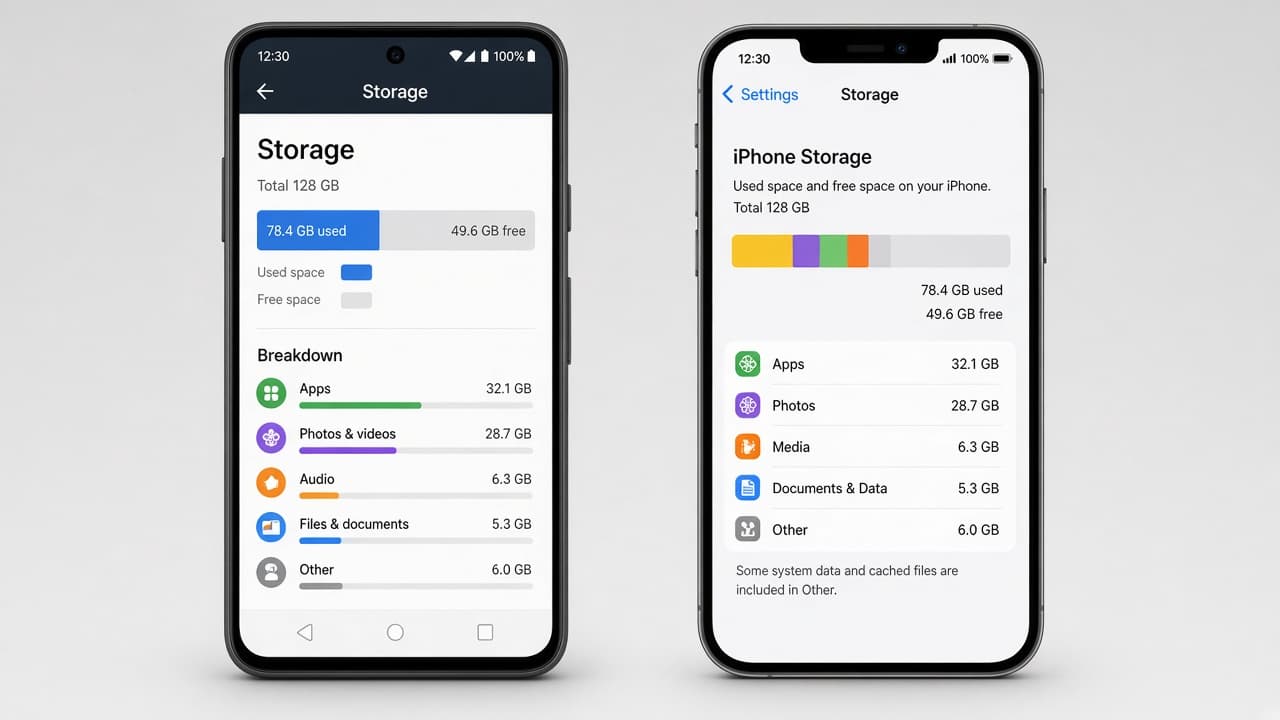
Selected content must fit on the iPhone with room to spare. 1d
Common mistake: starting with a half-charged phone
Common mistake: beginning a multi-hour photo transfer on low battery. Plug both devices into power, disable aggressive battery savers that kill Move to iOS and keep the Android SIM active so verification texts can still arrive. Ask your carrier about SIM or eSIM transfer before wiping the old phone.
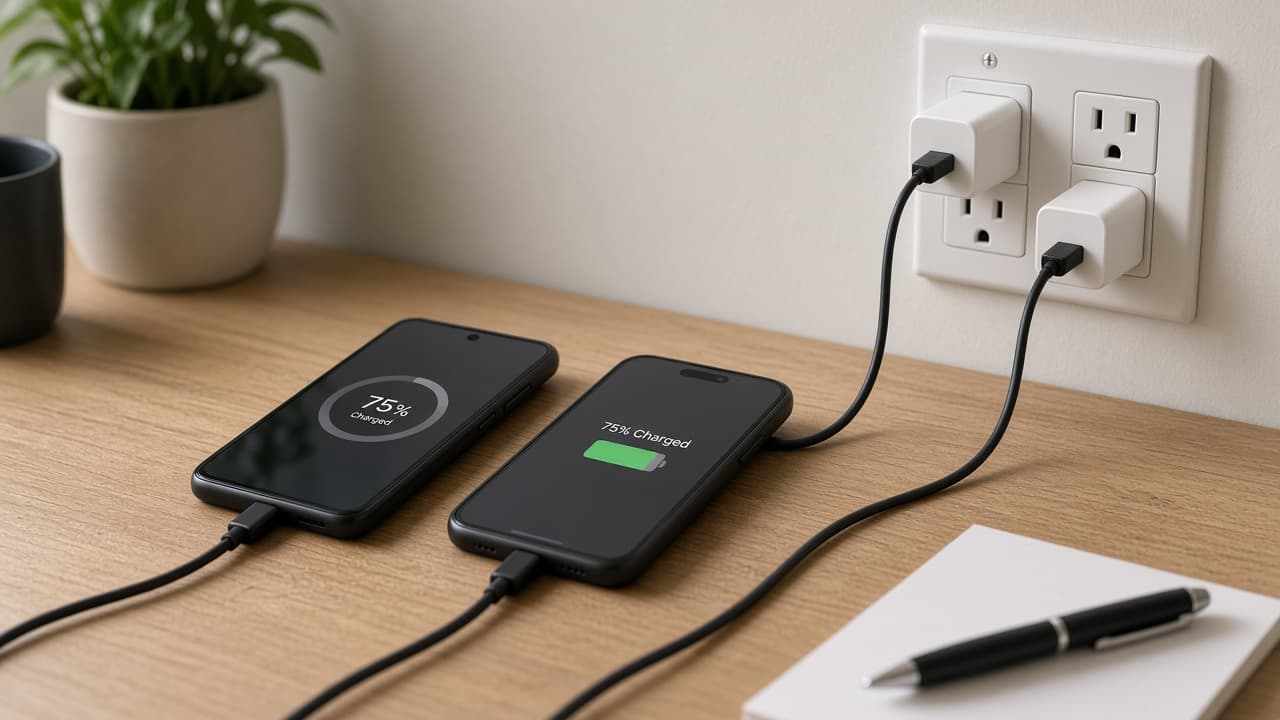
Low battery mid-transfer is a common stall point.
Step 02
Install Move to iOS and stage the iPhone
The transfer runs only while the iPhone is still in initial setup.
Do this step in order
2a
Update Android and install Move to iOS
Open Google Play, search for Move to iOS and confirm Apple is the developer before installing. Install pending Android updates and update Chrome if bookmarks matter. If Google Play is unavailable, use only Apple's official Move to iOS download page for the installer.
2b
Start iPhone setup or erase to begin again
Move to iOS works during initial setup, so back up an already configured iPhone before erasing it. Go to Settings, General, Transfer or Reset iPhone, then Erase All Content and Settings only if you accept losing its current local data. Stop at the Transfer Your Apps & Data screen after the restart.
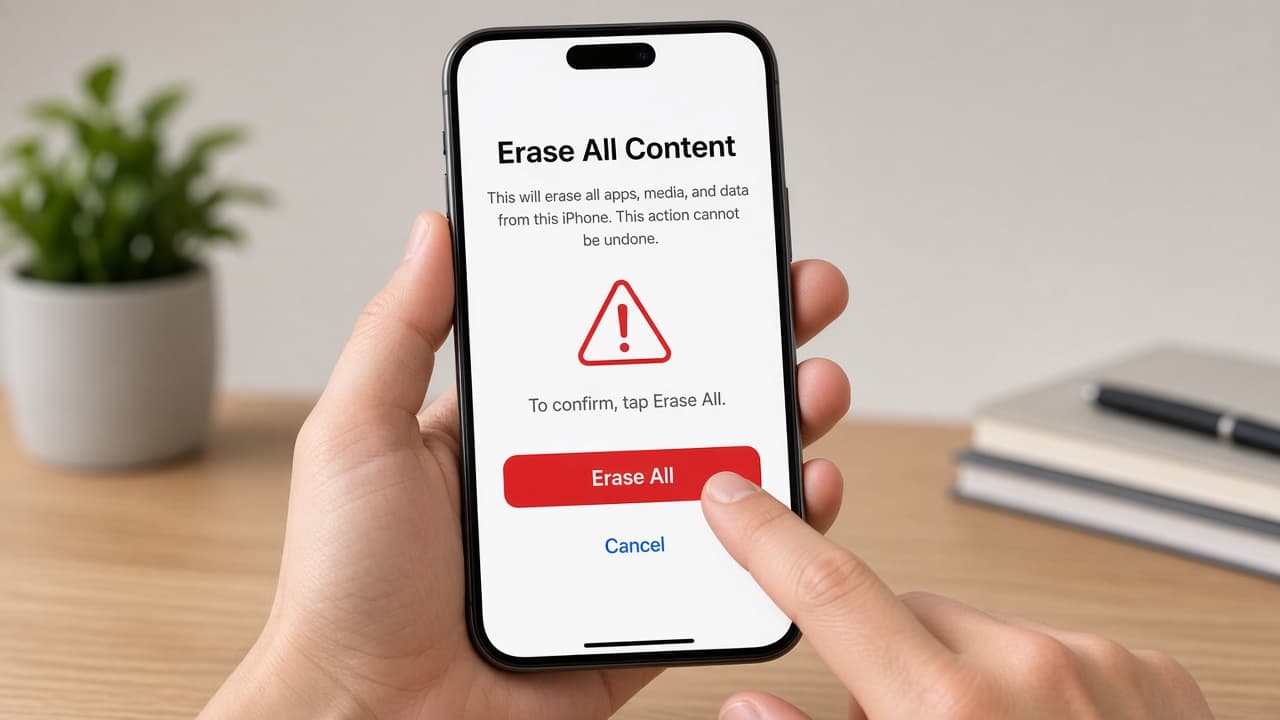
An already-set-up iPhone needs a clean erase for Move to iOS. 2c
Reach Apps and Data without skipping ahead
Complete language, region and quick-start screens until Transfer Your Apps & Data appears. Do not choose Set Up Manually or restore from iCloud if you still want the Android transfer path. Keep the Android phone unlocked nearby with Move to iOS ready.
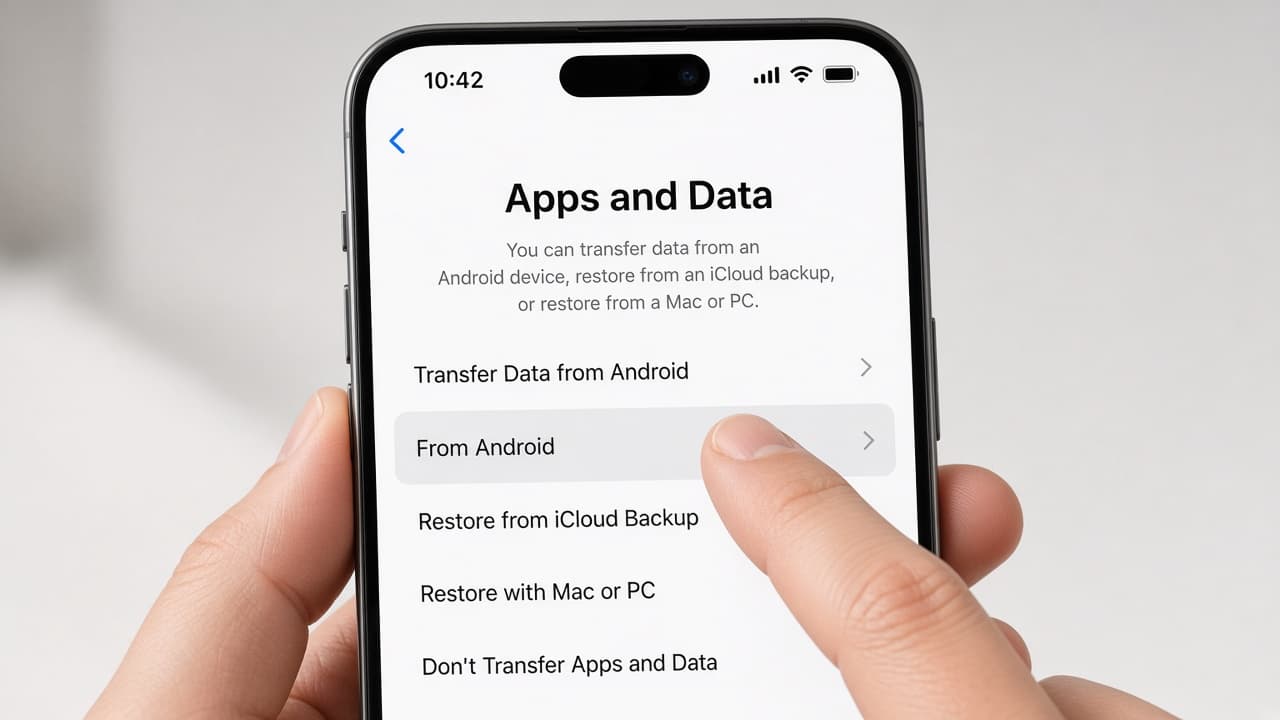
Stop here so the Android path remains available. 2d
Common mistake: finishing iPhone setup first
Common mistake: completing Hello and home-screen setup, then looking for Move to iOS in Settings. After setup, the guided Android transfer is gone unless you erase again. If that happens, erase only after you have another backup of anything already on the iPhone.
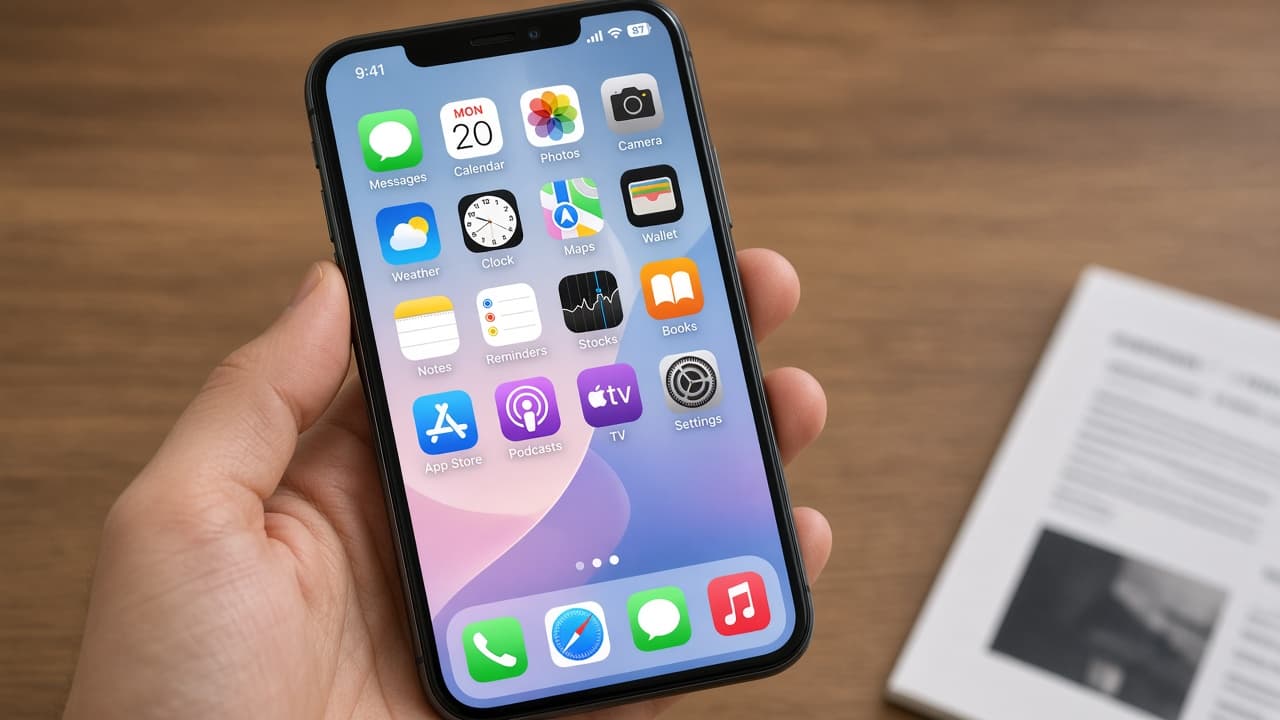
Setup finished too early means erase again or move data manually.
Step 03
Pair the phones with the on-screen code
The temporary link starts when both devices accept the same code.
Do this step in order
3a
Select Move Data from Android on the iPhone
On Transfer Your Apps & Data, tap From Android and continue until the iPhone displays a six-digit or ten-digit code. Keep that code private because it pairs the two phones. Do not leave the screen or lock the iPhone while pairing.
3b
Open Move to iOS and enter the code
Open Move to iOS, follow permissions and terms screens, then tap Continue at Connect via Code. Enter the exact code displayed on the iPhone. If the code expires, request a new one instead of restarting both phones immediately.
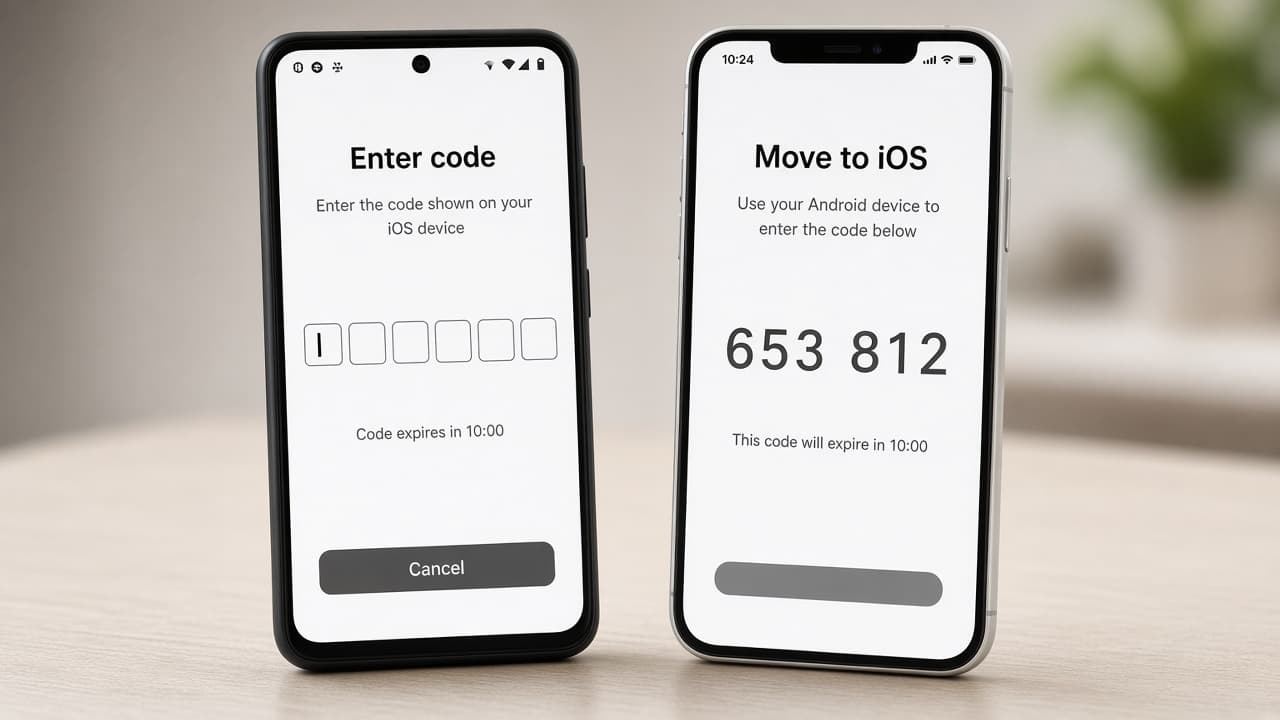
Match every digit; an expired code needs a fresh one. 3c
Join the temporary Wi-Fi network if asked
The iPhone creates a temporary private Wi-Fi network and the Android phone may warn that it has no internet. Accept the connection and ignore that expected warning. Keep the phones next to each other and turn off Android features that automatically switch to mobile data if pairing repeatedly fails.
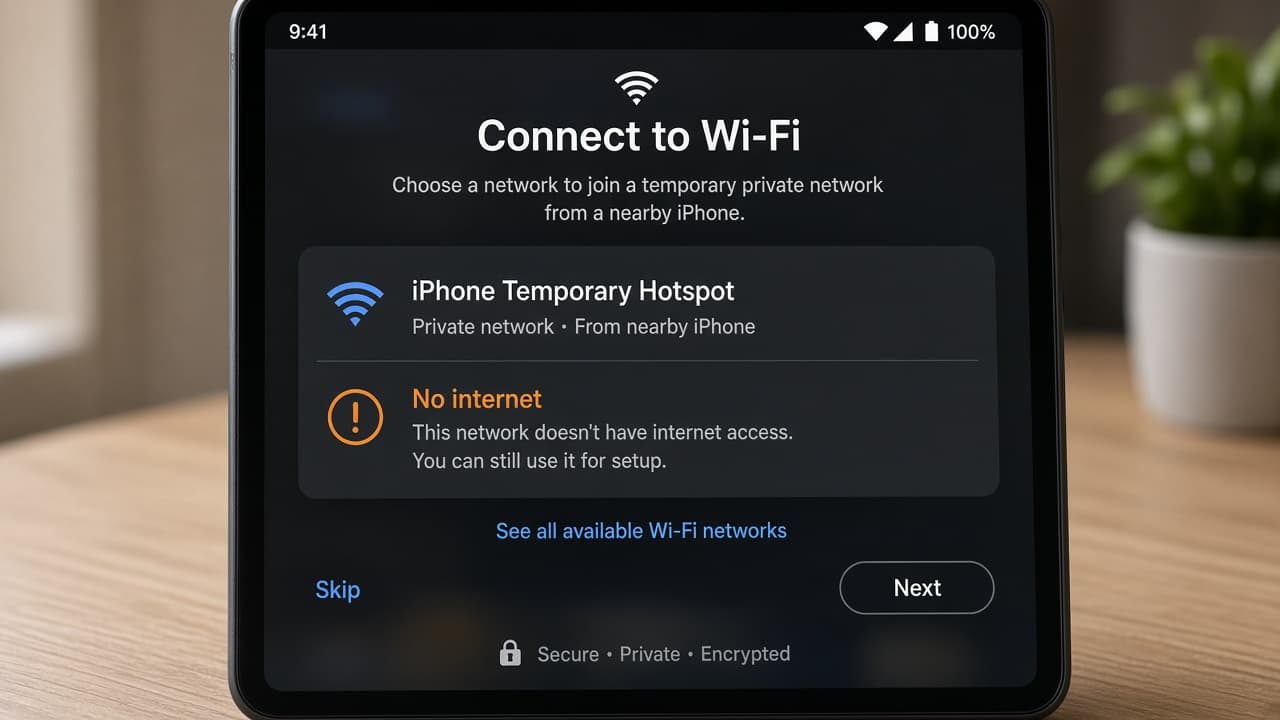
No-internet warnings on that temporary network are normal. 3d
Common mistake: hopping to another Wi-Fi mid-pair
Common mistake: switching Android back to home Wi-Fi or enabling a VPN during pairing because the temporary network looks limited. Stay on the iPhone network until content selection appears. Use a compatible USB-C cable only when the setup screens offer that path.
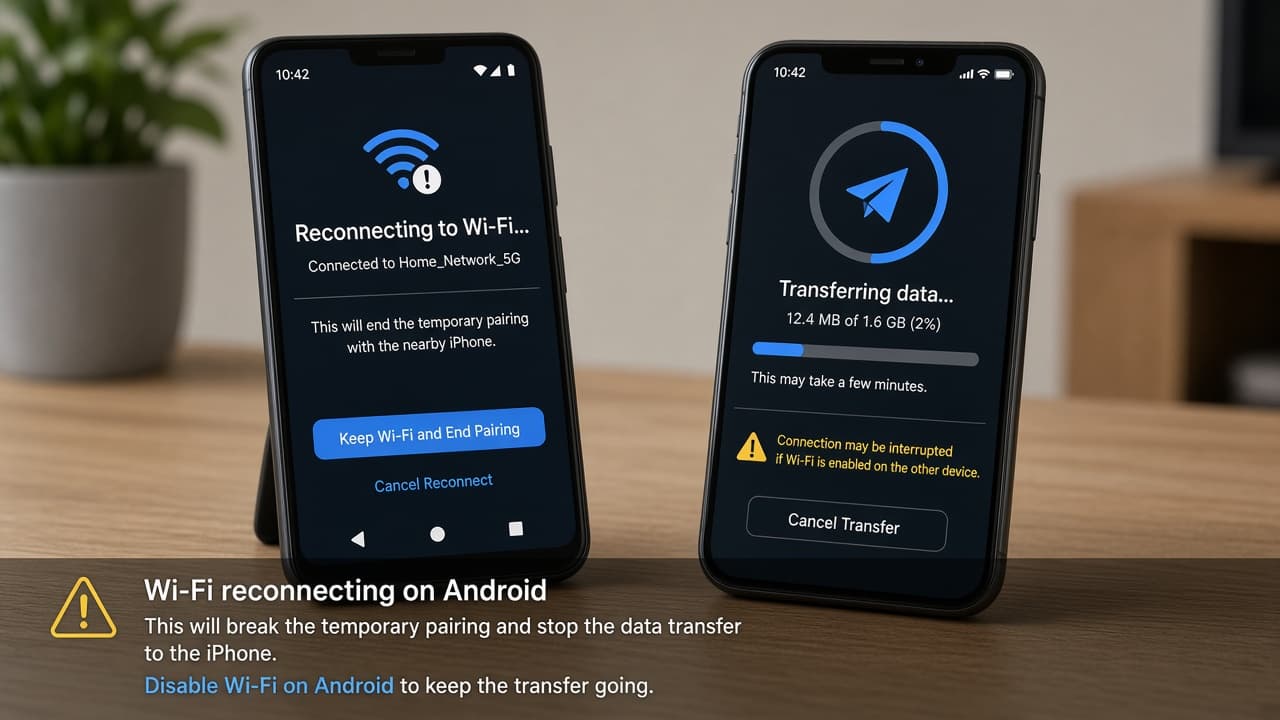
Leaving the temporary network mid-pair usually forces a restart.
Step 04
Choose categories and wait for completion
Select only what fits, then leave both phones alone until the iPhone finishes.
Do this step in order
4a
Review the category list carefully
Review contacts, messages, camera media, albums, calendars, files, call history, WhatsApp data and other listed items. Deselect huge archives you already copied elsewhere if space is tight. Note the estimated size before tapping Continue because photos and video usually control the wait.
4b
Leave both phones on and plugged in
Keep both phones plugged in, close together and untouched while the transfer bar advances. Leave Move to iOS visible on Android even if that phone appears finished first. Avoid calls, app switching and network changes until the iPhone progress bar is complete.
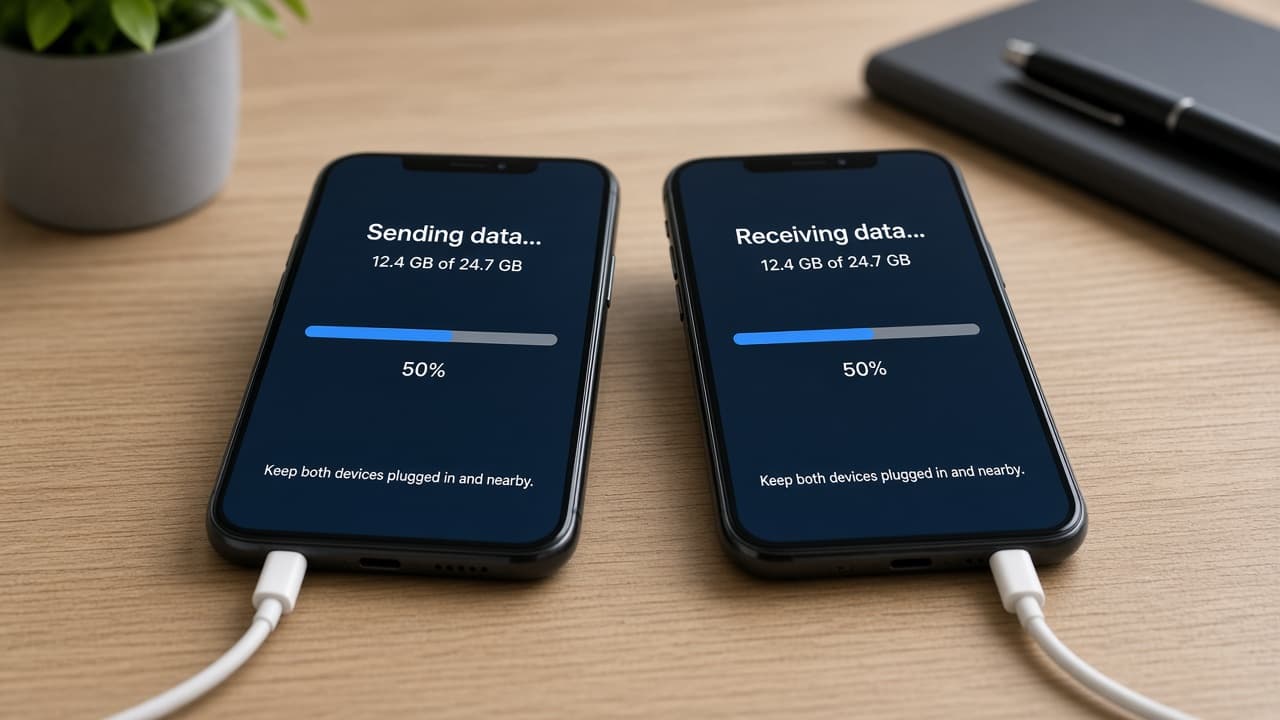
Do not lock or switch apps while the bar is moving. 4c
Finish iPhone setup after the bar completes
Wait for the loading bar on the iPhone to finish, even if Android reports completion earlier. Tap Done on Android, then Continue on iPhone and complete Apple Account, passcode and Face ID screens. Keep the old phone powered on in case a sign-in asks for a code.
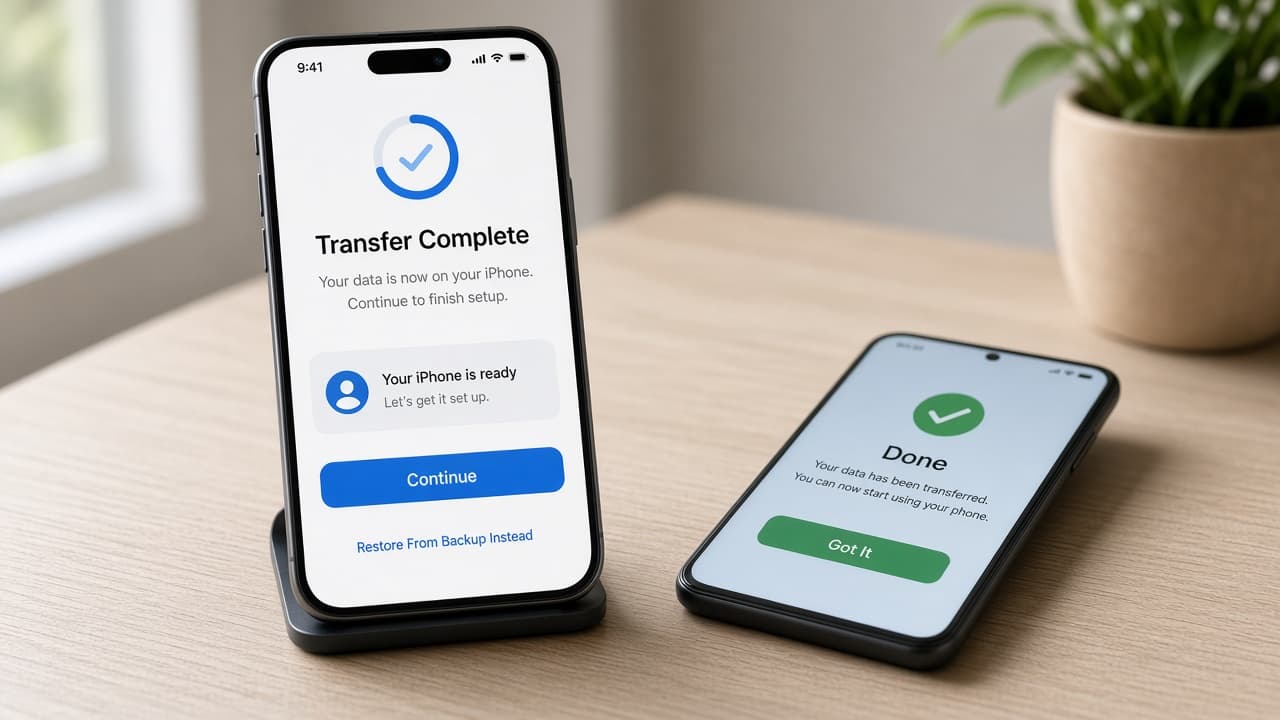
Android can finish first; trust the iPhone progress bar. 4d
Common mistake: factory-resetting Android during a stall
Common mistake: wiping the Android phone because the transfer looks stuck. Restart both devices, turn mobile data off on Android and retry first. Never factory-reset Android while the transfer result is incomplete.
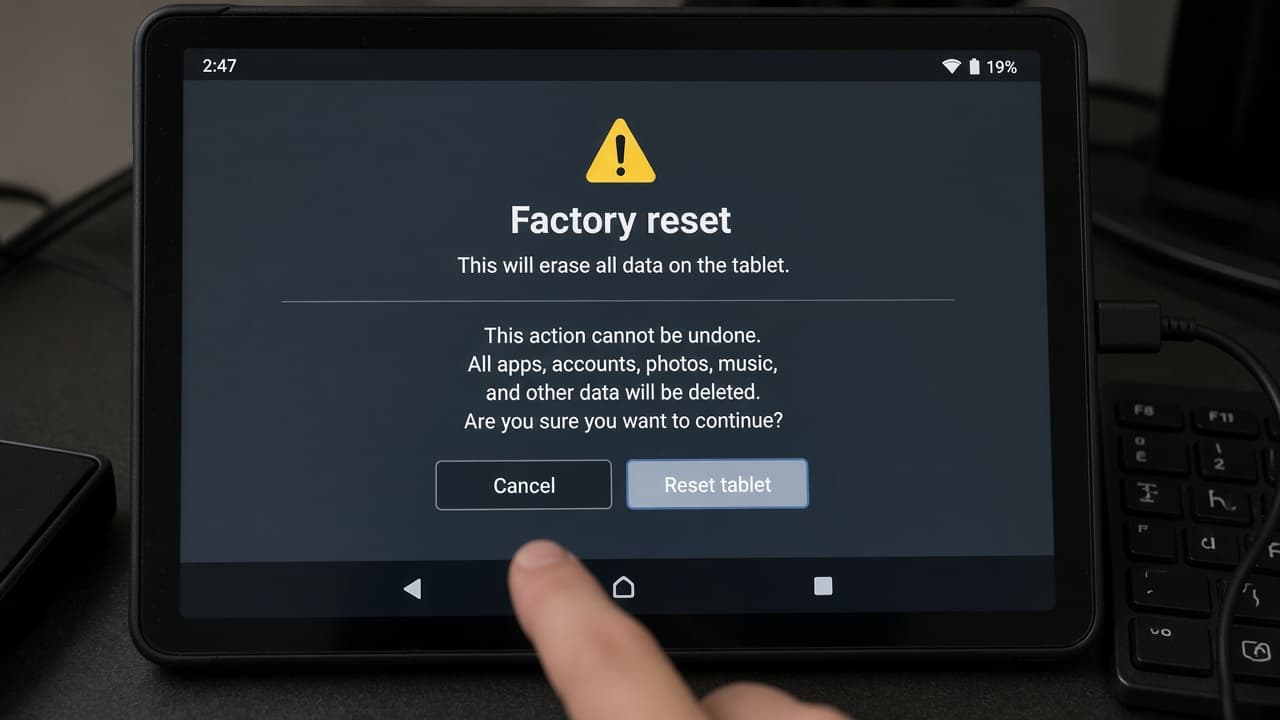
A stall is a retry problem, not a wipe-the-old-phone cue.
Step 05
Verify photos, messages and contacts
Spot-check real threads and dates before you trust the totals alone.
Do this step in order
5a
Open Photos, Contacts, Messages and Calendar
Compare several old and recent items with Android rather than trusting a single total. Check the oldest photo date, a few long message threads and contact phone numbers. Open Files and confirm documents you expected to move.
5b
Hunt for gaps in large libraries
Scroll months that matter, such as trips or family events, and confirm videos play. If the iPhone ran out of space, erase it and repeat with fewer categories or move large files manually through a computer.
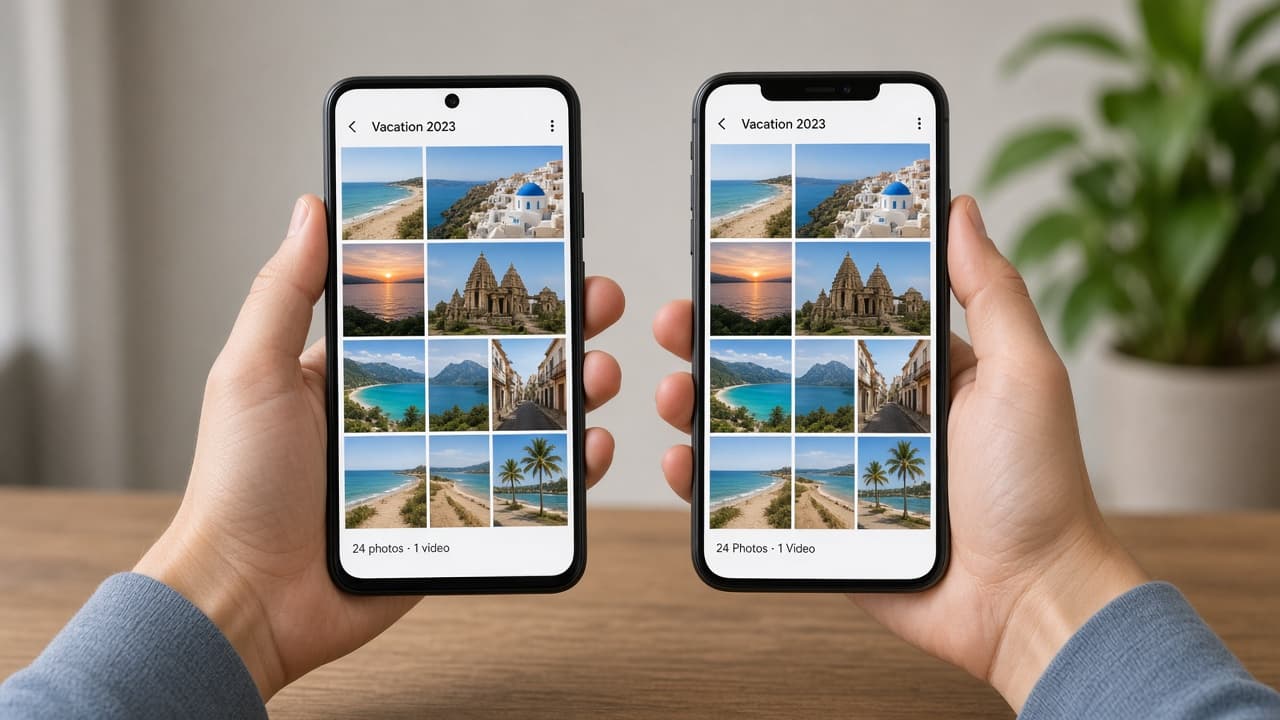
Spot-check trips and key dates for missing media. 5c
Confirm message threads people still use
Open group chats and one-to-one threads you rely on weekly. Note anything that stayed on Android only, such as some RCS features or app-specific chats. Plan WhatsApp's own transfer path if that content did not arrive.
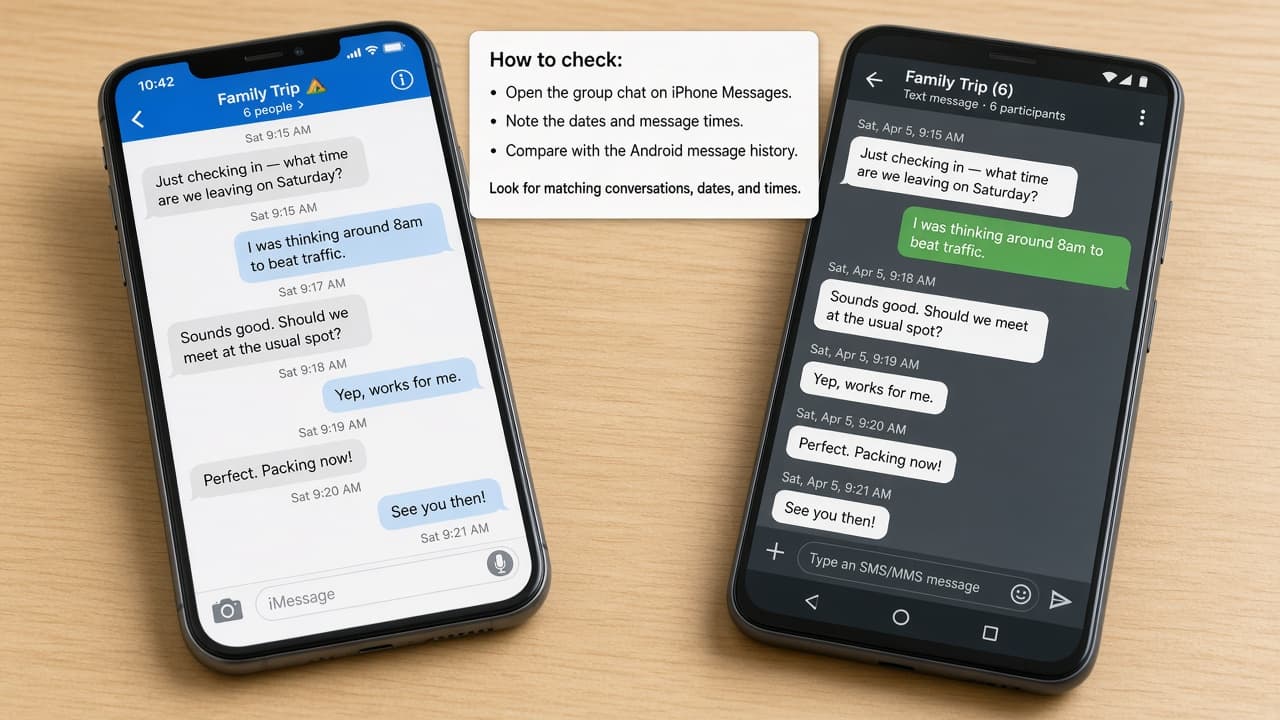
Weekly chats matter more than a perfect total count. 5d
Common mistake: wiping Android after a quick glance
Common mistake: factory-resetting Android after opening Photos once. Keep the old phone for several days until authenticator codes, banking access, music, books and PDFs are confirmed. Then remove accounts and use Android's factory reset before selling or recycling it.
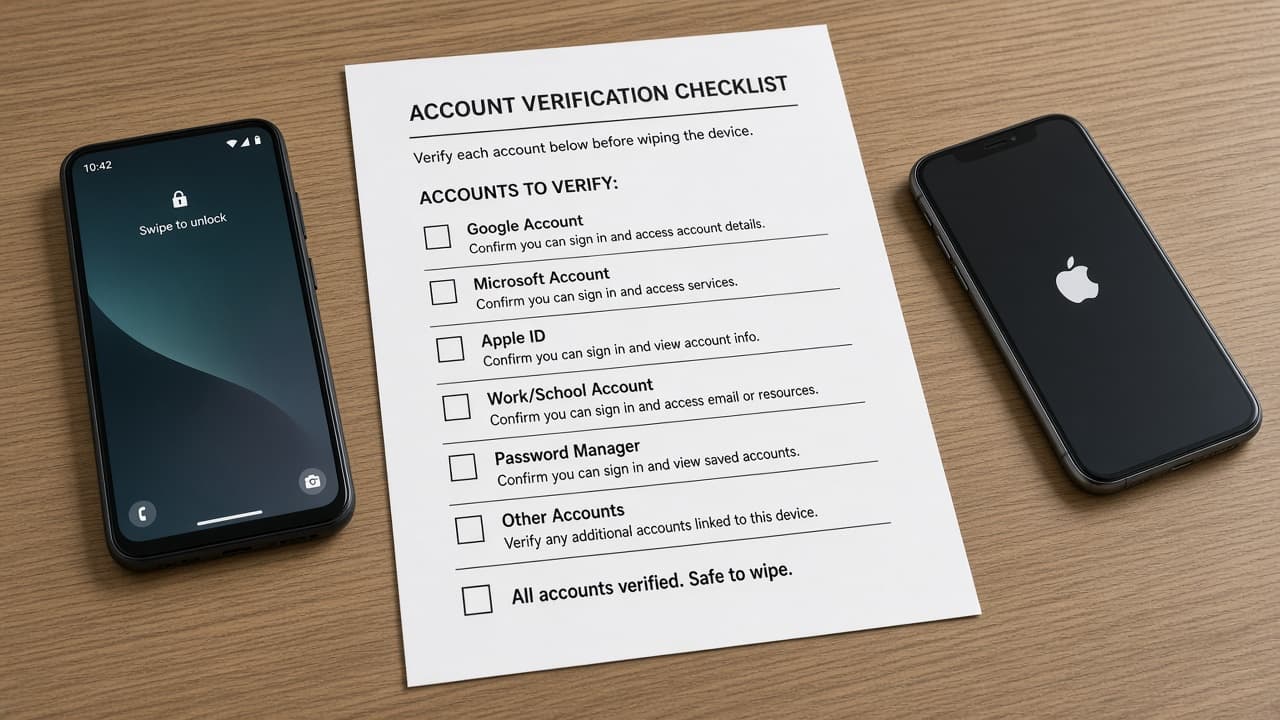
Keep Android until 2FA and banking work on iOS.
Step 06
Rebuild apps, mail and messaging services
Matched free apps may appear; everything else needs a manual install and sign-in.
Do this step in order
6a
Install iOS versions of daily apps
Download matched free apps when the App Store offers them, then search manually for banking, transit and work tools. Sign in with the original provider and restore purchases only where the developer supports cross-platform accounts.
6b
Add mail accounts you still need
Add Google or Outlook mail through each official app or iOS account settings. Send a test message both ways. Confirm calendar and contact sync choices so you do not create duplicate address books.
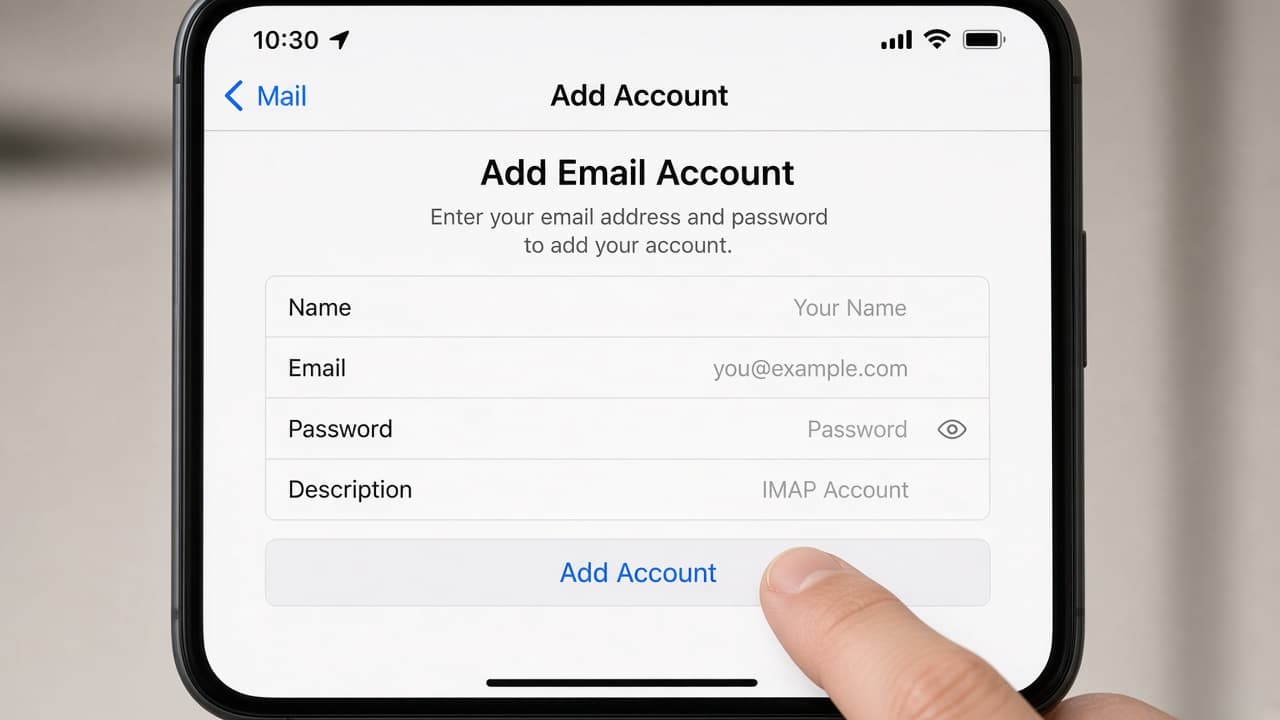
Mail accounts often need a fresh sign-in on iOS. 6c
Finish SIM, eSIM and carrier messaging
Confirm that the iPhone can call, send SMS and use mobile data before removing the old SIM. Ask the carrier to activate or transfer the eSIM if setup did not offer it. Turn off RCS chat features on the old Android phone if messages from Android contacts do not reach the iPhone.
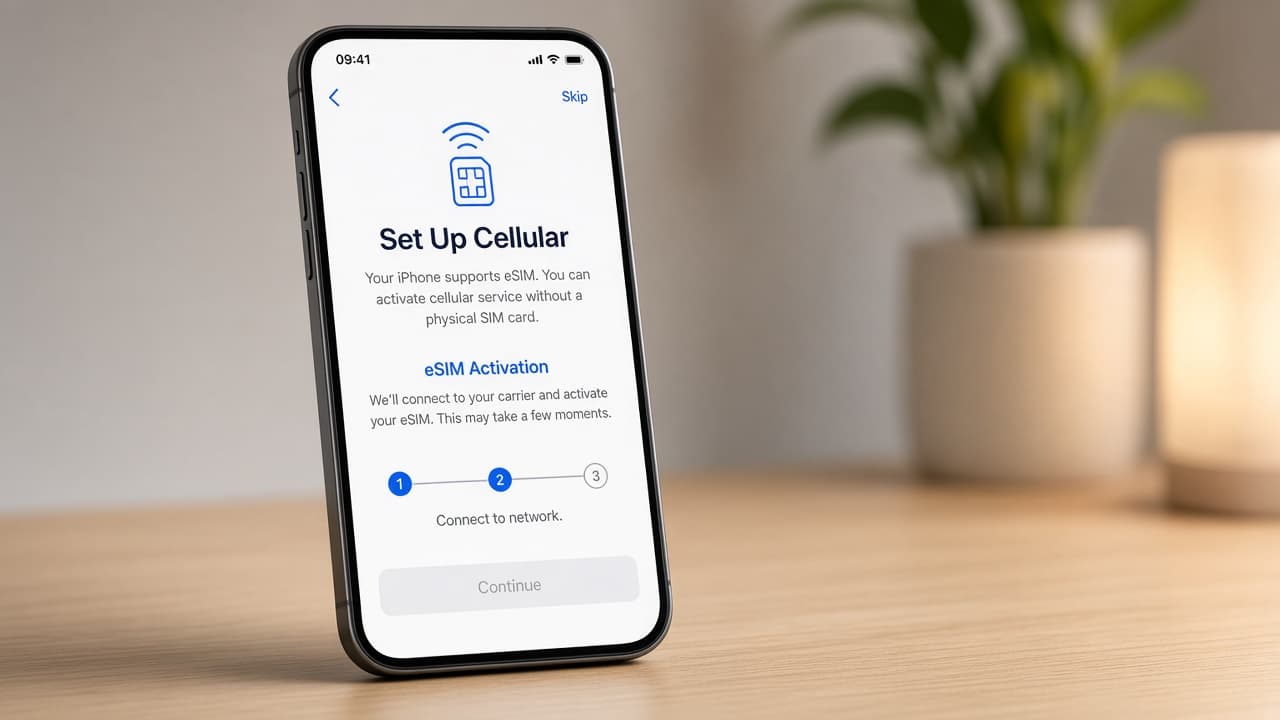
Voice and SMS must work before you retire the old SIM. 6d
Common mistake: skipping paid-app and subscription checks
Common mistake: assuming Android purchases appear automatically on iOS. Many paid apps need a new purchase or subscription on Apple platforms. Check developer help pages before you delete payment receipts on Android.
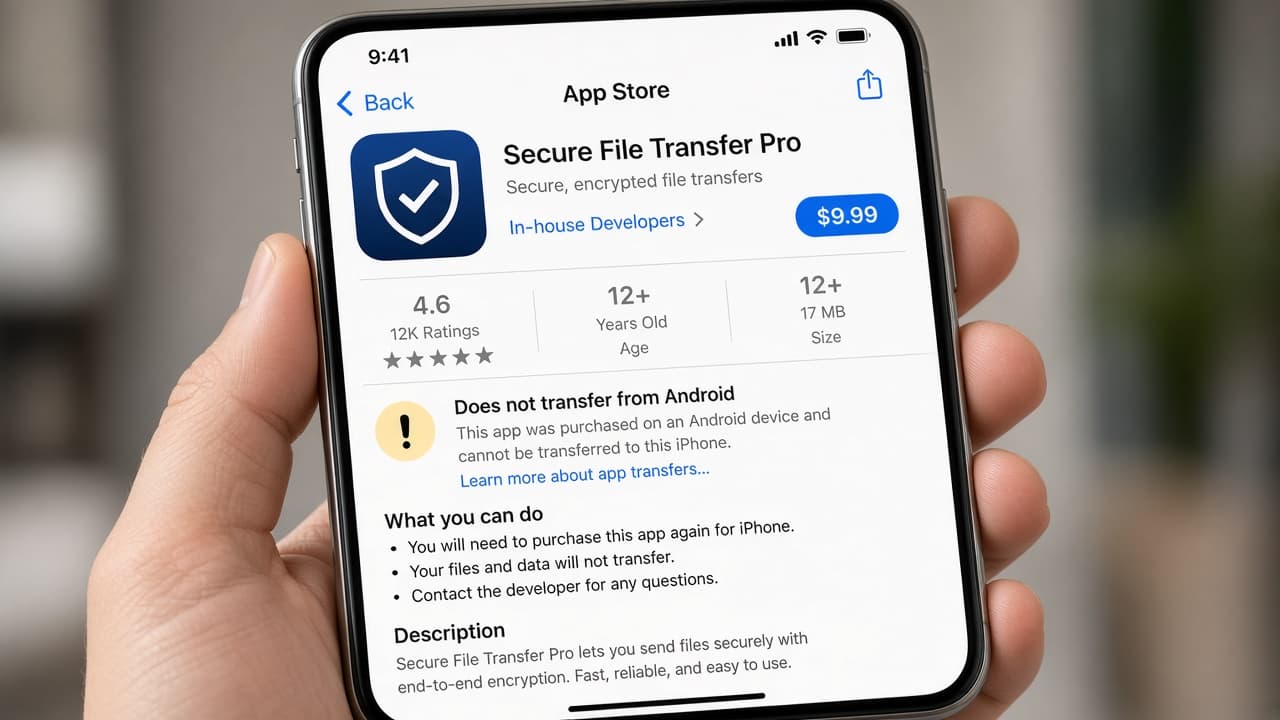
Cross-platform licenses are the exception, not the default.
Step 07
Back up iPhone and retire Android carefully
An iCloud backup plus a patient Android wind-down closes the switch safely.
Do this step in order
7a
Run an iCloud backup on Wi-Fi and power
Go to Settings, your name, iCloud, iCloud Backup and run a backup while connected to Wi-Fi and power. Confirm the latest backup timestamp before you travel or wipe Android.
7b
Move leftover media manually if needed
Copy remaining music, books or PDFs with a computer, cloud drive or official apps. Verify they open on the iPhone. Only then remove accounts from Android.
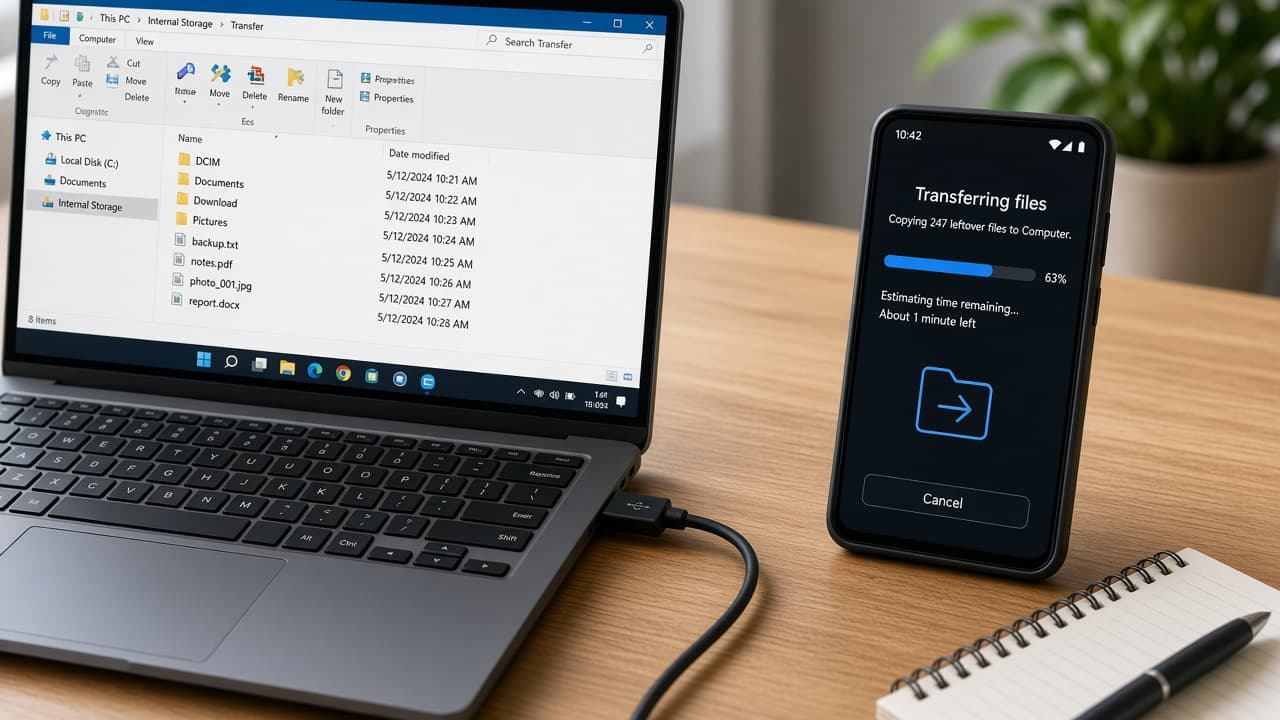
Manual leftovers finish what Move to iOS left behind. 7c
Factory-reset Android after account removal
Sign out of Google, Samsung or other vendor accounts, unlink payment methods you will not keep and use the official factory reset. Recycle or sell the device only after the wipe completes.
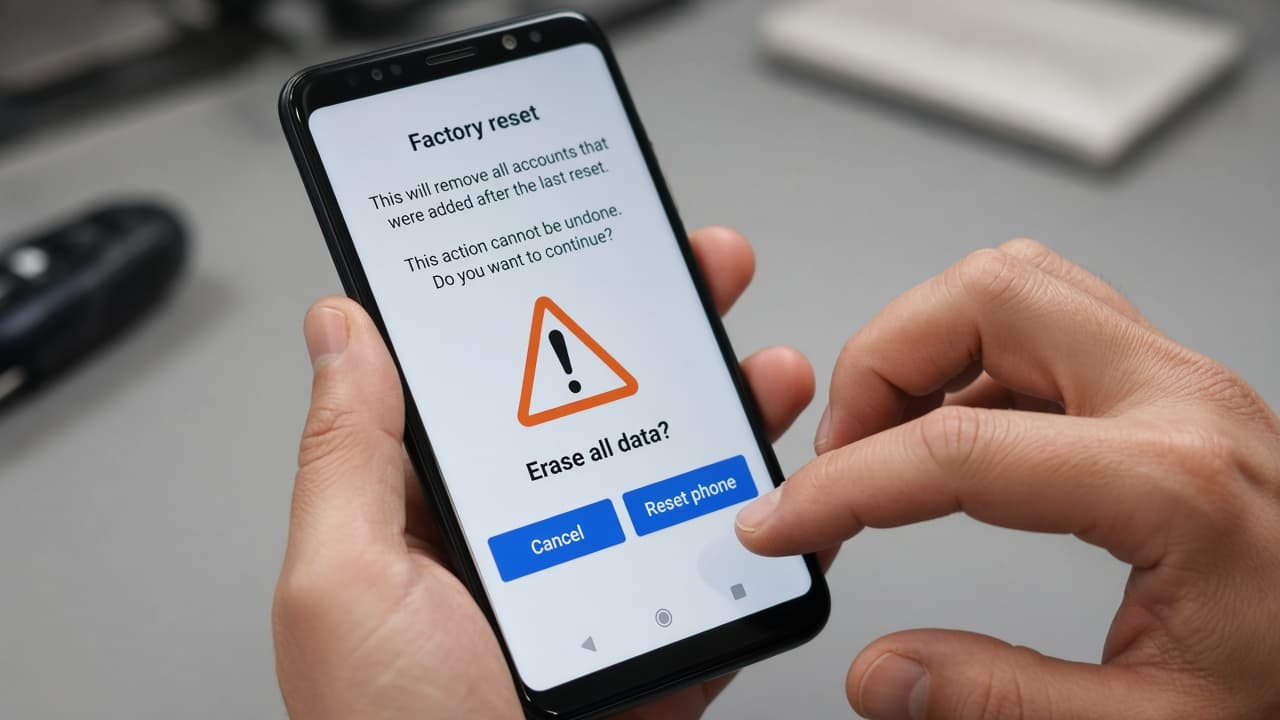
Remove accounts first, then wipe, then recycle. 7d
Common mistake: selling Android with profiles still signed in
Common mistake: handing over a phone that still receives your codes or finds your photos. Confirm Find My Device and Google account removal, then verify a setup screen appears after reset. If activation locks remain, resolve them before the device leaves your hands.
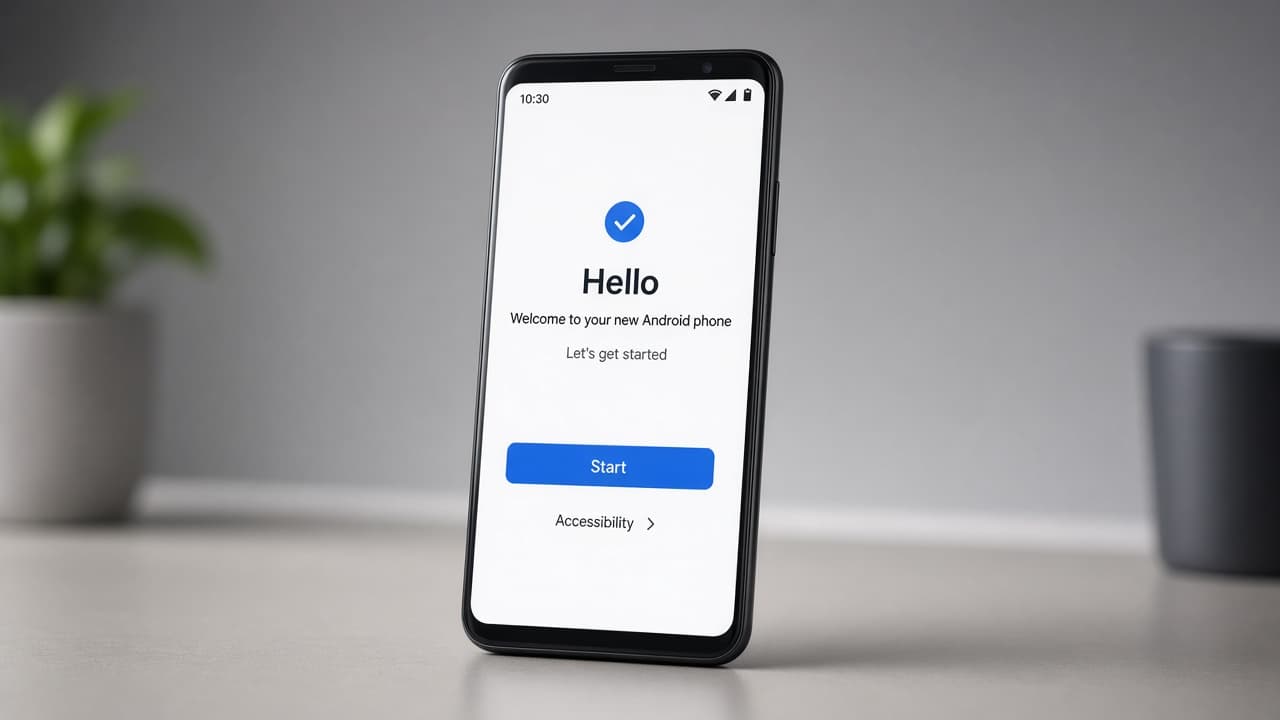
A clean setup screen means the old account is gone.
Done when
- Charge both phones and connect to Wi-Fi
- Export two-factor codes and install Move to iOS
- Start or reset iPhone setup to Apps and Data
- Pair with the code and wait for transfer
- Complete iPhone setup and check Photos and Messages
- Reinstall apps and sign into mail and banking
- Confirm SIM or eSIM, then back up to iCloud
Eagle Frame's takeaway: install Move to iOS on the Android phone, begin iPhone setup until you reach Apps and Data, choose Move Data from Android, pair with the code and wait on Wi-Fi until the iPhone finishes. Then reinstall apps, verify 2FA and back up the iPhone to iCloud.