How to unshrink clothes
Relax shrunken cotton and wool with lukewarm water, gentle conditioner or baby shampoo and careful reshaping on a flat towel. Air dry flat and accept that severe felting may not fully reverse.
Clothes shrink in more than one way. Cotton can contract after heat, while wool fibers can tighten and interlock when heat and agitation act together. A conditioner soak may loosen mild contraction, but it cannot reliably undo wool that has become thick, stiff and felted or synthetic fibers damaged by high dryer heat.
Read the care label before adding water. This method is most useful for washable cotton, wool, cashmere and some natural-fiber blends. Stop if the label says dry clean only, the dye transfers during a hidden-area test or trims such as leather and glued decoration cannot be soaked.
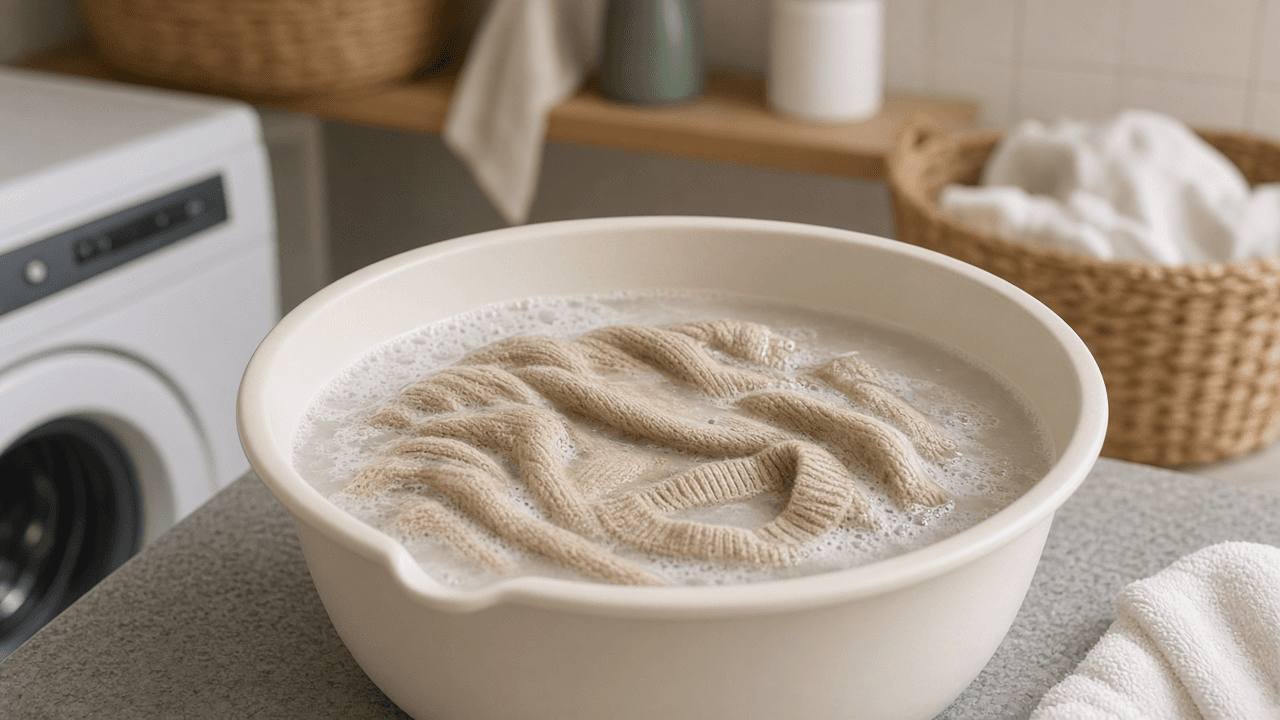
Use a clean basin, lukewarm water and a wool-specific conditioner for wool when possible. A small amount of gentle hair conditioner or baby shampoo is a fallback, not a guaranteed fiber treatment. Keep the water near room temperature and avoid scrubbing because a hot bath or rough handling can make wool shrink further.
Measure the garment before the soak if you know the target chest, body and sleeve dimensions. After 20 to 30 minutes, support the whole wet item as you lift it, press out water and roll it in a towel. Wringing twists the yarn and hanging a wet sweater can stretch the shoulders beyond repair.
Reshape on a dry towel or blocking mat in several small passes. Ease opposite edges outward, compare both sleeves and pause whenever seams twist, stitches open or yarn starts to strain. Rust-proof pins can hold a wool knit at measured points, but weights and hard pulling can leave waves or weak spots.
Let the garment dry flat away from a radiator, dryer and direct sun. Turn it onto a dry towel when the underside stays damp, then judge the fit only when it is completely dry. One careful repeat may help mild remaining shrinkage, but repeated soaking will not restore fused synthetic fabric or dense felt.
Step-by-step guide
Time: 45 to 90 minutes including soak and flat drying
What you need
- Basin or clean sink
- Lukewarm water
- Hair conditioner, baby shampoo or wool wash
- Clean towels
- Flat drying surface or blocking mat
- Measuring tape and pen
- Optional: rust-proof pins for wool
Before you start
- Hot water can shrink natural fibers further.
- Do not machine dry while you are trying to relax the knit.
- Severely felted wool may not return to its original size.
- Test a hidden seam on delicate items before a long soak.
Step 01
Inspect the fabric, label and damage
Know what you are treating before you add water. Natural fibers have the best chance of relaxing.
Do this step in order
1a
Read the label and name the fiber
Confirm the piece is washable cotton, wool, cashmere or a suitable blend, then note any dry-clean-only instruction. Dense, fuzzy and stiff wool is probably felted, so stop if stretching would require force.
1b
Judge mild shrink versus felt
Compare the piece with a similar garment that still fits or with a photo of the original silhouette. Mild contraction feels pliable; felted wool feels thick, locked and almost board-like.
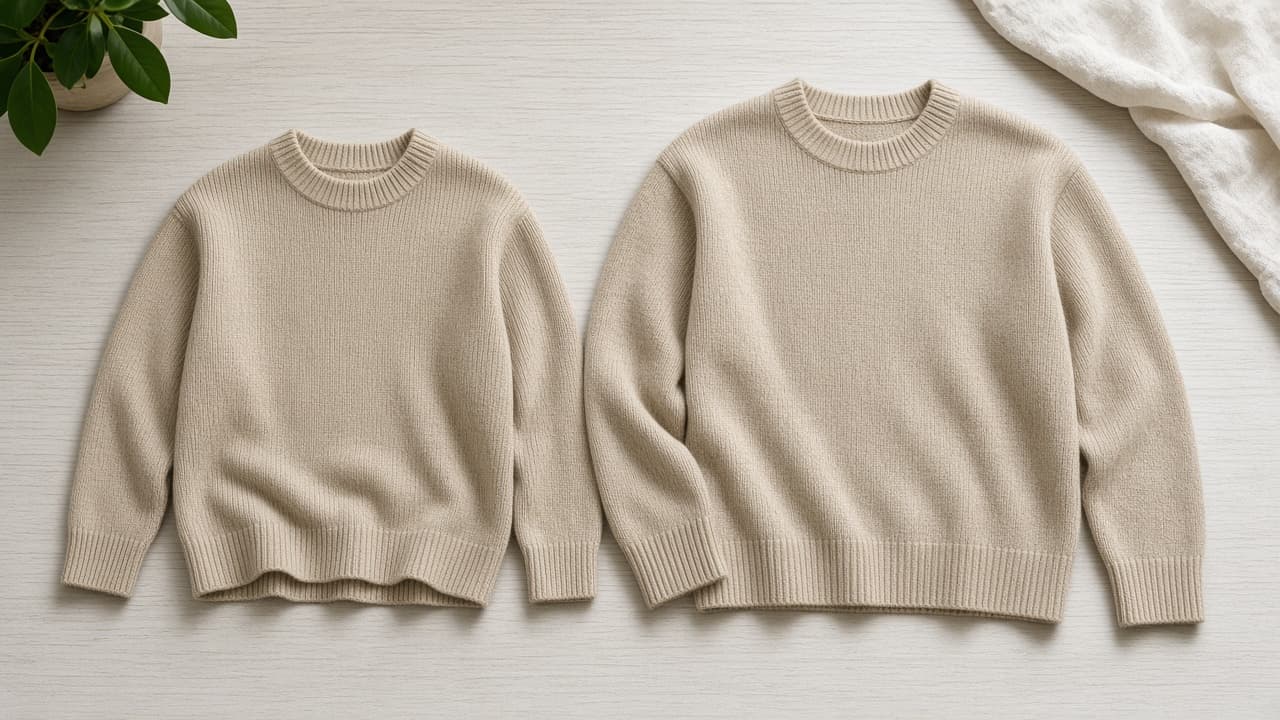
Compare size and hand feel before you commit to a soak. 1c
Check seams, trims and weak spots
Look for leather patches, glued logos, sequins, metal hardware and open seams. Anything that cannot get wet safely needs a different plan or a textile specialist.
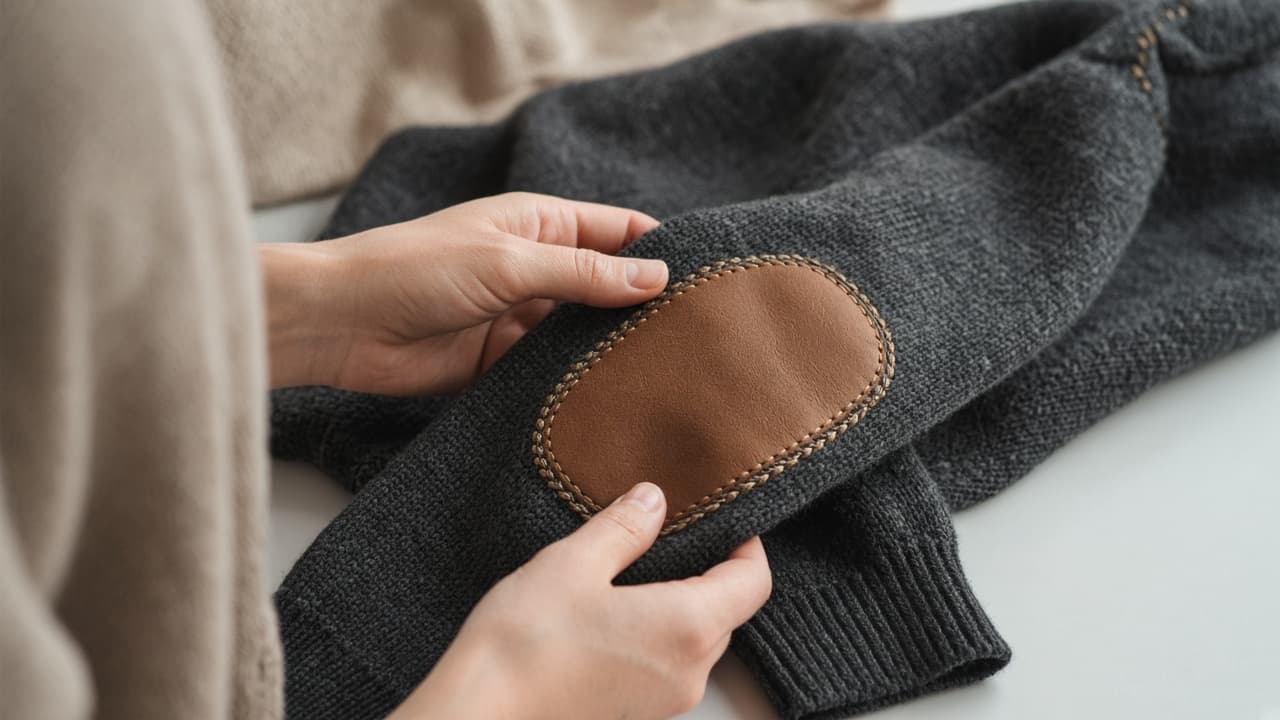
Stop before soaking if trim or structure cannot handle water. 1d
Common mistake: forcing felted wool
Common mistake: treating dense felted wool like mild cotton shrink. If the fabric will not give under gentle finger pressure, soaking will not restore the original knit. Stop and protect what remains.
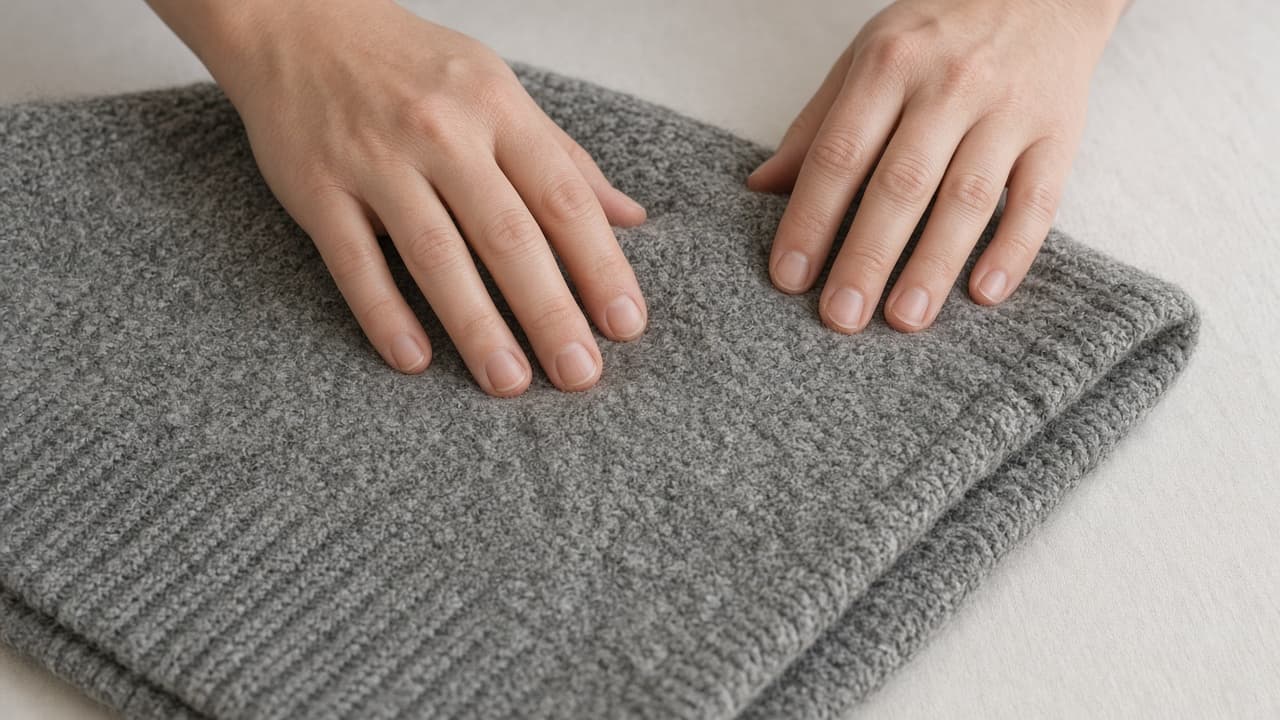
Felted wool that will not yield is a stop, not a harder pull.
Step 02
Measure targets and prepare a mild bath
Write down the dimensions you want, then mix lukewarm water with a gentle conditioner.
Do this step in order
2a
Record chest, length and sleeves
Lay the garment flat and measure body length, chest width and sleeves, or compare it with a similar piece that fits. Write the targets down so you are not estimating under a wet towel.
2b
Test dye on a hidden seam
Dab a hidden seam with the planned lukewarm solution and press it with a white cloth. Stop if color transfers heavily.
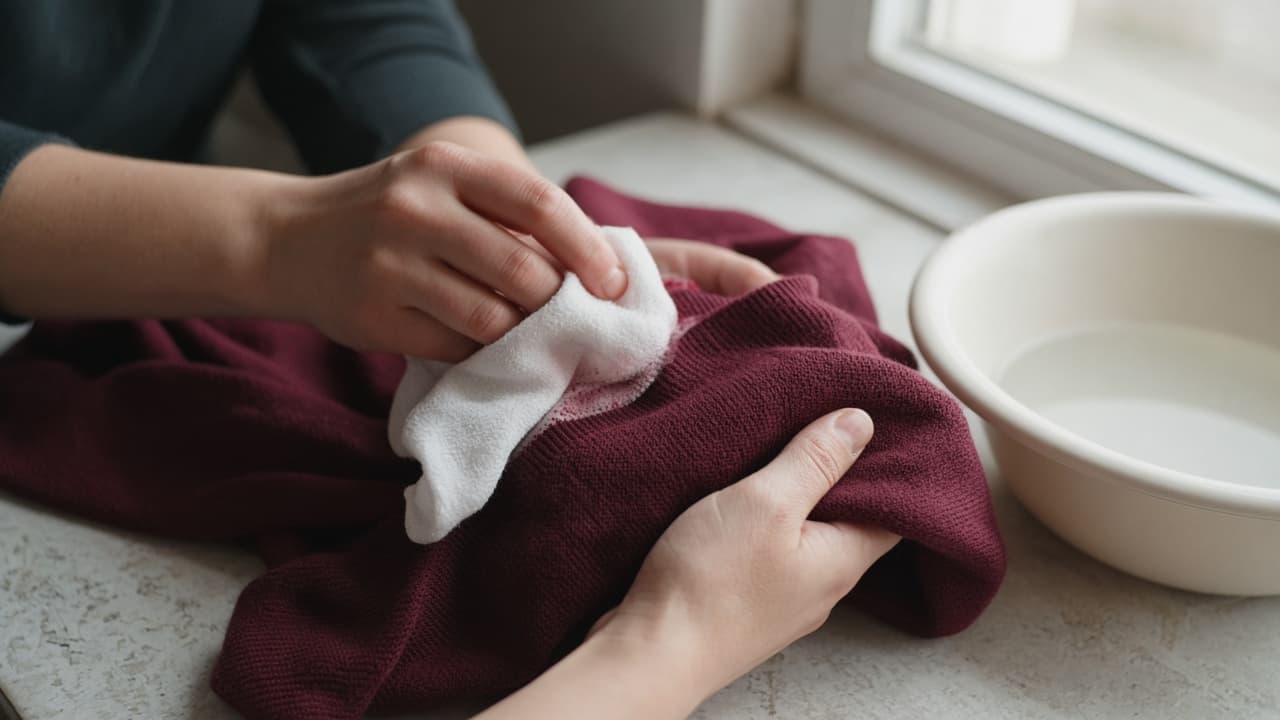
A white cloth shows whether color will bleed into the bath. 2c
Mix lukewarm water and conditioner
Fill a clean basin with enough lukewarm water to cover one garment. Dissolve wool conditioner per its label, or use a small amount of gentle conditioner or baby shampoo for other washable natural fibers.
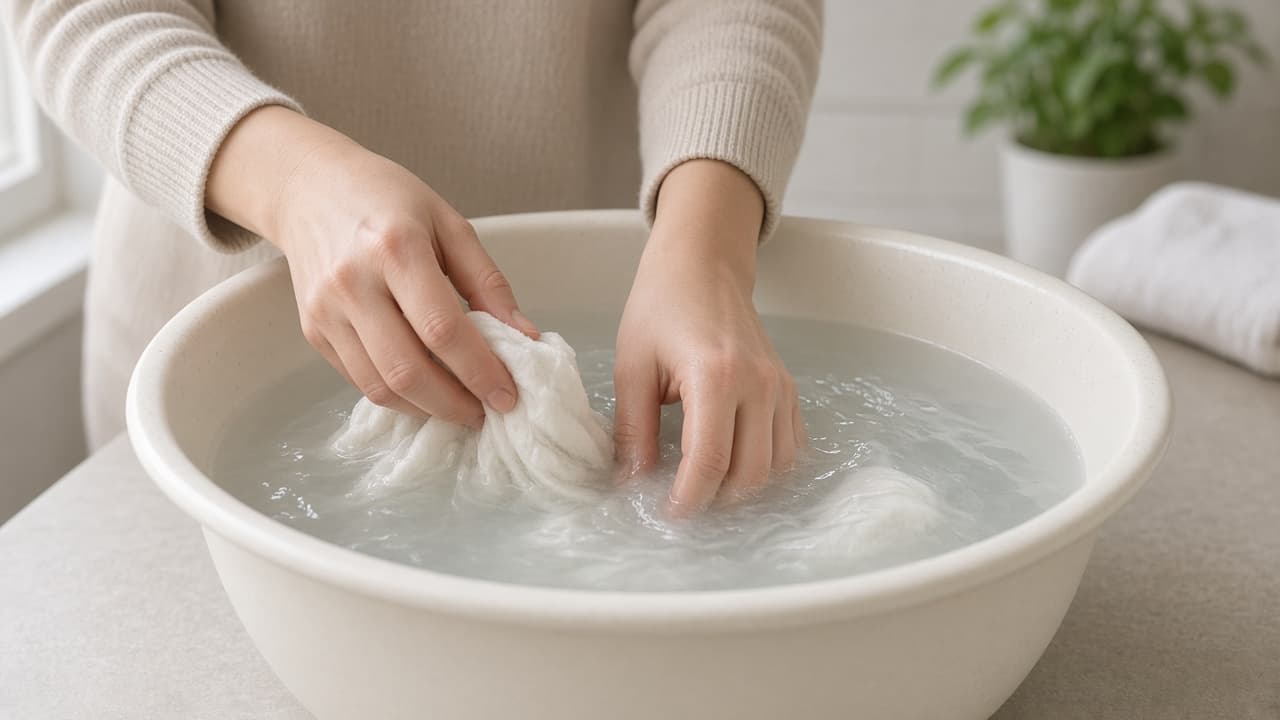
Lukewarm water only. Hot baths can tighten fibers further. 2d
Common mistake: a hot or soapy bath
Common mistake: using hot water or a heavy soap load because it feels more effective. Heat and agitation encourage wool scales to lock. Keep the bath mild and still.
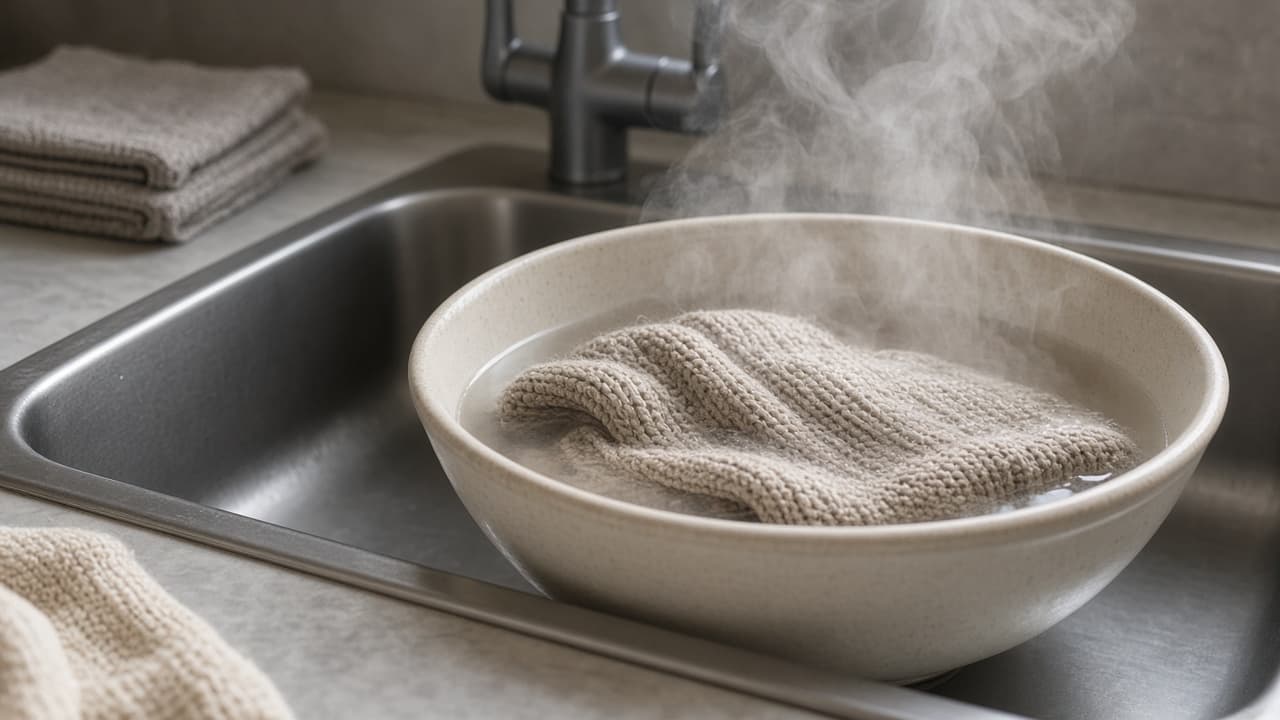
Hot water is a setback, not a shortcut.
Step 03
Soak without rubbing or kneading
Give the fibers time to absorb the conditioner mix while the garment stays still.
Do this step in order
3a
Lower the garment fully under water
Fold the garment and lower it into the bath. Press it under with open palms until water reaches every layer. Do not rub, knead or swish wool.
3b
Set a 20 to 30 minute timer
Leave the piece still while the fibers become pliable and check it at 20 minutes. End the soak by 30 minutes unless the product label gives different directions.
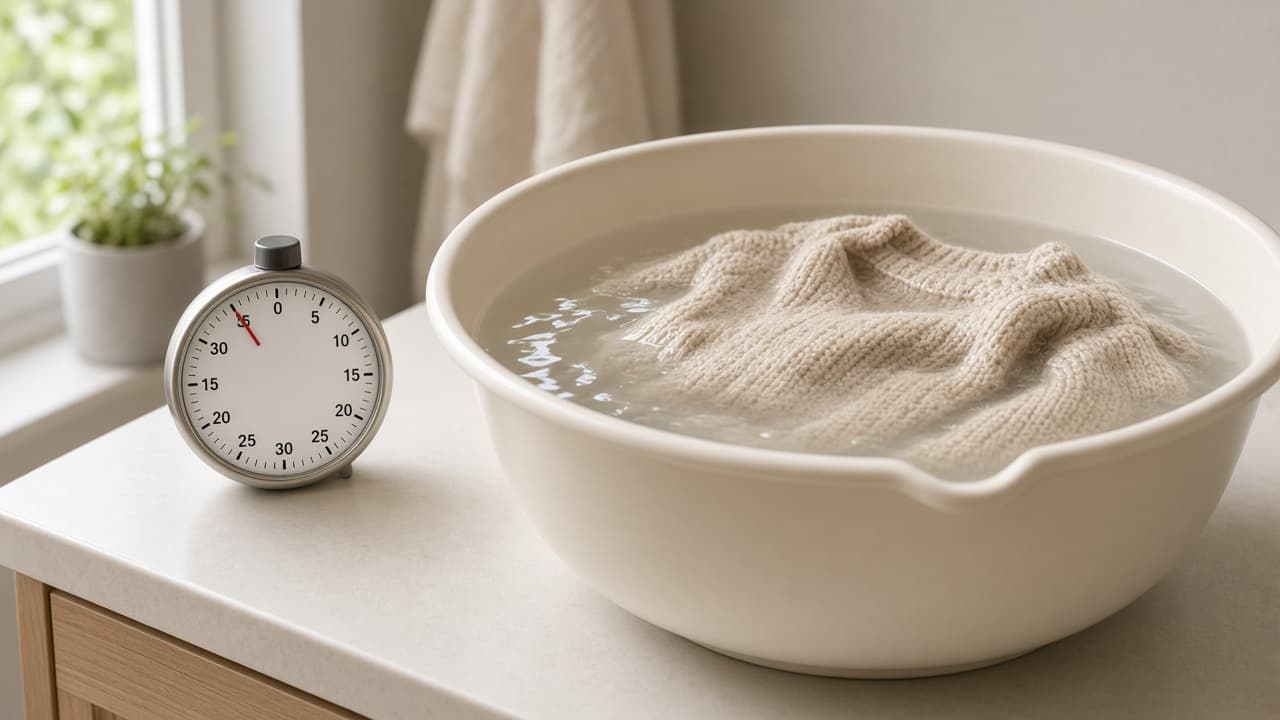
Still water for 20 to 30 minutes is enough for most mild shrink. 3c
Keep agitation out of the basin
Resist the urge to massage thick spots. If a fold stays dry, gently press it under once and leave it alone.
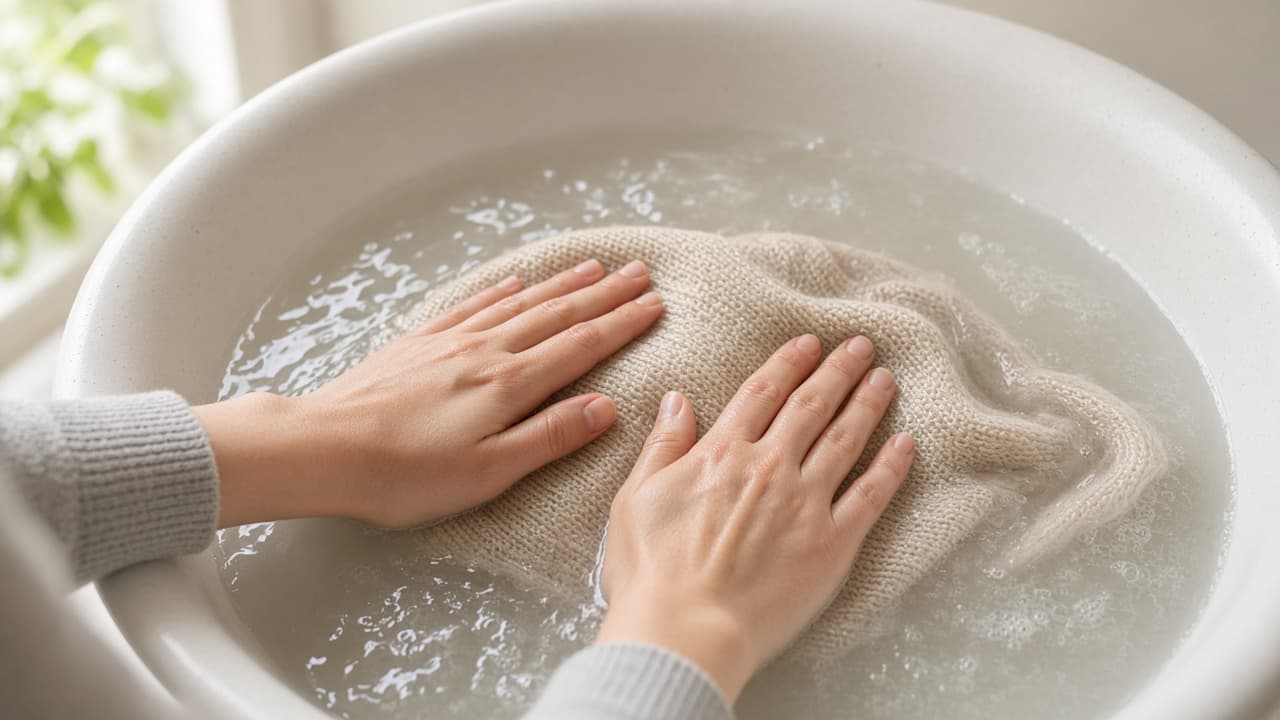
Open-palm wetting only. No kneading or scrubbing. 3d
Common mistake: scrubbing to speed results
Common mistake: scrubbing felted areas underwater to force them open. Friction is what locked the scales. Stop the soak and move to supported draining instead of fighting the knit.
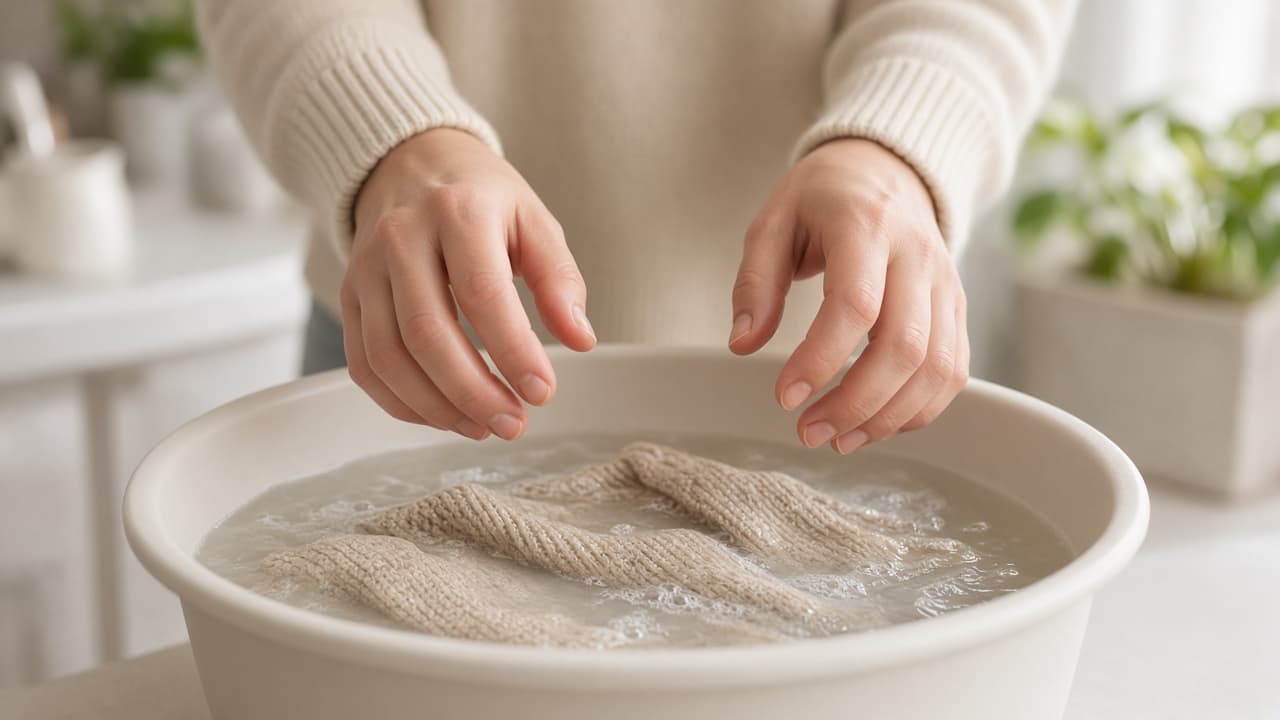
Scrubbing underwater makes wool worse, not better.
Step 04
Drain and press out water without wringing
Support the full wet weight, then blot between towels until the fabric is evenly damp.
Do this step in order
4a
Lift with full support under the body
Slide both hands beneath the garment or gather it into a basin so wet weight does not hang from one shoulder. Let water drain naturally.
4b
Roll in a clean towel
Lay the item flat on a towel, roll the towel around it and press with your palms to absorb water. Repeat with a dry towel if it is dripping.
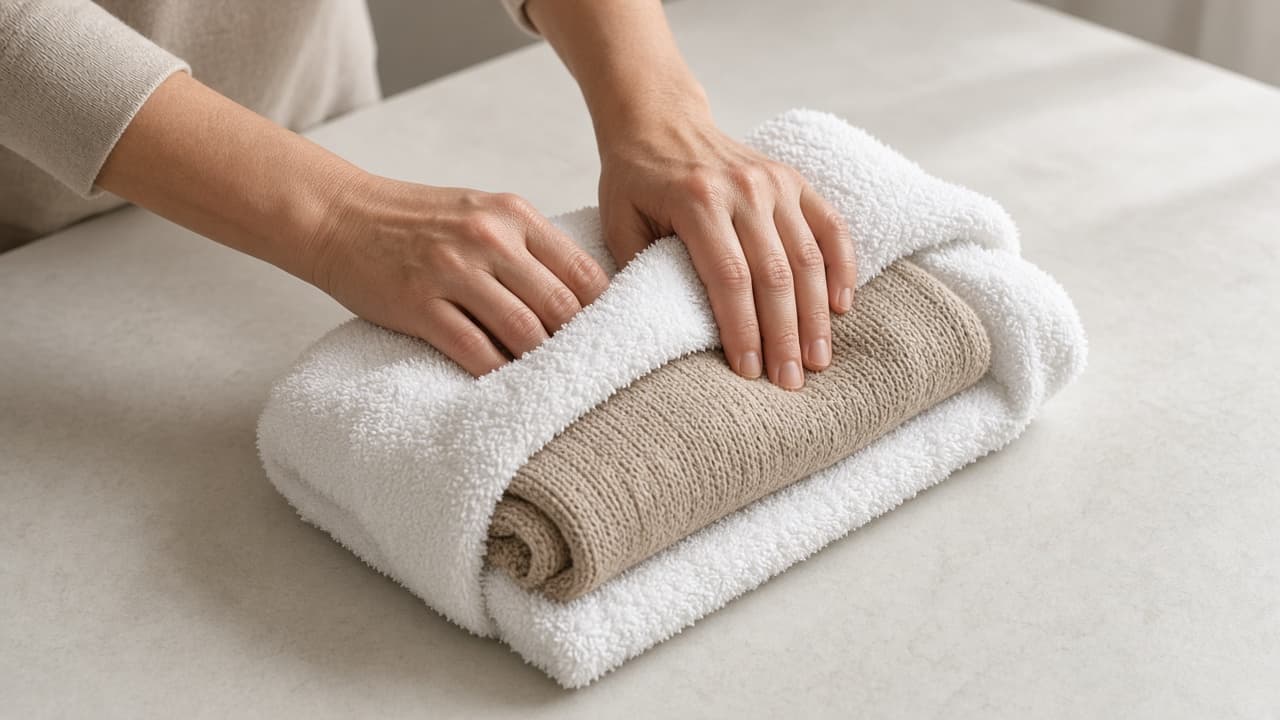
Rolling and pressing removes water without twisting yarn. 4c
Leave the fabric evenly damp
Stop blotting when the garment is damp rather than dripping. Over-drying on the towel makes reshaping harder.
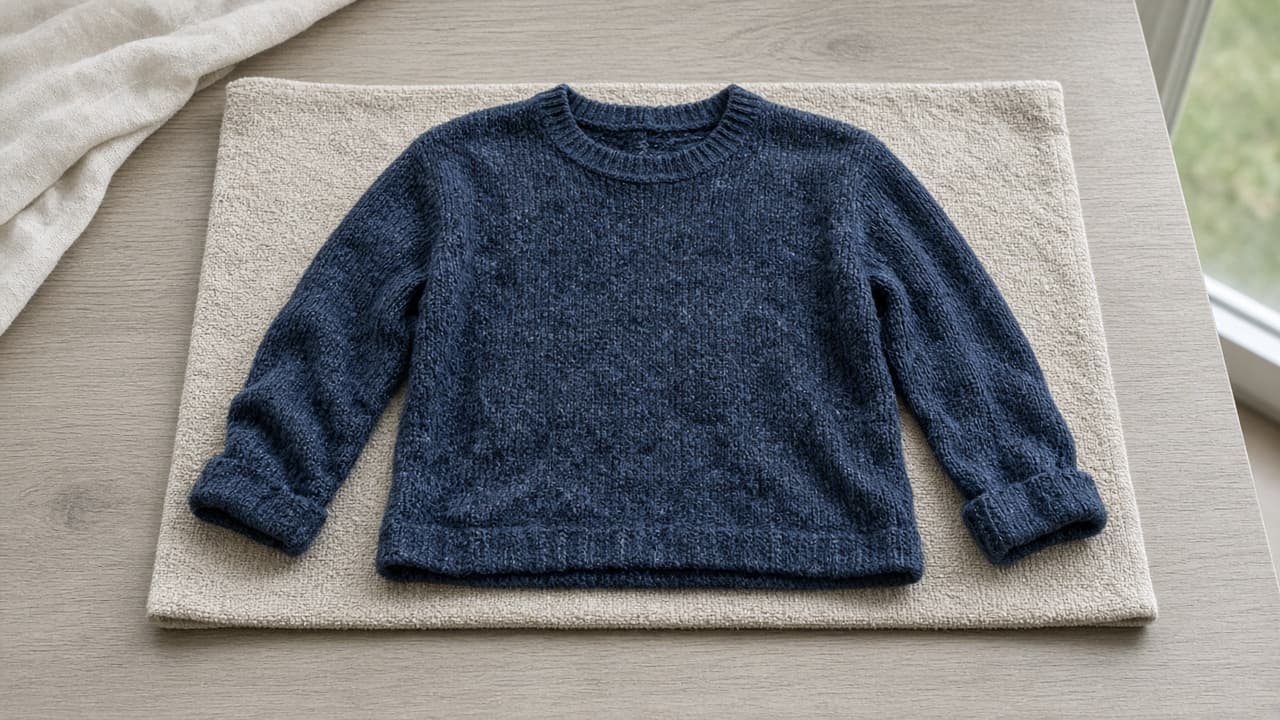
Evenly damp fabric reshapes more evenly than a half-dry piece. 4d
Common mistake: wringing or hanging wet
Common mistake: twisting the sweater like laundry or hanging it over a chair back. Wringing twists yarn and hanging stretches shoulders past repair.
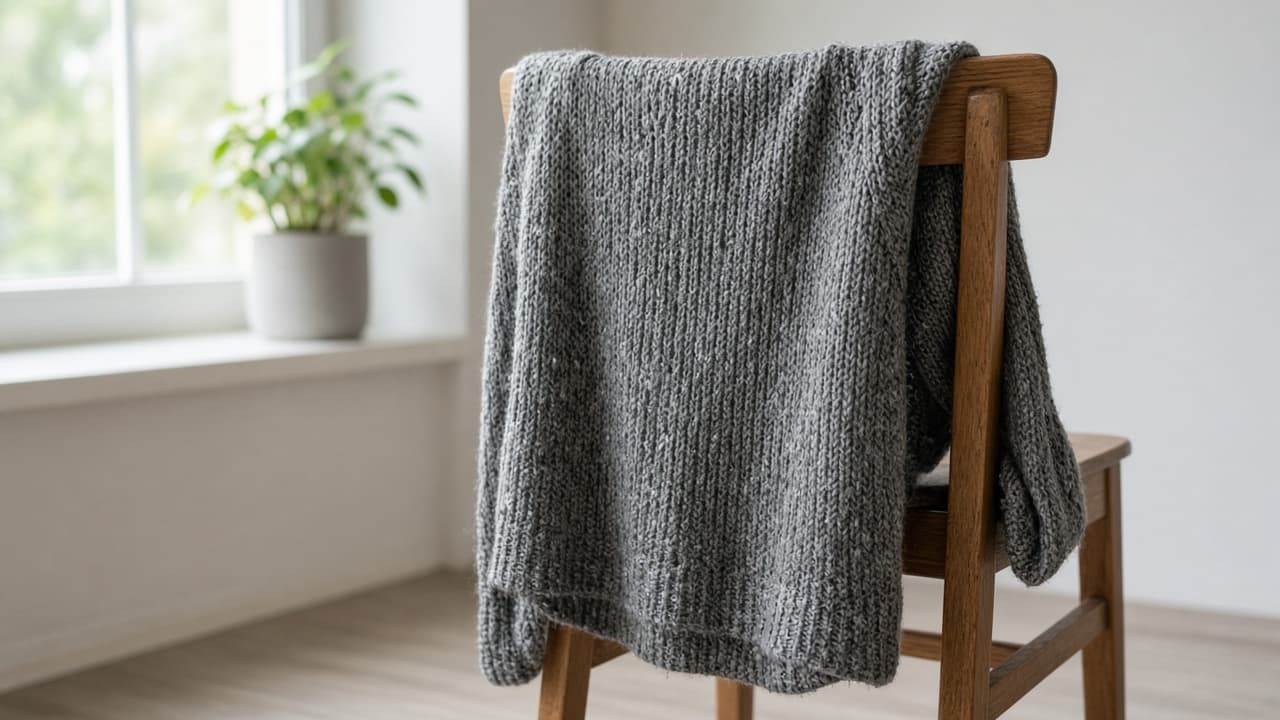
Never hang a soaked knit by the shoulders.
Step 05
Reshape the body while the fabric is damp
Ease length and width a little at a time on a flat surface before the fibers set.
Do this step in order
5a
Square the seams on a flat towel
Place the damp item on a dry towel or blocking mat and align the shoulder, side and sleeve seams. Smooth with flat hands rather than pulling.
5b
Ease opposite edges in small passes
Move opposite edges a few millimeters at a time. Recheck chest width and body length after every pass, then stop when you reach the target or feel resistance.
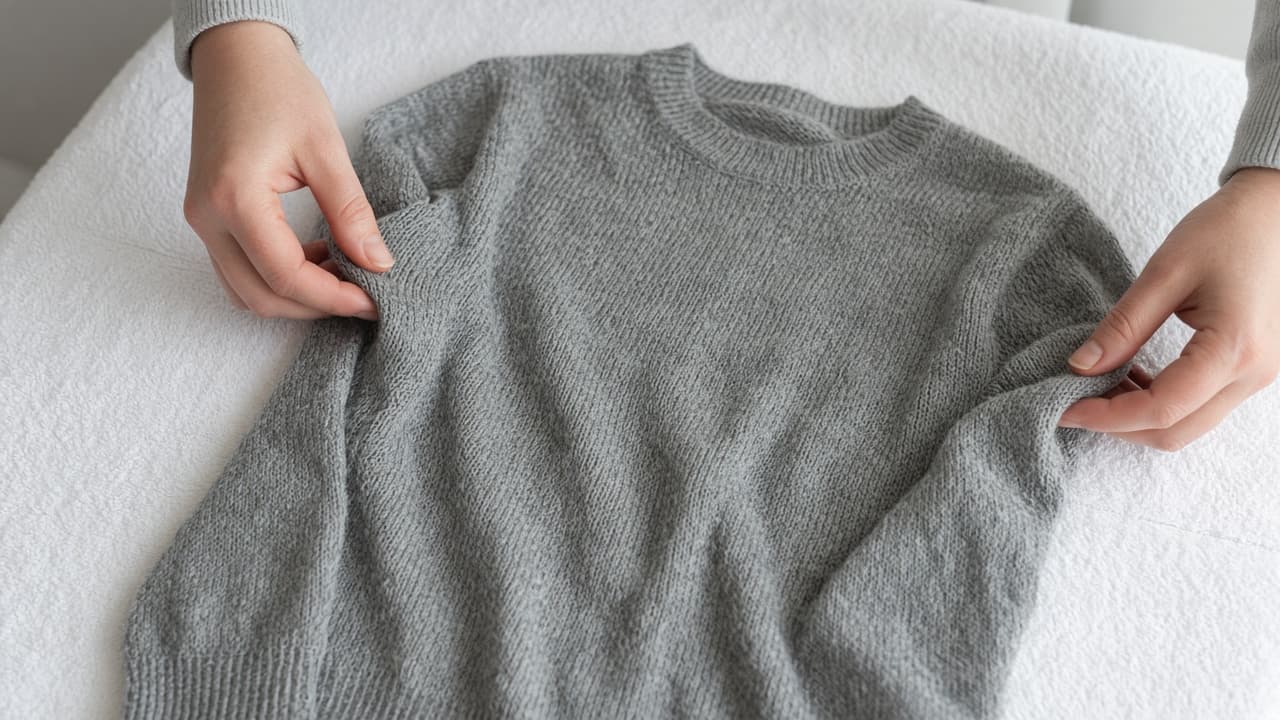
Millimeter passes keep both sides even. 5c
Compare to your written measurements
Hold the measuring tape against the damp outline and adjust only where you are still short of the target. Do not chase a perfect stretch past the fiber's give.
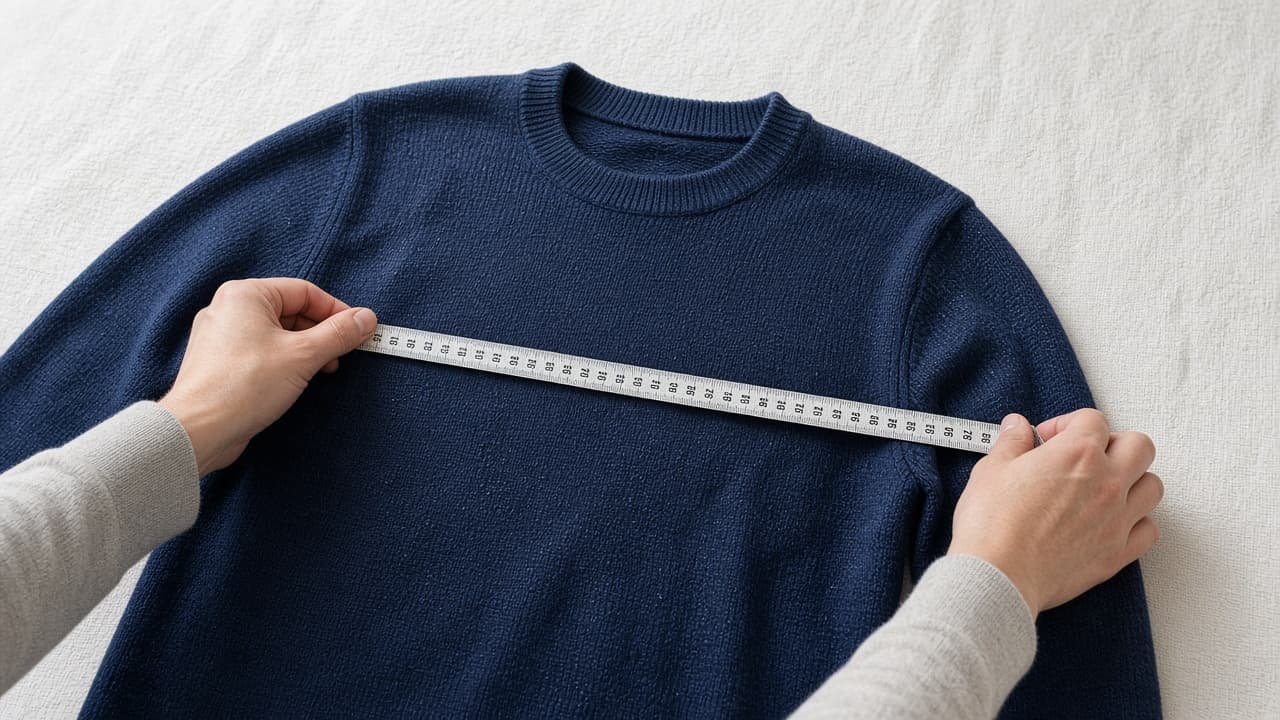
Measure after each pass instead of guessing by eye. 5d
Common mistake: one hard tug on a stuck spot
Common mistake: yanking a tight hem or armpit in one hard pull. That opens stitches and thins yarn. Ease nearby fabric in smaller passes or stop.
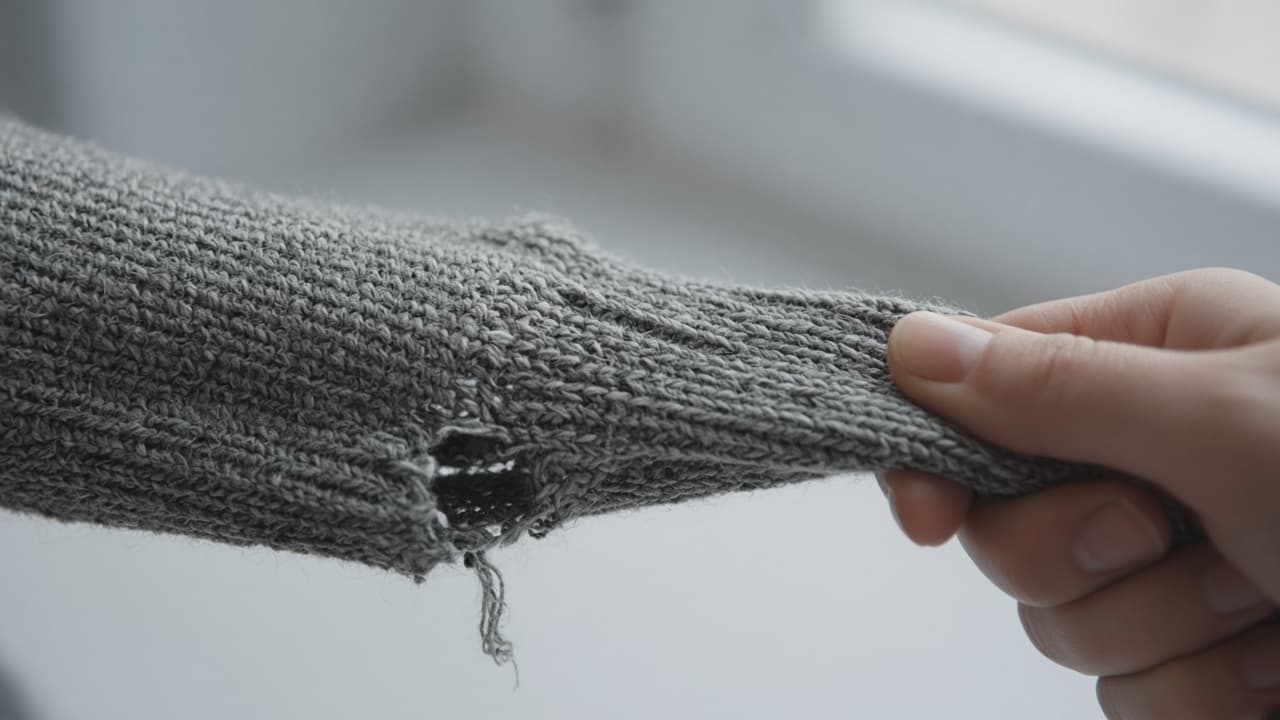
Resistance means pause, not a harder yank.
Step 06
Match sleeves and hold the shape
Balance both sleeves, then use pins only where wool needs a gentle hold.
Do this step in order
6a
Match sleeve length and cuff width
Stretch both sleeves by the same measured amount and keep cuffs, necklines and hems level. Stop if stitches separate or one area thins more than the rest.
6b
Pin wool at regular edge points
Use rust-proof pins at regular points on a blocking mat if the knit springs back. Pin through sturdy edges without pulling points into scallops.
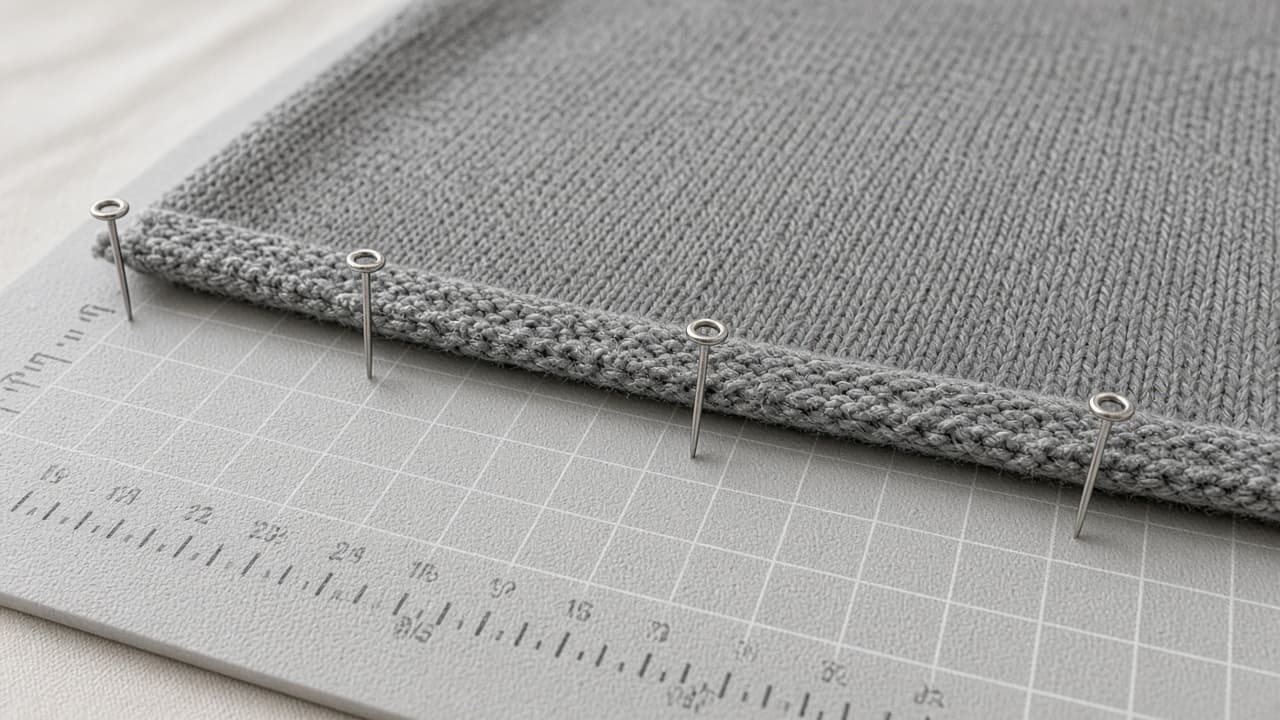
Pins hold the outline. They should not create waves. 6c
Avoid weights and hard clamps
Skip heavy books and clamps that leave dents. If an edge will not stay, re-wet that section lightly and ease again instead of loading weight on soft yarn.
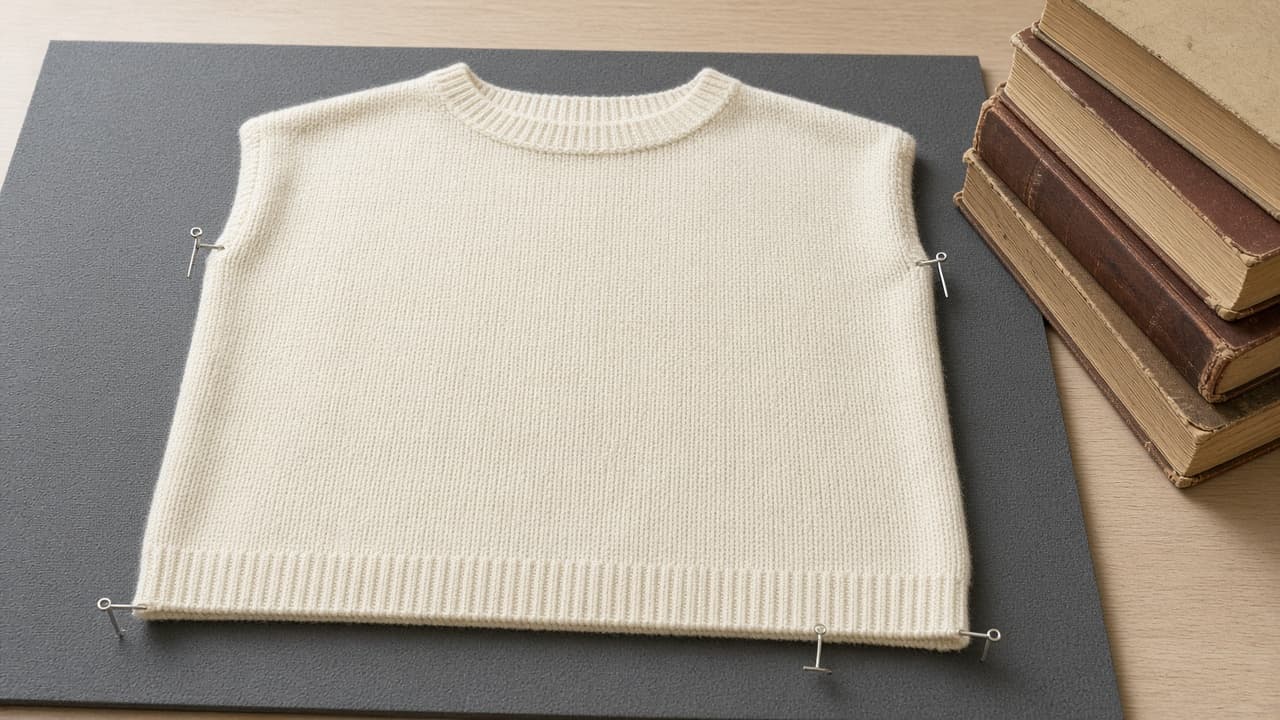
Light hold beats denting the knit with heavy objects. 6d
Common mistake: pinning into scallops
Common mistake: stretching pin points farther than the fabric between them. That dries into scalloped edges and weak spots. Keep pin tension even along the whole side.
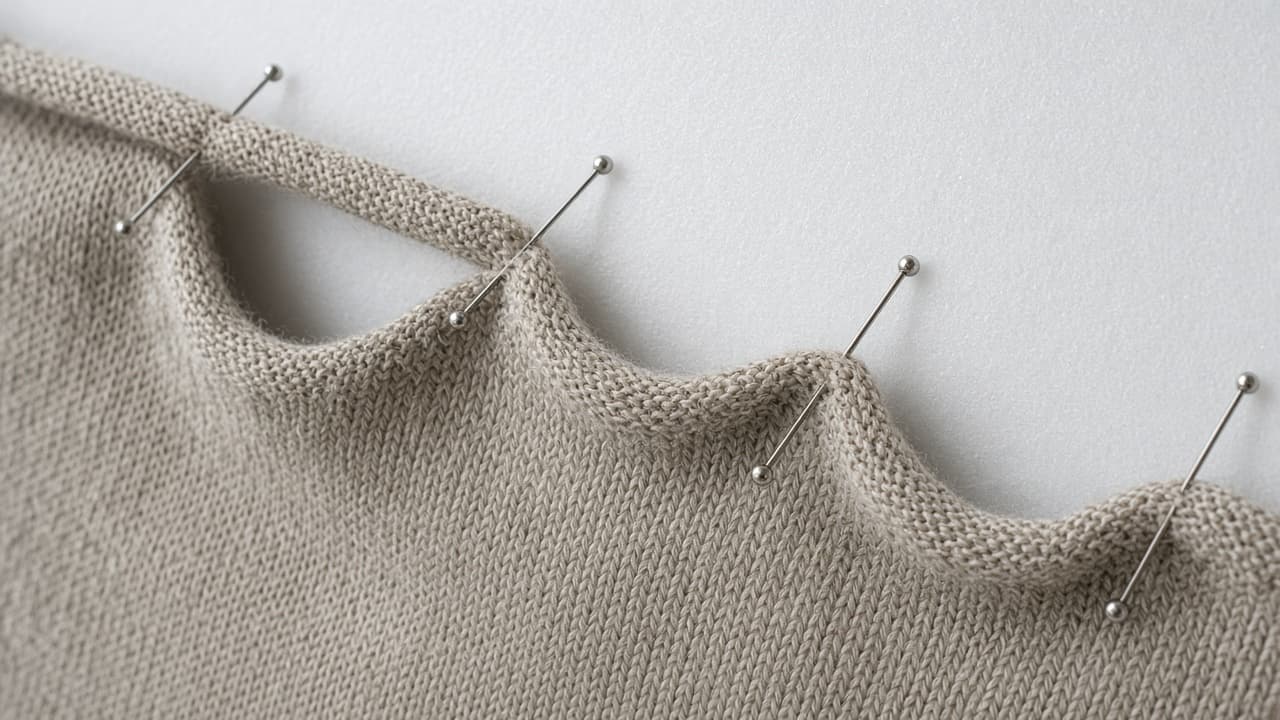
Even pin spacing prevents scalloped dry edges.
Step 07
Air dry flat and judge the result
Let the garment dry completely before you wear it or decide on a second soak.
Do this step in order
7a
Dry flat away from heat and sun
Leave the garment on a ventilated flat surface away from direct sun, radiators and tumble dryers. Never hang a wet sweater.
7b
Turn onto a fresh towel when needed
When the upper surface feels dry, support the garment as you turn it onto a fresh towel. Restore the measured outline after turning.
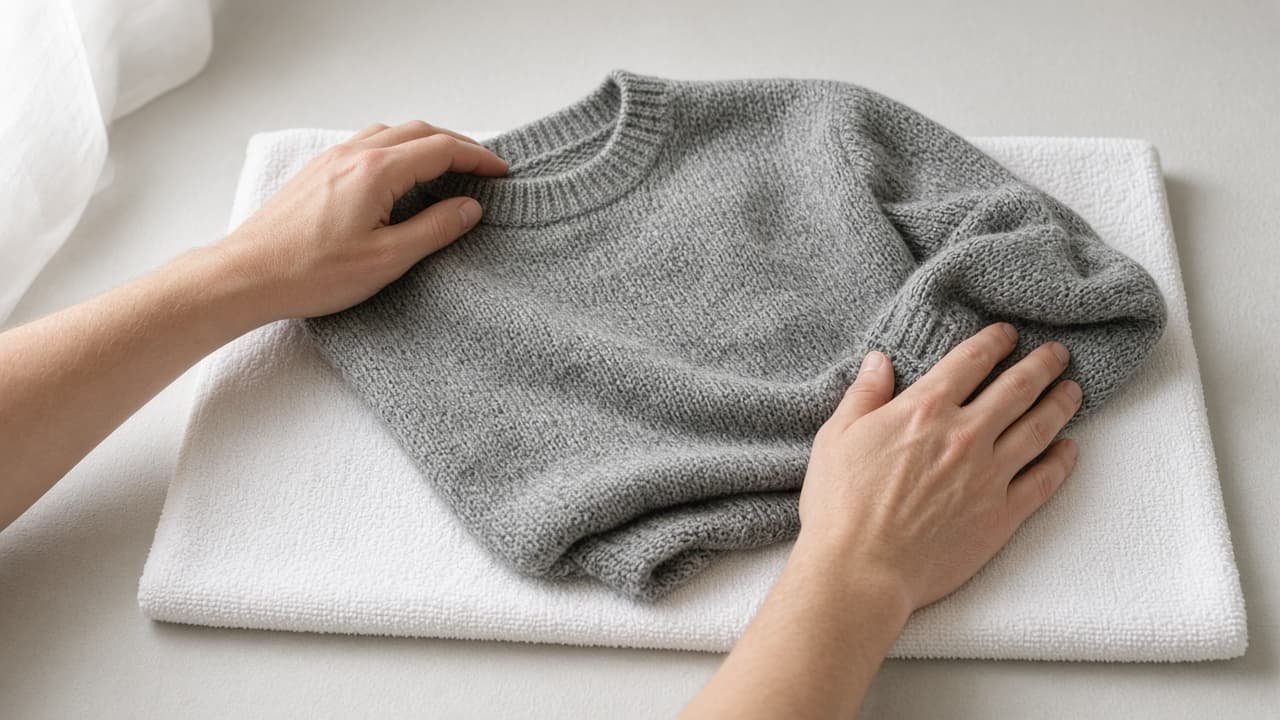
A dry underside towel finishes the job without hanging. 7c
Try on only when fully dry
Measure again and try the garment on after no cool or damp patches remain. Wearing it damp can pull elbows and shoulders out of shape.

Judge fit only after the knit is completely dry. 7d
Common mistake: endless repeat soaks
Common mistake: soaking again and again hoping felted fabric will reverse. Repeat once only if the fabric improved and still moves without strain. Stop when wool stays felted or seams distort.
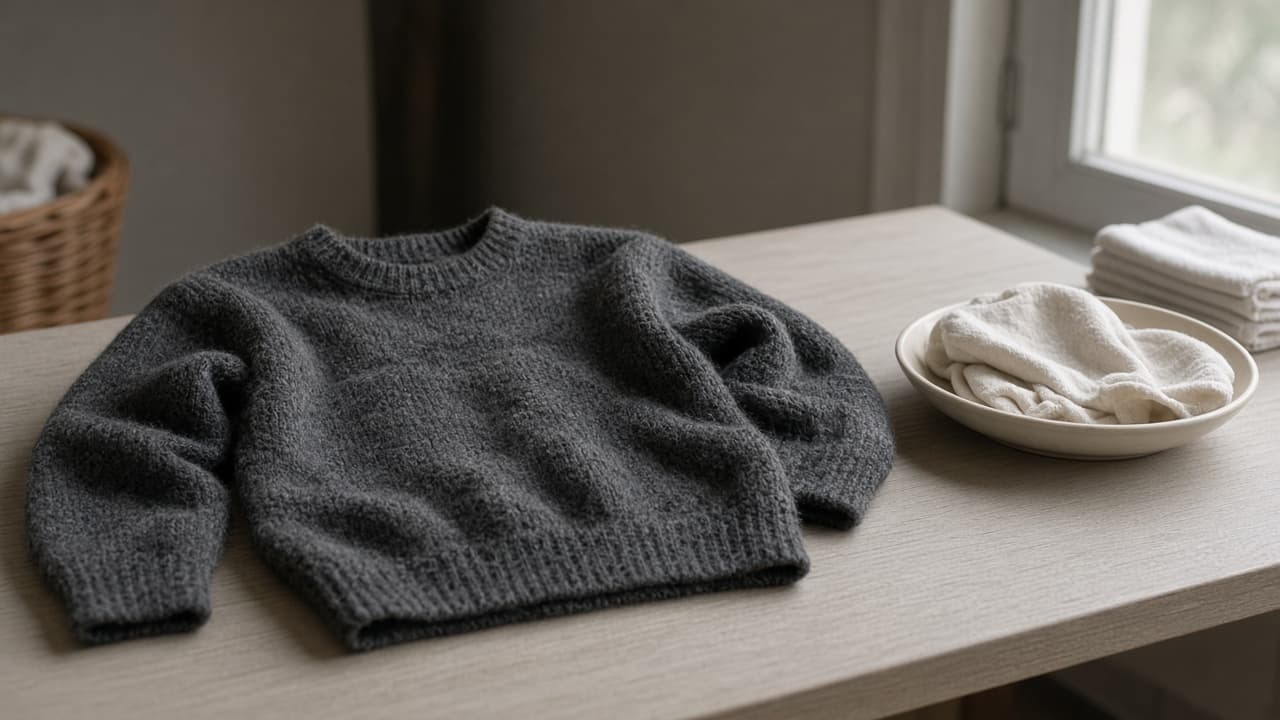
One careful repeat is enough. Dense felt needs a specialist or acceptance.
Done when
- Confirm the fabric is cotton, wool or a blend that can relax
- Measure target chest, length and sleeve dimensions
- Fill a basin with lukewarm water and a small amount of conditioner
- Soak, drain and press out water without wringing
- Reshape flat to measured targets
- Air dry completely away from heat
- Try on when dry and repeat only if the fabric still moves freely
Eagle Frame's takeaway: check the fiber and care label, soak gently in lukewarm water, remove moisture without wringing and reshape to measured dimensions while damp. Stop when the fabric strains or shows felting. Prevention with cool washing and low heat remains more reliable than recovery.