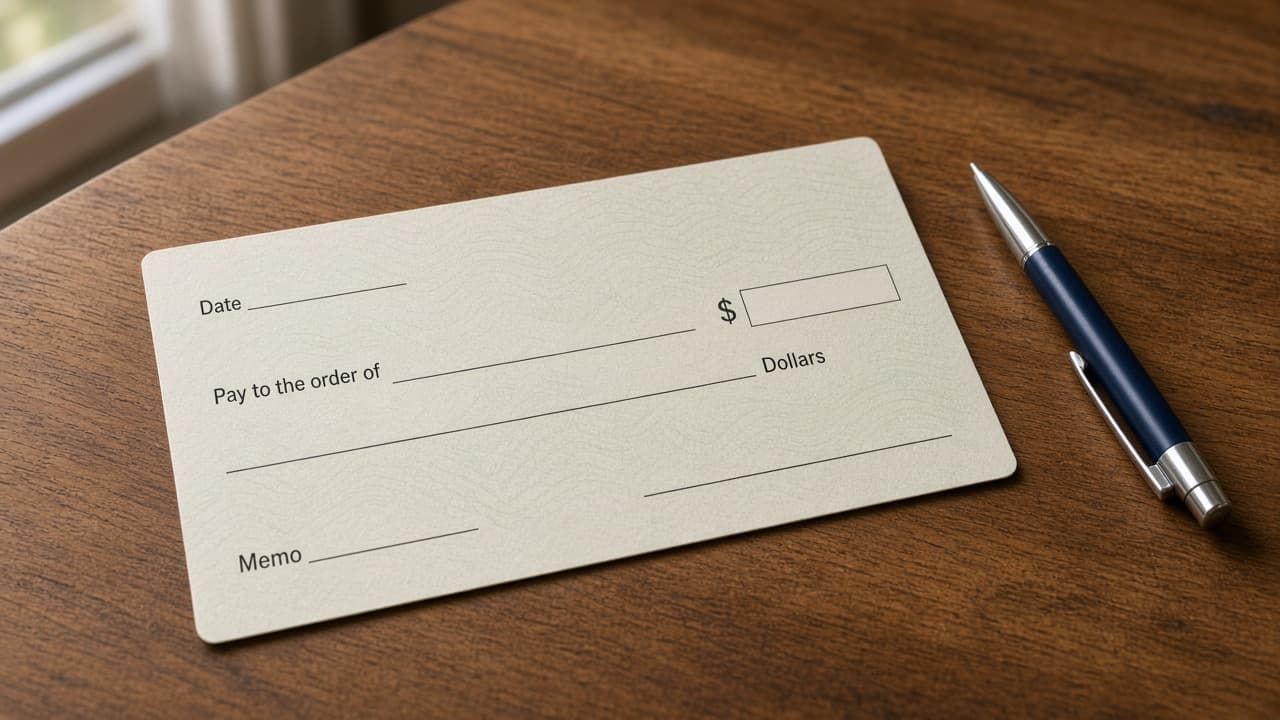
How to write a check correctly
Fill the date, payee, dollar amount in numbers and words, memo and signature in the right places. Void mistakes cleanly and keep checks as hard to alter as you can.
A personal check is a written order telling your bank to pay a specific person or business a specific amount from your account. Even in a world of apps and cards, landlords, schools, small vendors and some government offices still ask for one. Writing it correctly protects you from delays, returned payments and simple fraud.
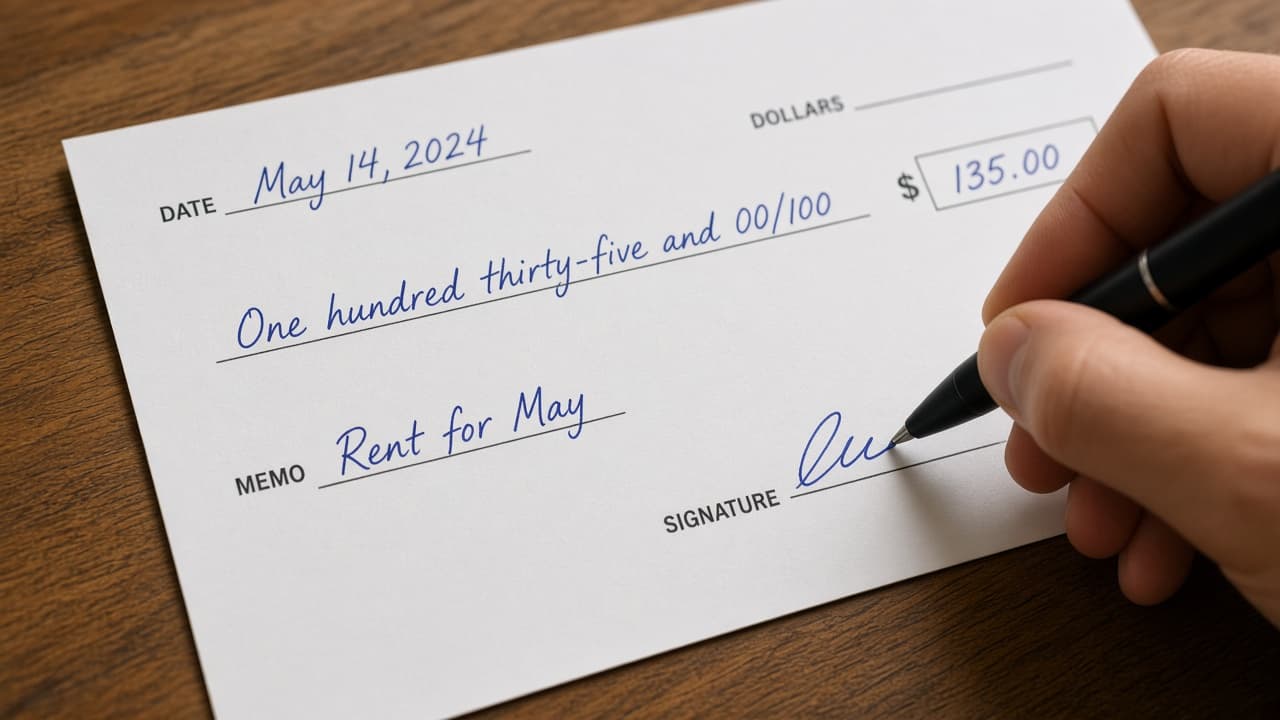
Every standard check has the same core fields: date, payee line, numeric amount box, written amount line, memo and signature. The numeric and written amounts must match. Banks often rely on the written amount when the two disagree, but a mismatch can still cause trouble. Use permanent ink and write clearly.
If you make a serious mistake, do not squeeze corrections into tiny gaps. Void the check, note it in your register and write a new one. Loose alterations invite someone else to change the payee or the amount later.
Treat blank checks like cash. Store the book somewhere safe, record each check number and never sign a blank check “to save time.” This guide is general education for common U.S.-style personal checks. Your bank’s rules and other countries’ formats can differ.
Step-by-step guide
Time: 5 to 10 minutes per check once you know the fields
What you need
- Personal checkbook
- Blue or black permanent ink pen
- Payee’s exact name and the amount due
- Check register or budgeting app for the entry
- Optional: calculator for the cents line
Before you start
- Never sign a blank check or leave the payee line empty after signing.
- Do not use pencil or erasable ink. Alterations become easy.
- If a check is lost after you write it, call your bank about a stop payment. Fees and timing vary.
Step 01
Date the check and confirm you should use one
Put today’s date in the date field unless you and the payee have a clear reason for another date. Confirm a check is still accepted.
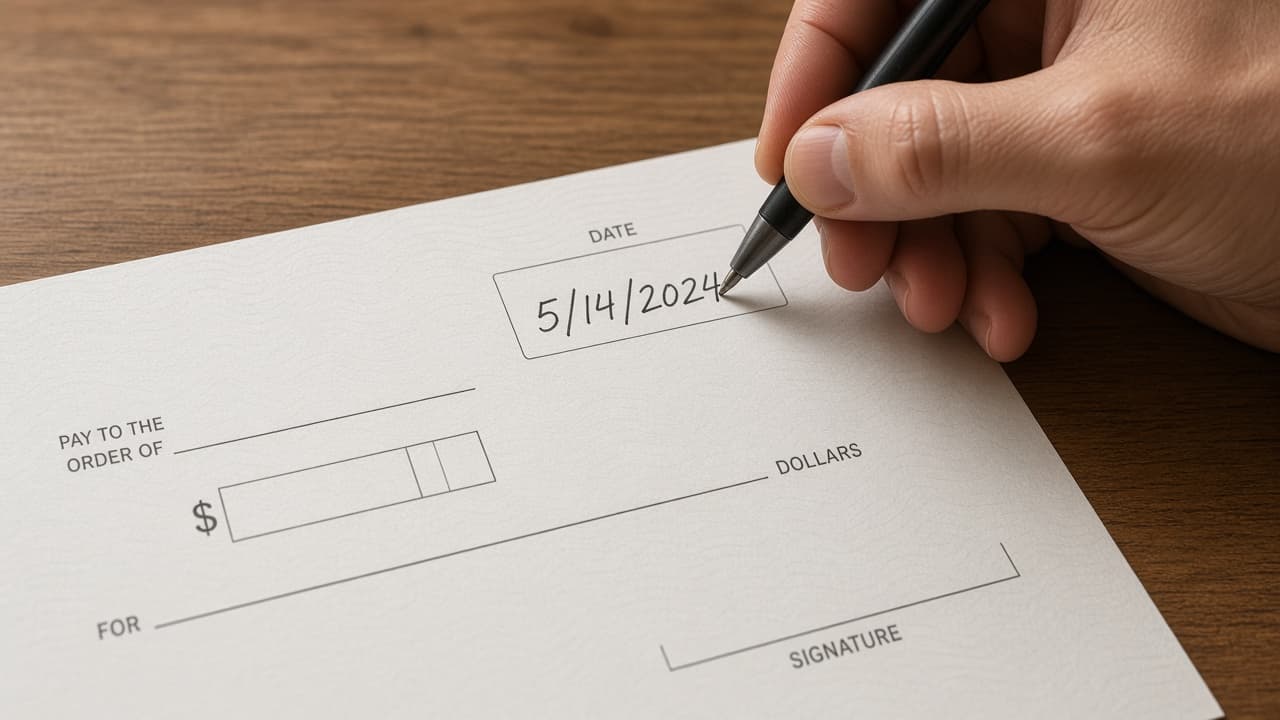
Write a clear date in the top date field before you fill the money lines. Do this step in order
1a
Write the date in the top right date box
Use a format your bank accepts, such as September 9, 2026 or 09/09/2026. Write legibly. Avoid dates so far in the future that a teller may refuse the check as post-dated without agreement.
1b
Confirm the payee still accepts checks
Ask whether they take personal checks, need a money order or prefer an electronic payment. Writing a perfect check that nobody will accept wastes a check number and your time.
1c
Note the next check number in your register
Write the check number, date, payee and amount in your register or app as you go. That habit catches missing checks later if the book is stolen or a page is removed.
Step 02
Fill the payee line and both amount fields
Name who gets paid, then write the amount in numbers and in words so they match exactly.
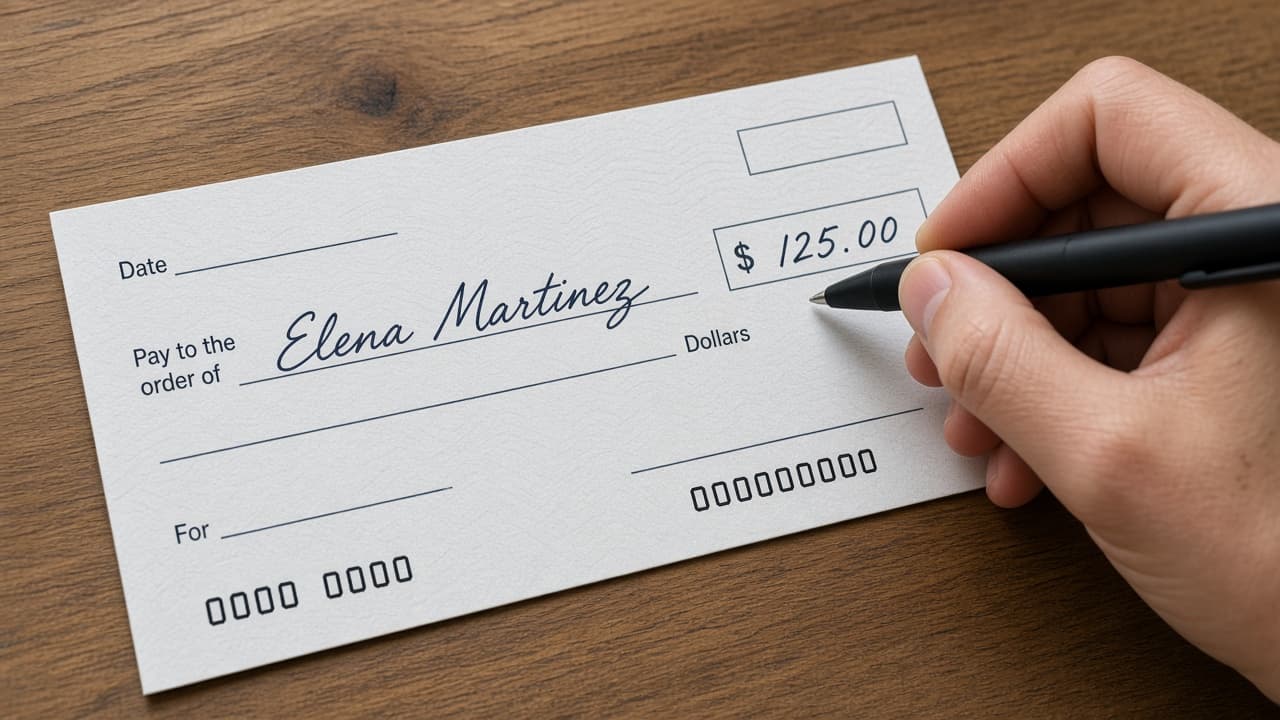
Payee name plus matching number and word amounts are the heart of the check. Do this step in order
2a
Write the payee’s full legal or business name
On the “Pay to the order of” line, write the exact name the payee uses for banking. Avoid nicknames. For a business, use the company name they give you, not a casual abbreviation you invent.
2b
Fill the numeric amount box carefully
In the small $ box, write the amount with dollars and cents, such as 125.50. Start near the left edge of the box so nobody can insert a digit in front. Include the cents even when they are .00.
2c
Spell the same amount on the words line
On the long line below, write the amount in words, for example “One hundred twenty-five and 50/100.” Draw a line through any leftover space to the printed word “Dollars.” Match the box exactly.
2d
Line out empty space on the payee line too
If the payee name does not fill the whole line, draw a horizontal line through the rest. That makes it harder for someone to add “and Other Name” after the fact.
Step 03
Add the memo and sign the check
The memo helps your records. The signature authorizes payment. Sign only when every other field is done.
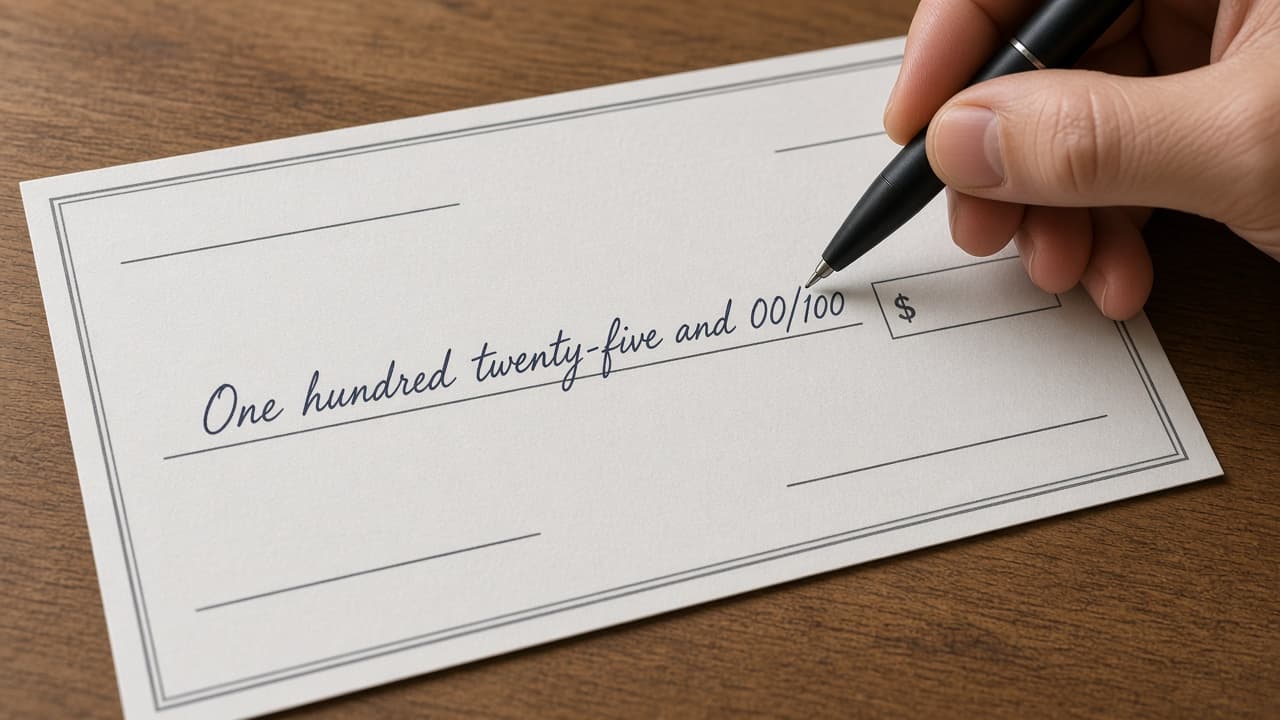
Memo for context, signature last. Never sign before the amounts are filled. Do this step in order
3a
Use the memo for invoice or account numbers
Write a short note such as “September rent,” “Invoice 44821” or a student ID. The memo is not required for the check to clear, but it helps the payee post the payment and helps you remember why you wrote it.
3b
Sign on the signature line with your usual bank signature
Sign the bottom right signature line the way your bank has on file. A wild new flourish can trigger a review. Do not sign until payee and amounts are complete.
3c
Keep a carbon or photo only if your bank allows safe records
Some checkbooks include a carbon copy. If not, you may photograph the filled check for your records, then store the image securely. Do not post check photos on social media. They show account routing details.
Step 04
Void mistakes and follow basic security habits
Bad checks should be voided, not patched. Protect the book and the details printed on each page.
Large VOID marks beat tiny scratched-out corrections. Do this step in order
4a
Void a ruined check instead of overwriting it
If you write the wrong payee or amount, write VOID in large letters across the face of the check. Record that number as void in your register. Do not throw an unsigned blank check in the trash without voiding it first.
4b
Avoid common alteration tricks
Do not leave gaps before amounts, do not sign blanks and do not use pencil. If you must cross out a tiny slip before signing, some banks still prefer a new check. When in doubt, void and rewrite.
4c
Store the checkbook and shred old copies
Keep the checkbook closed and put away. Shred voided checks and old register pages that show full account details when you no longer need them. Common mistake: leaving a signed check on a shared counter “for someone to pick up later.”
4d
Call the bank if a check is lost or stolen after you write it
Report the check number and amount quickly and ask about a stop payment. Follow up in your register so you do not forget the fee or the status. Then write a replacement only after you know the first one cannot clear.
Done when
- Date filled
- Payee name spelled correctly
- Numeric and written amounts match
- Memo added if useful
- Signature present and register updated
Eagle Frame’s takeaway: date the check, name the payee in full, match the number box to the words line, add a useful memo and sign last. Draw a line through leftover space, void bad checks instead of patching them and keep the register updated so a stolen blank page is harder to hide.