How to write a resume that gets past the first skim
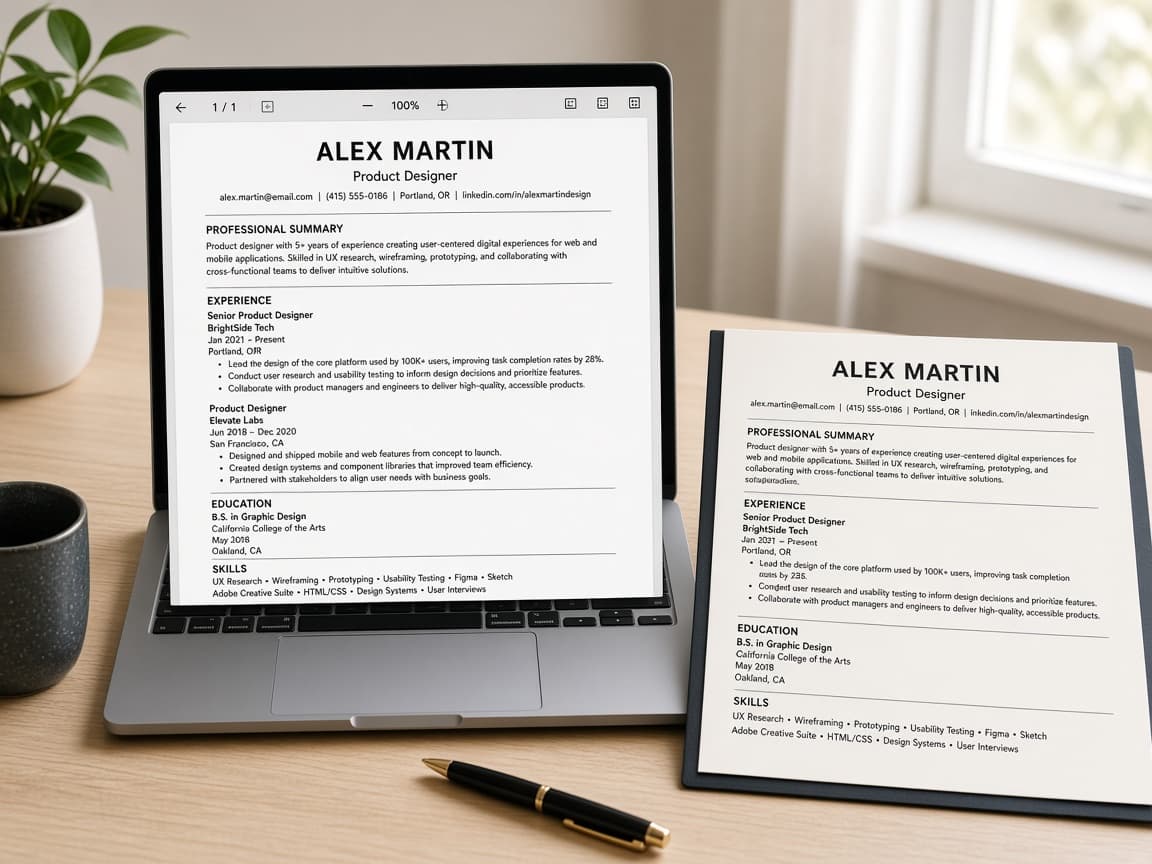
Use a clean single-column layout, achievement bullets with numbers and keywords from the job post. Make it easy for software and tired humans to find your proof fast.
Recruiters and hiring managers skim. Applicant tracking systems search for structure and keywords. Your resume has to satisfy both without turning into keyword stuffing or a graphic-design project. Clarity beats cleverness.
A strong resume is usually one page early in a career and two pages when you have deep experience. It uses a single column, standard headings and bullets that follow a simple pattern: action, tool or method and result with a number when you can get one. You tailor those bullets to the posting instead of sending the same file everywhere.
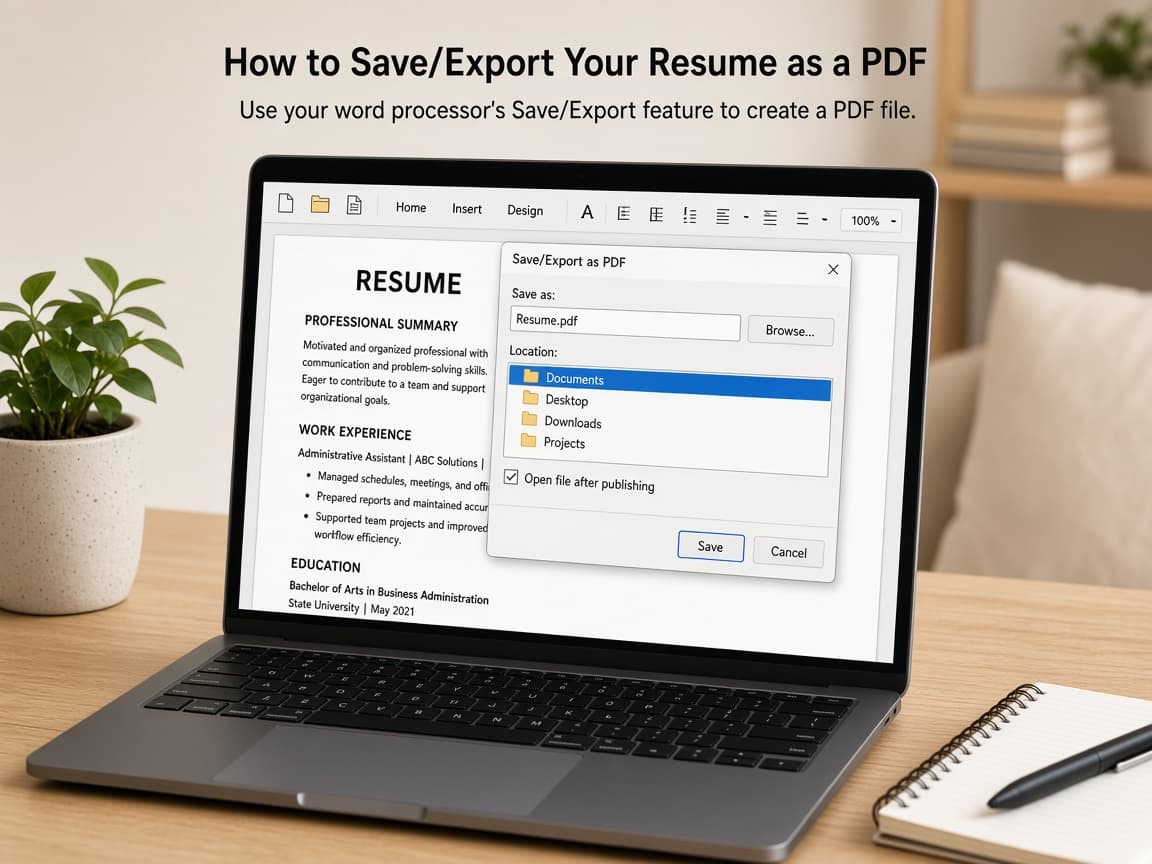
Unless the employer asks for a Word file, a text-based PDF is a common safe export. Fancy tables, text boxes and icons often scramble when software parses the file. A quick copy-paste test into a plain text document shows what the machine will see.
The guide below walks through layout, bullet writing, keyword tailoring, export and a final skim test. It will not get you a job by itself. It will stop your experience from dying in the first eight seconds.
Step-by-step guide
Time: 3 to 5 hours for a strong first version; 30 to 45 minutes to tailor per job
What you need
- Word, Google Docs or another plain text editor
- Target job description
- List of your roles, projects and metrics
- PDF export
- Plain text window for a paste test
Before you start
- Do not invent titles, degrees or numbers. Exaggeration is a fast way to lose an offer later.
- Avoid resume templates with heavy tables, sidebars or icons if you need ATS-friendly parsing.
Step 01
Build a single-column, ATS-friendly skeleton
One column and ordinary headings give both humans and software a clear path down the page.
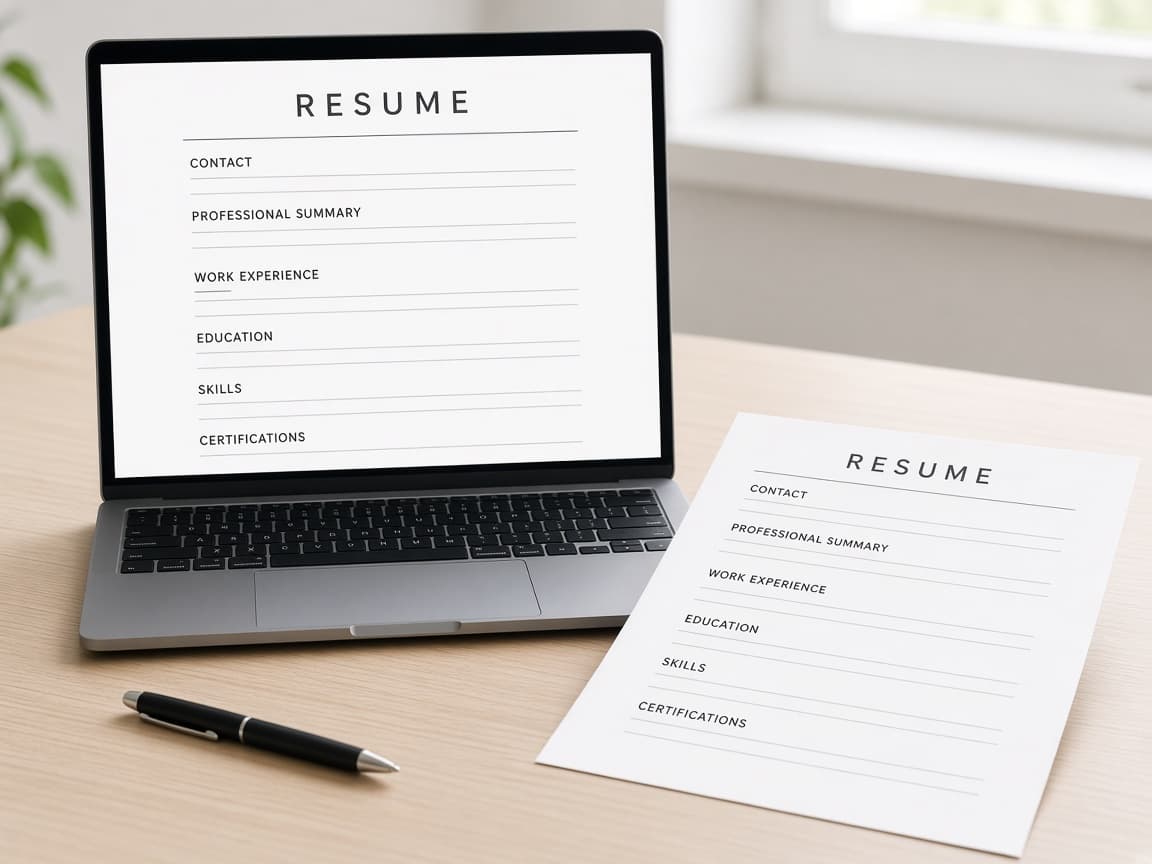
One column and ordinary headings give both humans and software a clear path down the page. Do this step in order
1a
Open a blank one-column document
Use standard headings: Summary optional, Experience, Education, Skills. Add Certifications or Projects only if they help. Choose a common font and margins around 0.5 to 1 inch.
1b
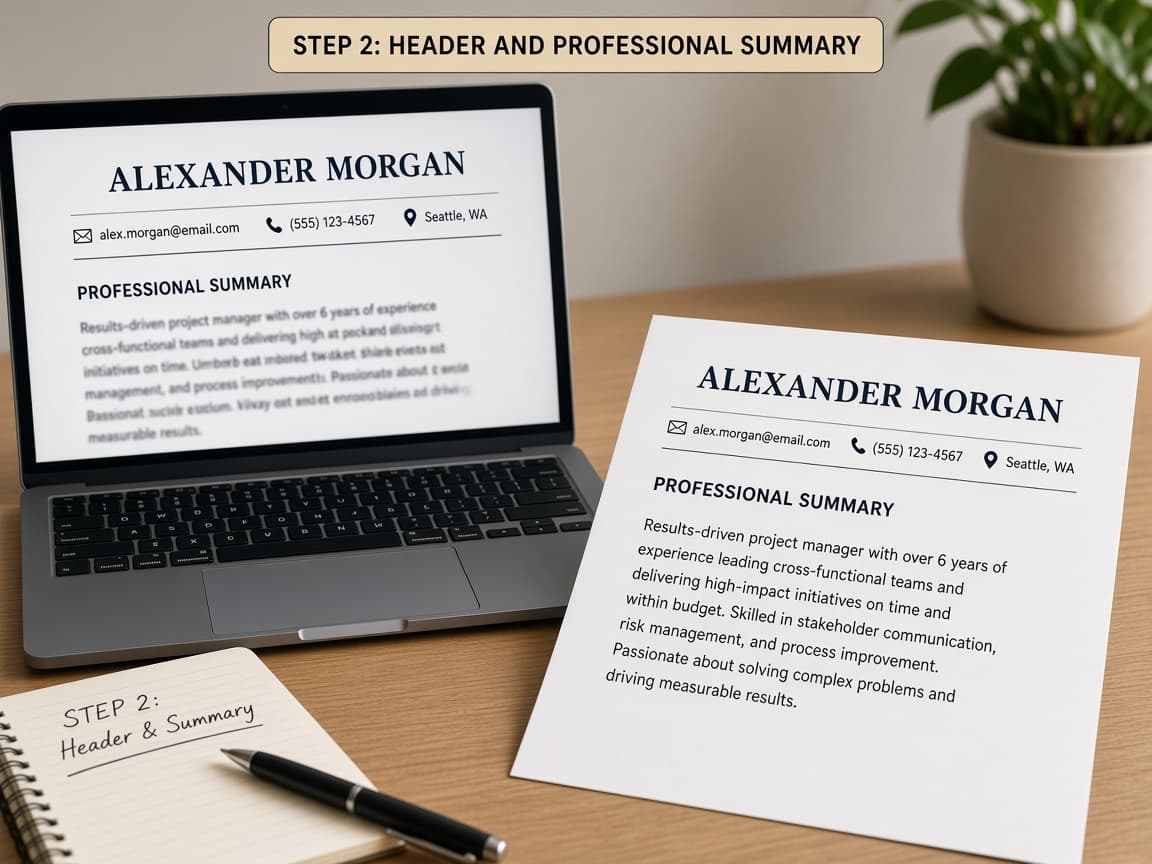
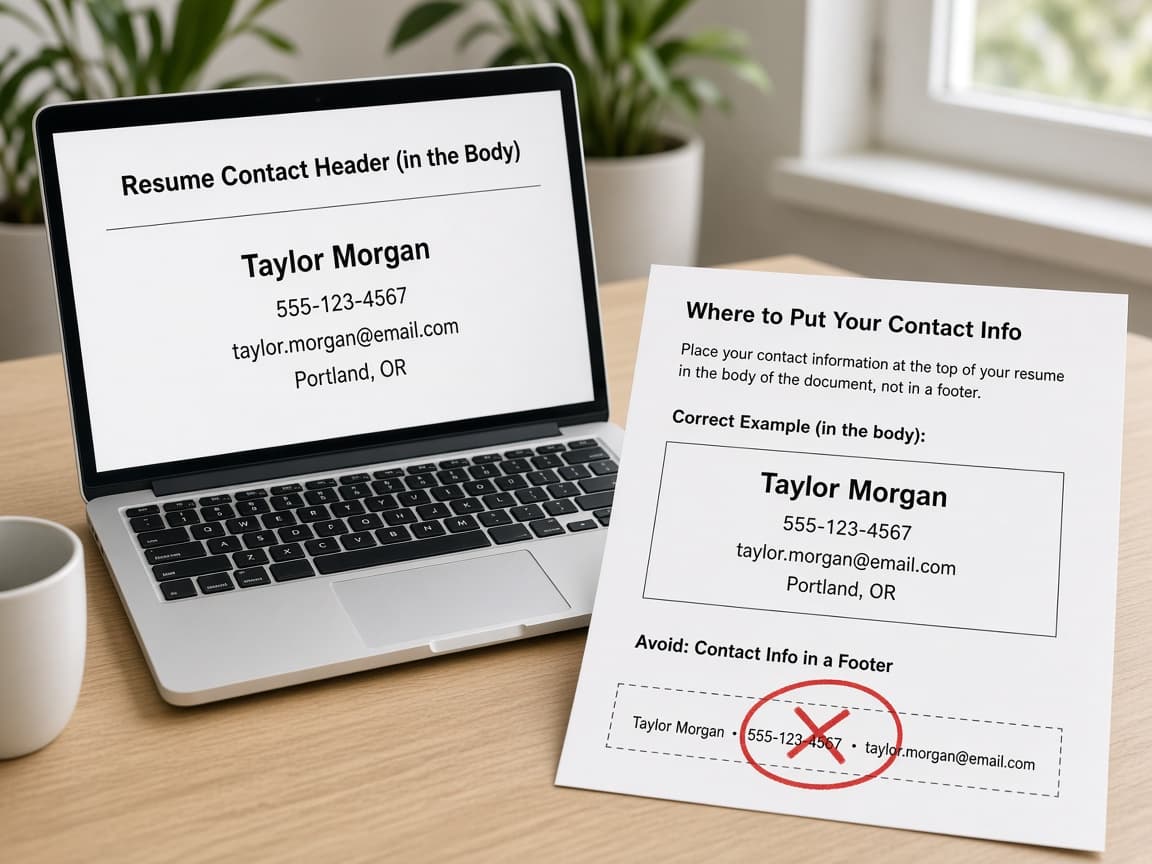
Add a clean contact line
Put your name at the top, then phone, email, city and region or Remote, plus LinkedIn or portfolio if polished. Skip headshots, charts and skill bars for most industries.
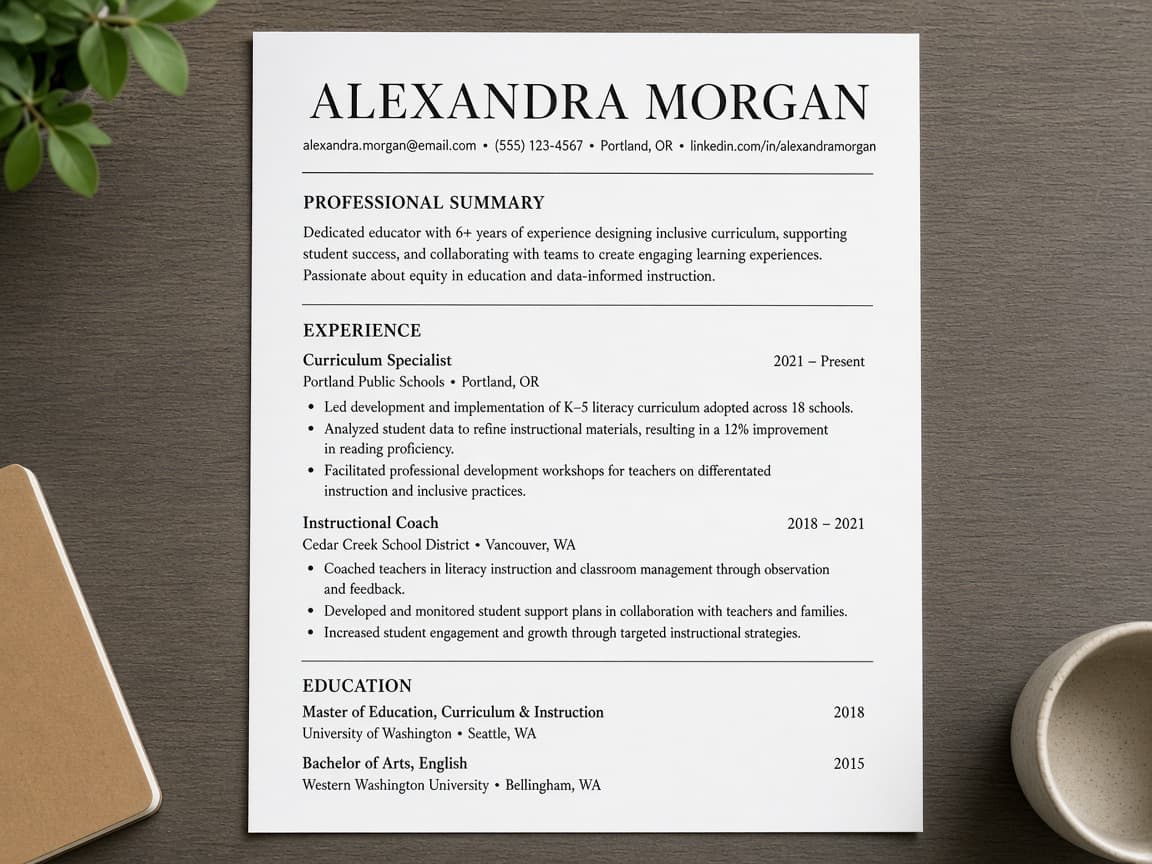
Contact info should be boring and complete. 1c
Avoid two-column templates that scramble order
Common mistake: a sleek two-column layout that stores dates and titles in an order parsers cannot follow. If you need creative layout, keep a plain text version for online forms.
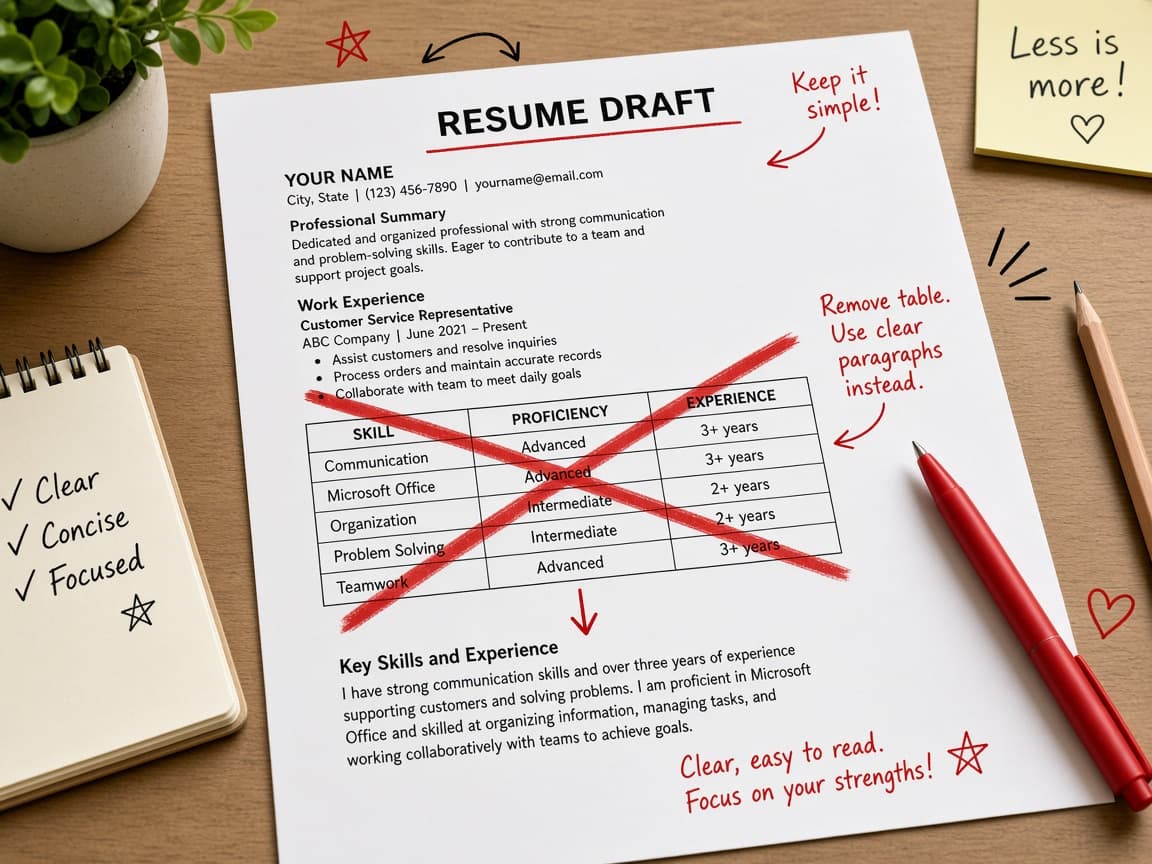
Looks sleek on screen can still fail a paste test.
Step 02
Fill roles with achievement bullets, not task lists
Action, method and a measurable result beat a list of daily duties.
Action, method and a measurable result beat a list of daily duties. Do this step in order
2a
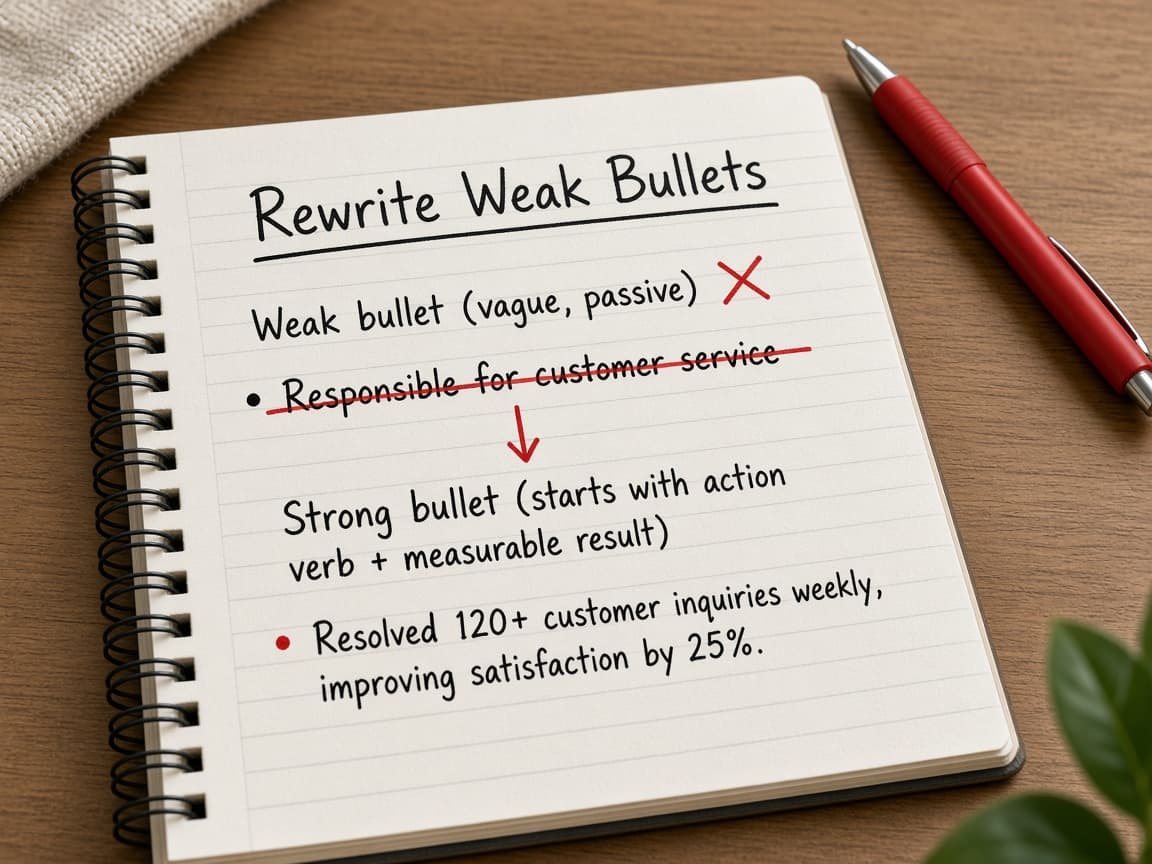
Write bullets with verb, method and result
Under each job, write 3 to 6 bullets. Pattern: strong verb, what you did, tool or method, result with a number. Example: Cut invoice errors 30% by rebuilding the intake form in Excel and training three clerks.
2b
Mine reviews and dashboards for numbers
Pull time saved, revenue influenced, tickets closed, people trained, defect rates or budget size. If you cannot share exact figures, use honest ranges you can defend in an interview.
Numbers live in old reviews if you go look for them. 2c
Lead with recent work and strong verbs
Focus on the last 10 years and summarize older roles briefly. Common mistake: starting every bullet with Helped or Worked on so nothing shows ownership. Replace those openers.
Strong verbs make skim-reading land on your proof.
Step 03
Add a tight skills section and optional summary
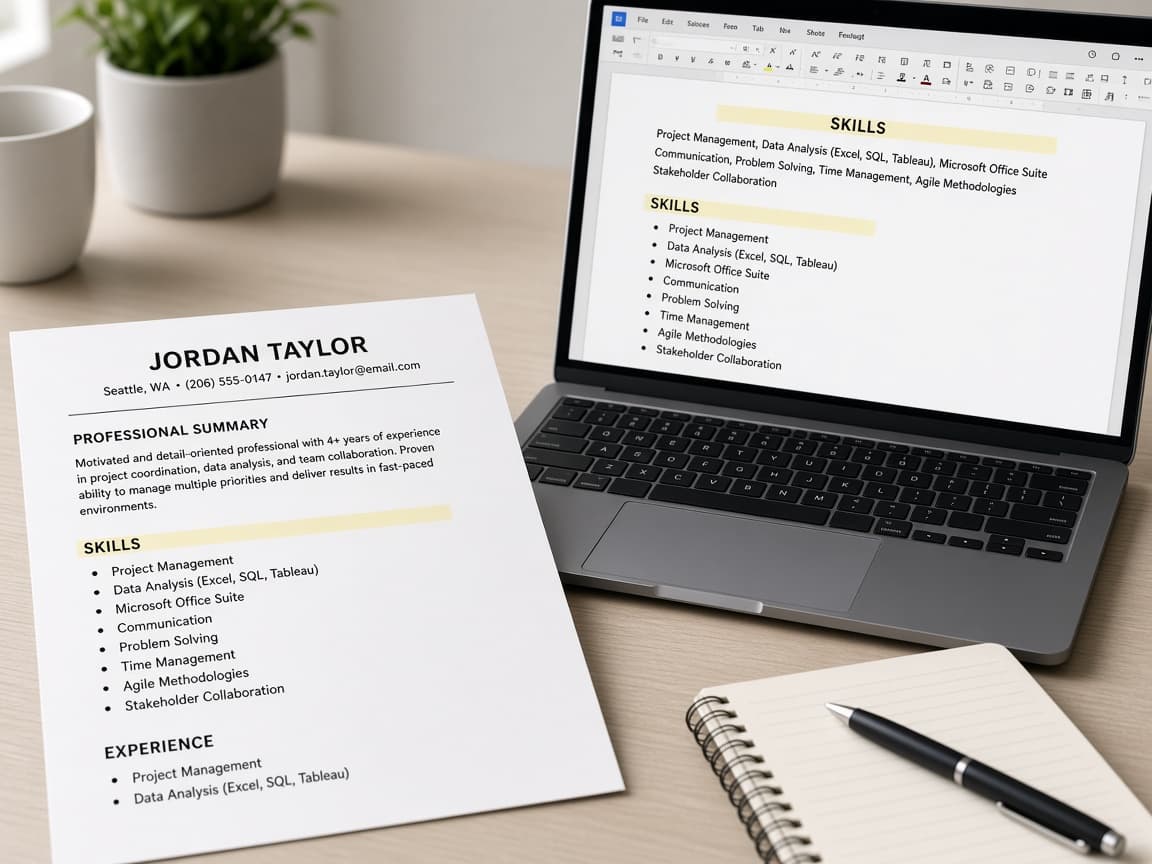
Name the tools and methods you can defend. Skip decorative skill meters.
Name the tools and methods you can defend. Skip decorative skill meters. Do this step in order
3a
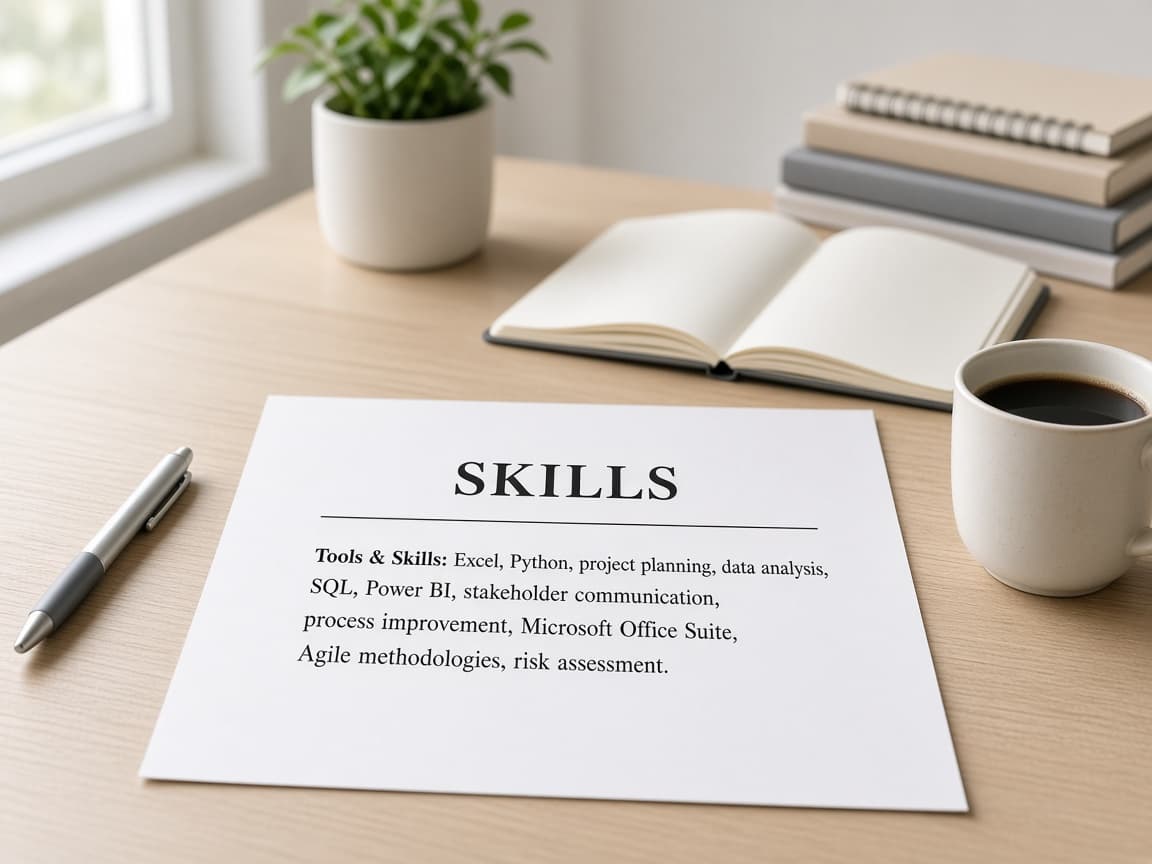
List searchable skills you can discuss tomorrow
Use product names, methods and languages employers search for. Group lightly if the list is long. Drop outdated items you could not demonstrate in an interview.
3b
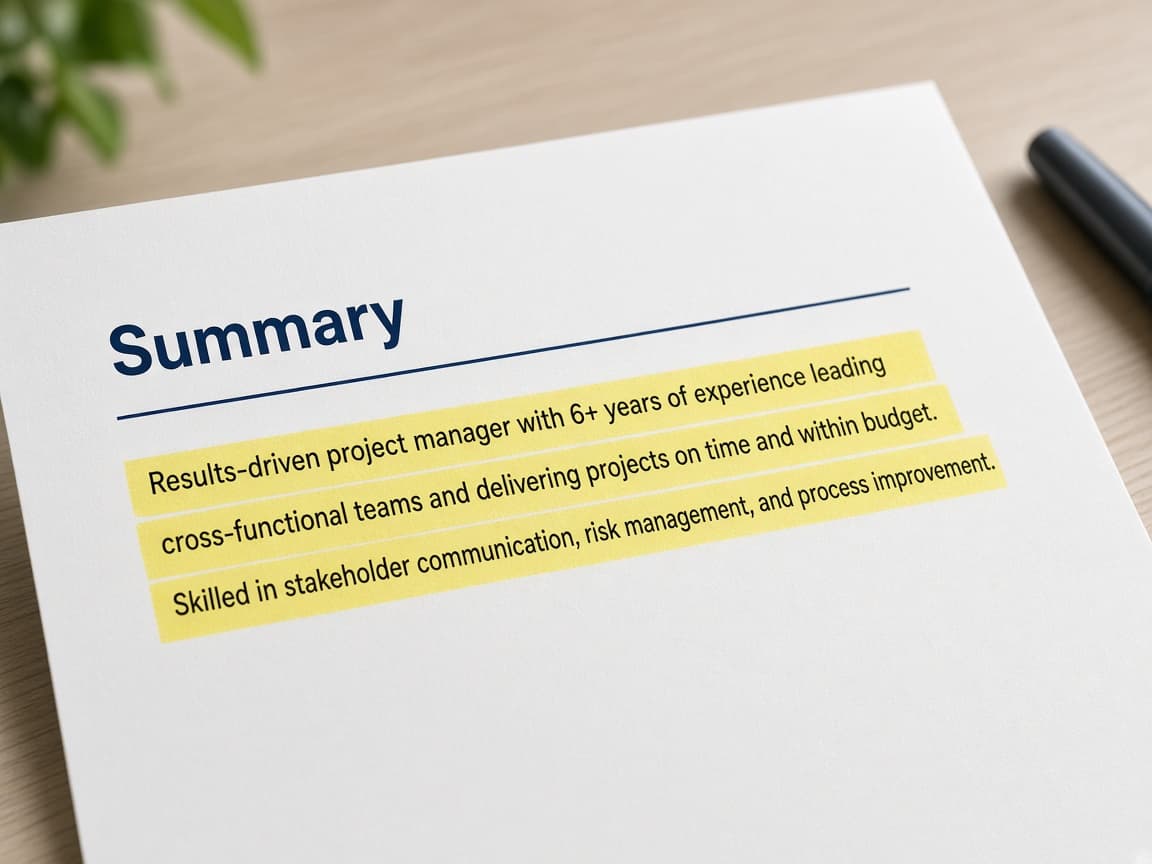
Keep an optional summary to three or four lines
State target role, years of relevant experience and two proof points. Do not write a vague mission about being a passionate team player. Skip the summary if Experience already says it.
A tight summary points to proof. It does not replace it. 3c
Delete icon dots and expert bars
Common mistake: rating yourself with dots or Expert bars that waste space and parse poorly. Words beat meters.
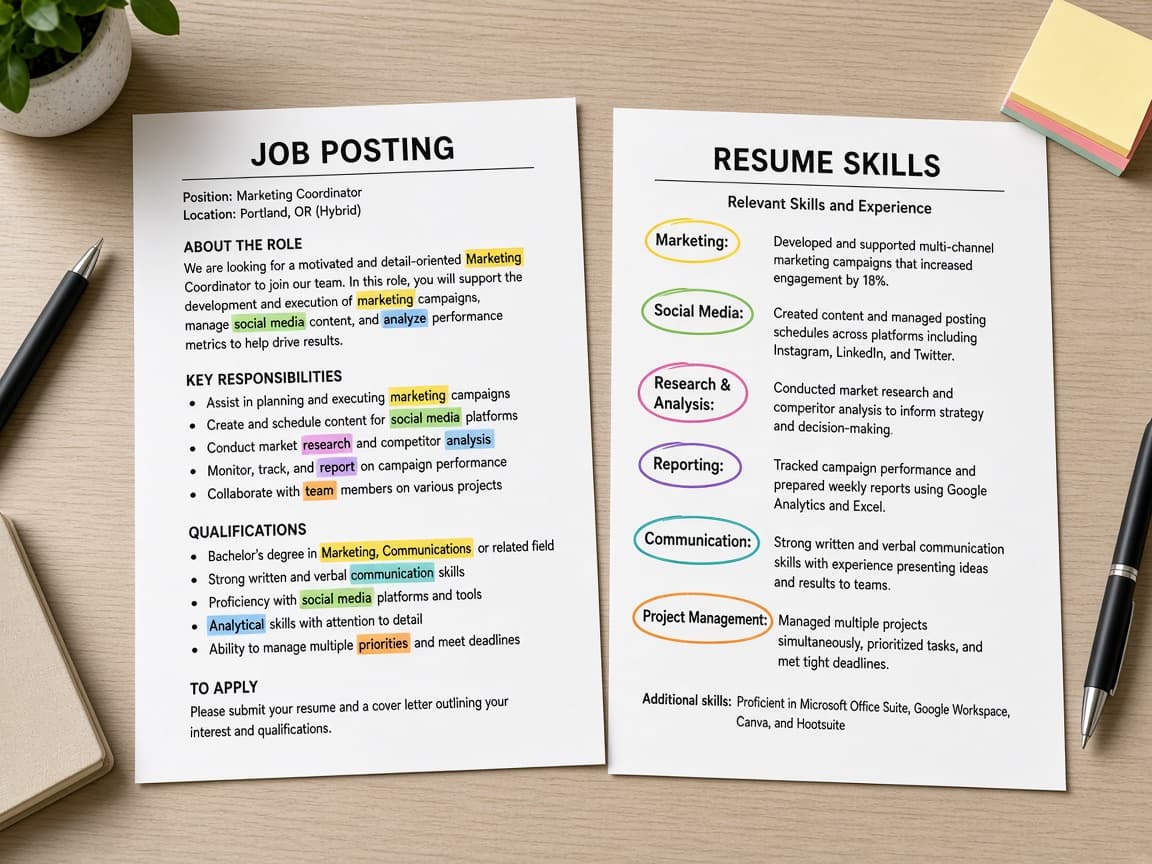
Parsers and humans both prefer plain skill names.
Step 04
Tailor keywords to the job post without stuffing
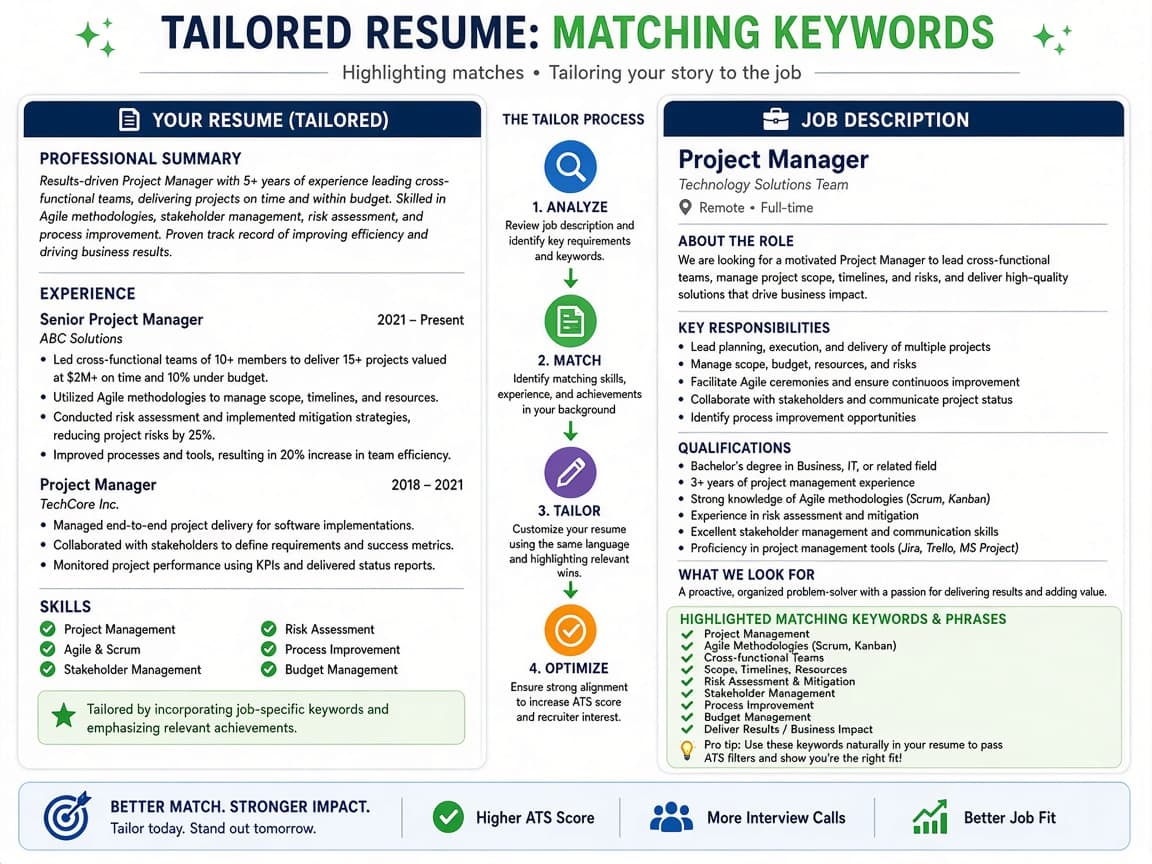
Echo the posting's real requirements in bullets you can prove, not in a copied blob of jargon.
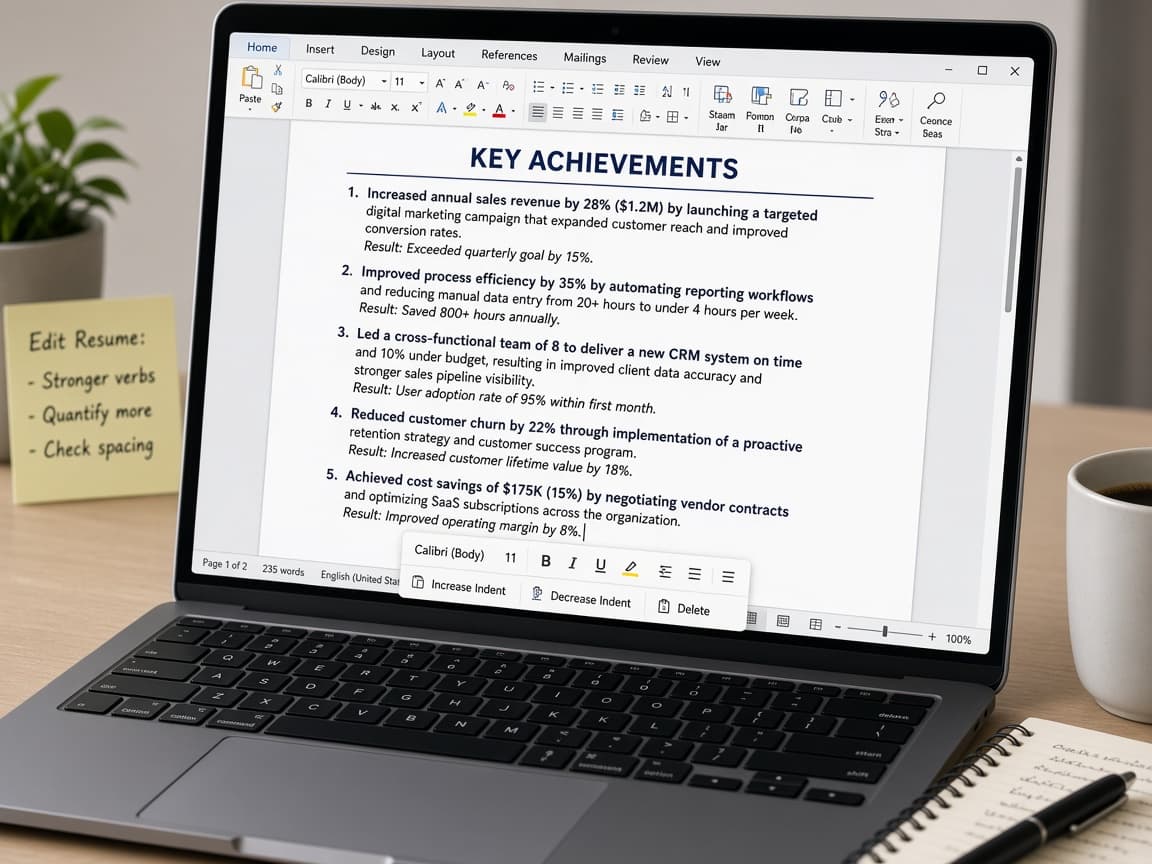
Echo the posting's real requirements in bullets you can prove, not in a copied blob of jargon. Do this step in order
4a
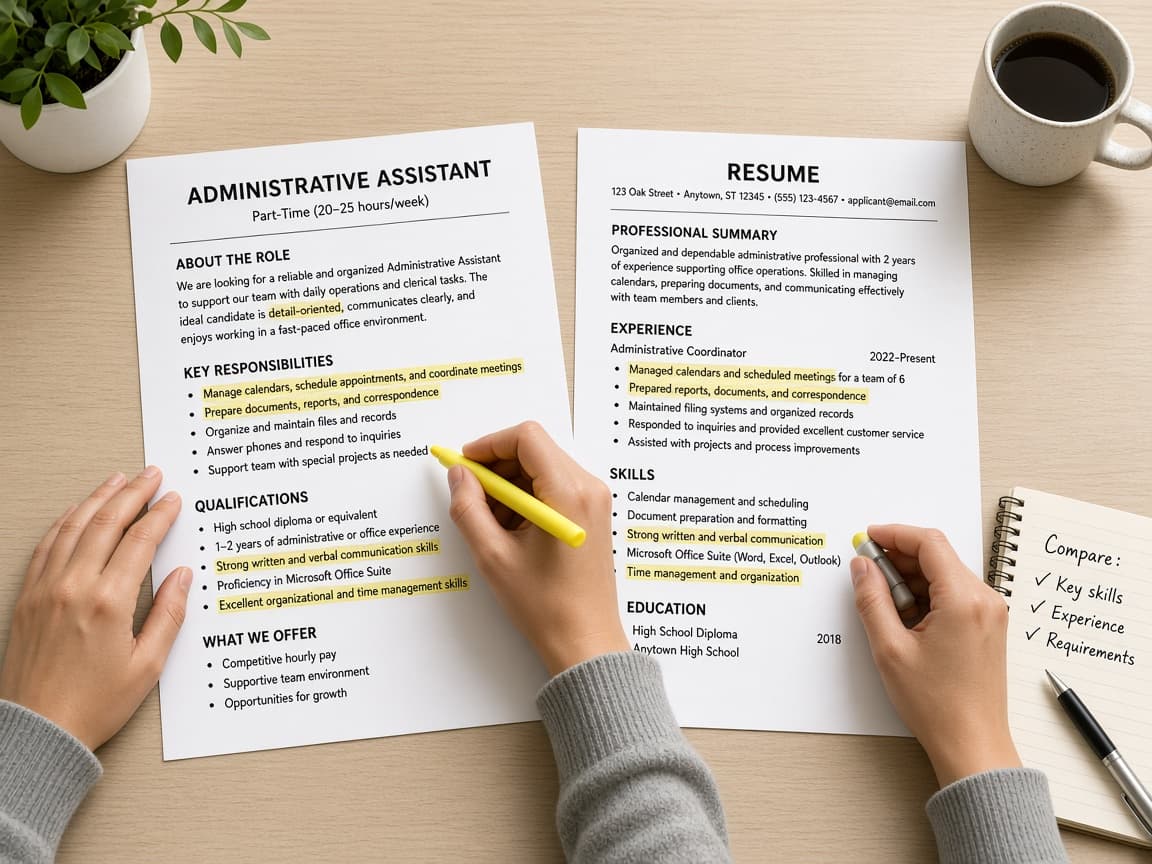
Highlight requirements that match your background
Split-screen the job description. Mark required skills, tools and phrases you honestly have. Mirror wording where it is true, such as stakeholder management instead of worked with other teams.
4b
Move the most relevant proof near the top
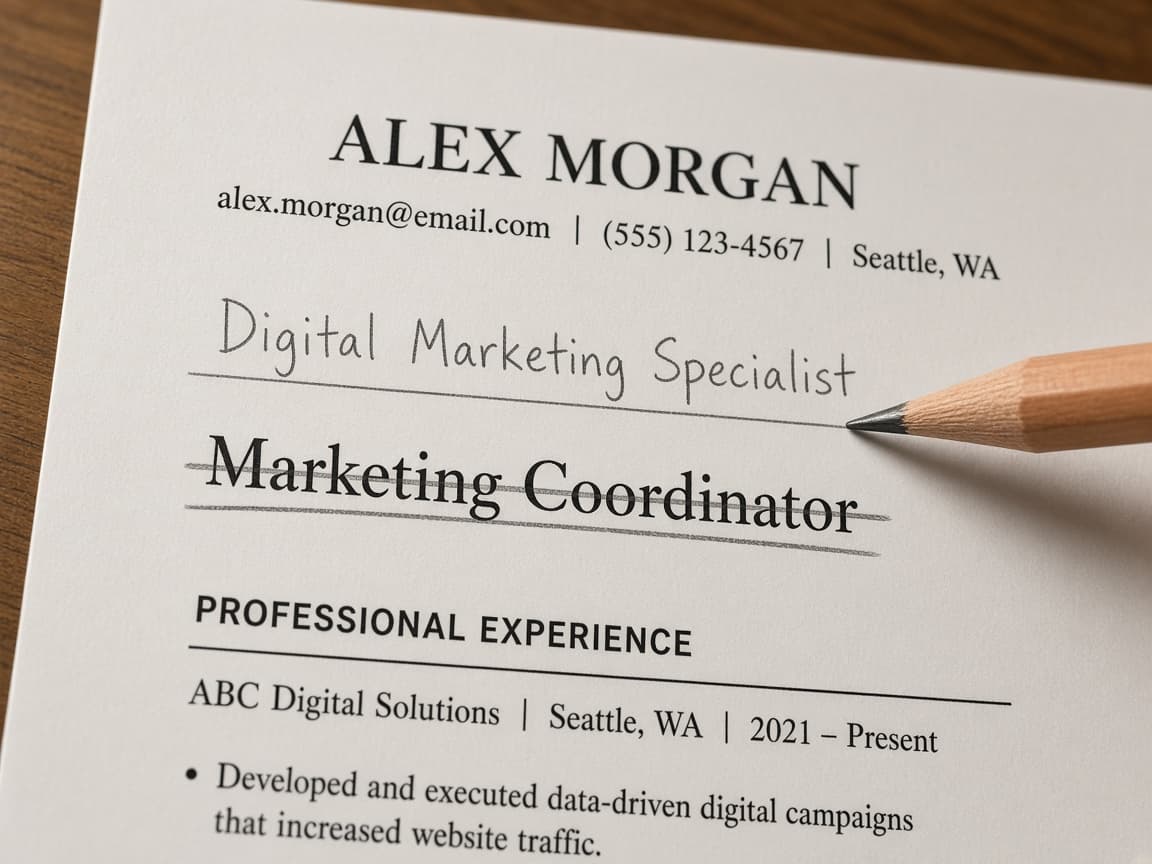
Reorder bullets under recent roles so matching proof appears first. You do not need a new career history for every application. You do need the right proof early.
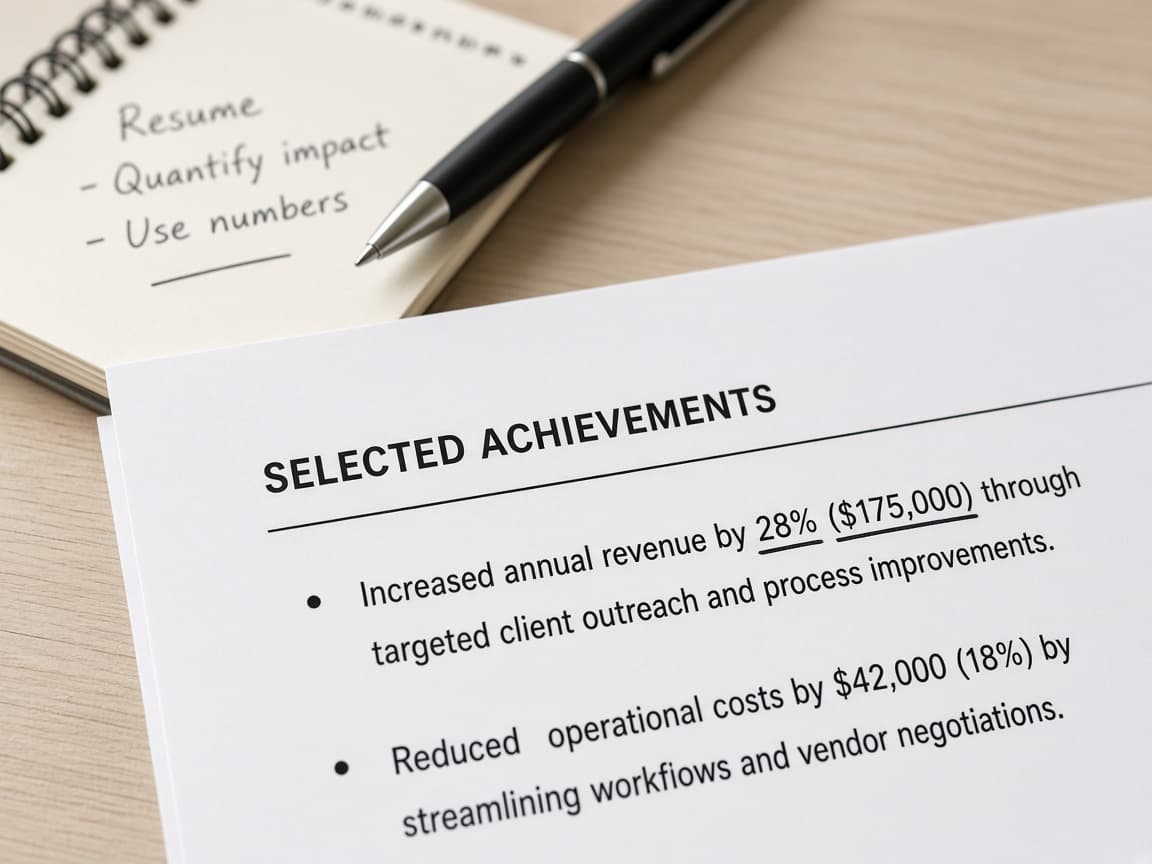
Top-of-page proof wins the eight-second skim. 4c
Never paste the requirements paragraph into your summary
Common mistake: dumping the posting's requirements block into your summary. Humans notice and it reads desperate. Use their words inside real achievements instead.
Keywords belong inside proof, not as a pasted blob.
Step 05
Export a text-based PDF (or DOCX if requested)
Selectable text in the format they asked for beats a beautiful file the system cannot read.
Selectable text in the format they asked for beats a beautiful file the system cannot read. Do this step in order
5a
Follow the application format instructions
If they ask for Word, send DOCX. Otherwise export a PDF with selectable text from your editor. Avoid a designed page that is actually a flattened image.
5b
Name the file clearly and check page breaks
Use Firstname-Lastname-Resume.pdf. Open the file and confirm spacing, dates and headings. Fix a section heading left alone at the bottom of a page.
File name and page breaks are part of looking careful. 5c
Do not submit a graphic portfolio as the resume parse target
Common mistake: uploading a design-heavy portfolio PDF to a standard online form that expects a parseable resume. Keep a plain resume for forms and share the portfolio as a link when asked.
Pretty graphics are not a substitute for parseable text.
Step 06
Run the copy-paste test and a final skim
If a plain paste looks scrambled, many automated systems will struggle too.
If a plain paste looks scrambled, many automated systems will struggle too. Do this step in order
6a
Paste the whole resume into plain text
Select all, copy and paste into a plain text file. Check that contact info, headings, jobs and dates appear in a sensible order. If the paste is a mess, simplify the layout and try again.
6b
Do a ten-second skim for title, proof and skills
Can you see current title, strongest proof and main skills without hunting? Ask a friend to try the same skim. Fix typos, inconsistent dates and repeated verbs.
If proof is hard to find in ten seconds, keep editing. 6c
Trust the paste result over on-screen design
Common mistake: loving the on-screen layout and never checking what a paste captures. Design that fails the paste test fails many automated reads too.
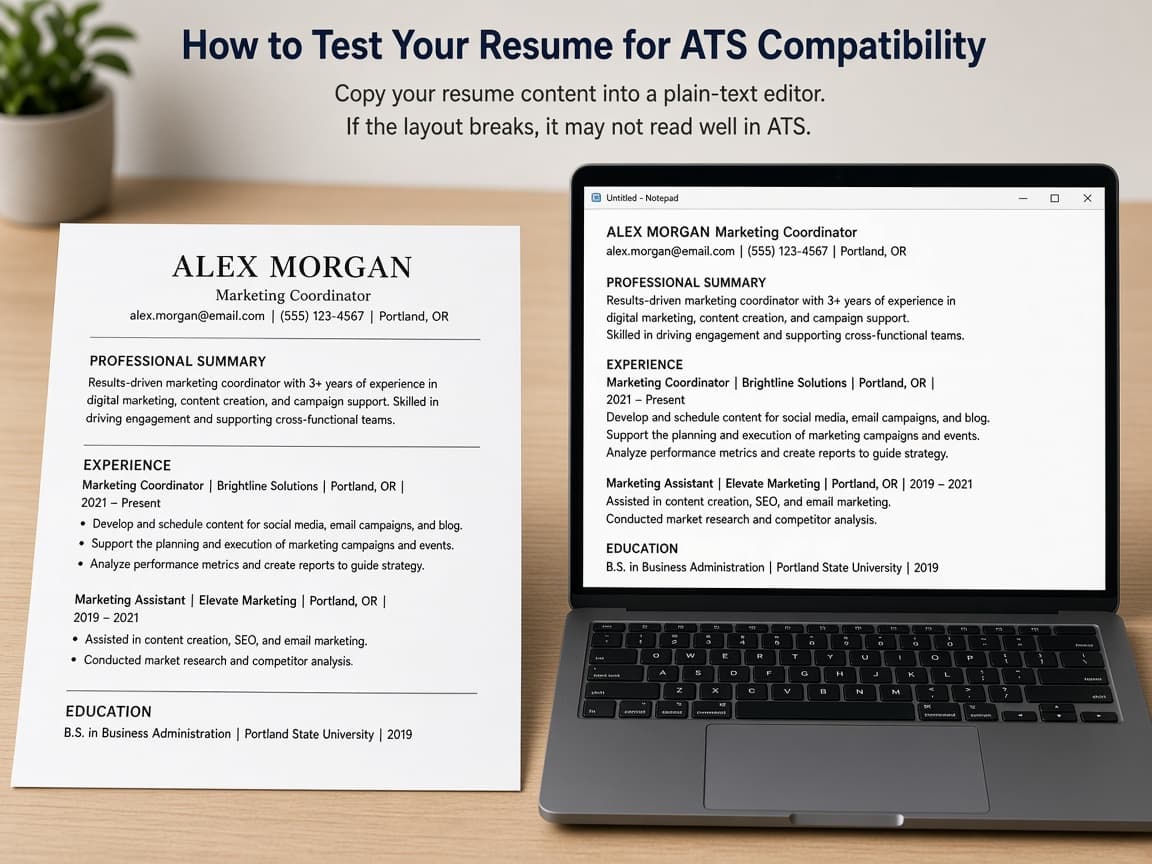
What pastes cleanly is what many systems will see.
Done when
- Single-column layout with standard headings
- Contact line complete and professional
- Bullets show action, method and result
- Keywords from the posting appear naturally
- PDF (or requested DOCX) passes a copy-paste test
Eagle Frame’s takeaway: the resume that gets read is easy to parse and hard to dismiss. Use one column, achievement bullets with numbers and keywords that honestly match the posting. Export clean text, run the paste test and tailor the top of the page for each real application instead of blasting a cluttered template.